Folding Top Roof Bow Replacement Number 1 Bow
Removal Procedure
- Position the top with the #1 bow up.
- Remove the seal compression panel. Refer to Folding Top Seal Compression Panel Replacement .
- Using a grease pencil mark the location of the top material where it wraps over the #1 bow to aid in installation.
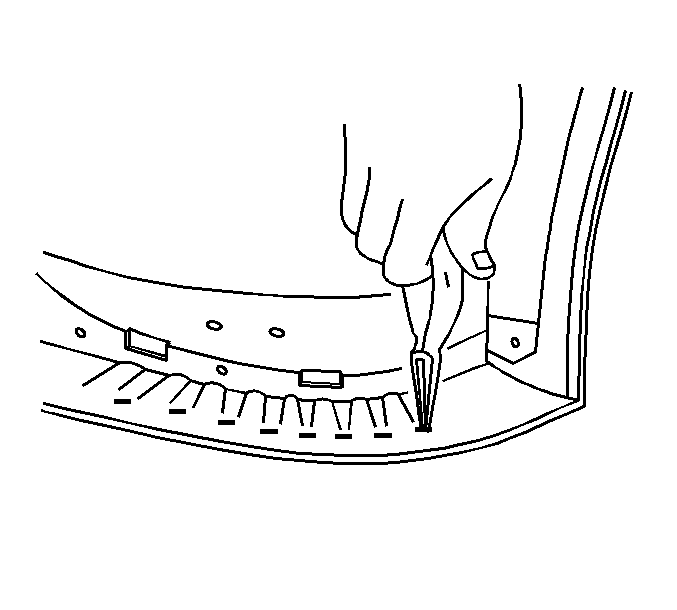
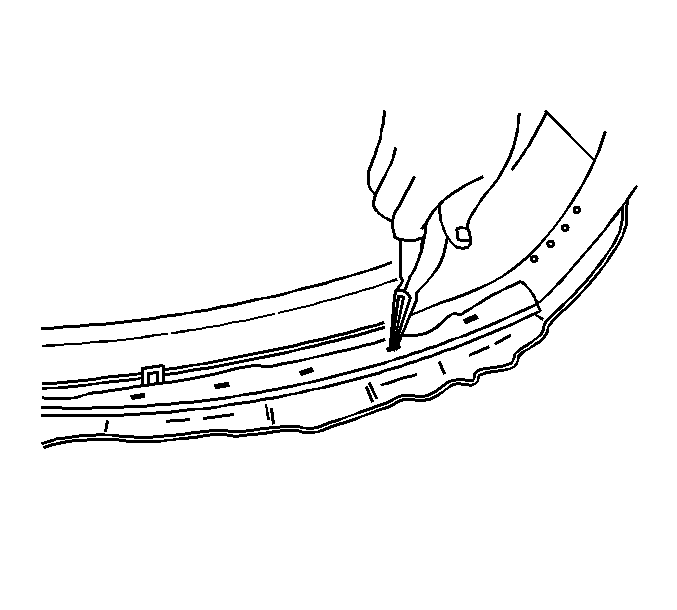
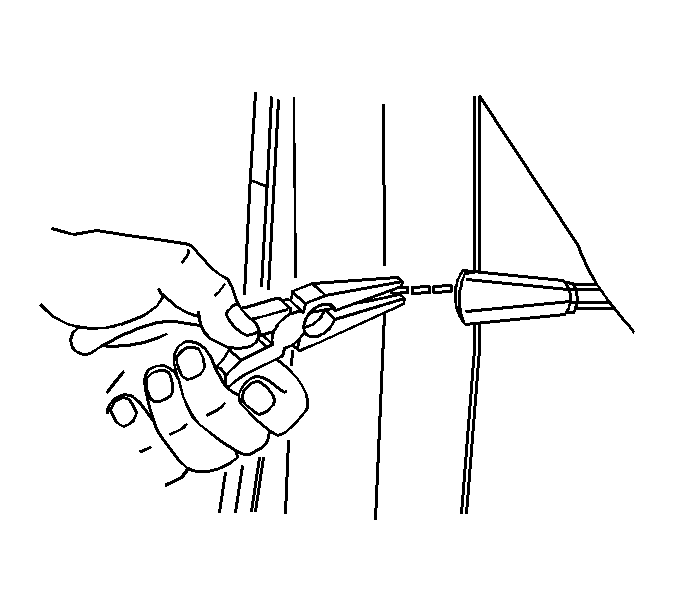
- Using a pair of needle nose pliers remove the top cover staples from the #1 bow.
- Remove the headliner staples from the #1 bow.
- Drill out the stay pad rivets from the #1 bow.
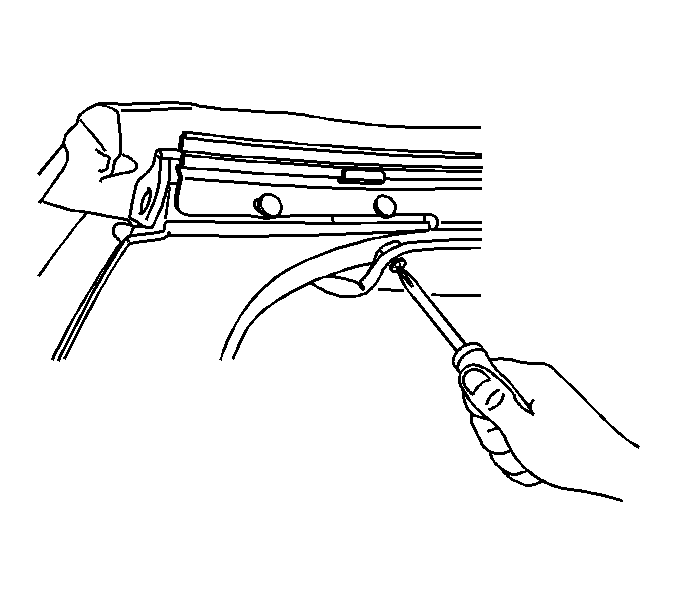
- Remove the headliner screws from the #1 bow.
- Remove the headliner push-on retainers from the #1 bow.
- Remove the tension cables screws from the #1 bow.
- Using a grease pencil mark the location of the #1 bow to the front side rails.
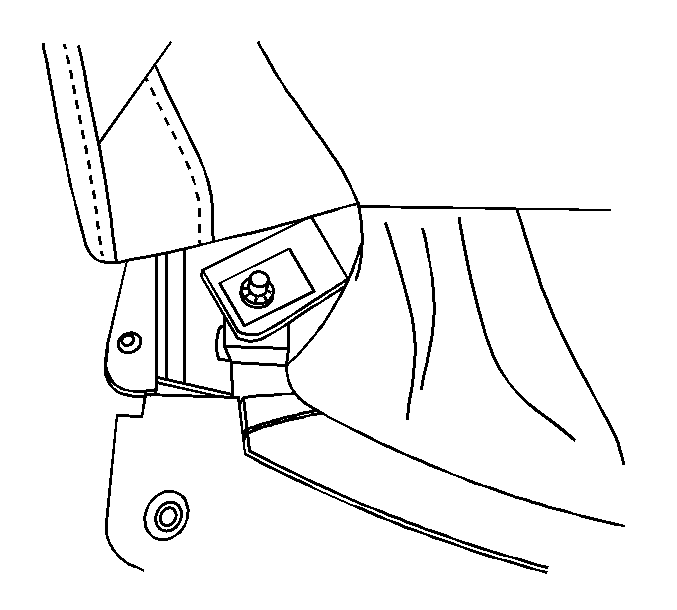
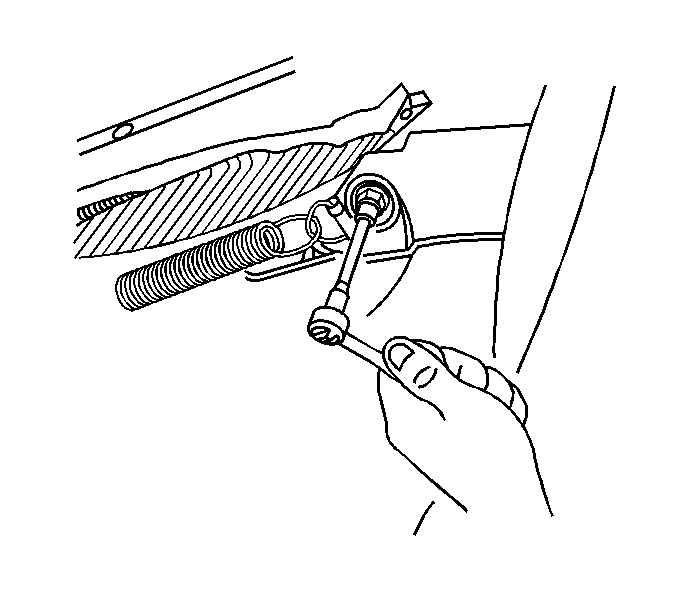
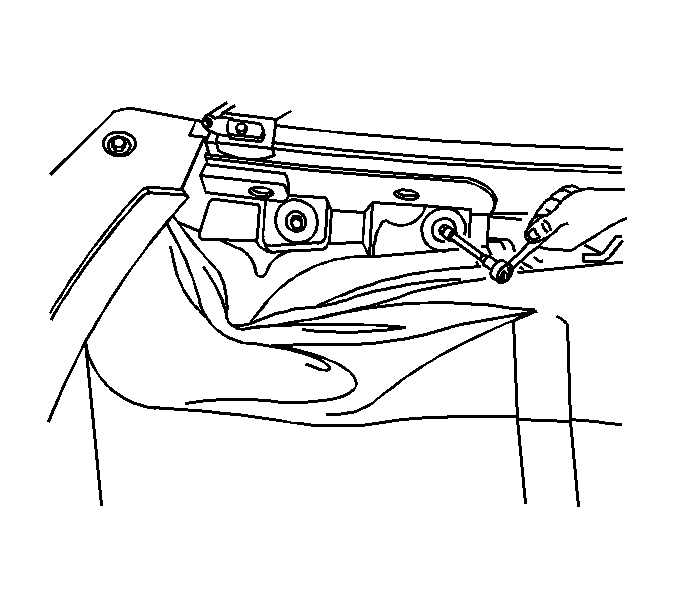
- Remove the #1 bow nuts from the front side rails.
- Remove the #1 bow.

Caution: Wear safety glasses in order to avoid eye damage.
Installation Procedure
- Position the #1 bow to the marks on the front side rails with the tension cables through the corner slots.
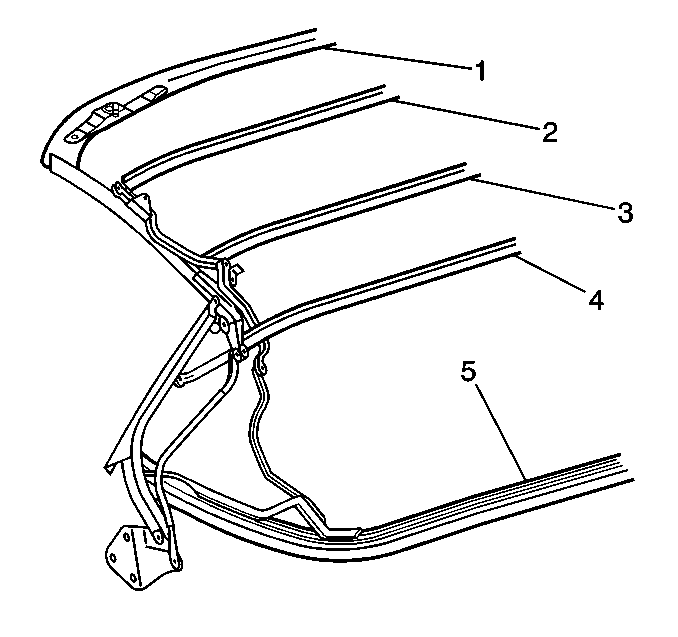
- Install the #1 bow (1) nuts to the front side rails.
- Rivet the stay pad to the #1 bow.
- Install the tension cable screws.
- Attach the headliner push-on retainers to the #1 bow.
- Install the headliner screws to the bow.
- Rivet the stay pads to the bow.
- Pull the headliner over the #1 bow and staple the headliner to the bow.
- Before stapling the top cover, Refer to Folding Top Cover Tension Adjustment - Front .
- Reposition the folding top to the original position.
Notice: Use the correct fastener in the correct location. Replacement fasteners must be the correct part number for that application. Fasteners requiring replacement or fasteners requiring the use of thread locking compound or sealant are identified in the service procedure. Do not use paints, lubricants, or corrosion inhibitors on fasteners or fastener joint surfaces unless specified. These coatings affect fastener torque and joint clamping force and may damage the fastener. Use the correct tightening sequence and specifications when installing fasteners in order to avoid damage to parts and systems.
Tighten
Tighten the nuts to 14 N·m (10 lb ft).

Tighten
Tighten the screws to 2 N·m (18 lb in).


Tighten
Tighten headliner attaching screws to 2 N·m (18 lb in).
Folding Top Roof Bow Replacement Number 2 Bow
Removal Procedure
- Position the top with the #1 bow up.
- Remove the seal compression panel. Refer To Folding Top Seal Compression Panel Replacement .
- Using a grease pencil mark the location of the top cover where it wraps over the #1 bow to aid in installation.
- Using a pair of needle nose pliers remove the top cover staples from the #1 bow.
- Using a pair of needle nose pliers remove the headliner staples from the #1 bow
- Remove the tension cables screws from the #1 bow.
- Remove the headliner screws from the #1 bow.
- Remove the headliner push on retainers from the #1 bow.
- Fold the top cover back over the #2 bow.
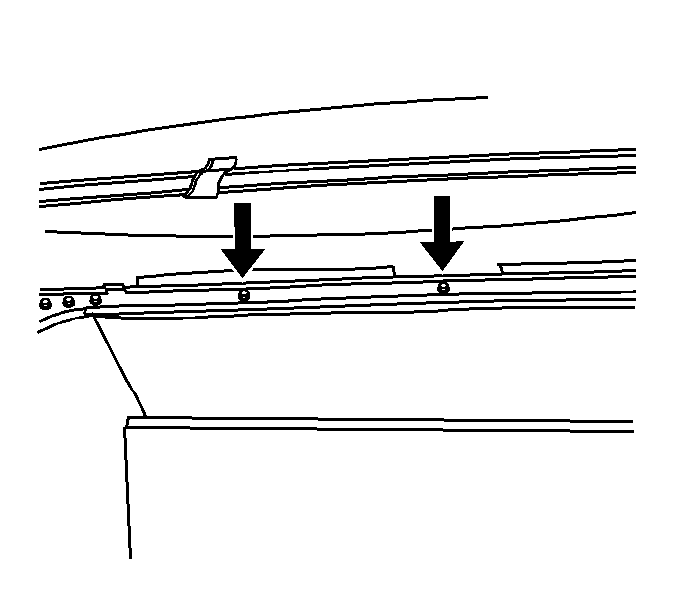
- Using a pair of needle nose pliers remove the stay pad staples from the #2 bow.
- Remove the headliner screws from the #2 bow.
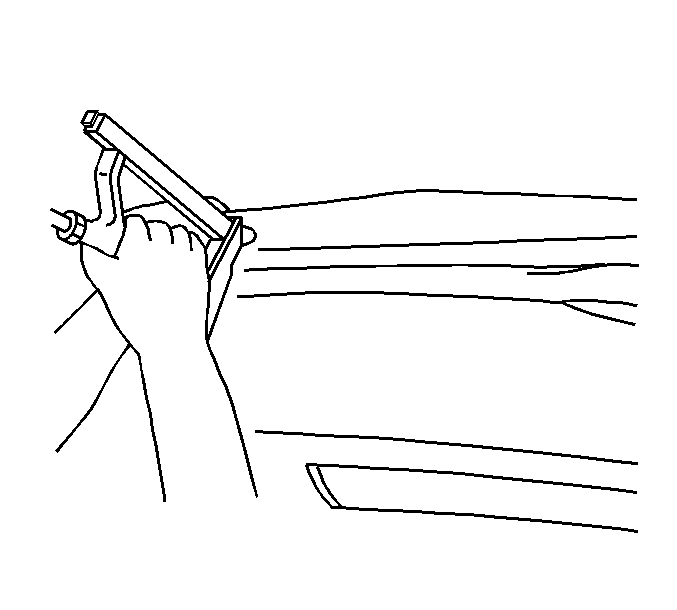
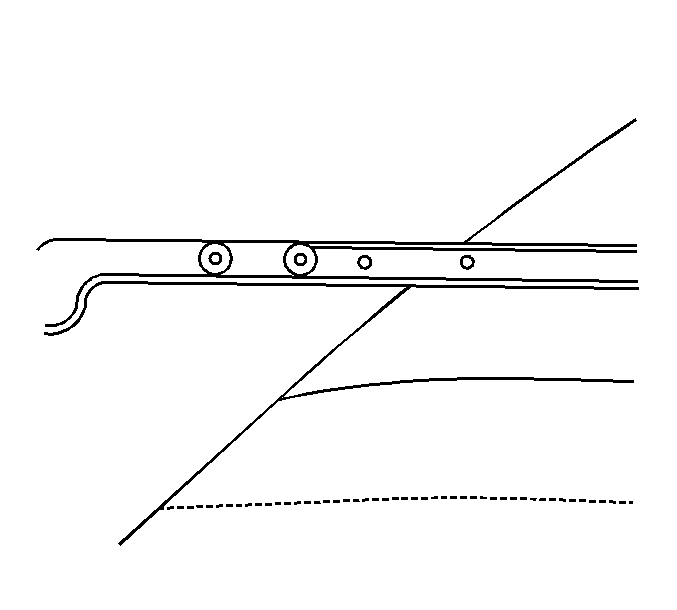
- Remove the #2 bow screws from the main control link bracket.
- Remove the #2 bow.


Installation Procedure
- Install the #2 bow to the main control link bracket.
- Install the #2 bow screws to the main control link bracket (2).
- Close and latch the convertible top.
- Staple the stay pad to the #2 bow.
- Open the convertible top and position the #1 and #5 bows up.
- Install the headliner screws to the #2 bow.
- Install the tension cable screws to the #1 bow.
- Attach the headliner push-on retainers to the #1 bow.
- Install the headliner screws to the #1 bow.
- Fold the top cover over the #1 bow and staple into place.
- Refer to Folding Top Cover Tension Adjustment - Front .
- Reposition the folding top to the original position.
Notice: Use the correct fastener in the correct location. Replacement fasteners must be the correct part number for that application. Fasteners requiring replacement or fasteners requiring the use of thread locking compound or sealant are identified in the service procedure. Do not use paints, lubricants, or corrosion inhibitors on fasteners or fastener joint surfaces unless specified. These coatings affect fastener torque and joint clamping force and may damage the fastener. Use the correct tightening sequence and specifications when installing fasteners in order to avoid damage to parts and systems.
Tighten
Tighten the screws to 13 N·m (10 lb in).


Tighten
Tighten the screws to 2 N·m (18 lb in).

Tighten
Tighten the screws to 2 N·m (18 lb in).


Tighten
Tighten the screws to 2 N·m (18 lb in).

Folding Top Roof Bow Replacement Number 3 Bow
Removal Procedure
Start at the front of the folding top and work your way rearward.
- Perform all steps necessary to remove the #2 bow. Refer to Folding Top Roof Bow Replacement .
- Remove the headliner screws from the #3 bow.
- Using a pair of needle nose pliers remove the stay pad staples from the #3 bow.
- Remove the #3 bow screws from the main control link bracket .
- Remove the headliner screws to the #3 bow.
- Remove the #3 bow.


Installation Procedure
- Install the #3 bow to the main control link bracket.
- Install the #3 bow screws to the main control link bracket (3).
- Staple the stay pad to the #3 bow (3).
- Install the headliner screws to the #3 bow.
- Refer to Folding Top Roof Bow Replacement .

Notice: Use the correct fastener in the correct location. Replacement fasteners must be the correct part number for that application. Fasteners requiring replacement or fasteners requiring the use of thread locking compound or sealant are identified in the service procedure. Do not use paints, lubricants, or corrosion inhibitors on fasteners or fastener joint surfaces unless specified. These coatings affect fastener torque and joint clamping force and may damage the fastener. Use the correct tightening sequence and specifications when installing fasteners in order to avoid damage to parts and systems.
Tighten
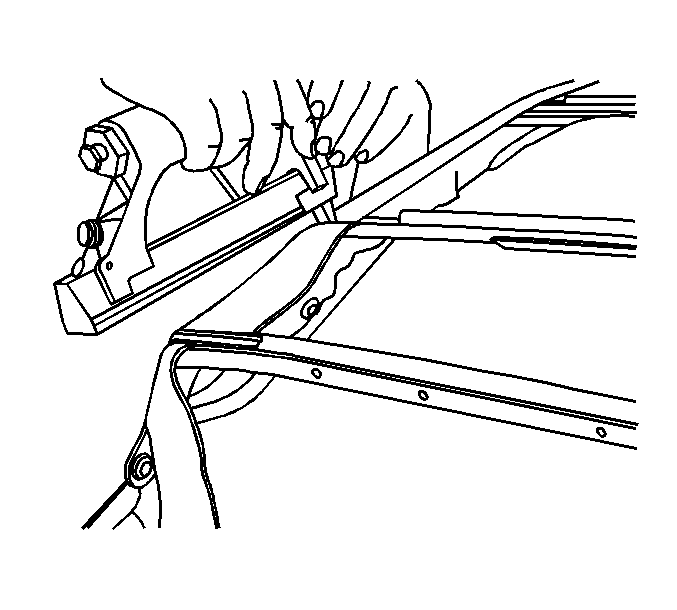
Tighten roof bow to the main control link bracket screws to 13 N·m
(10 lb ft).
Tighten
Tighten the headliner screws to 2 N·m (18 lb in).
Folding Top Roof Bow Replacement Number 4 Bow
Removal Procedure
- Remove the folding top and place the top on a clean flat surface. Refer to Folding Top Replacement
- Remove the #5 bow weatherstrip. Refer to Folding Top Weatherstrip Replacement .
- Drill out the top cover rivets to the bottom of the right and the left rear side rails.
- Pull the top cover from the bottom of the rear side rails and from the ends of the #5 bow.
- Using a grease pencil mark the position of the top cover along the edge where it wraps over the #5 bow to aid in installation.
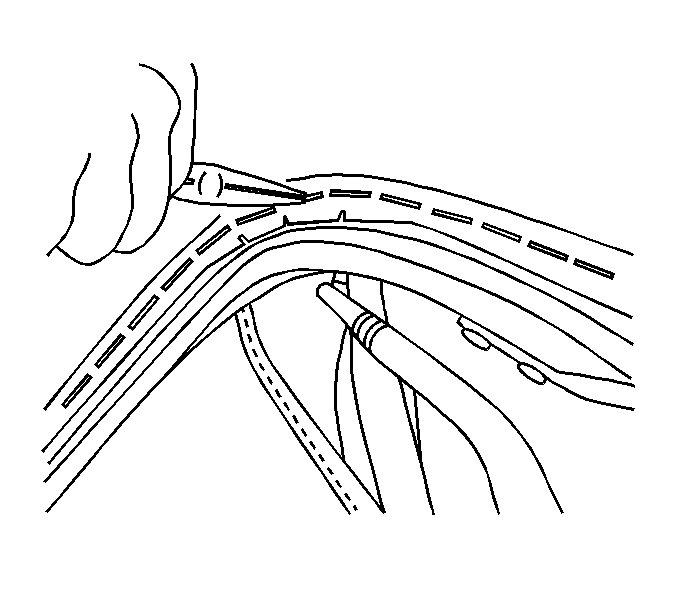
- Using a pair of needle nose pliers remove the top cover staples from the #5 bow.
- Fold the top cover forward over the #3 bow.
- Remove the headliner screws from the #4 bow.
- Using a pair of needle nose pliers remove the stay pad staples from the #4 bow.
- Turn the top over.
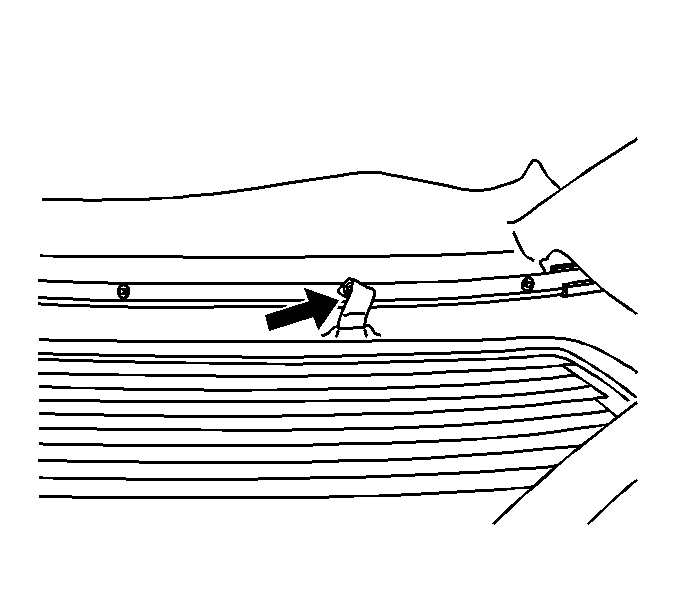
- Remove the glare cover elastic straps screws from the #5 bow.
- Remove the headliner elastic straps screws from the #5 bow.
- Remove the headliner elastic straps screws from the rear side rails.
- Remove the headliner screws from the rear side rails.
- Remove the rear window support elastic strap screws from the #4 bow.
- Remove the #4 bow screws from the main control link bracket.
- Remove the #4 bow.
Caution: Wear safety glasses in order to avoid eye damage.



Installation Procedure
- Install the #4 bow to the main control link bracket.
- Install the #4 bow screws to the main control link bracket.
- Position the top right side up and in a fully raised position.
- Staple the stay pad to the #4 bow.
- Install the headliner screws to the #4 bow.
- Turn the top over.
- Install the rear window support elastic strap screws to the #4 bow.
- Install the headliner elastic strap screws to the #5 bow
- Install the headliner screws to the rear side rails.
- Install the glare cover end screws to the #5 bow.
- Before stapling the top cover to the #5 bow, Refer to Folding Top Cover Tension Adjustment - Rear .
- Install the folding top. Refer to Folding Top Replacement .
- Reposition the folding top to the original position.
Notice: Use the correct fastener in the correct location. Replacement fasteners must be the correct part number for that application. Fasteners requiring replacement or fasteners requiring the use of thread locking compound or sealant are identified in the service procedure. Do not use paints, lubricants, or corrosion inhibitors on fasteners or fastener joint surfaces unless specified. These coatings affect fastener torque and joint clamping force and may damage the fastener. Use the correct tightening sequence and specifications when installing fasteners in order to avoid damage to parts and systems.
Tighten
Tighten the screws to 13 N·m (10 lb ft).

Tighten
Tighten the screws to 2 N·m (18 lb in).

Tighten
Tighten the screws to 2 N·m 18 lb in).
Tighten
Tighten the screws to 2 N·m (18 lb in).
Tighten
Tighten the screws to 2 N·m (18 lb in).
Tighten
Tighten the screws to 2 N·m (18 lb in).
Folding Top Roof Bow Replacement Number 5 Bow
Removal Procedure
- Remove the folding top and place the top on a clean flat surface. Refer to Folding Top Replacement .
- Remove the #5 bow weatherstrip. Refer to Folding Top Weatherstrip Replacement .
- Remove the rear side rail seal and retainer. Refer to Folding Top Weatherstrip Retainer Replacement .
- Drill out the top cover flap rivets from the rear side rails.
- Pull the top material from the rear side rails.
- Drill out the elastic strap rivets from the #5 bow.
- Drill out the top cover rivets from the bottom of the rear side rails.
- Pull the top cover from the bottom of the rear side rail and from the front of the #5 bow (5).
- Using a grease pencil mark the position of the top cover along the edge where it wraps over the #5 bow to aid in installation.
- Using a pair of needle nose pliers remove the top cover staples from the #5 bow.
- Mark the edge of the stay pad where it wraps over the #5 bow to aid in installation.
- Using a pair of needle nose pliers remove the stay pad staples from the #5 bow.
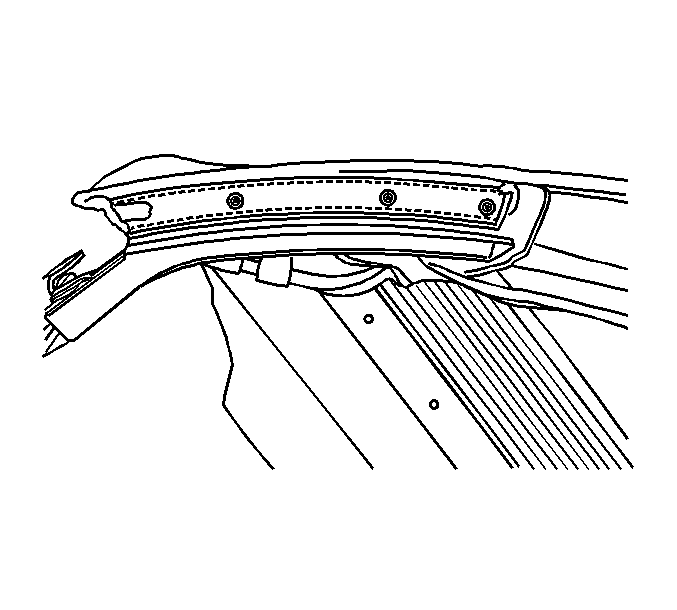
- Remove the glare cover screws from the #5 bow.
- Drill out the glare cover rivets to the 5 bow.
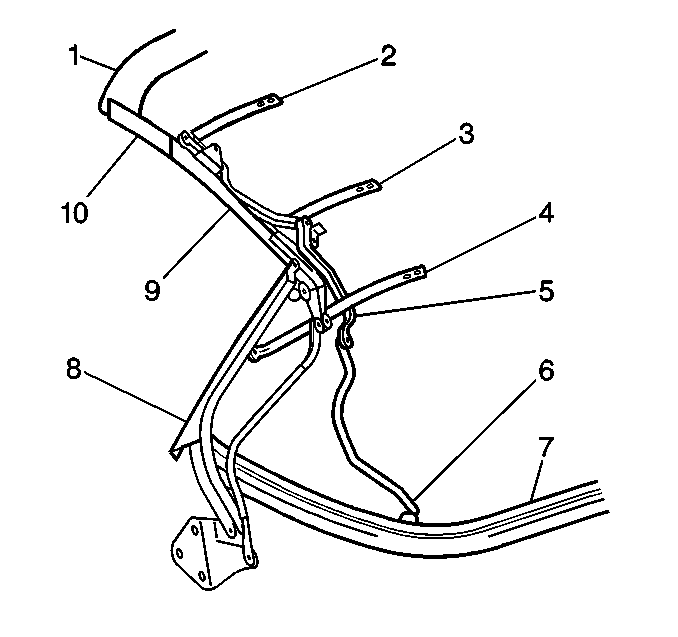
- Remove the right and left main control link rod end screws (6) from the # 5 bow (7).
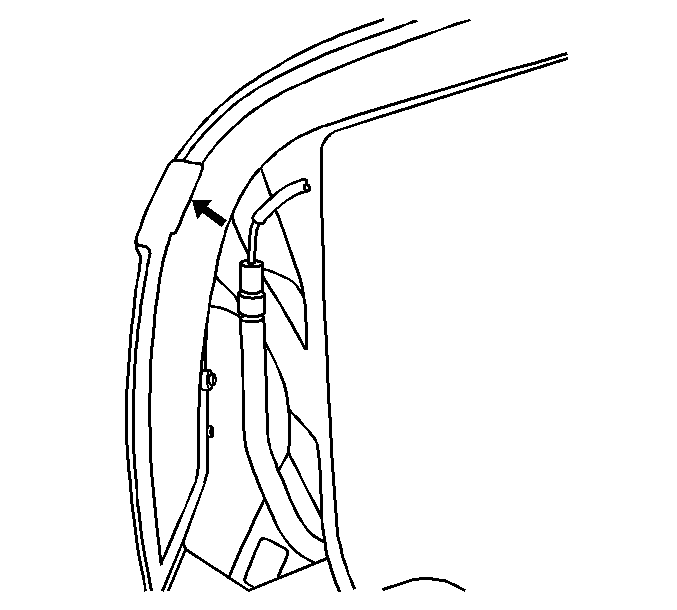
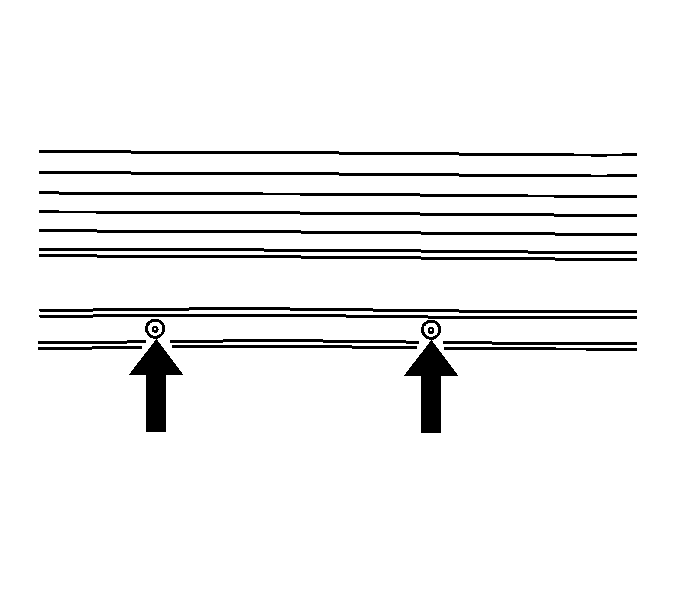
- Remove the protector from the right and left outer ends of the #5 bow and the bottom of the rear side rails to expose the rivet.
- Drill out the right and the left rear side rail extension brackets rivets from the 5 bow.
- Remove the rear side rail extension bracket screws from the 5 bow.
- Remove the 5 bow.
Caution: Wear safety glasses in order to avoid eye damage.



Installation Procedure
- Install the # 5 bow.
- Install the screws attaching the rear side rail (8) extension brackets to the #5 bow (7).
- Install the right and left main control link rod end screws (6) to the #5 bow (7).
- Install the rear side rail bracket rivets to the 5 bow (5).
- Make sure both sides of the rivet are flat.
- Install the glare cover rivets to the #5 bow.
- Install the glare cover screws to the # 5 bow.
- Staple the stay pad to the #5 bow.
- Install the top cover rivets to the bottom of the rear side rail.
- Install the #5 bow protector elastic strap rivets to the rear side rails.
- Fold the top flap over the rear side rail and rivet the top flap to the rail.
- Install the rear side rail seal retainer and the seal. Refer to Folding Top Weatherstrip Retainer Replacement .
- Install the folding top. Refer to Folding Top Replacement .
- Reposition the folding top to the original position.

Notice: Use the correct fastener in the correct location. Replacement fasteners must be the correct part number for that application. Fasteners requiring replacement or fasteners requiring the use of thread locking compound or sealant are identified in the service procedure. Do not use paints, lubricants, or corrosion inhibitors on fasteners or fastener joint surfaces unless specified. These coatings affect fastener torque and joint clamping force and may damage the fastener. Use the correct tightening sequence and specifications when installing fasteners in order to avoid damage to parts and systems.
Tighten
Tighten the rear side rail to the # 5 bow bracket screws to 4 N·m
(35 lb in).
Tighten
Tighten the main control link rod end screws to #5 bow to 15 N·m
(11 lb ft).


Tighten
Tighten the screws to 2 N·m (18 lb in).

Make sure both sides of the rivets are flat.
