For 1990-2009 cars only
Removal Procedure
- Roll the window half way up and tape into place.
- Remove the door trim panel. Refer to Rear Side Door Trim Panel Replacement .
- Remove the water deflector. Refer to Rear Side Door Water Deflector Replacement .
- Remove the inner belt sealing strip. Refer to Rear Door Window Belt Inner Sealing Strip Replacement .
- Remove the outer belt sealing strip. Refer to Rear Door Window Belt Outer Sealing Strip Replacement .
- Remove the door window weatherstrip. Refer to Rear Side Door Window Weatherstrip Replacement .
- Remove the door vent window and division channel. Refer to Rear Side Door Stationary Window and Front Channel Replacement .
- Remove the tape from door window.
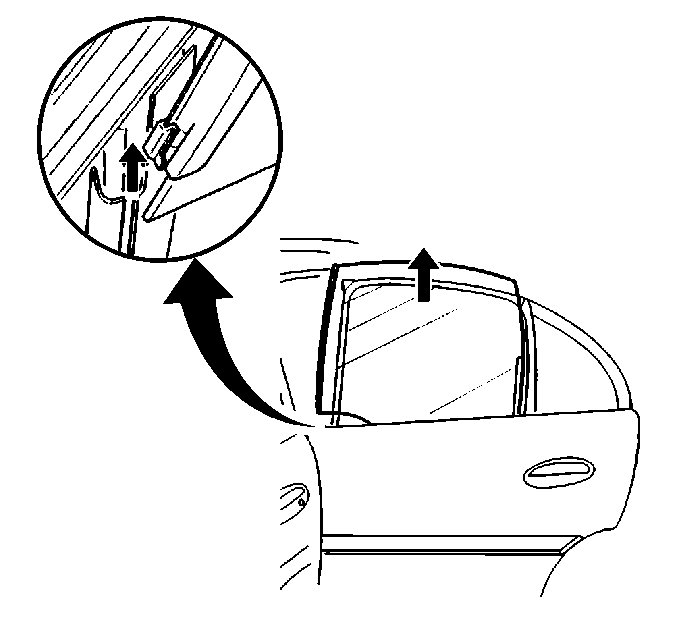
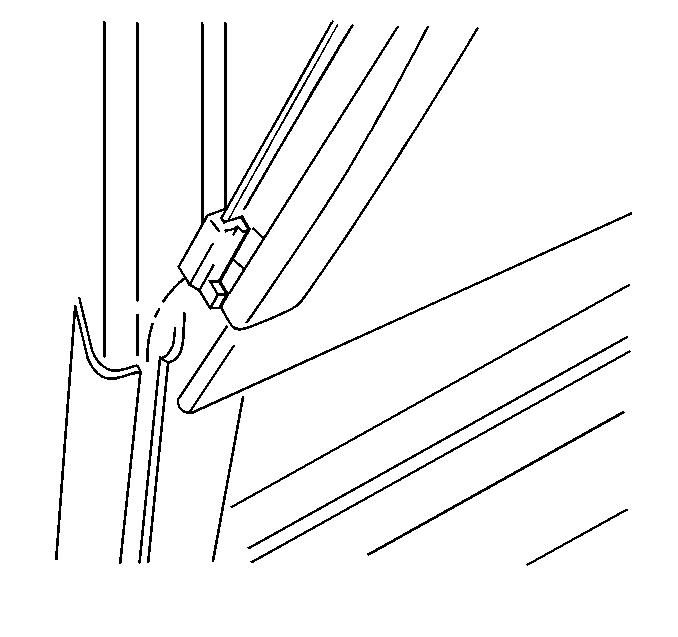
- Remove the door window from the door.
Caution: Approved safety glasses and gloves should be worn when performing this procedure to reduce the chance of personal injury.
Caution: Disconnect the power window switch when working inside the driver door. When operated, the Express Up/Down Feature allows the door window to move very quickly, without stopping, which could cause personal injury.

Installation Procedure
- Install the door window to the door.
- Tape the door window into place.
- Install the door vent window division channel. Refer to Rear Side Door Stationary Window and Front Channel Replacement .
- Install the door window weatherstrip. Refer to Rear Side Door Window Weatherstrip Replacement .
- Install the outer belt sealing strip. Refer to Rear Door Window Belt Outer Sealing Strip Replacement .
- Install the inner belt sealing strip. Refer to Rear Door Window Belt Inner Sealing Strip Replacement .
- Install the water deflector. Refer to Rear Side Door Water Deflector Replacement .
- Install the door trim panel. Refer to Rear Side Door Trim Panel Replacement .
- Remove the tape from the window.

