This section includes basic information that you need to know about the map database.
Regional and Interstate Maps
The maps are stored on 1 DVD for the United States and Canada.
To load the map DVD, do the following:
- Turn the ignition to ON.
- Insert the DVD, label side up, partway into the DVD ROM player located above the Navigation System screen.
Load only one DVD at a time.
It will take approximately 20 seconds to initialize the DVD data.
If you experience a problem with the DVD, check the following:
| • | Did you insert the DVD label side up? |
| • | Are you using only one DVD? |
Once the DVD is loaded correctly, you will see the following choices on the Navi System Startup screen:
| • | Select a language (the default language is English) |
| • | Agree |
You can change the language from English to Spanish or French, or you can select Agree to go to the navigation screen. See Setup Menu for more information. The map will appear with your current vehicle position on the map.
If your current vehicle position is incorrect on the map, see "Veh (Vehicle) Position" under Setup Menu . See "Plan a Route" in Navigation Menu for more information on planning routes.
Map Database
The map database shows the current map contained in the player and the current vehicle location on the map.
Map Adjustments
The system allows you to adjust the scale of view on the map. Also, the map will scroll automatically based on the direction you are traveling.
To view a larger or smaller scale of the map, press the multi-function button next to the Zoom In or Zoom Out prompts at the right of the screen. See "Zoom In/Out" listed previously in this section for more information on these prompts.
Map Scales
The scale of a map can range from 1/64 of a mile (25 km) to 80 miles (128 km).
This section includes basic information that you need to know about the map database.
Regional Maps
The maps are stored on a DVD (Digital Video Disc). The United States (excluding Alaska and Hawaii) and portions of Canada are contained in one disc.
If a regional map does not contain a specific name of a city, the map DVD may not contain the city or it may be misspelled.
Refer to the Navigation System Map Disc manual to view a detailed explanation of map coverage and detailed city lists in each region. This manual will be in your map DVD case when the vehicle is delivered from the factory.
Installing the Map DVD
When your vehicle is delivered from the factory, the dealer may have installed the map DVD. If the map DVD was not installed in your vehicle when first purchased, use the following directions to load the map DVD:
Read the following steps completely before operating this feature.
- Turn the ignition to ON or ACCESSORY.
- With the vehicle in PARK (P), press and hold the TILT hard key until a beep is heard. The faceplate of the system will open.
- If already loaded, the map DVD or a CD will eject from the slot which is only visible when the faceplate is open.
- Load the map DVD into the slot by inserting it partially until the system pulls it in.
- Press and release the TILT hard key to close the faceplate.
Notice: Shifting out of P (Park) with the system's faceplate open will cause the faceplate to close automatically. This could cause damage to a CD, DVD or the system if it is partially loaded. Before shifting out of P (Park), make sure that the DVD or CD is loaded properly. The vehicle must be shifted back into P (Park) to close the faceplate.
Once the map DVD is inserted correctly or when you press the map hard key, you will have the following two choices:
| • | LANGUAGE (Language Symbol) |
| • | I AGREE |
You can change the language to one of the five that are available by touching the language symbol or you can touch "I AGREE." See Setup Menu for more information. Once a language is selected, touch I AGREE to plan a route. The map will appear with your current vehicle position on the map.
Setting the Search Area
Use the following directions to determine and change the system's search area.
- Press the ROUTE hard key to view the PLAN ROUTE screen.
- Touch the ENTER DESTINATION button.
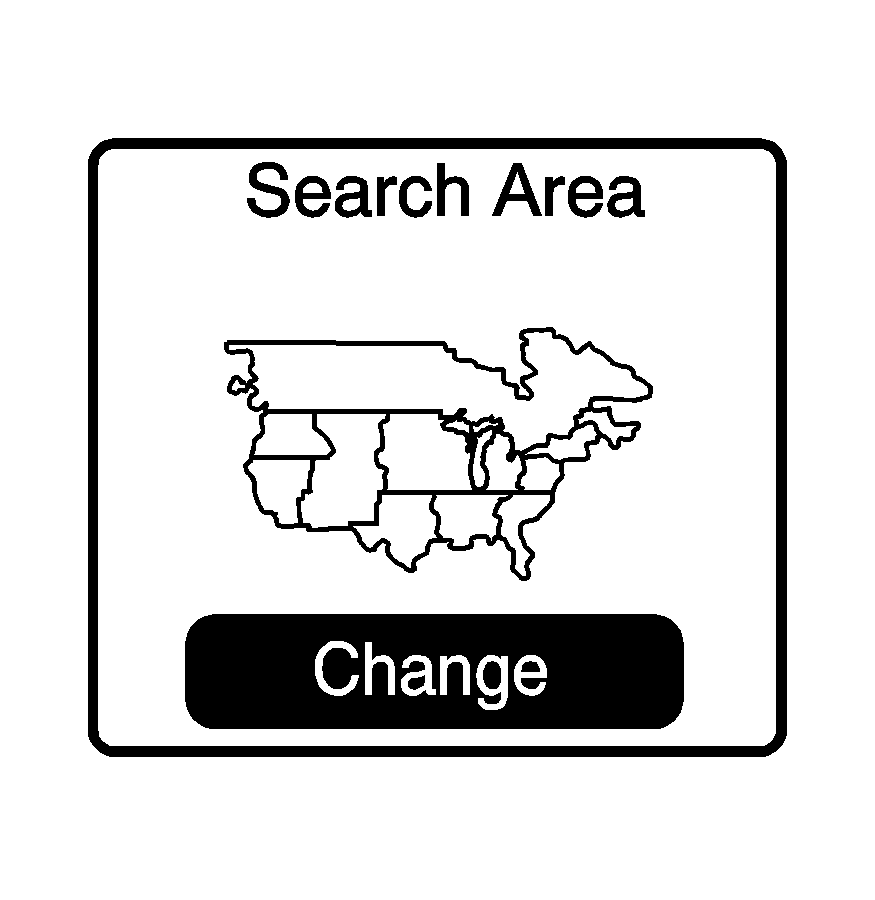
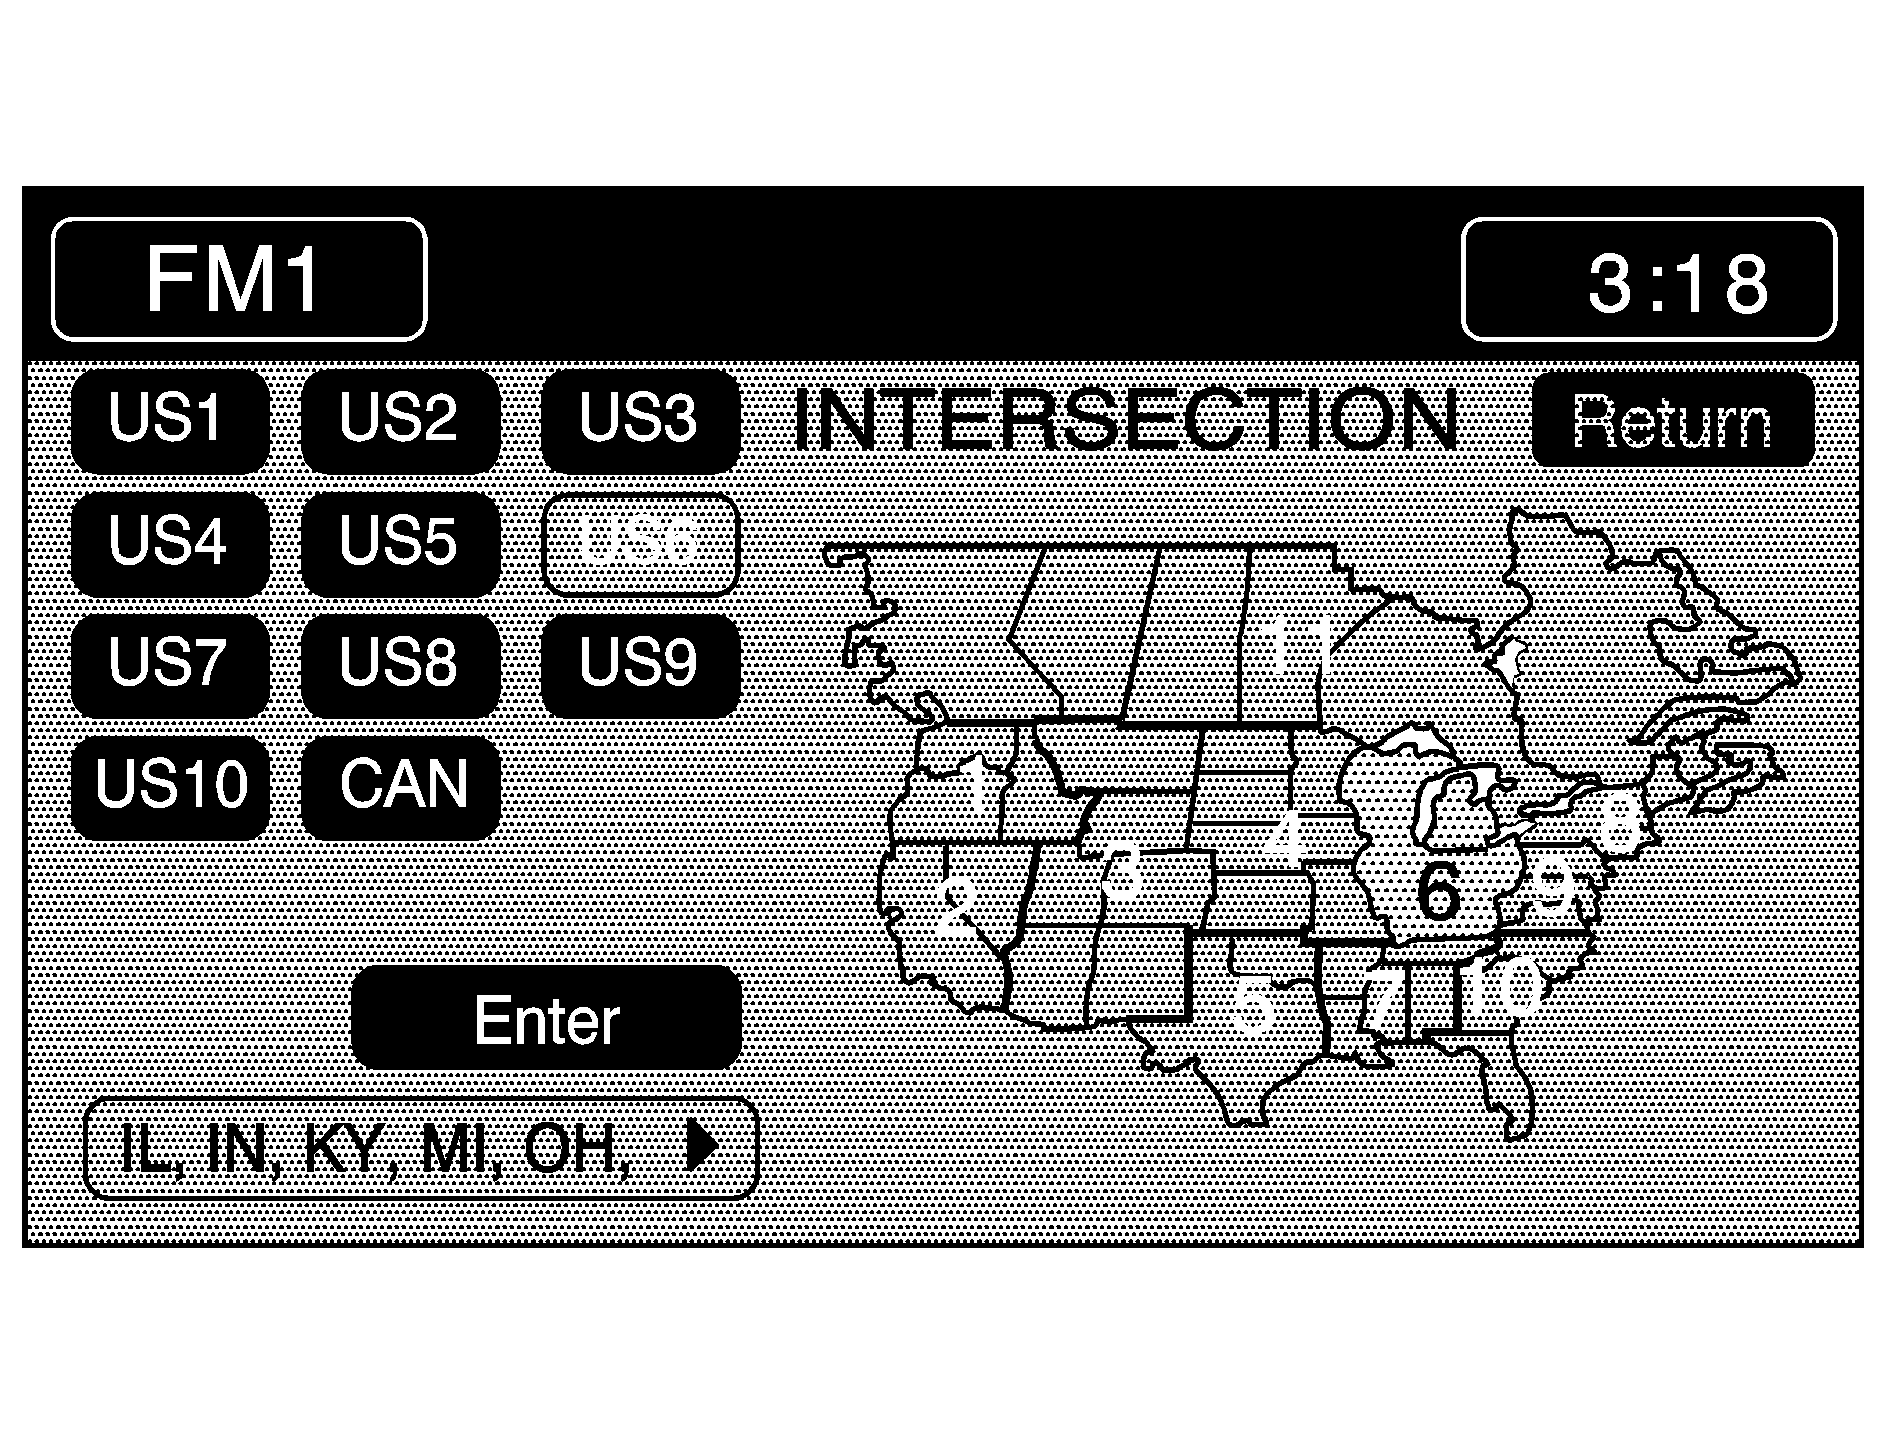
- Touch the CHANGE button under the Search Area heading. The system will display a map with each region represented.
- Select the desired region by touching the appropriate button (US1, US2, CAN, etc.). The name of the states or the country included on the selected region are displayed at the bottom of the screen and the area displayed on the map image is highlighted.
- Touch ENTER to set the region chosen as the system's search area.
- Touch RETURN to go back to the destination screen.
Map Adjustments
The system allows you to adjust the scale of view on the map. Also, as you drive, the map will scroll automatically based on the direction you are traveling.
Map Scales
To view a larger or smaller scale of the map, touch the map scale arrows.

You can change the level of map detail by either zooming in or zooming out using the arrow buttons or by touching the scale on the bar. The system will adjust the map accordingly. The scale of a map can range from 1/32 of a mile (0.05 km) to 128 miles (256 km).
Scrolling the Map

Touch anywhere on the map screen twice and the scroll symbol will appear. Use this feature to scroll through the map.
You can hold your finger in any direction outside of the scroll symbol and the map will continue to scroll in that direction until you remove your finger from the map screen.
If scrolling while your vehicle is in PARK (P), the system will scroll initially at a slower rate. It will increase if you continue touching the map screen.
If scrolling while your vehicle is in motion, you have one scroll speed and a limited distance to scroll. You have to keep touching the map screen to scroll for a longer distance.
If you have used the scroll feature to scroll the map and your vehicle icon becomes lost, press the MAP hard key to return to the current vehicle location on the map.
You can use the scroll feature on the map to set a destination. See Easy Planning Route .
Hard Keys, Touch-Sensitive Buttons and Symbols Used
This system operates by the hard keys on the outside of the Navigation System and the touch-sensitive buttons on the screen.
Hard Keys
The following hard keys are located on the outside of the navigation screen:
PWR (Power): Press this knob lightly to turn the system on or off.VOL (Volume): Turn the knob clockwise or counterclockwise to increase or decrease the volume. While the audio system is on, you will hear the audio system even if you are using a menu screen. The volume will be decreased and faded to the rear speakers whenever a voice prompt message from the navigation system is active. The volume will be muted while using OnStar® or while on a call with the factory-installed cellular phone.
TUNE SEEK : Press the up or down arrow to seek to the next or previous station when listening to the radio. While using the CD player, optional CD changer or the DVD player, the arrows can be used to advance or reverse tracks and chapters. See Navigation Audio System , Six-Disc CD Changer and CD/DVD Player for more information.
BAND: Press this hard key to change the selected audio source (AM, FM 1/2, XM 1/2 if equipped, WX). If you are in a map mode and press this hard key, the audio source preset menu will not change but the audio source will. See Navigation Audio System for more information.
CD: Press this hard key to display the CD changer or the CD player menus. This button is not available if a CD is not loaded in the CD changer or in the CD player. See Navigation Audio System for more information.
DVD: Press this hard key to display the DVD player menu when a DVD is installed. See Navigation Audio System for more information.
(Audio Adjust): Press this hard key to display the audio system's main menu. See Navigation Audio System for more information.
REPEAT: Press this hard key to repeat the last voice prompt heard while on a planned route. See Map and Repeat for more information.
MAP: Press this hard key to go to the map screen.
ROUTE: Press this hard key to display the plan route menu. See Plan Route for more information.
SETUP: Press this hard key to display the Navigation System's setup menu. See Setup Menu for more information.
TILT : Press this hard key to open the Navigation System's faceplate for loading or removing the map DVD, a video DVD, or an audio CD. This hard key can only be used when the vehicle is in PARK (P). See Maps and/or Navigation Audio System for more information.
Alphabet Touch Screen
The alphabet touch screen(s) will automatically be available whenever the system needs information from you.
To make your name selections easier, the system will allow you to only select the characters that are currently available. The system will automatically show the available and unavailable characters.
If you touch a wrong character, use the left arrow to back up.
There are two pages of available symbols/characters to select from in the alphabet key pad. If the name you are trying to enter contains a number, punctuation mark, hyphen, accent mark or other symbol then touch the CHAR button to display the available symbols and numbers. Touch the A-Z button to return to displaying the alphabet keys.
The space icon is available on both alphabet key pad pages to enter a space.
If you are unsuccessful when inputting a name, the name may need to be selected slightly differently or the map DVD (database) may not contain this information. See Database Coverage Explanations .
Touch-Sensitive Buttons
Touch-sensitive buttons are located on the screen. When you touch a button on the screen, a beep will be heard. If you touch a button on the screen and it does not beep, move your finger away from the screen and then try again. These buttons will be lighted when a feature is available (active) and dim when they are unavailable (not active). There are some toggle touch-sensitive buttons that will be light blue when on and dark blue when off.
The following buttons are the most common buttons that will appear on the map screen.

This button will appear on the map screen after you have entered your selected route.
This button will appear on the map screen after inputting a destination using the Easy Planning Route or when you touch the map screen without a planned route.
You can select this button to store a location as a memory point. See Easy Planning Route .

This button will appear on the map screen under the ROUTE SETTING heading after inputting a destination.
After touching this CHANGE button, the system will take you to the ROUTE SETTING screen where you can change your planning options. See Easy Planning Route .
This button will appear on the map view screen after route planning has been completed.
When you touch the START button, the system will start providing you with route guidance and return to your guidance method. See Easy Planning Route .

This button allows you to turn off the POI (Point of Interest) category icons.
When you touch POI Off, the system will remove the POI category icons from the map. See "Removing Quick POI Icons" under Setup Menu for more information.
This button allows you to turn on the POI (Point of Interest) category icons and make them available to appear on the map screen. See Setup Menu .
This button allows you to enter a waypoint from the map screen when using the Easy Planning Route. See Easy Planning Route .
This button will appear on the map view screen while on a planned route. It allows you to minimize or maximize your view of the guidance screen.
Touch this button again to return to the normal view of the guidance screen. See Setup Menu .

While on a planned route, press this button to display the DEST MAP, WHOLE and TURN LIST buttons on the map screen.
These buttons can be used as follows:
Dest (Destination) Map
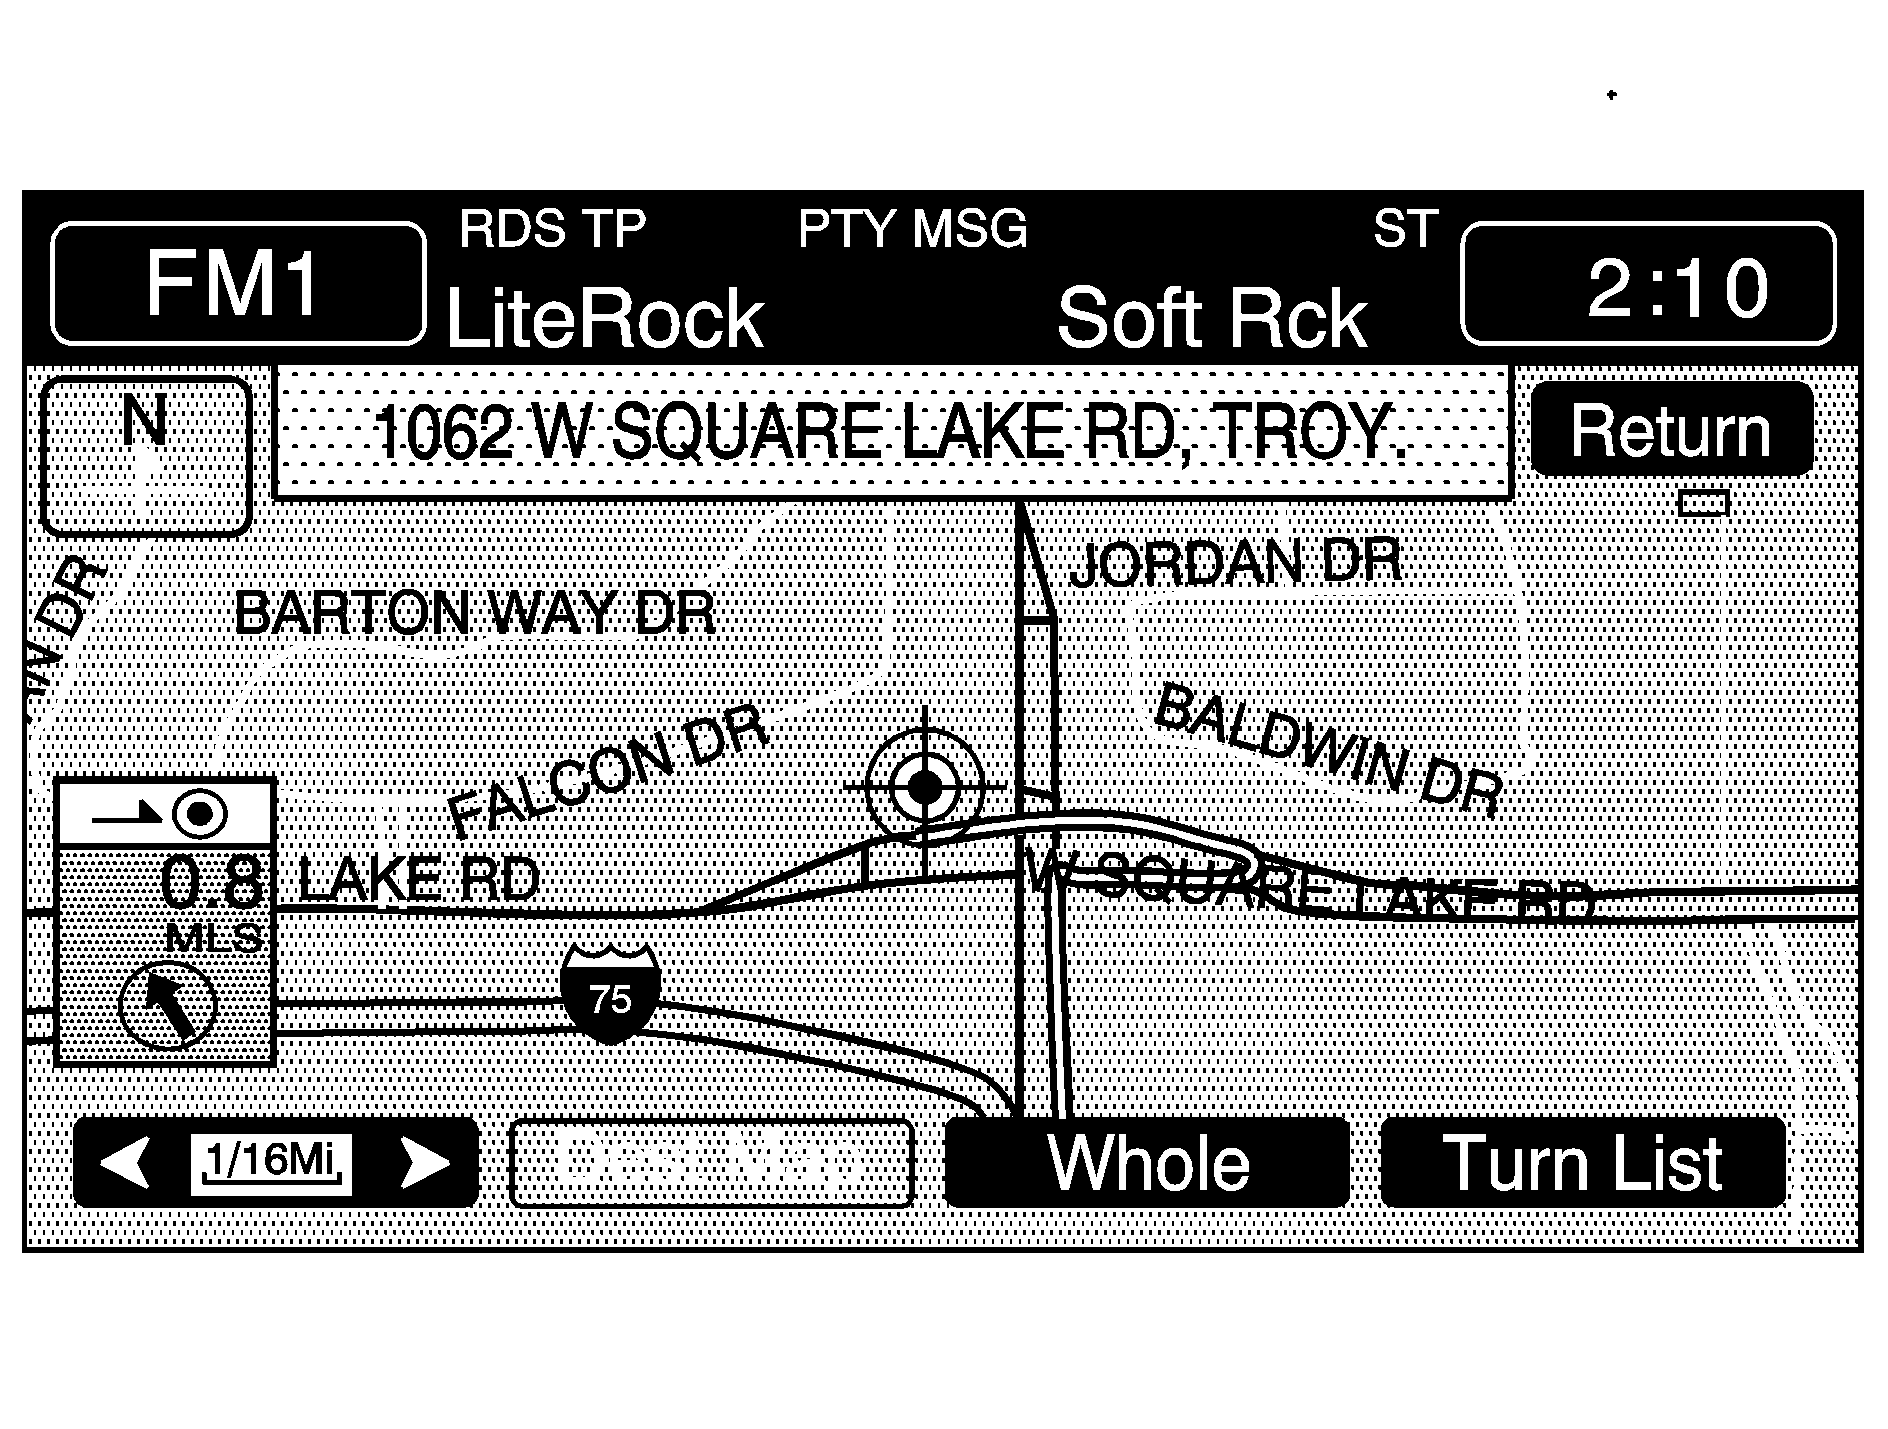
DEST (Destination) MAP: This button will allow you to view the final destination location. The destination name or address will be displayed on the map screen. Touch the RETURN button when finished.
Whole Route
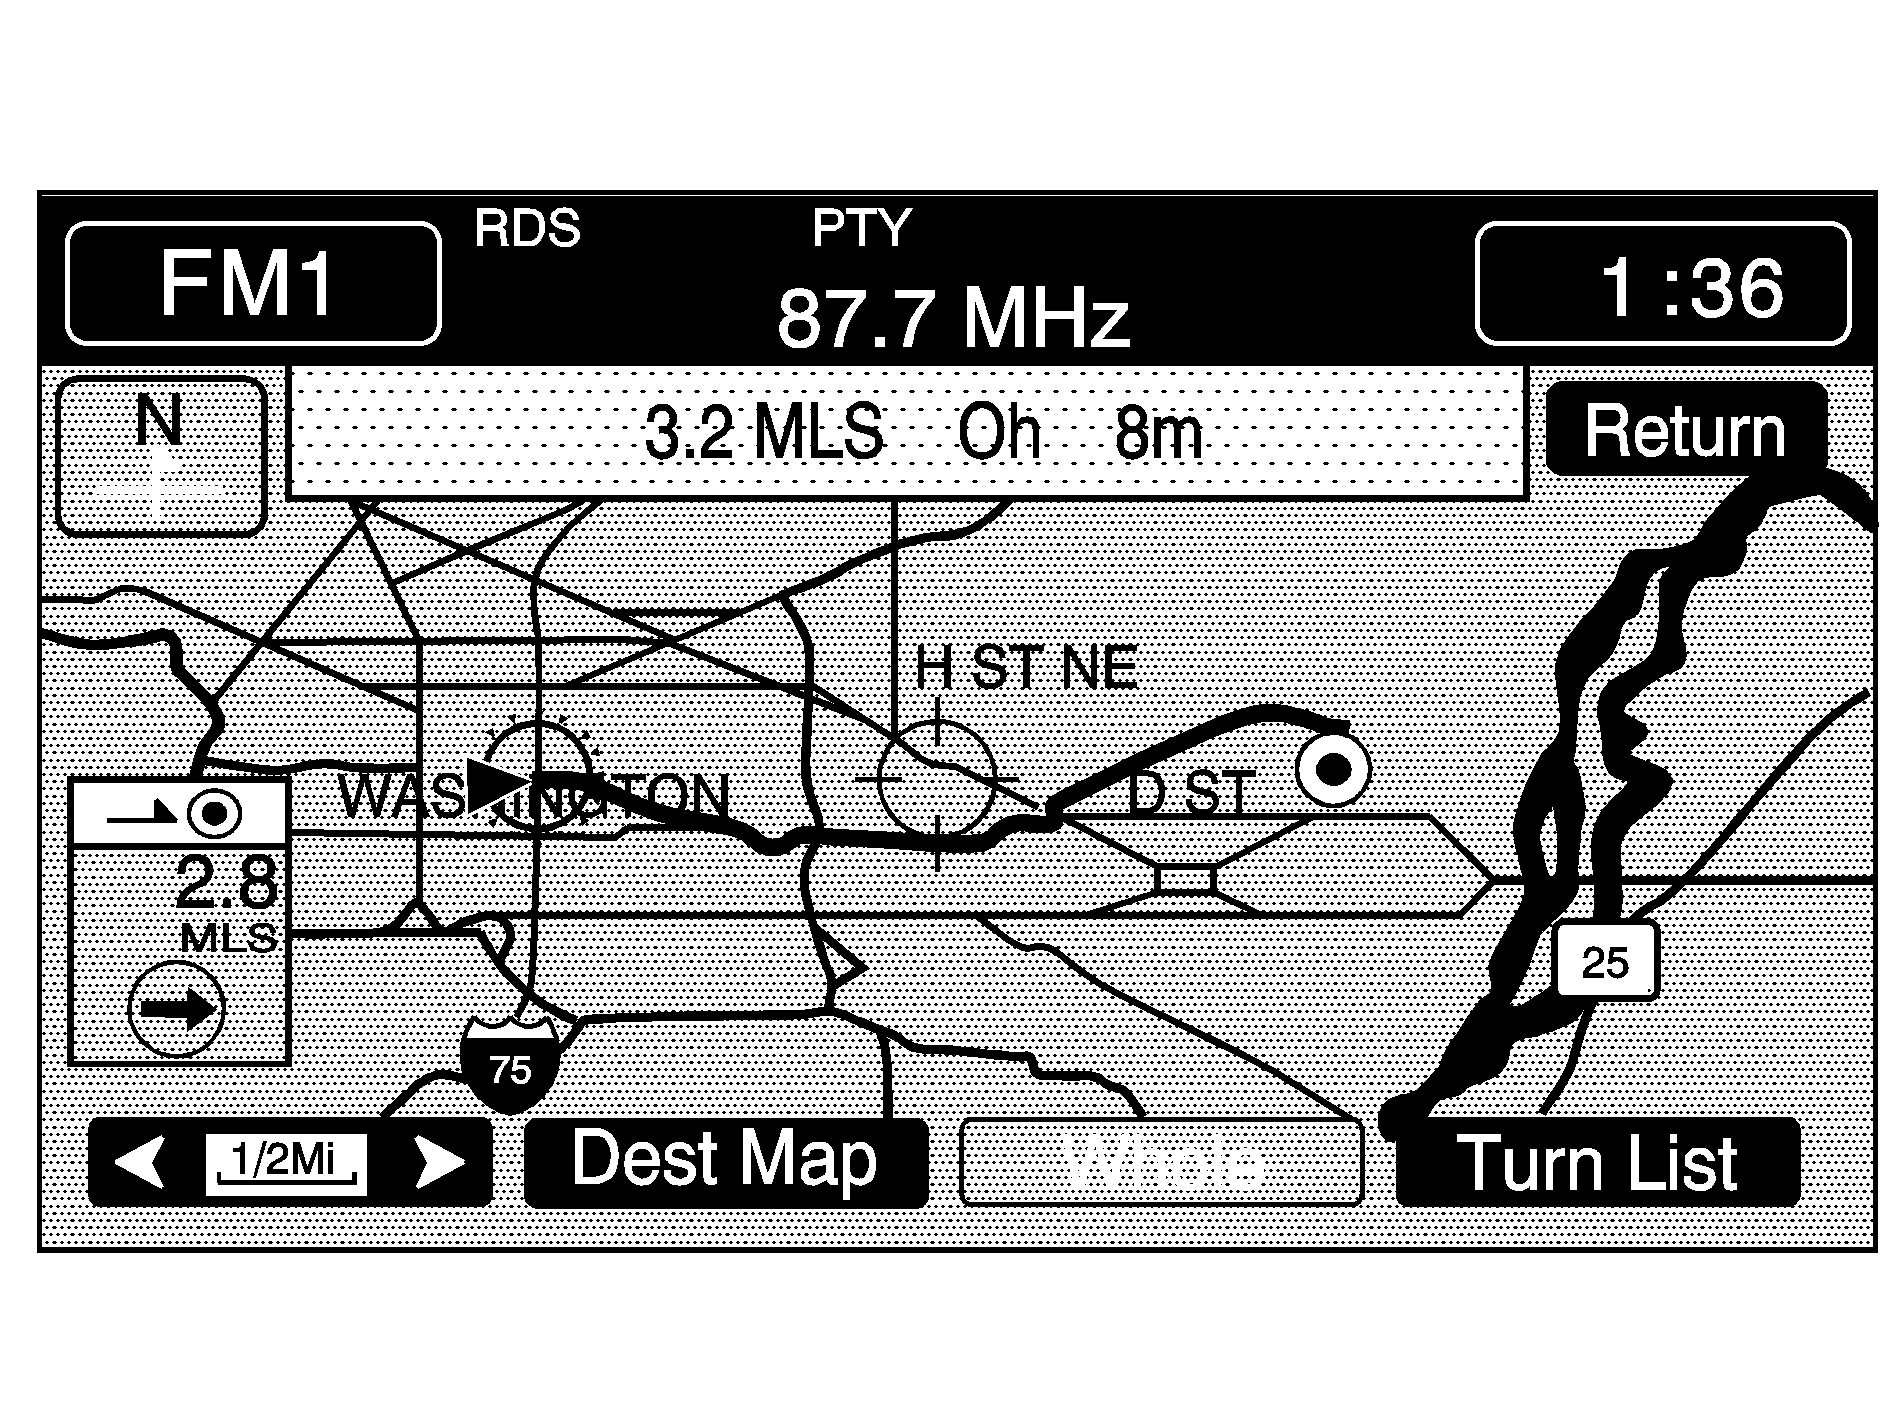
WHOLE: This button will allow you to view the entire planned route. The distance and miles to destination will be displayed on the map screen. Touch the RETURN button when finished.
Turn List
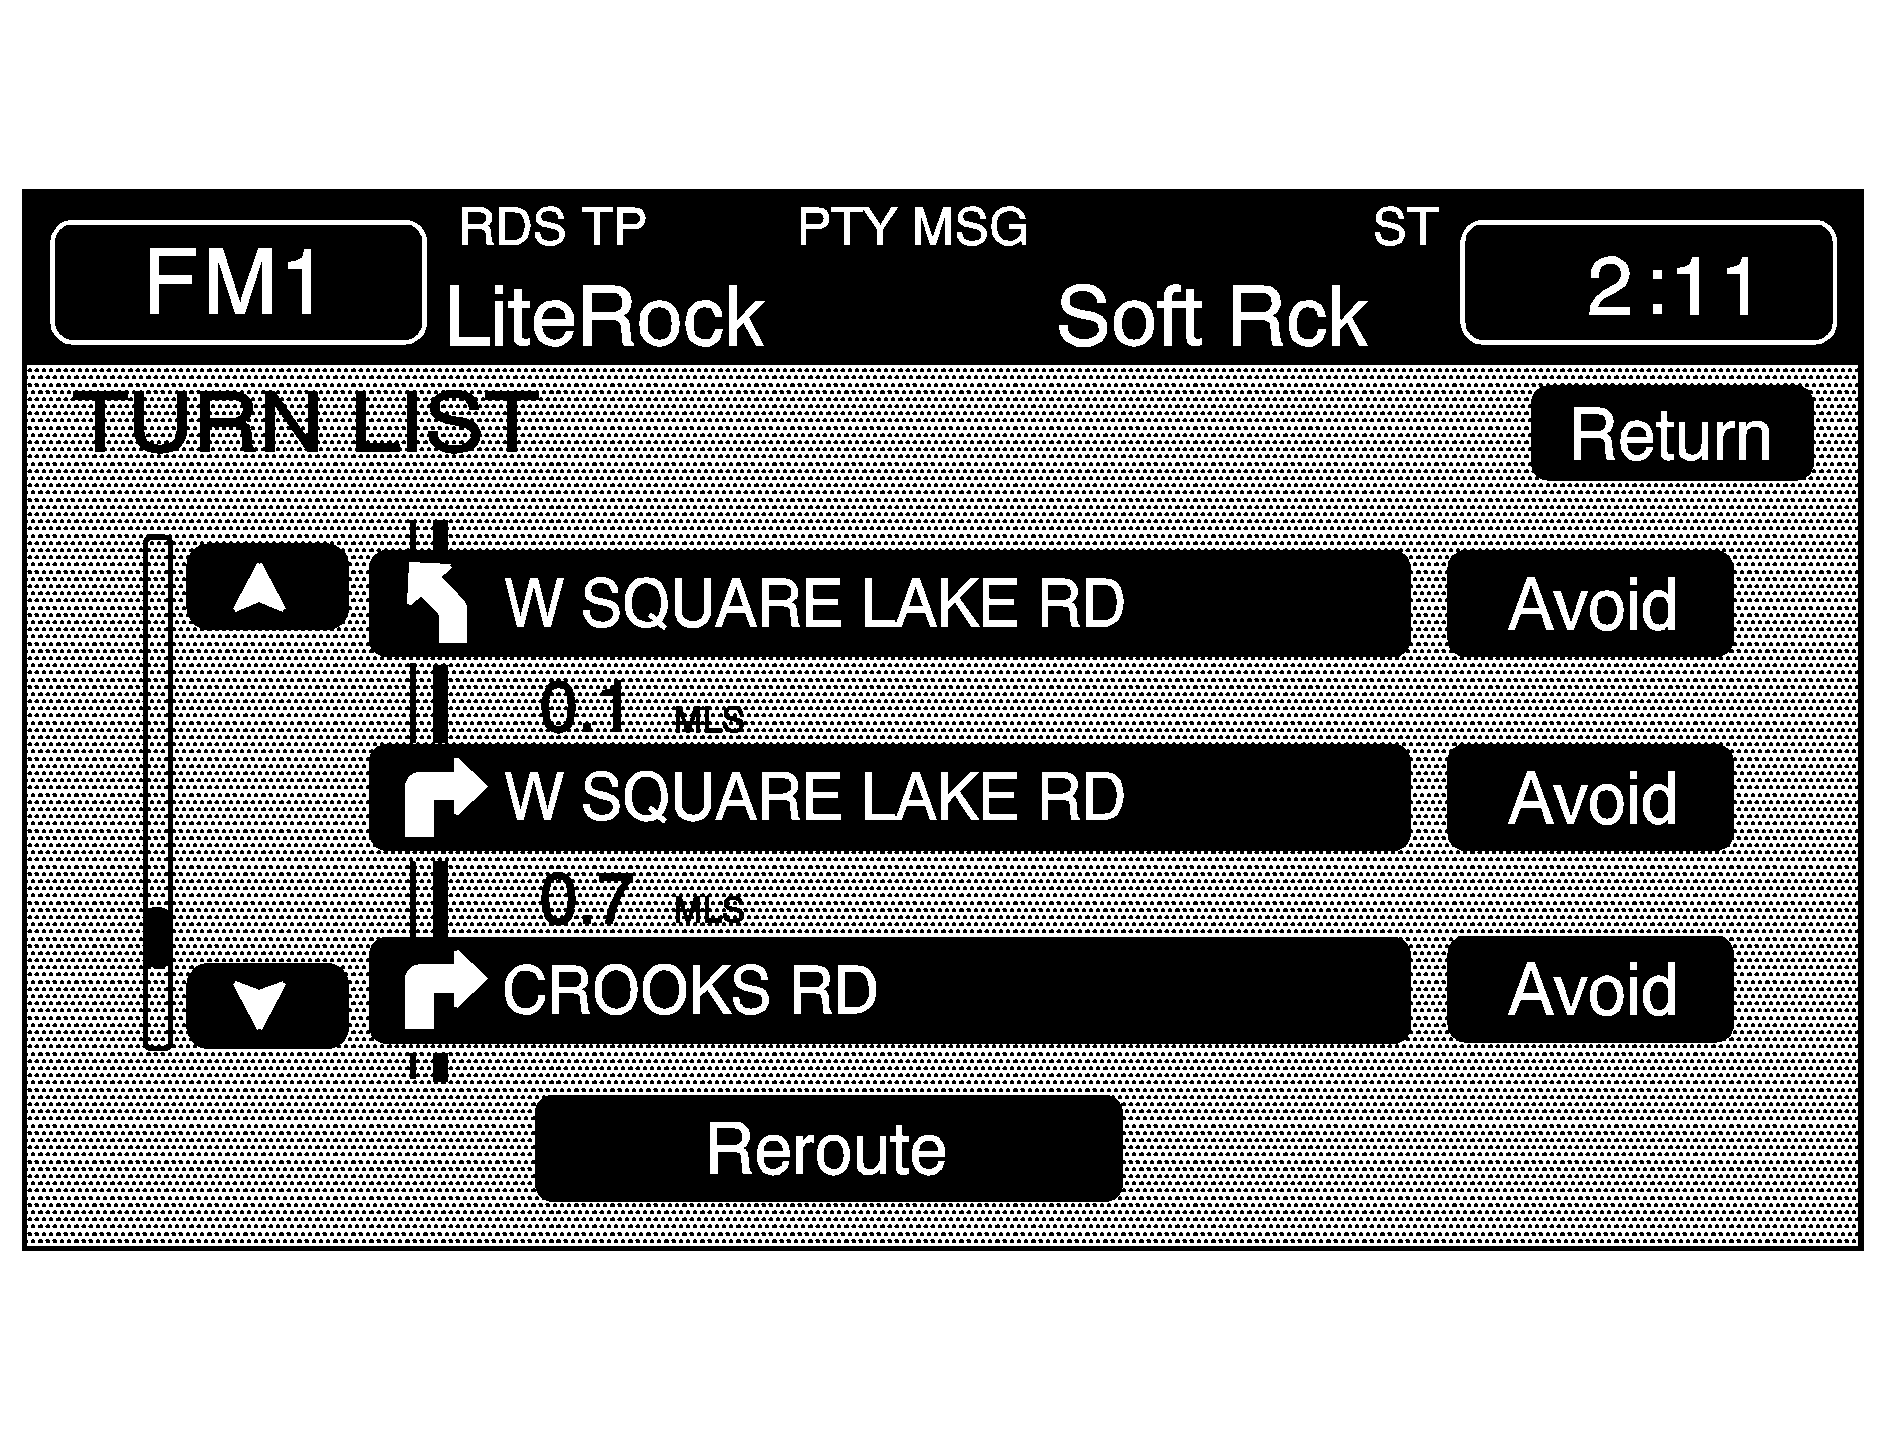
TURN LIST: This button will allow you to view a step-by-step listing of upcoming street names, the distance that you will travel on the road and turns you will need to make during your planned route.
After touching the TURN LIST button, the system may take some time to create the turn list. The length of time will vary on the length of your route and the planning methods that you have selected.
The list reads from bottom to top. The bottom street name is the street you are currently on. The system automatically updates this screen as you make each turn. You are also able to touch the scroll up and down arrow buttons providing scroll is available. Touching the down arrow button brings you to your current location. Touching the up arrow button will give you upcoming streets. At times, there may not be names available for entrance or exit ramps.
To avoid a turn, touch the AVOID button for the turn you wish to avoid. You can now use REDUCE or ENLARGE to edit the avoided point. Touch Reroute or press the map hard key to start calculating your new route.
To view your current position and to turn the list screen off, touch the RETURN button.
To plan a new route touch REROUTE or press the MAP hard key to start calculating your new route.
