For 1990-2009 cars only
Removal Procedure
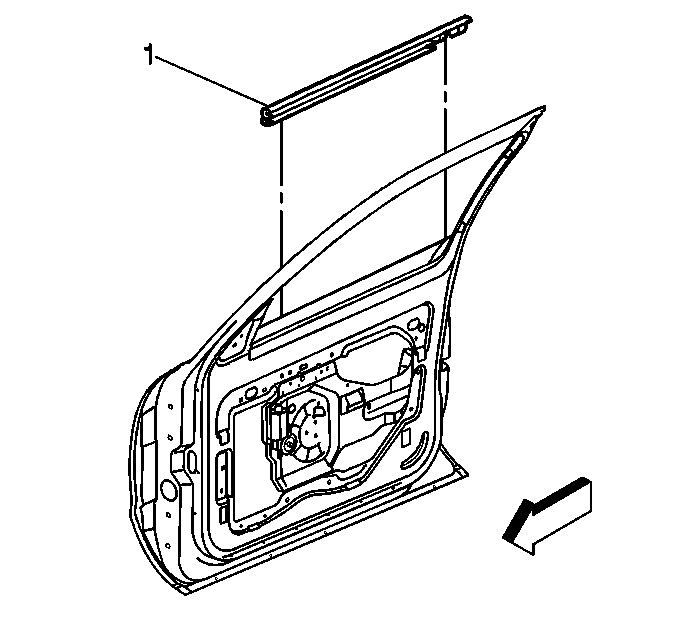
Outer Belt Molding
- Lower the window to the full-down position.
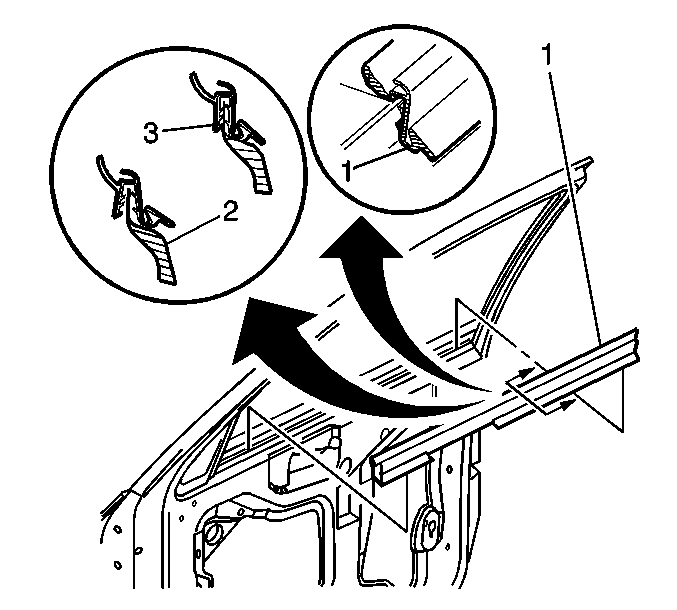
- Using a flat thin-bladed tool, gently pry the molding while rotating the molding (1) outboard.

Important: If using a metal tool, pad the tool with tape in order to protect the paint.
Installation Procedure
- On the front door, position the rear end of the molding flush to the rear edge of the front door
- On the rear door, position the front end of the molding flush with the front edge of the rear door.
- Slowly working forward with a rubber mallet, gently tap the molding into place. Ensure that the close-out lip does not roll under.

Important: If the edge of the molding is not flush to the edge of the door, gently tap the molding (1) into place.
Removal Procedure
Inner Belt Molding
- Remove the trim panel. Refer to Front Side Door Trim Panel Replacement or Rear Side Door Trim Panel Replacement .
- Remove the inner garnish molding. Refer to Front Side Door Opening Frame Garnish Molding Replacement or Rear Door Opening Frame Garnish Molding Replacement .
- Starting from the front, remove the inner belt molding upward along the entire length of the door.

Installation Procedure
- Position the molding.
- Press the molding down into place.
- Install the inner garnish molding. Refer to Front Side Door Opening Frame Garnish Molding Replacement or Rear Door Opening Frame Garnish Molding Replacement .
- Install the trim panel. Refer to Front Side Door Trim Panel Replacement or Rear Side Door Trim Panel Replacement .

