For 1990-2009 cars only
Removal Procedure
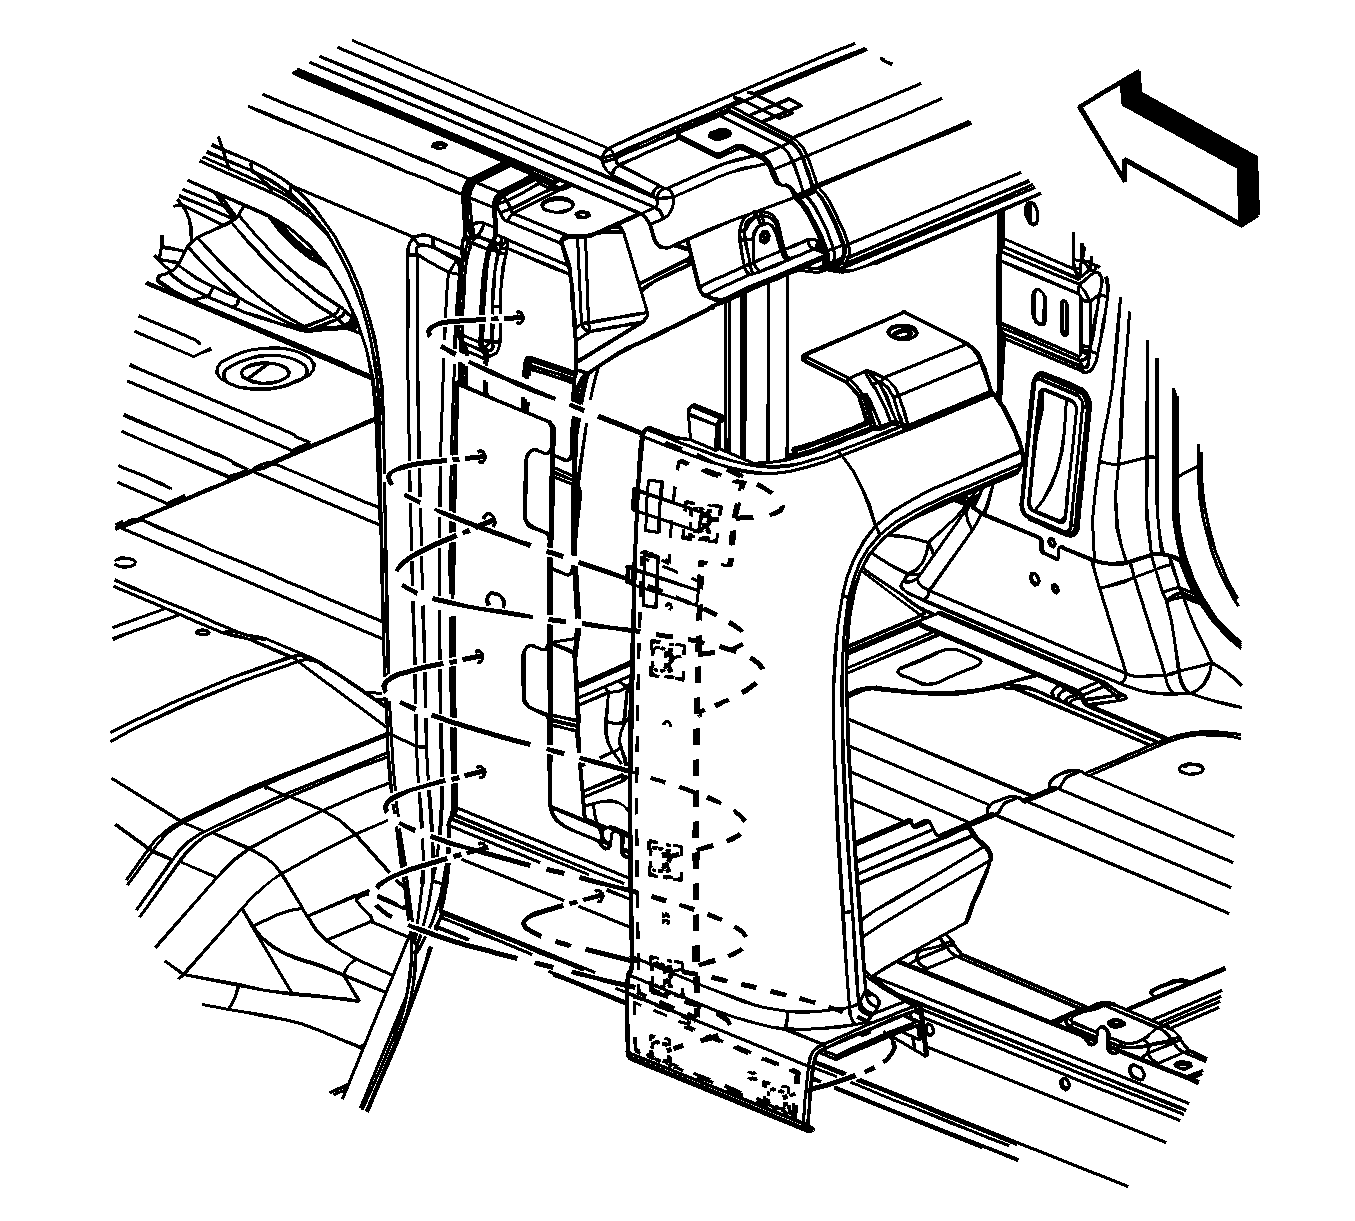
- Remove both the LH and RH sail panels. Refer to Sail Panel Molding Replacement.
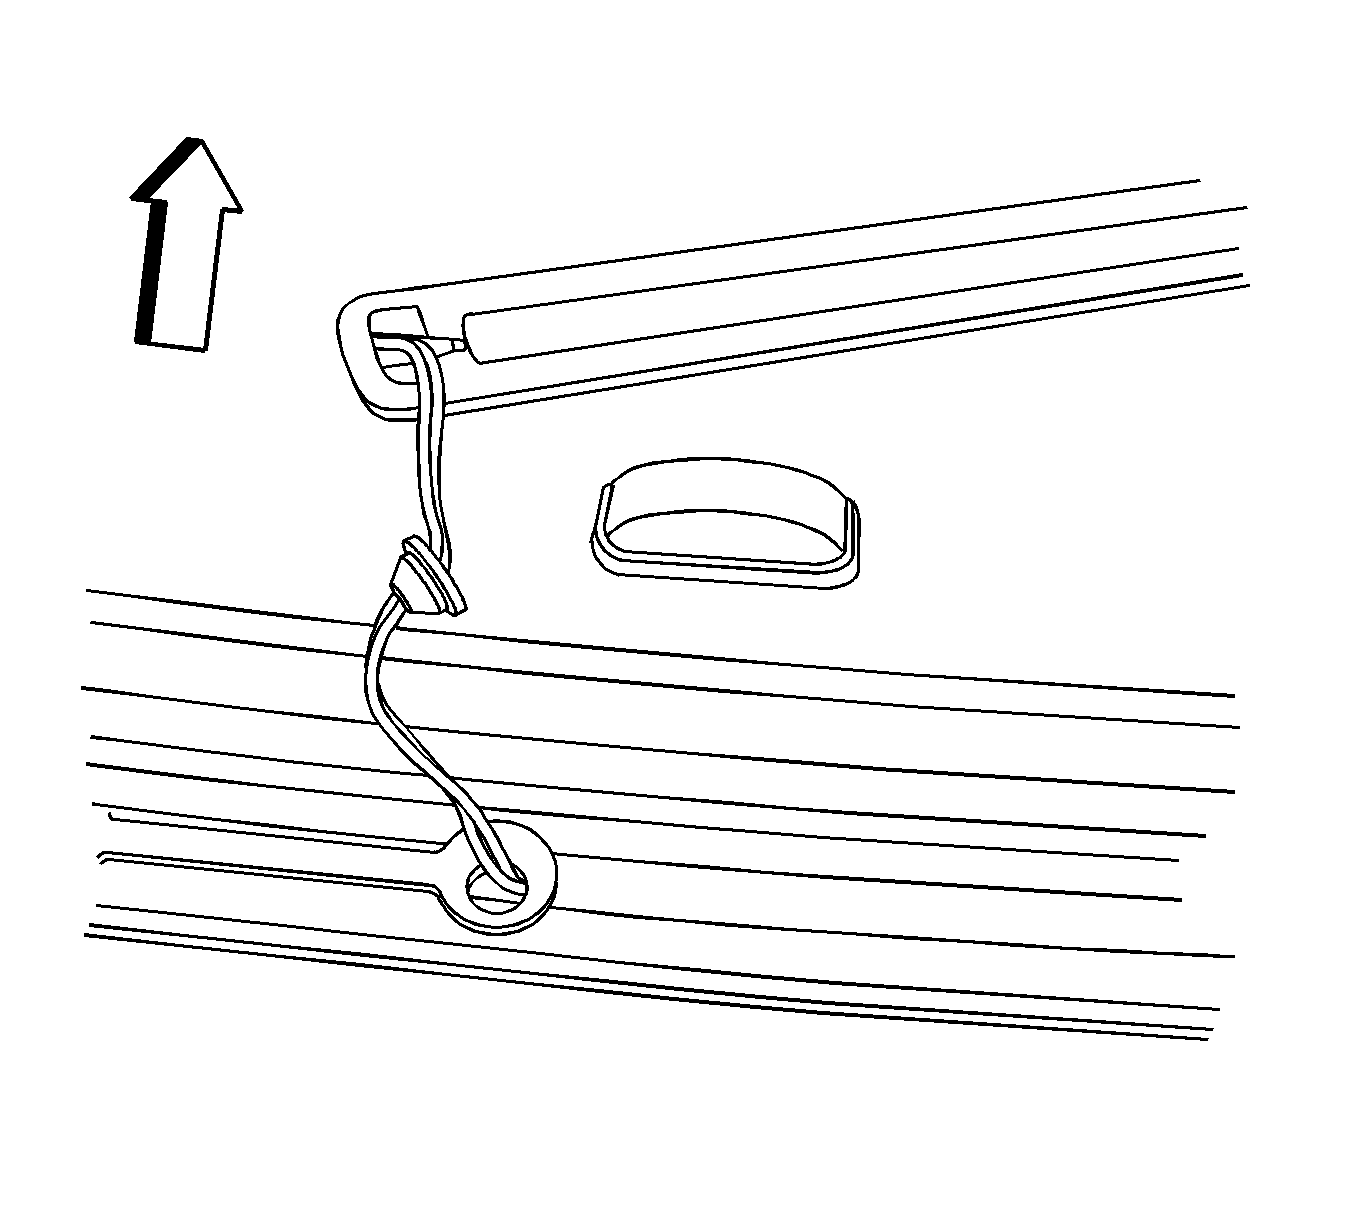
- Remove the two screws securing the center high mounted stop lamp (CHMSL) to the rear header garnish molding.
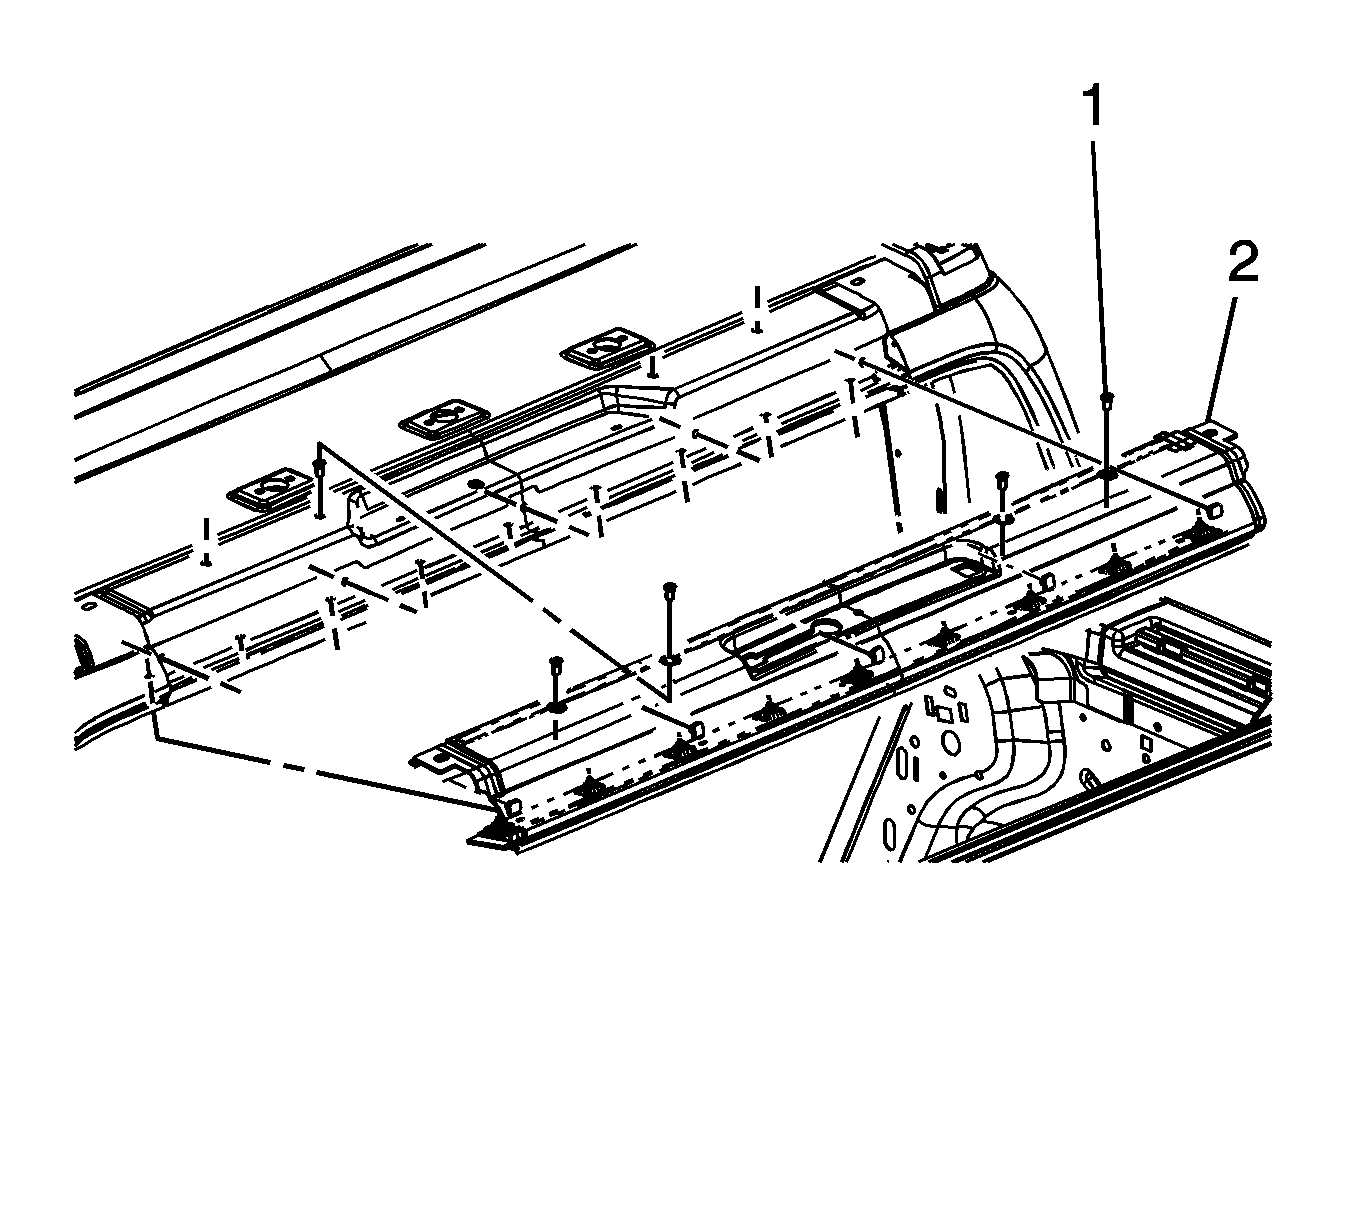
- Remove the screws (1) securing the rear header garnish molding (2) to the rear roof header.
- Release the adhesive tape from the top edge of the header garnish molding.
- Release the retainers from the bottom edge of the garnish molding.
- Remove the roof rear header garnish molding from the vehicle as the CHMSL is guided through the garnish molding opening.
- Clean any leftover adhesive with a 50/50 mixture of isopropyl alcohol and clean drinkable water.


Installation Procedure
- Position the rear header garnish molding to the rear header and guide the CHMSL through the garnish molding opening.
- Align the clips to the holes in the bottom side of the rear header panel.
- Push the garnish molding upward in order to secure the plastic retainers.
- Install the screws (1) securing the rear header garnish molding (2) to the rear roof header.
- Release the adhesive tape backing and completely wet out the adhesive using a clean dry shop towel and the palm of the hand.
- Install the CHMSL to the rear roof header and secure the grommet.
- Install the screws.
- Install both rear sail panel moldings. Refer to Sail Panel Molding Replacement.
Note: Do not remove the adhesive tape backing on the rear header garnish molding until the plastic retainers are secured to the rear header panel.
Caution: Refer to Fastener Caution in the Preface section.

Tighten
Tighten the screws to 10 N·m (89 lb in).

Tighten
Tighten the screws to 3 N·m (26 lb in).

