For 1990-2009 cars only
Sail Panel Molding Replacement Left Side
Removal Procedure
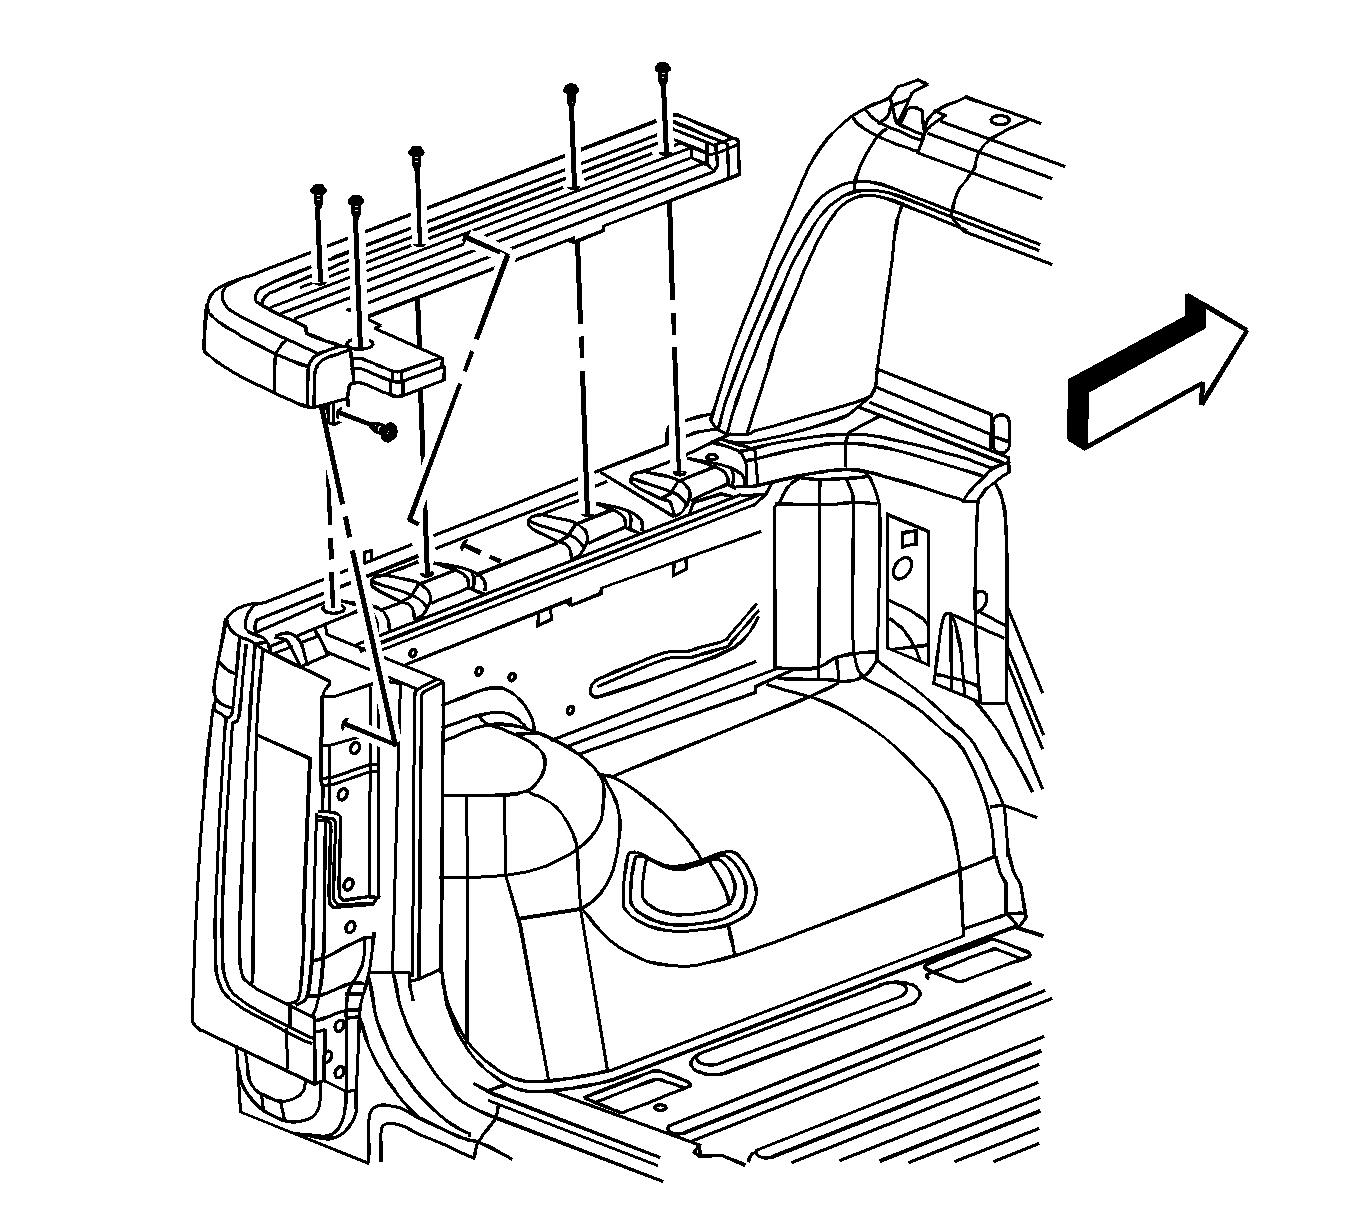
- Remove the left side cargo box rail. Refer to Cargo Box Rail Replacement.
- Remove the left rear cargo box protector. Refer to Cargo Box Side Rail Protector Replacement.
- Remove the left rear luggage carrier side end cap. Refer to Luggage Carrier Side Rear Rail Cap Replacement.
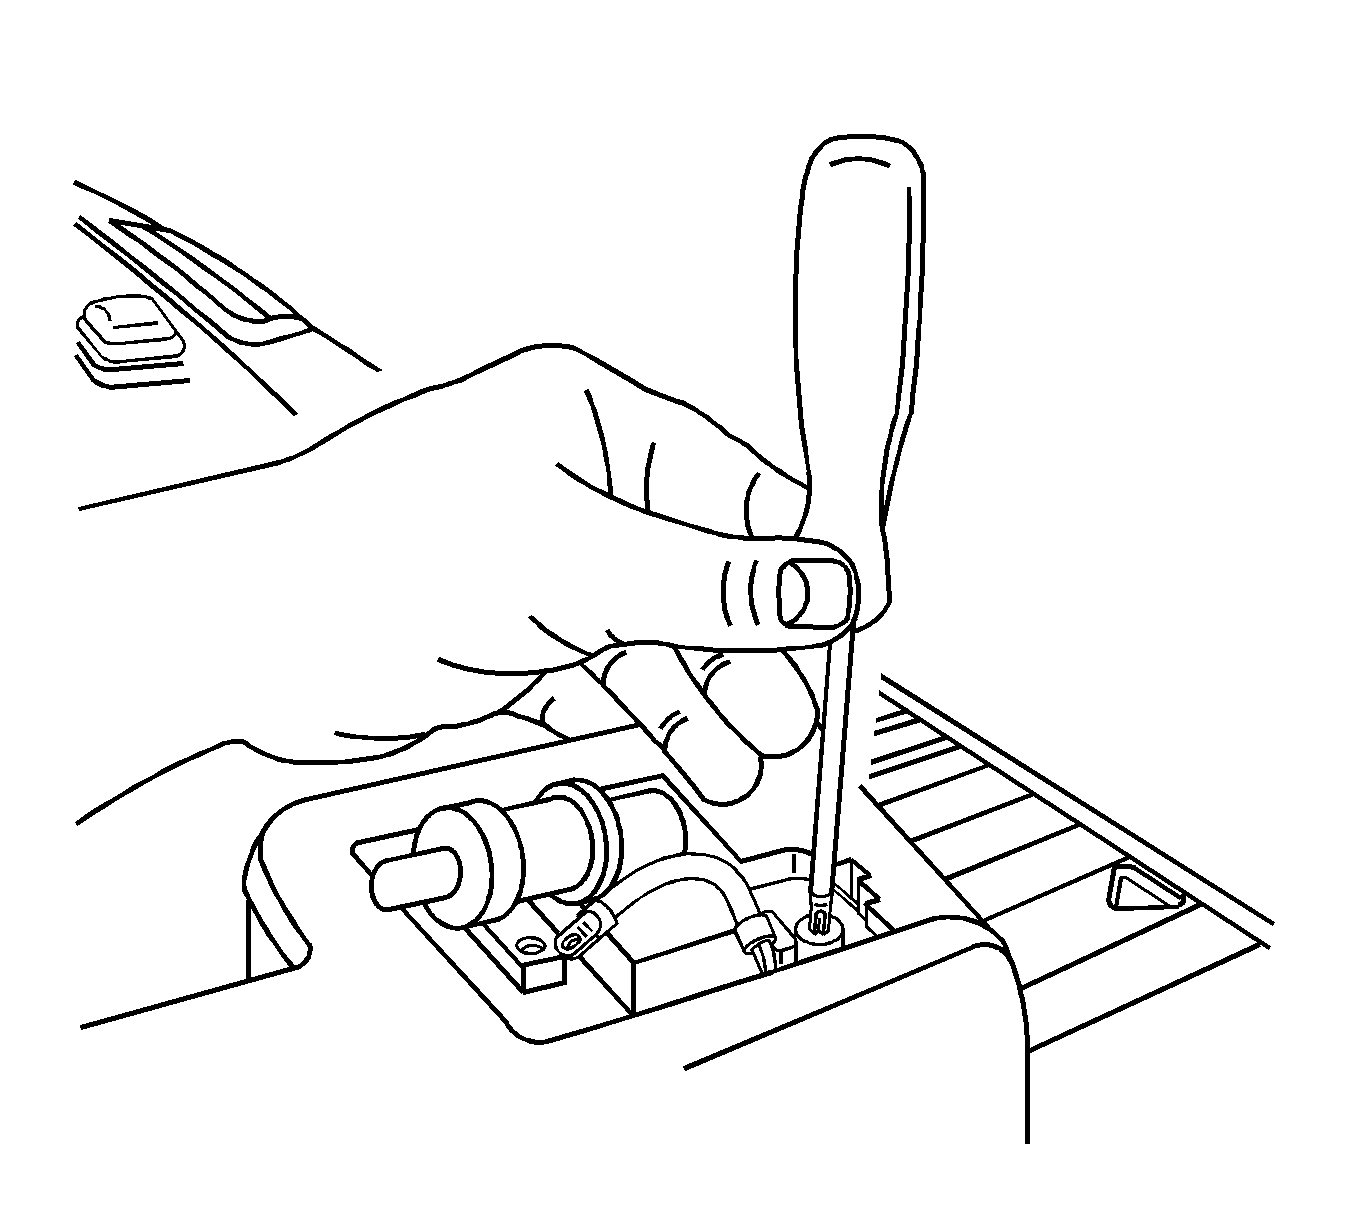
- Remove the screw securing the left outer sail panel to the rear header garnish molding.
- Remove the rear door sealing strip from the pinch-weld flange.
- Remove the screw under the left rear quarter opera window.
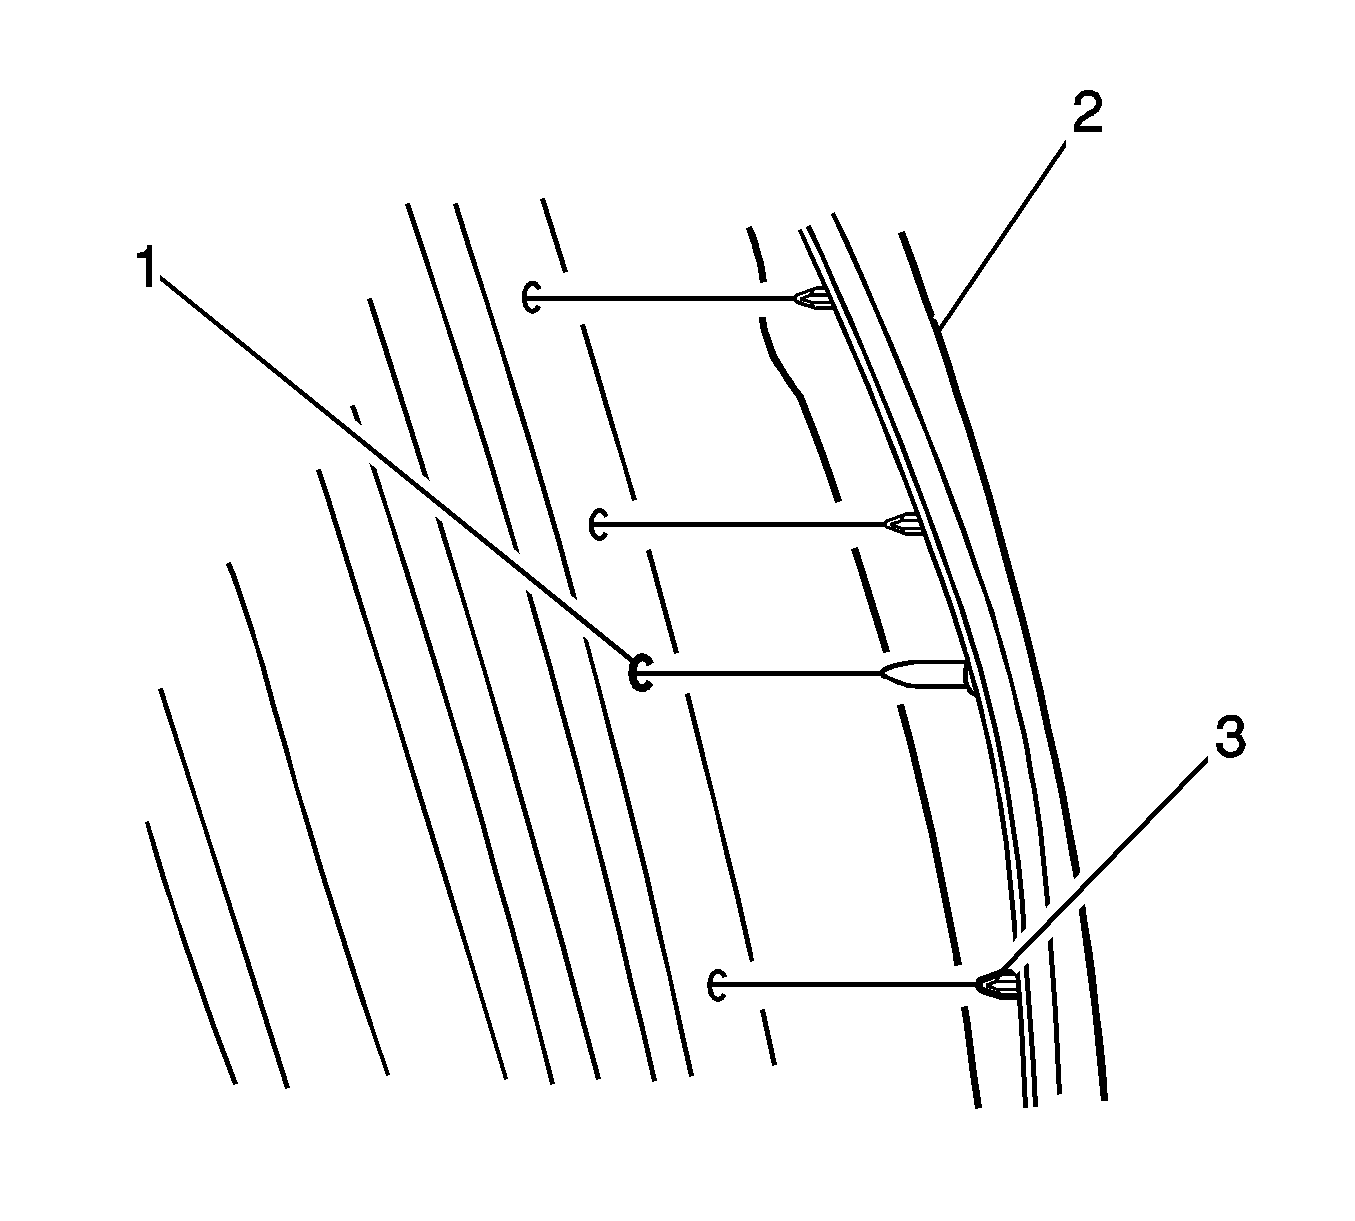
- Release the adhesive tape securing the forward edge of the outer sail panel molding (2) to the body.
- Remove the rear door sealing strip from the pinch-weld flange.
- Remove the screw under the left rear quarter opera window.
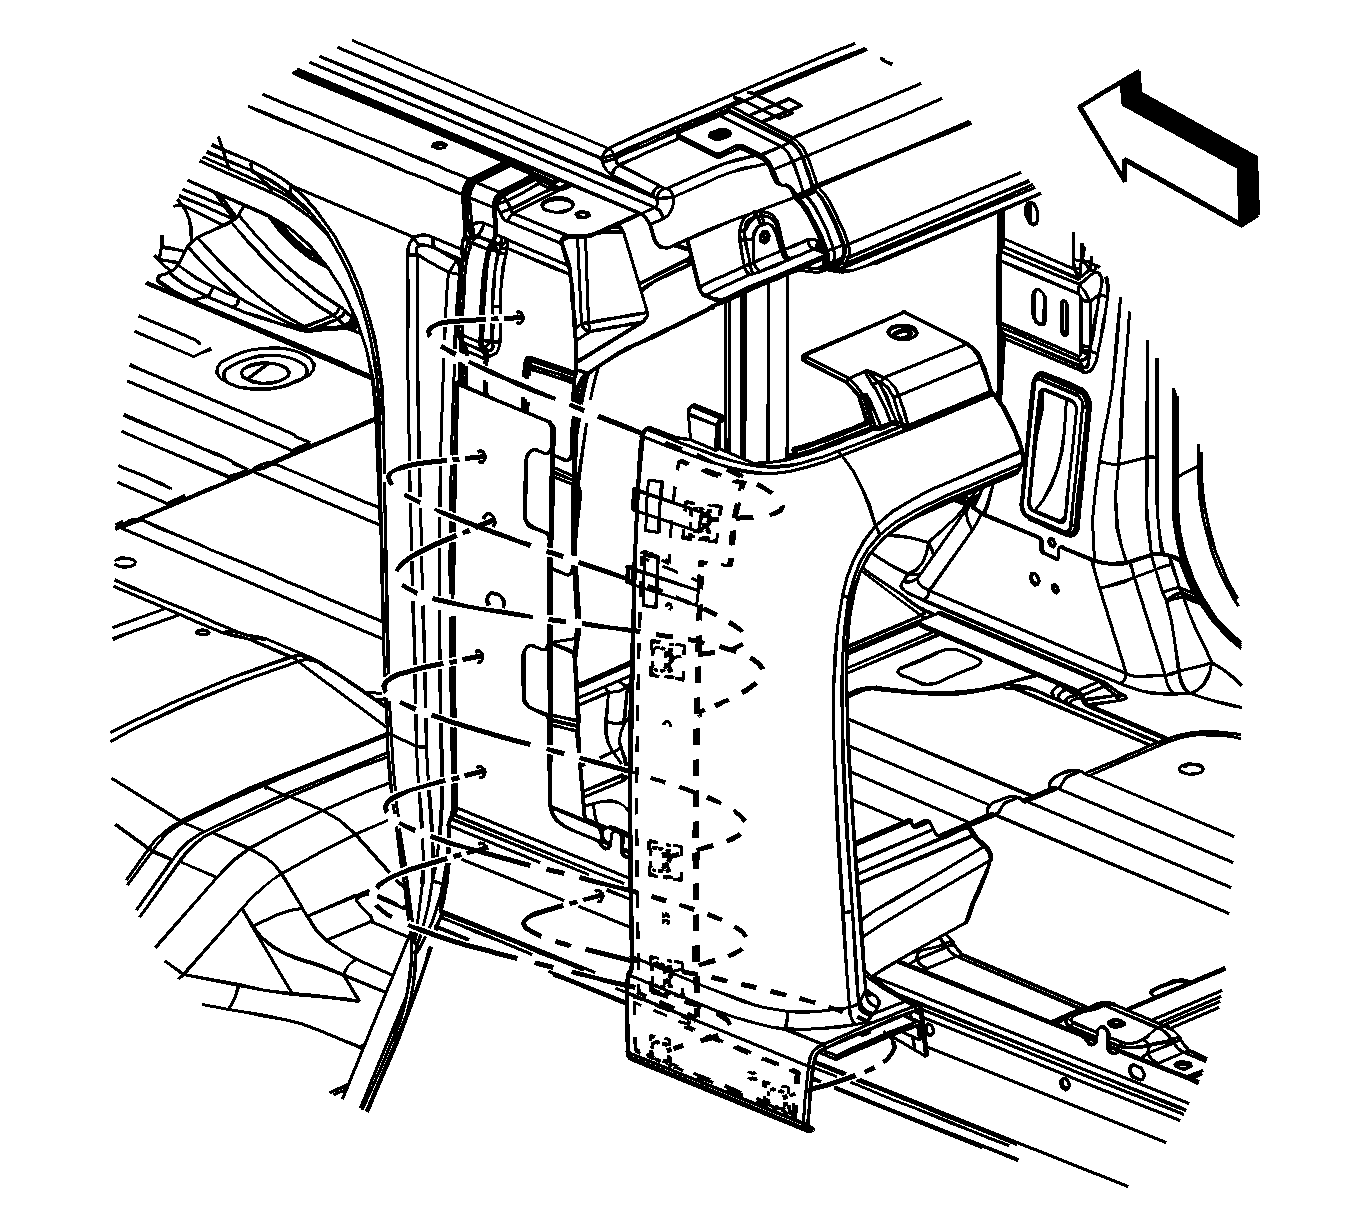
- Release the vertical row of retainers securing the sail panel to the body.
- Remove the left outer sail panel from the vehicle.


Installation Procedure
- Position the sail panel molding to the body structure.
- Align the holes in the body and secure the plastic retainer clips.
- Install the screw securing the left outer sail panel to the top rear header garnish molding.
- Install the left rear luggage carrier side end cap. Refer to Luggage Carrier Side Rear Rail Cap Replacement.
- Install the sail panel screw under the left rear quarter opera window.
- Release the adhesive tape backing from the forward edge of the sail panel and completely wet out the adhesive tape using a clean dry shop towel and the palm of the hand.
- Re-secure the rear door outer sealing strip to the pinch-weld flange.
- Install the left rear cargo box protector. Refer to Cargo Box Side Rail Protector Replacement.
- Install the left side cargo box rail. Refer to Cargo Box Rail Replacement.
Note: Do not release the adhesive tape backing on the sail panel molding until the retainers are fully seated to the body. Fold the adhesive tape backing to the outboard edge of the adhesive tape on the sail panel molding.

Caution: Refer to Fastener Caution in the Preface section.
Tighten
Tighten the screw to 10 N·m (89 lb in).


