Removal Procedure
Tools Required
Notice: Do not rotate steering shaft after steering column has been removed. Damage to SIR components may occur.
- Remove the PIM.
- Remove the air deflector panel. Refer to Front Air Deflector Replacement .
- Place a drain pan below the steering gear.
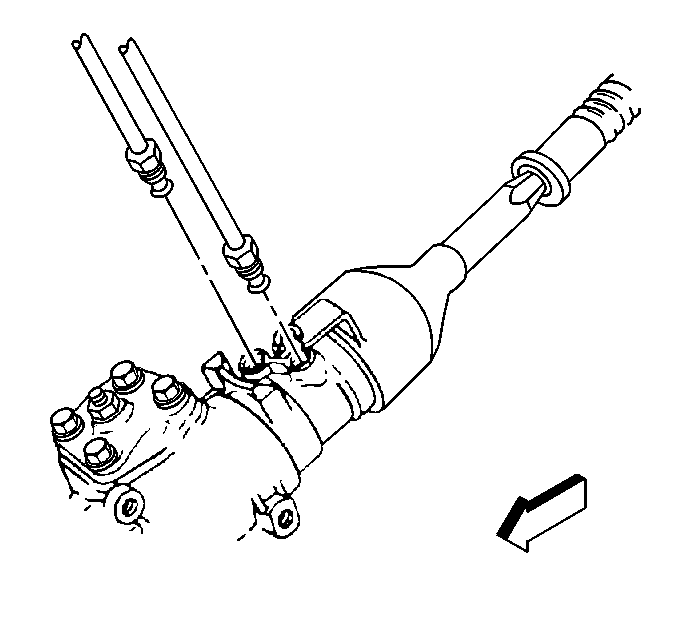
- Remove the outlet and the inlet hose from the steering gear. Refer to Power Steering Gear Pipe/Hose Replacement - Outlet and Power Steering Gear Pipe/Hose Replacement - Inlet
- Cap or tape the ends of the hoses and the gear fittings in order to prevent the entrance of dirt.
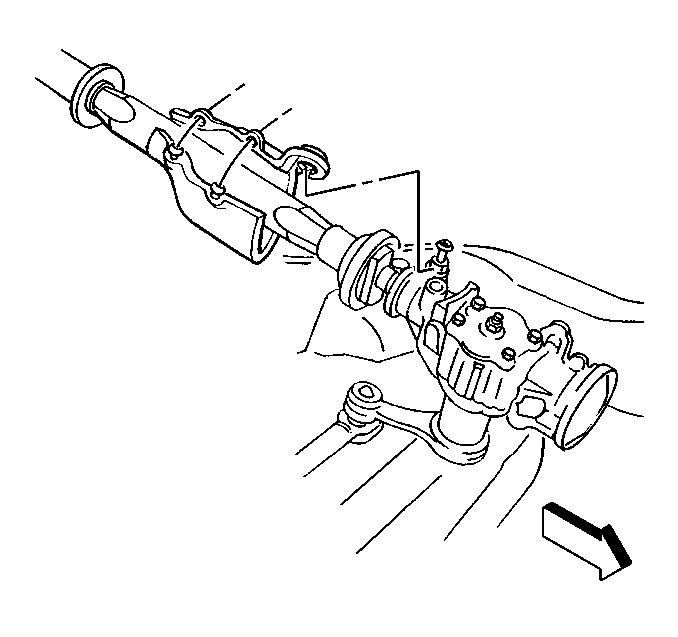
- Remove the intermediate shaft shield from the steering gear.
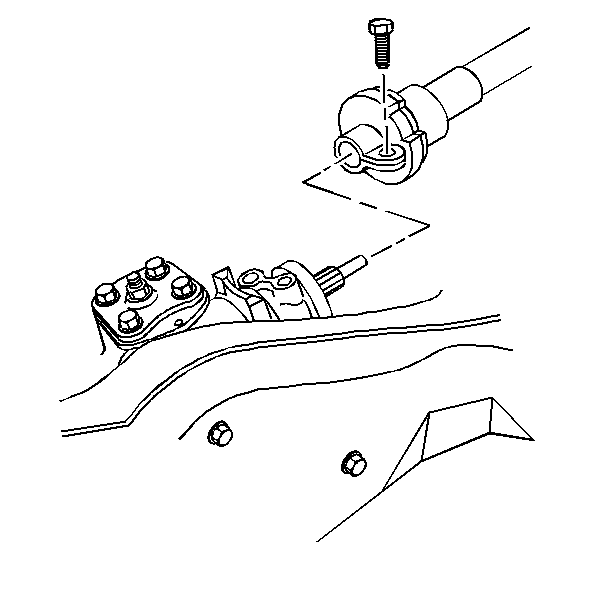
- Remove the lower intermediate shaft coupling bolt.
- Draw alignment marks on the lower intermediate shaft coupling and the steering shaft.
- Remove the lower intermediate shaft coupling from the steering shaft.
- Remove the steering linkage shield.
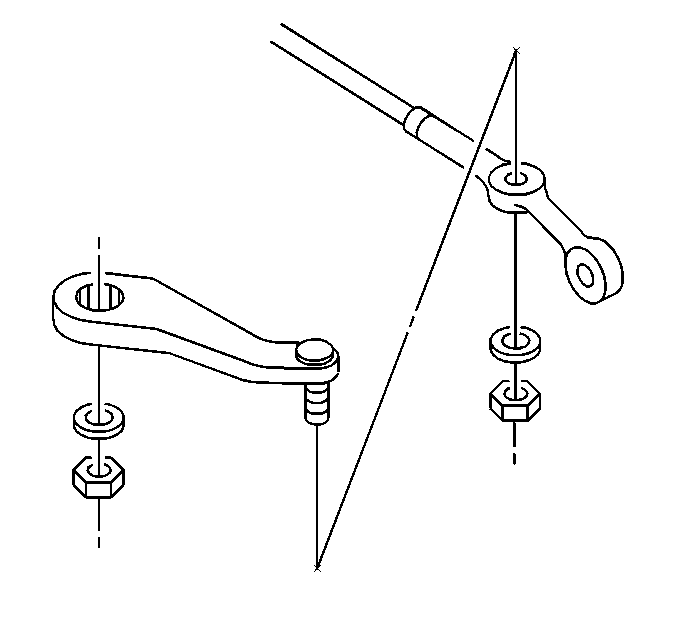
- Remove the pitman arm ball stud nut at the relay rod.
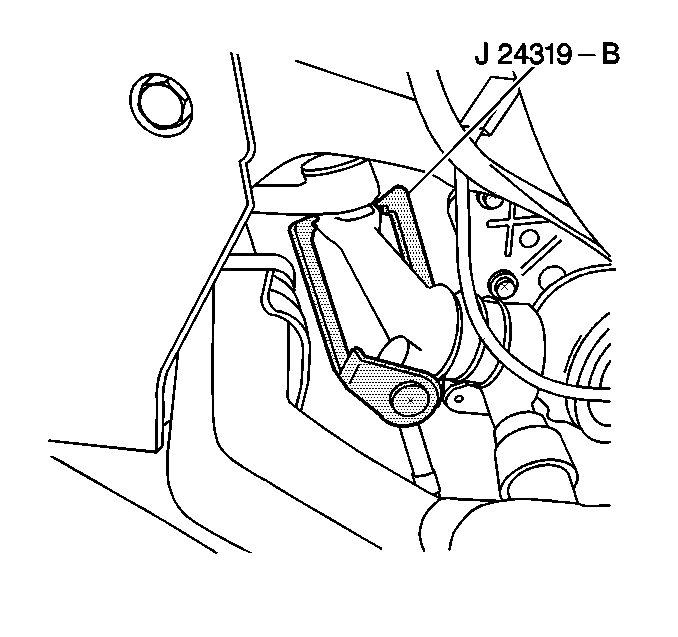
- Disconnect pitman arm from relay rod using J 24319-B
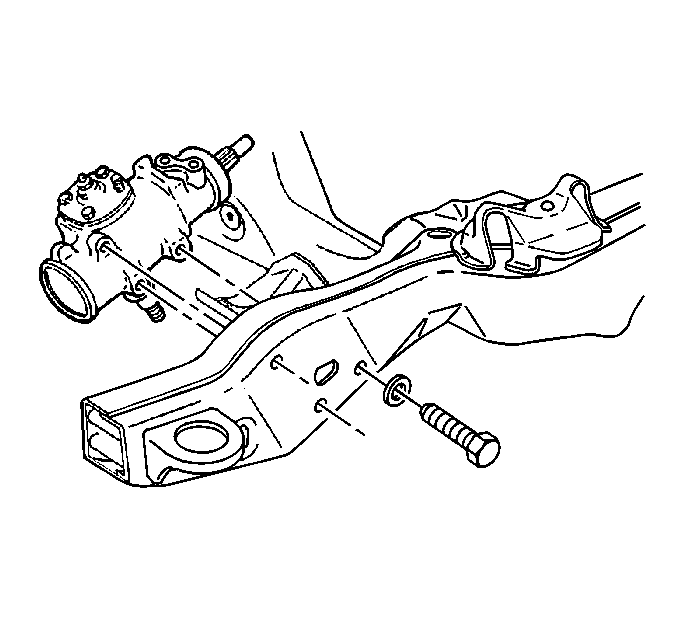
- Remove the steering gear mounting bolts and the washers.
- Remove the steering gear.
- Remove the pitman arm. Refer to Pitman Arm Replacement .
Installation Procedure
Tools Required
| • | J 29193 |
| • | J 29194 |
- Install the pitman arm. Refer to Pitman Arm Replacement
- Install the steering gear.
- Install the power steering gear to the frame washers and mounting bolts.
- Connect the relay rod to the pitman arm ball stud.
- Seat the taper using J 29193 .
- Remove J 29193 or J 29194 from the pitman arm ball stud.
- Install the new nut to the pitman arm ball stud at the relay rod.
- Install the lower intermediate shaft to the power steering gear.
- Ensure that the alignment marks line up.
- Install the lower intermediate shaft coupling bolt.
- Install the intermediate shaft shield to the power steering gear.
- Install the outlet and the inlet hose. Refer to Power Steering Gear Pipe/Hose Replacement - Outlet and Power Steering Gear Pipe/Hose Replacement - Inlet
- Install the PIM.
- Bleed the system. Refer to Power Steering System Bleeding .
- Install the air deflector panel. Refer to Front Air Deflector Replacement .

Notice: Use the correct fastener in the correct location. Replacement fasteners must be the correct part number for that application. Fasteners requiring replacement or fasteners requiring the use of thread locking compound or sealant are identified in the service procedure. Do not use paints, lubricants, or corrosion inhibitors on fasteners or fastener joint surfaces unless specified. These coatings affect fastener torque and joint clamping force and may damage the fastener. Use the correct tightening sequence and specifications when installing fasteners in order to avoid damage to parts and systems.
Tighten
Tighten the power steering gear to frame mounting bolts to 75 N·m
(55 lb ft).

Ensure the seal is on the stud.
Tighten
Tighten J 29193
or J 29194
to 62 N·m(48 lb ft).
Tighten
Tighten the pitman arm ball stud nut at the relay rod to 83 N·m
(61 lb ft).

Tighten
Tighten the lower intermediate shaft coupling bolt to 35 N·m
(26 lb ft).


Tighten
Tighten the hose clamps to 2.0 N·m (18 lb in).
