For 1990-2009 cars only
Tools Required
J 36221 Hydraulic Clutch Line Separator
Removal Procedure
- Disconnect the negative battery cable.
- Remove the left I/P lower insulator panel. Refer to Instrument Panel Insulator Panel Replacement - Left Side in Instrument Panel, Gages and Console.
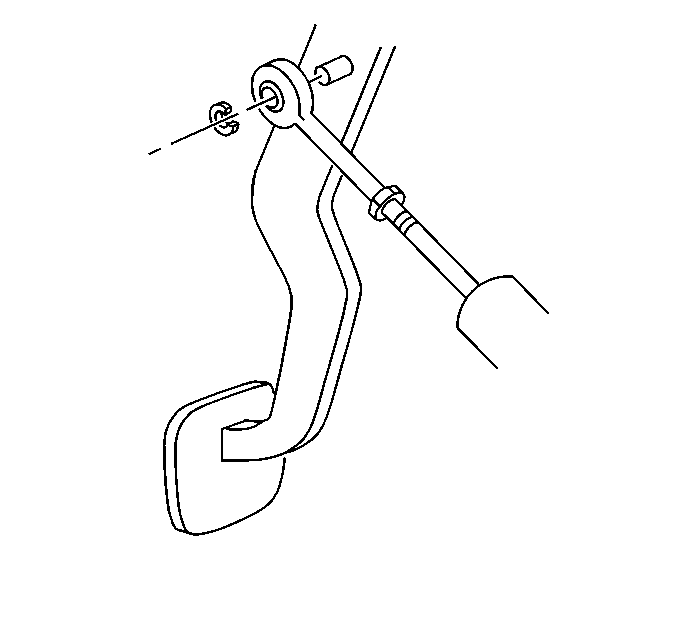
- Remove the clutch master cylinder rod retainer.
- Remove the clutch master cylinder rod from the clutch pedal.
- Remove the windshield washer solvent container. Refer to Windshield Washer Solvent Container Replacement in Wipers/Washer Systems.
- Raise and suitably support the vehicle. Refer to Lifting and Jacking the Vehicle in General Information.
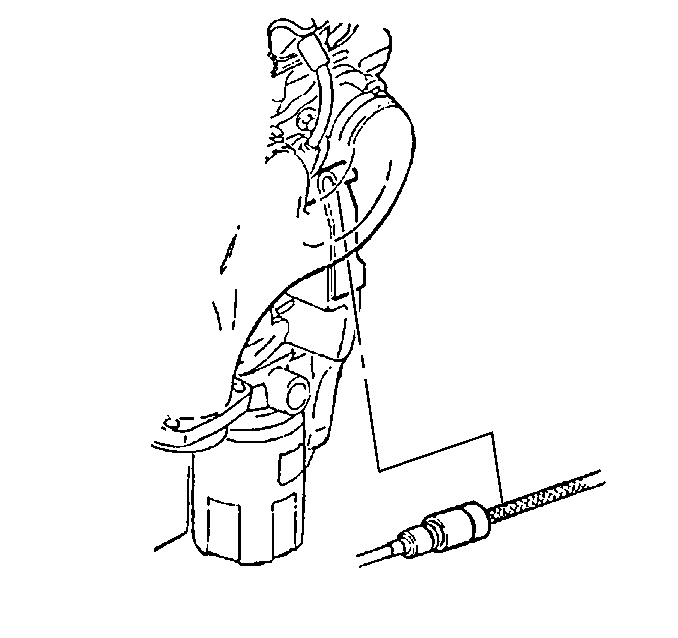
- Remove the clutch actuator cylinder hose from the hose retaining clip, at the rear of the engine.
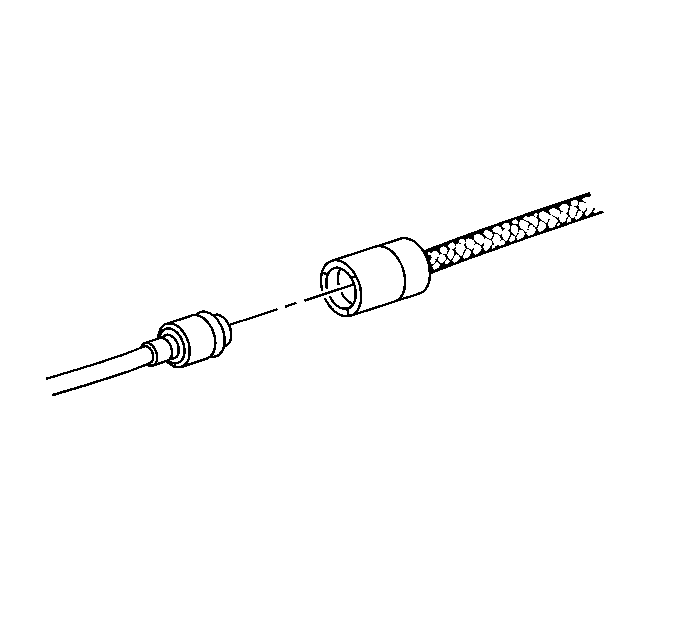
- Using the J 36221 , depress the white circular release ring on the actuator hose and simultaneously pull lightly on the master cylinder hose to disconnect.
- Protect both hose coupling ends from dirt and damage.
- Lower the vehicle. Leave the vehicle on the hoist.
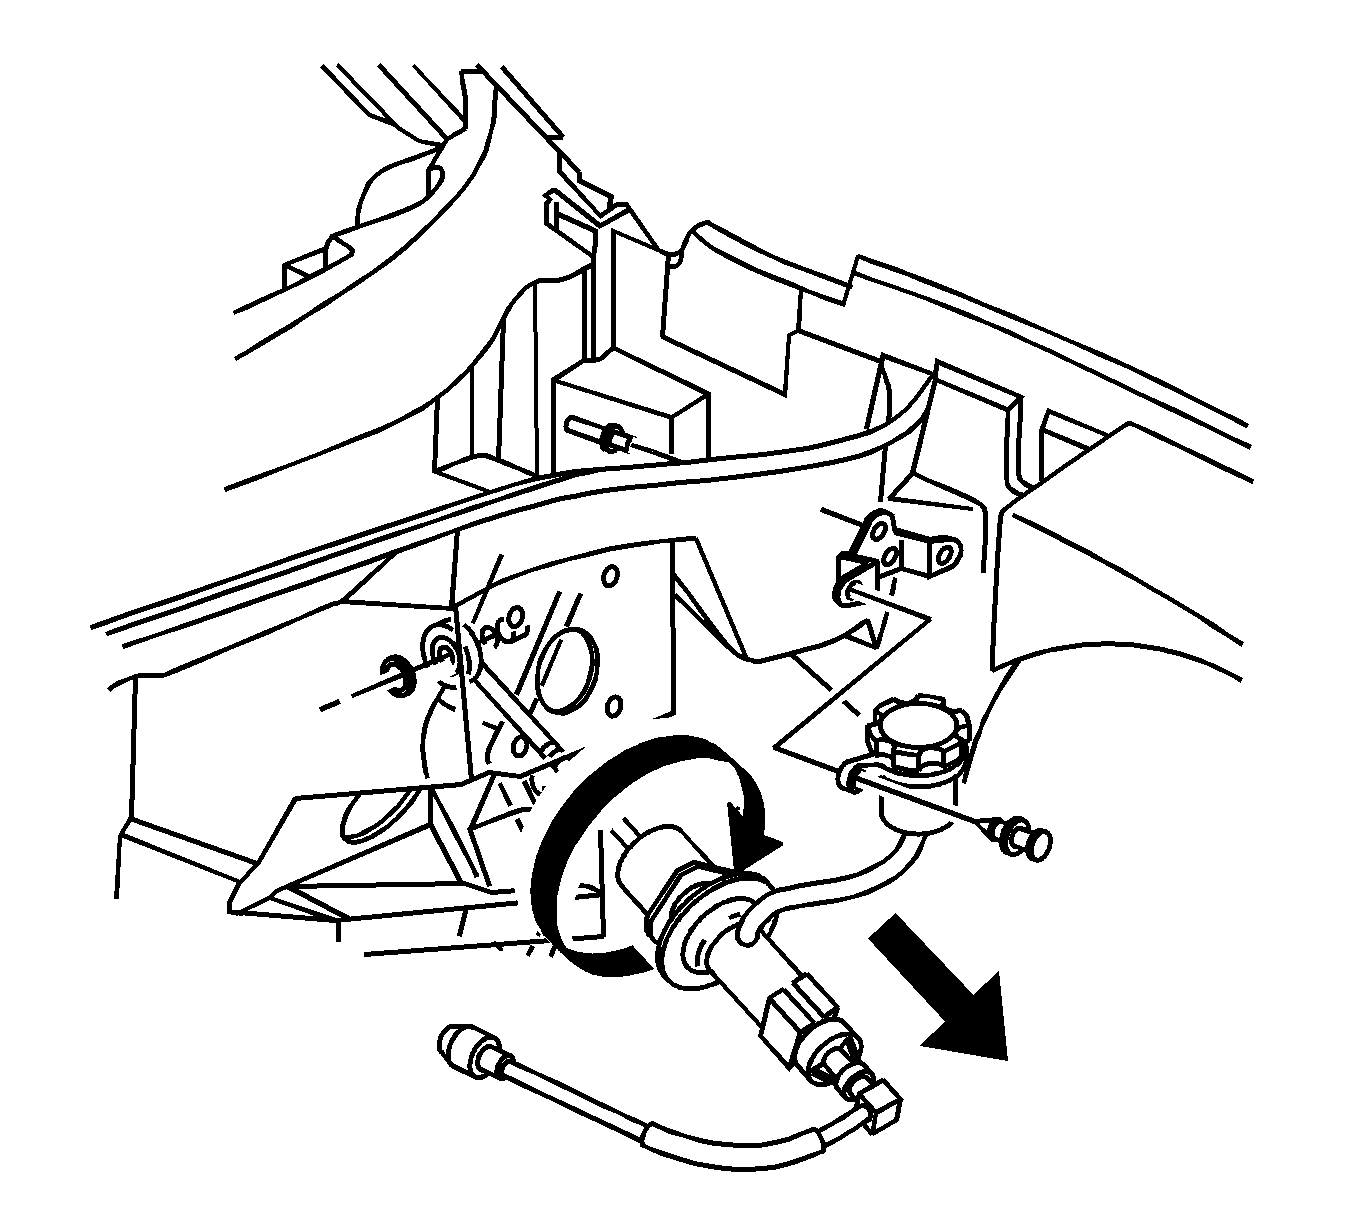
- Remove the clutch master cylinder reservoir push-in fasteners.
- Rotate the clutch master cylinder 45 degrees.
- Release the clutch master cylinder from the dash panel.
- Remove the clutch master cylinder and reservoir from the vehicle.
Caution: Refer to Battery Disconnect Caution in the Preface section.
Installation Procedure
- Install the clutch master cylinder and the reservoir into position.
- Install the clutch master cylinder to the dash panel.
- Install the clutch master cylinder reservoir into position.
- Install the clutch master cylinder reservoir push-in fasteners.
- Install the windshield washer solvent container. Refer to Windshield Washer Solvent Container Replacement in Wipers/Washer Systems.
- Raise the vehicle.
- Connect the clutch actuator cylinder hose to the clutch master cylinder hose.
- Check the clutch hydraulic hoses for twists or kinks.
- Install the clutch actuator cylinder hose to the hose retaining clip, at the rear of the engine.
- Lower the vehicle.
- Install the clutch master cylinder rod to the clutch pedal.
- Install the clutch master cylinder rod retainer.
- Install the left I/P lower insulator panel. Refer to Instrument Panel Insulator Panel Replacement - Left Side in Instrument Panel, Gages and Console.
- Connect the negative battery cable.
- Program the transmitters. Refer to Transmitter Programming in Keyless Entry.
- Bleed the clutch hydraulic system. Refer to Hydraulic Clutch Bleeding .
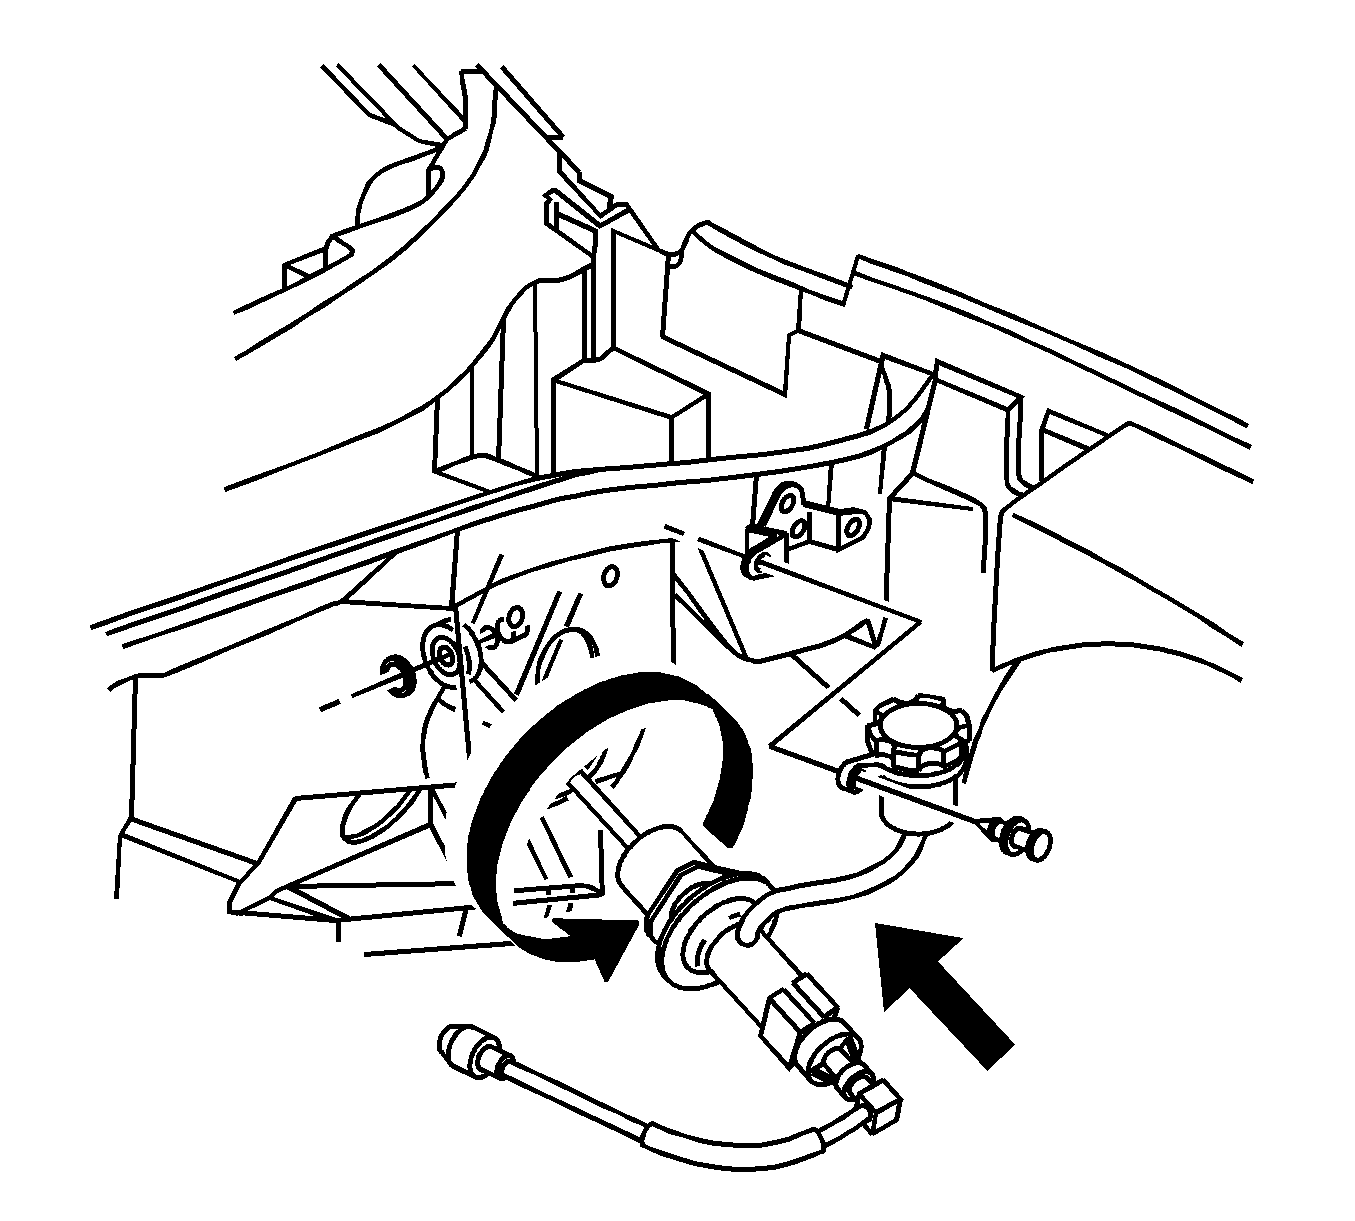
| 2.1. | Orientate the clutch master cylinder at a 45 degree angle. |
| 2.2. | Insert the clutch master cylinder into the dash panel. |
| 2.3. | Rotate the master cylinder to secure. |
DO NOT over-rotate the master cylinder.

Important: DO NOT rely on an audible click or a visual verification of the clutch hydraulic hose quick connect fitting connection.
Push together the clutch hydraulic hose quick connect fittings, then pull back on the fittings to verify engagement.


Notice: Refer to Fastener Notice in the Preface section.
Tighten
Tighten the negative battery cable bolt to 15 N·m (11 lb ft).
