For 1990-2009 cars only
Inside Air Temperature Sensor Replacement LHD
Removal Procedure
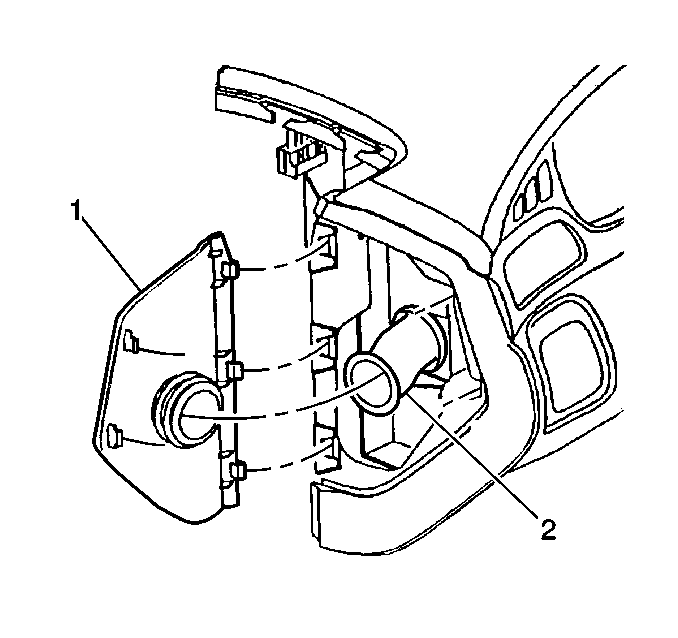
- Remove the left instrument panel end cap (1).
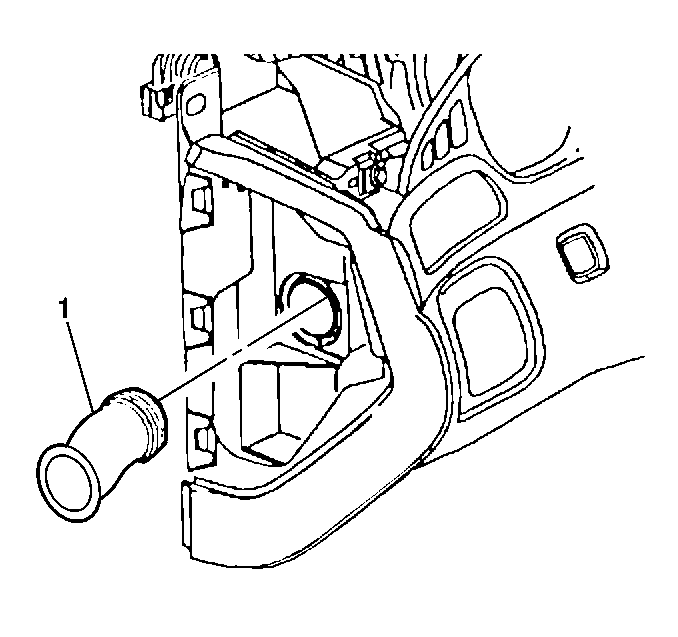
- Remove the side window defroster duct (2).
- Remove the headlamp switch. Refer to Headlamp Switch Replacement in Lighting Systems.
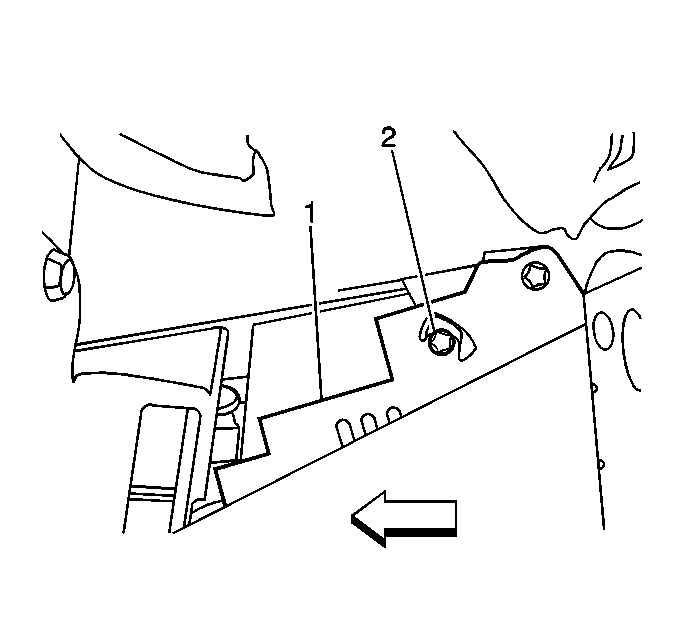
- Remove the sensor retaining screw (1).
- Remove the inside air temperature sensor (2).
- Disconnect the electrical connector from sensor .


Installation Procedure
- Connect the electrical connector to sensor.
- Install the inside air temperature sensor (1) to the vehicle.
- Install the sensor retaining screw (2).
- Install the headlamp switch replacement. Refer to Headlamp Switch Replacement in Lighting Systems.
- Install the side window defroster duct (1).
- Install the left instrument panel end cap (1).


Inside Air Temperature Sensor Replacement RHD
Removal Procedure
- Remove the IP carrier. Refer to Instrument Panel Carrier Replacement in Instrument Panel, Gauges and Console.
- Remove the inside air temperature sensor retaining screw (1).
- Disconnect the electrical connector from the inside air temperature sensors.
- Remove the inside air temperature sensor (1).

Installation Procedure
- Install the inside air temperature sensor (1).
- Connect the electrical connector to the inside air temperature sensor.
- Install the inside air temperature retaining screw (2).
- Install the IP carrier. Refer to Instrument Panel Carrier Replacement in Instrument Panel, Gauges and Console.

