Headlining Trim Panel Replacement Headliner
Removal Procedure
- Disable the SIR system. Refer to Disabling the SIR System in SIR.
- Remove the front bucket seats. Refer to Front Seat Replacement - Bucket
- Remove the center console. Refer to Console Replacement
- Remove the windshield pillar trim. Refer to Windshield Pillar Garnish Molding Replacement
- Remove the center pillar trim. Refer to Center Pillar Garnish Molding Replacement
- Remove the sail panel. Refer to Sail Panel Replacement
- Remove the sunshades. Refer to Sunshade Replacement
- Remove the auxiliary sunshade. Refer to Visor Replacement
- Remove the overhead console. Refer to Roof Console Replacement
- Remove the rearview mirror. Refer to Inside Rearview Mirror Replacement
- Pull the door opening moldings down to clear headliner.
- Remove the rear quarter courtesy lamp bezels. Refer to Roof Rail Rear Courtesy Lamp Replacement in Lighting Systems.
- Remove the assists handles. Refer to Assist Handle Replacement
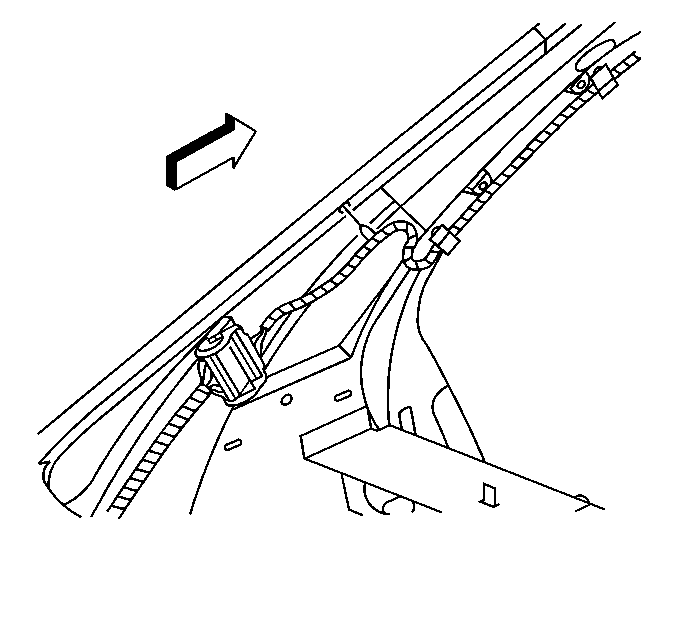
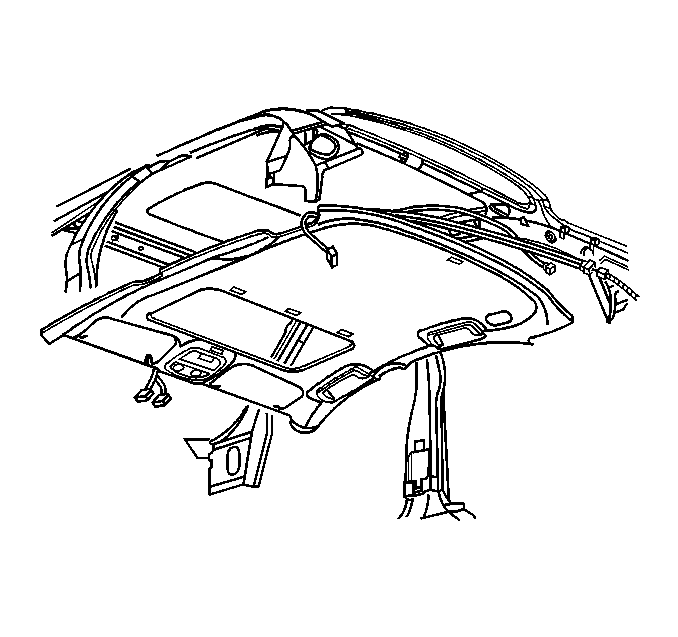
- Disconnect the headliner wiring harness connector.
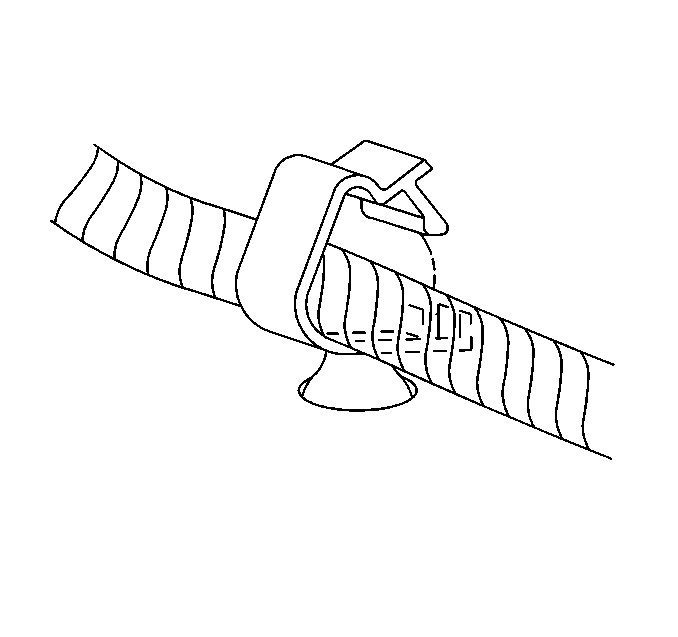
- Open the wire harness retainers and remove the harness.
- Pull the headliner down to release it from the cardboard roof dampener.
- With the aid from an assistant, remove the headliner through the front passenger door opening.


Important: Installation of a new cardboard roof insulator is necessary to ensure the acoustical integrity of the roof system. Use GM P/N 12378192 Adhesive available through General Motors Service Parts Operations.
Notice: Use care when removing and installing the headliner. If reusing the headliner lay the headliner down flat on a clean surface. Excessive bending will damage the headliner.
Installation Procedure
- Install the headliner into the vehicle through the front passenger door opening.
- With aid from an assistant, raise the headliner into position.
- Install the assist handles. Refer to Assist Handle Replacement
- Install the auxiliary sunshades. Refer to Sunshade Replacement
- Install the sunshades. Refer to Sunshade Replacement
- Install the windshield pillar garnish molding. Refer to Center Pillar Garnish Molding Replacement
- Install the center pillar garnish molding. Refer to Center Pillar Garnish Molding Replacement
- Connect the headliner wiring harness connector.
- Route and secure the wiring harness in the wiring harness retainers.
- Install the sail panels. Refer to Sail Panel Replacement .
- Install the door opening weather-strips in the door openings. Refer to Front Door Opening Weatherstrip Replacement
- Install the overhead console. Refer to Roof Console Replacement
- Install the rear quarter courtesy lamp bezels. Refer to Roof Rail Rear Courtesy Lamp Replacement in Lighting Systems.
- Install the rear view mirror. Refer to Inside Rearview Mirror Replacement .
- Install the center console. Refer to Console Replacement in Instrument Panel, Gages and Console.
- Install the front bucket seats. Refer to Front Seat Replacement - Bucket in Seats.
- Enable the SIR system. Refer to Enabling the SIR System in SIR.

Notice: Use care when removing and installing the headliner. If reusing the headliner lay the headliner down flat on a clean surface. Excessive bending will damage the headliner.


Important: Ensure that the inside lip of the door opening weatherstrip is properly seated to close out the headliner, sail panel and pillar garnish moldings.
Headlining Trim Panel Replacement Cardboard Roof Insulator
Removal Procedure
- Remove the headliner. Refer to Headlining Trim Panel Replacement
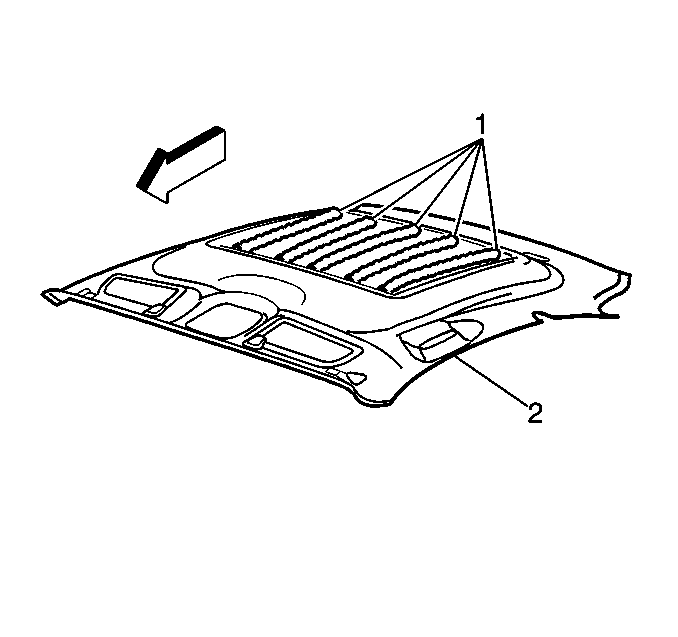
- Starting in one corner of the cardboard, pulling downward, cut the adhesive beads (1) using a sharp putty knife or equivalent.
- Cut off all of the adhesive beads.
- Remove the cardboard roof insulator.

Notice: Use care when removing the cardboard roof insulator. Excessive pressure can cause dents in the roof panel.
Important: It is not necessary to remove all of the old adhesive from the roof panel.
Installation Procedure
- Apply 6 mm (1/4 in) to 9 mm (3/8 in) (2) beads of adhesive 15mm (5/8 in) wide (1).
- Apply the adhesive in the locations marked on the cardboard insulator (1).
- Place the cardboard roof insulator to the roof panel.
- Install the headliner. Refer to Headlining Trim Panel Replacement
Important: Installation of a new cardboard roof insulator is necessary to ensure the acoustical integrity of the roof system. Use GM P/N 12378192 Adhesive available through General Motors Service Parts Operations.


Important: Cardboard roof insulator must be installed within five minutes of adhesive application.
Important: Gluing the headliner to the cardboard roof insulator during installation is not required.
