For 1990-2009 cars only
Removal Procedure
- Remove the seat assembly. Refer to Bucket Seat Replacement .
- Remove the seat back. Refer to Seat Back Frame Replacement .
- Disconnect the electrical connectors, if equipped with the heated seats.
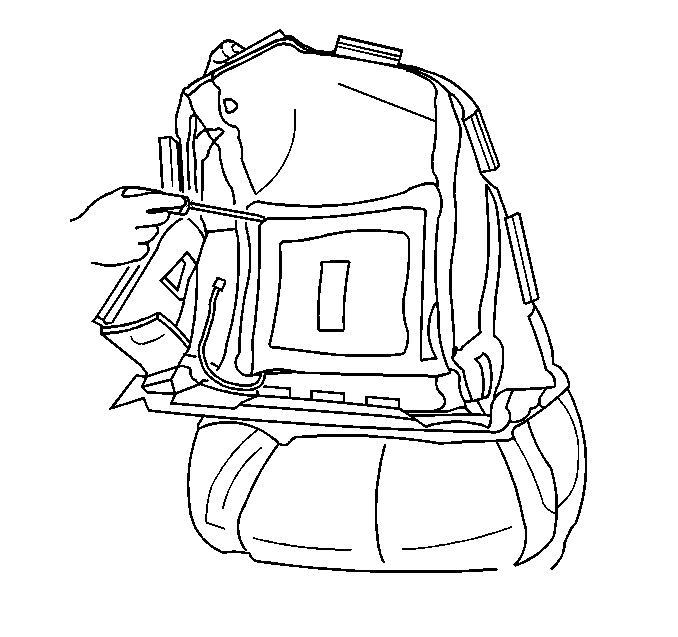
- Remove the J-retainers at the bottom of the seat cushion perimeter.
- Remove the trim cover from the cushion.
- In order to expose the bonded area, roll the trim cover away from the foam. Begin at the edge of the trim cover.
- Fold the glue strip back with the trim cover. Hold the trim cover with one hand.
- Press down with the other hand on the foam at the edge of the bonded area separating the foam and trim.
- Gently pull back on the trim as the foam and the trim separate.

Installation Procedure
- Install the foam cushion on the base.
- Partially install the trim cover to the cushion.
- Use a 138°C (360°F) hot glue gun. Apply a 6 mm (1/4 in) bead of GM P/N 12377914 or Special Bostik Glue in the first top horizontal channel.
- Carefully place the trim cover down over the foam so that the trim cover seam is positioned into the glue trench, within thirty seconds of the glue application.
- Pull the trim cover down. Use a straight edge of the same length as the glued seam. Apply downward pressure (1-4 psi). Hold the trim cover for 1 minute.
- Pull the trim cover down. Use two straight edges of the same length as the seams. Apply downward pressure (1-4 psi). Hold the trim cover for 1 minute.
- Lift the trim cover. Apply a 6 mm (1/4 in) bead of glue in the final channel.
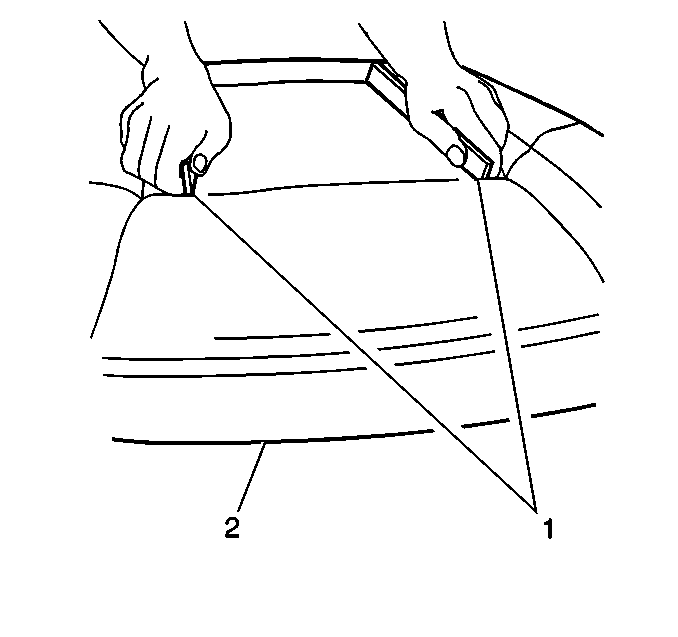
- Pull the trim cover down. Use two straight edges (1) of the same length as the seams. Apply downward pressure (1-4 psi). Hold the trim cover for 1 minute.
- Connect the electrical connectors, if equipped with a heated seat.
- Install the J-retainers at the base of the seat cushion.
- Install the seat back. Refer to Seat Back Frame Replacement .
- Connect the electrical connectors.
- Install the seat assembly. Refer to Bucket Seat Replacement .

Important: Do not exceed (1/4 in) diameter of hot glue to the seat cushion foam.

Notice: Use the correct fastener in the correct location. Replacement fasteners must be the correct part number for that application. Fasteners requiring replacement or fasteners requiring the use of thread locking compound or sealant are identified in the service procedure. Do not use paints, lubricants, or corrosion inhibitors on fasteners or fastener joint surfaces unless specified. These coatings affect fastener torque and joint clamping force and may damage the fastener. Use the correct tightening sequence and specifications when installing fasteners in order to avoid damage to parts and systems.
Tighten
Tighten the bolts to 24 N·m (18 lb ft).
