Driver or Passenger Seat Replacement Left Front
Removal Procedure
- Disable the SIR system if equipped. Refer to Disabling the SIR System .
- Disconnect the wiring connector from the inflatable restraint front seat module, if equipped.
- Position the seat in the full forward position.
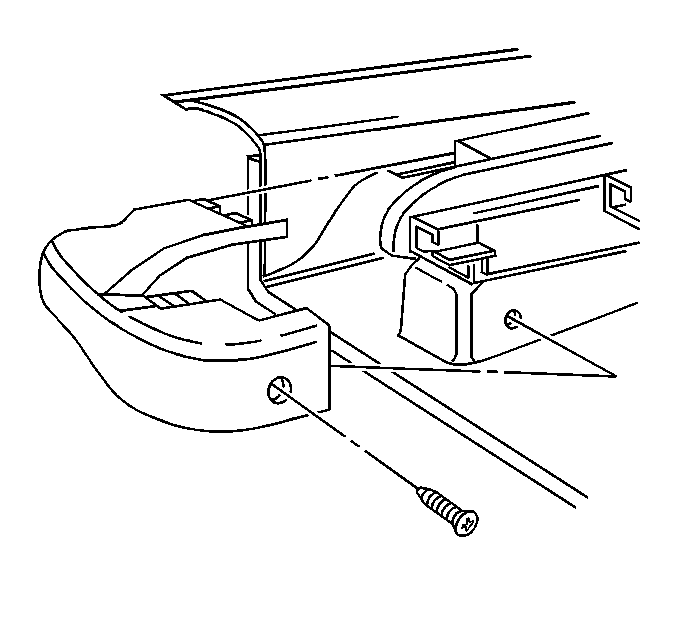
- Remove the screw from the rear trim cover of the front seat track.
- Remove the trim cover from the front seat track by sliding off.
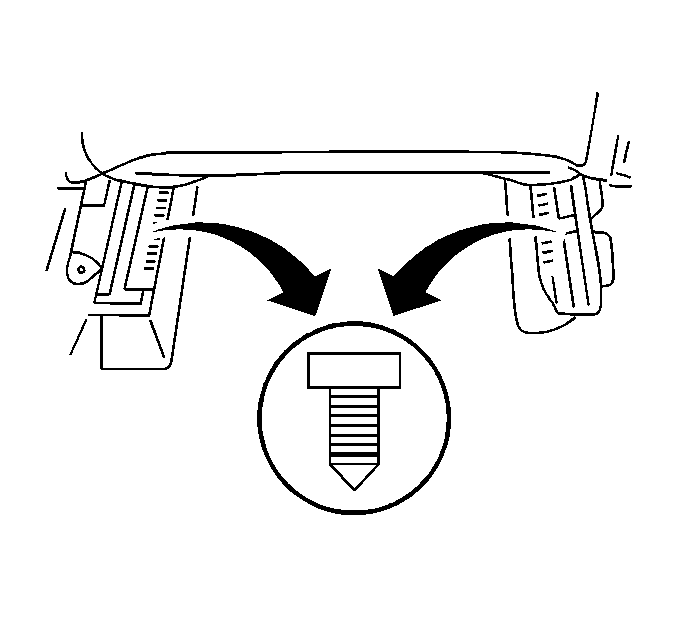
- Remove the rear anchoring bolts from the front seat.
- Position the seat in the full rearward position.
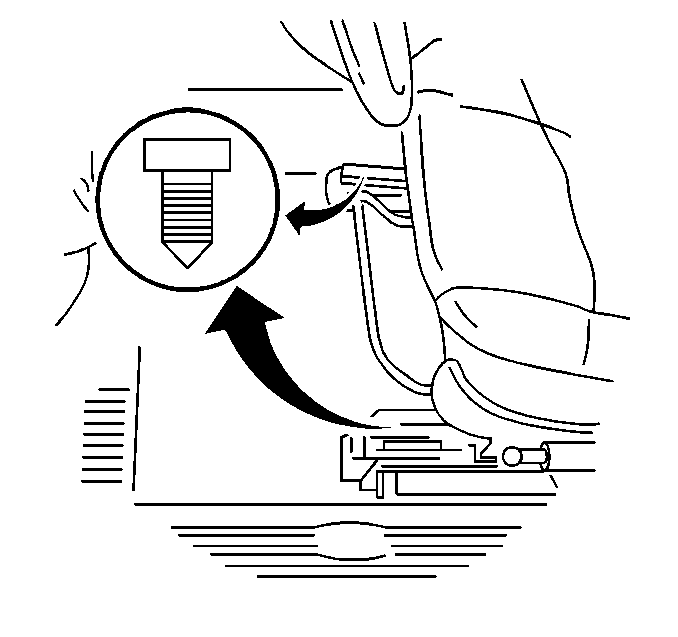
- Remove the front seat anchoring bolts.
- Position the front seat to the center and upright position.
- Remove the seat from the vehicle.


This will allow you to remove the bolts which secure the seat track to the seat frame.
Installation Procedure
- Install the seat to the vehicle.
- Position the seat to the center and upright position.
- Install the front seat anchoring bolts.
- Position the seat in the full forward position.
- Install the rear anchoring bolts to the front seat.
- Install the front seat track trim cover by sliding on.
- Install the screw to the rear trim cover of the front seat tract.
- Return the seat to the original position.
- Connect the wiring connector to the inflatable restraint front seatback module, if equipped.
- Enable the SIR system, if equipped. Refer to Enabling the SIR System .

Notice: Use the correct fastener in the correct location. Replacement fasteners must be the correct part number for that application. Fasteners requiring replacement or fasteners requiring the use of thread locking compound or sealant are identified in the service procedure. Do not use paints, lubricants, or corrosion inhibitors on fasteners or fastener joint surfaces unless specified. These coatings affect fastener torque and joint clamping force and may damage the fastener. Use the correct tightening sequence and specifications when installing fasteners in order to avoid damage to parts and systems.
Tighten
Tighten the front seat anchoring bolts to 25 N·m (19 lb ft).

Tighten
Tighten the front seat anchoring bolts to 25 N·m (19 lb ft).

Tighten
Tighten the screw until fully seated and not stripped.
Driver or Passenger Seat Replacement Right Front
Removal Procedure
- Position the seat in the full forward upright position.
- Disable the SIR system, if equipped. Refer to Disabling the SIR System .
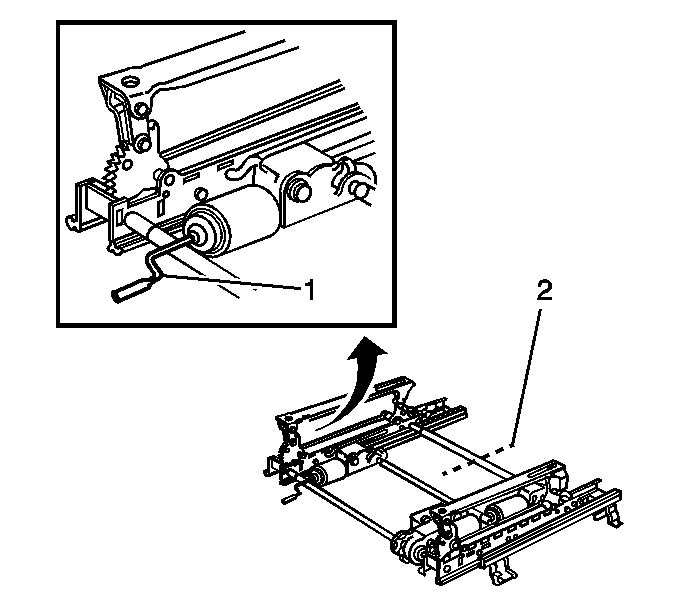
- Perform the following procedures if the height adjuster actuator motor (rear) is seized:
- If the tilt adjuster actuator motor (front) is seized, crank the motor with the emergency tool in the vehicle tool set:
- Remove the screw from the trim cover on the front seat track.
- Remove the trim cover from the front seat track by sliding off.
- Remove the rear anchoring bolts from the front sear.
- Position the seat in the full rearward position and tilted back.
- Remove the front anchoring bolts from the front seat.
- Position the front seat to the center and upright position.
- Disconnect the front seat electrical connectors.
- Remove the front seat from vehicle.

| • | Cut the rear driveshaft. |
| • | Remove the actuator motor in order to raise the seat. |
| • | Replace the driveshaft. |
| • | Cut the rear driveshaft in the location shown. |
| • | Remove the two pieces of the rear driveshaft. |
| • | Remove the height adjuster actuator motor from the seat adjuster (one nut). |
| • | Reinstall the cut driveshafts to the rear seat adjusters on the right and the left sides. |
| • | Manually crank the motor equally in order to gain access to the anchoring bolts in the front or the rear seat. |


When the seat is out of the vehicle, this will enable you to remove the bolts which secure the seat track to the seat frame.
Installation Procedure
- Install the front seat to vehicle.
- Connect the front seat electrical connectors.
- Position the seat to the center and upright position.
- Install the front anchoring bolts to the front seat.
- Position the seat in the full forward and upright position.
- Install the rear anchoring bolts to the front seat.
- Install the trim cover to the front seat track by sliding on.
- Install the screw to the rear trim cover of the seat track.
- Return the seat to its original position.
- Enable the SIR system if equipped. Refer to Enabling the SIR System .

Notice: Use the correct fastener in the correct location. Replacement fasteners must be the correct part number for that application. Fasteners requiring replacement or fasteners requiring the use of thread locking compound or sealant are identified in the service procedure. Do not use paints, lubricants, or corrosion inhibitors on fasteners or fastener joint surfaces unless specified. These coatings affect fastener torque and joint clamping force and may damage the fastener. Use the correct tightening sequence and specifications when installing fasteners in order to avoid damage to parts and systems.
Tighten
Tighten the front anchoring bolt to 25 N·m (19 lb ft).

Tighten
Tighten the rear anchoring bolts to 25 N·m (19 lb ft).

Tighten
Tighten the screw until fully seated and not stripped.
