The following symbols are the most common that appear on the map screen:

Your current vehicle location and direction are shown as this symbol.
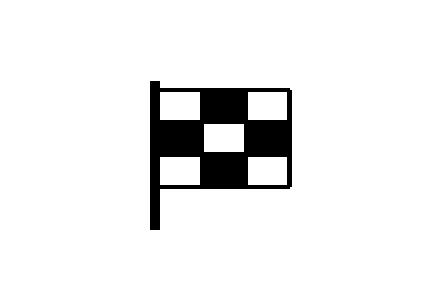
This symbol will appear when a destination has been set. Calculation of a route is not required.
See Plan a Route in Navigation Menu for more information on planning routes.
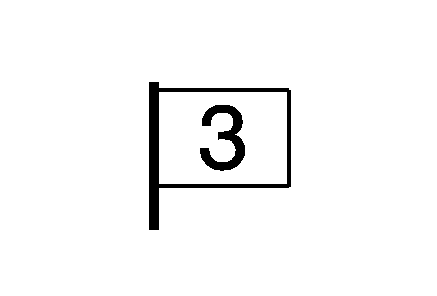
When a waypoint has been entered, you will see this symbol on the map.
The number on the flag indicates the sequence of the waypoints on the route. For more information on waypoints, see "Creating a Trip with Waypoints" under Navigation Menu .
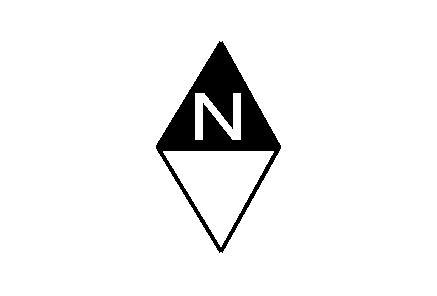
This symbol indicates the map view is North up.
Regardless of the direction of vehicle travel, North always will be up on the screen.
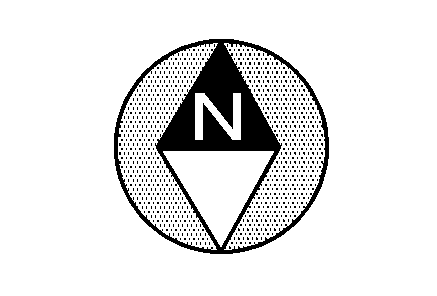
This symbol indicates the map view is vehicle up.
The shaded diamond with the "N" indicates North. Select this prompt to see your vehicle always traveling in an up direction on the screen regardless of compass direction.
A red stick pin appears along a highlighted route of a map screen. It shows a place where turn guidance is provided.
A blue stick pin appears at the starting point of a highlighted route on a map screen if a route calculation is executed when the vehicle is more than 650 feet (200 meters) away from the starting point of the highlighted route. The blue stick pin means that the vehicle is in an area that the roads are not fully digitized and could be incorrect. At the bottom of the blue stick pin will be a red arrow with a green background indicating the direction to the highlighted route. The pin will disappear once the vehicle is on the highlighted route.
The following symbols are the most common symbols that will appear on a map screen.
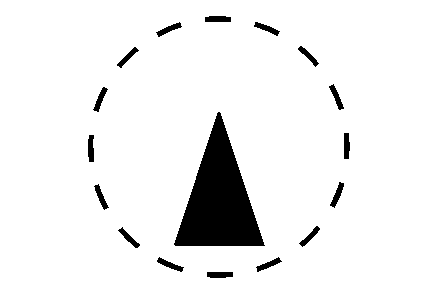
Your vehicle is shown as this symbol. It indicates the current position and heading direction of your vehicle on the map screen.

This symbol will appear on the map screen after a route has been planned showing your final destination location.

When a waypoint has been planned, you will see this type of symbol on the map screen.
The waypoint symbol will be numbered from one through five depending on how many waypoints have been set.
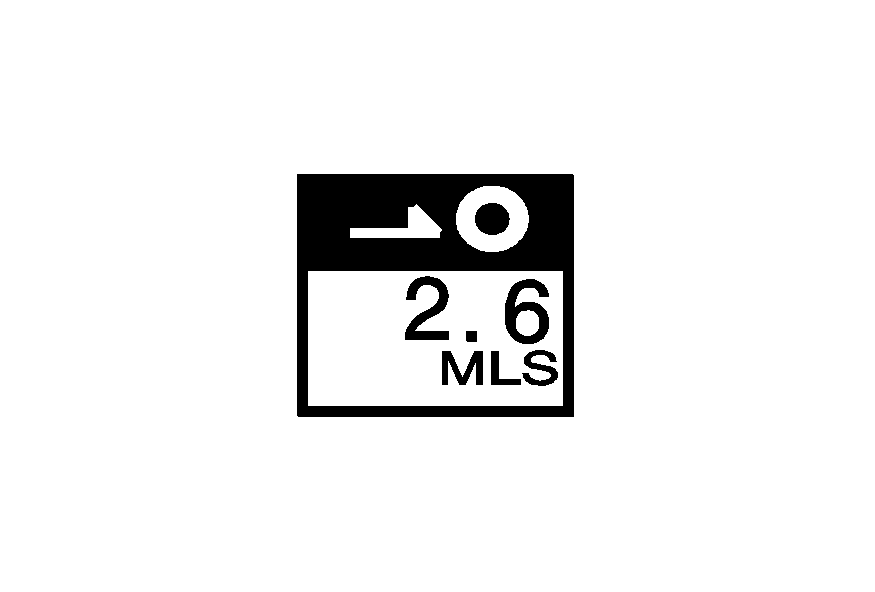
This symbol indicates the distance to your final destination.
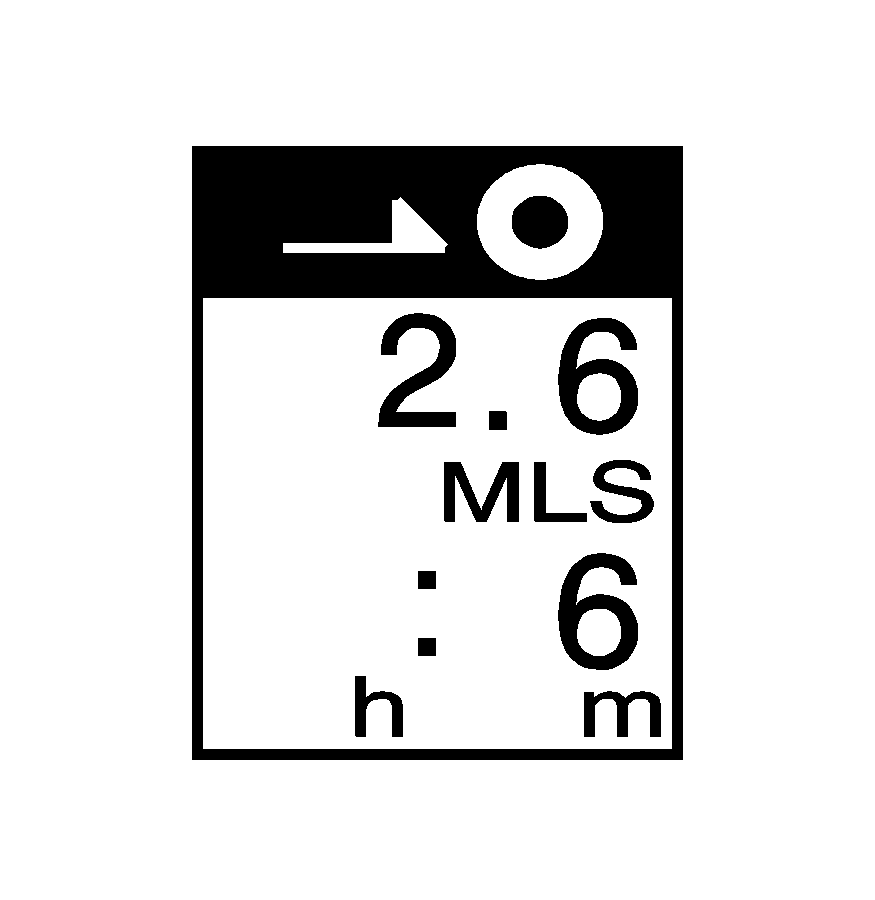
This symbol indicates the distance and the estimated time remaining to your final destination when the Estimated Travel Time function is selected to be on.
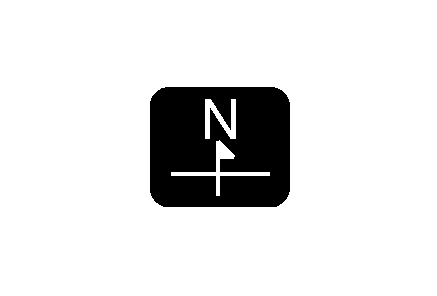
This symbol indicates the vehicle icon is in "north up" direction.
Regardless of the direction of vehicle travel, the vehicle icon will always follow the north compass direction.
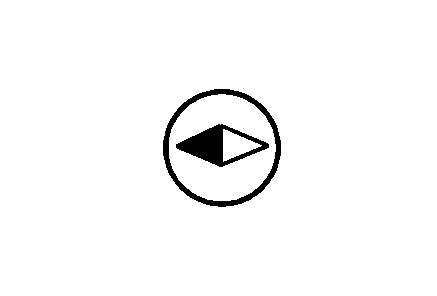
This symbol indicates the vehicle icon is in "heading up" direction.
Select this view to see your vehicle icon always traveling in an up direction on the map screen regardless of compass direction.
Touching either the North Up heading or the Vehicle Up heading to alternate between settings.
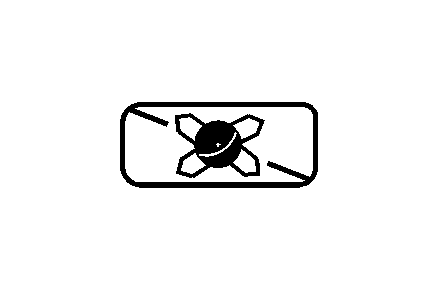
This symbol is displayed whenever the Navigation System is unable to utilize the GPS signal.
See Global Positioning System (GPS) for more information.
When a point of interest or street address name is too long to be displayed, an arrow symbol will appear.
Touch the right or left arrow button to scroll through the entire name.

This symbol indicates the position of the next turn instruction.
Auto Reroute
When your destination is set and you are off the planned route, the system will automatically begin to reroute. You will be able to see the new route highlighted on the screen.
Traveling Across Regions
If you plan to drive across many states, you may have to change the region selected to represent the area you are traveling to.
There are two ways you can plan a destination when traveling across regions.
This first method is suggested and provides the most route guidance and map display functions of the two methods.
First Method
- Change the selected region in the search area when you get closer to the area you are traveling to. See "Setting the Search Area" under Maps .
- Enter your destination and route settings. See Plan Route for more information.
For example, if you were traveling from Michigan to Florida, change the region currently selected in the search area to Florida. Enter a destination in Florida under the ENTER DESTINATION menu.
Second Method
Keep your currently selected region in the search area and enter your destination. This method allows you to only select a destination from the Easy Planning Route method or from the All Points of Interest (POI) categories with the "All Search Areas" comment (US Only). For example, tourist is a category that features this comment. See Easy Planning Route for more information.
If you are traveling in or to Canada and you cross the regional border the only map scale views available are 4 mi, 8 mi, 31 mi, and 128 mi (8 km, 16 km, 64 km and 256 km). Change the selected region in the search area when you get closer to the area you are traveling to. See "Setting the Search Area" under Maps for more information.
Using the Remote Keyless Entry (RKE) Transmitter
When you insert your key into the ignition, you will see Driver 1 or Driver 2 displayed on the screen. If the driver is unknown, a message will not appear on the screen. The number on the back of the RKE transmitter corresponds to driver 1 or driver 2. The Navigation System can store memory points for driver 1 and 2 individually. See Easy Planning Route for more information.
Cellular Phone
When using the factory-installed cellular phone, the navigation voice prompts and audio will be turned off during a call. For information on the cellular phone, refer to your cellular phone owner manual or contact your dealer.
OnStar®
When using the OnStar® system, the audio system will be muted and the navigation voice prompts will be disabled during the call. The volume of the OnStar® call can be adjusted by using the steering wheel volume controls. See "OnStar® System" in the Features and Controls section of your owner manual for more information.
