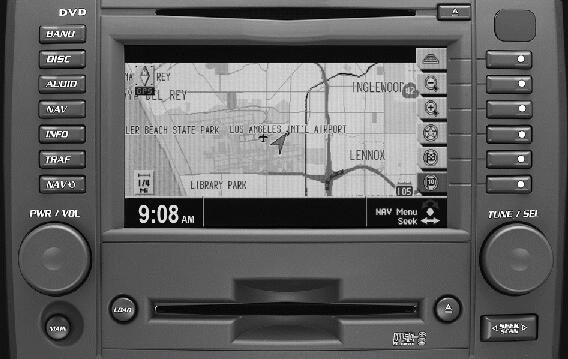
With the Navigation System, you can do the following:
| • | Plan a trip and provide turn-by-turn route and map guidance with voice prompts, |
| • | select a destination from various areas and choices (i.e. street addresses, intersections, destinations stored in memory, points of interest, etc.), and |
| • | receive broadcast announcements on traffic and emergency alert communications. |
The Navigation System is designed to assist you while driving, but it is possible that the information in the system may not always be complete or accurate. Road conditions, such as no turns, detours and construction zones, change frequently. It is important to consider whether or not you can follow the directions given by the system for the current conditions.
The Navigation System display and controls are located in the center of the instrument panel. In this section, you will learn more about using this system.
Navigation System Controls
Use the following controls and screens to operate the Navigation System.
PWR/VOL (Power/Volume) Knob
Press the PWR/VOL knob located to the lower left of the screen to turn the system on or off. Turn the knob to increase or decrease the volume level of the audio system or the volume of a voice prompt while the prompt is playing. See Navigation Audio System for more information.
NAV (Navigation) Button
Press this button to go to the Navigation Menu screen.
The map screen that appears will show the following information if no route has been planned:
| • | Vehicle position, |
| • | the North up, heading up, or Birdview™ symbol (compass symbol) in the upper left of the screen, |
| • | the audio source (FM1, CD, etc.) or clock in the lower left corner of the screen, |
| • | the map scale, and |
| • | the GPS icon. |
If a route has been planned, the first press of the NAV button will also display the following:
| • | The number of miles/km that remain until you reach your final destination. |
| • | The estimated time it should take to reach your destination. |
| • | The highlighted destination or turn-by-turn instructions. |
Each time the NAV button is pressed, the multi-function descriptions at the right of the display will "expand" to show a detailed description of each one. After approximately 10 seconds, the prompts will return to their normal appearance.
NAV (Navigation) Repeat Button
NAV : Press this button, located to the left of the screen, to hear a guidance prompt. A route must already be planned for this to work. This button will also restart a paused route. You can also press this button to display the band and radio station frequency while you are in navigation mode.Navigation Multi-Function Buttons
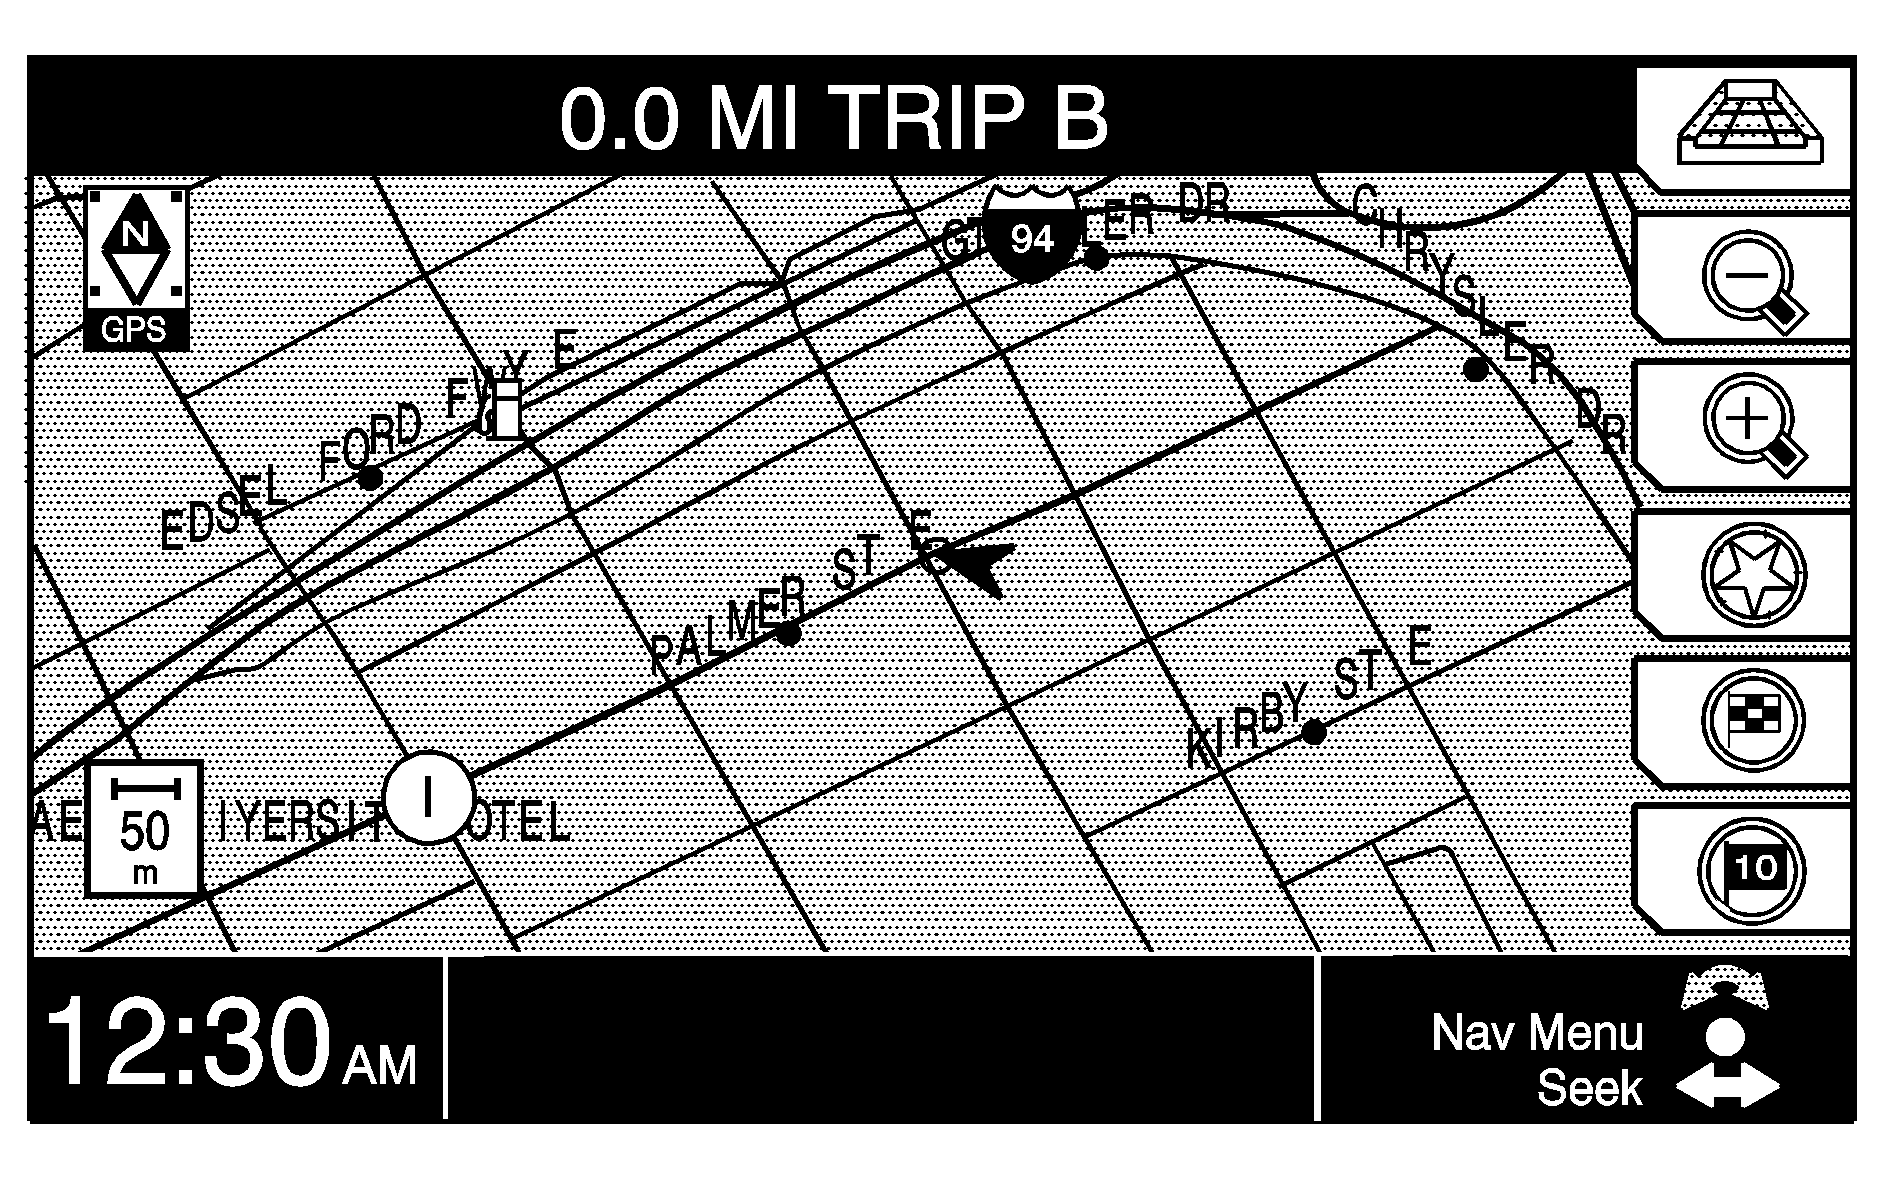
In addition to the buttons to the left of the navigation screen, there are six multi-function buttons located to the right of the screen. Each one has a dot on it. Use these buttons to select the following prompts:
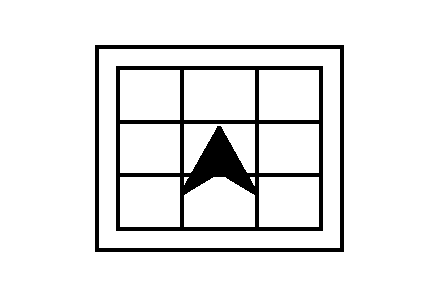
This multi-function button allows you to switch between a "north up," "heading up" or "bird's eye view" of the map. This symbol changes to reflect the next available view.
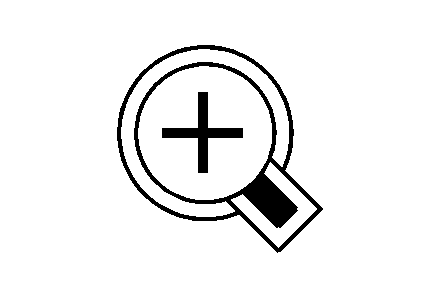
Press the multi-function button next to the Zoom In prompt to get a closer look at the currently displayed map.
Press the multi-function button next to the Zoom Out prompt to see a larger scale of the currently displayed map.
You can also view your highlighted route, waypoints if any have been set or the vehicle trail if you have turned the tracking feature on.
If you zoom out of the currently displayed map and the tracking feature is on, you will not be able to view the trail of your vehicle on the larger scale map. See Navigation Menu for more information.

This multi-function button allows you to view a list of all points of interest close to the area in which you are traveling.
This multi-function button takes you to the Enter Dest (Destination) screen.
This multi-function button allows you to view a list of the last 10 destinations to which you have traveled.
This multi-function button allows you to detour around a problem area while you are traveling on a planned route.
You can choose the length of the detour. If you have a planned route and would like to see if there is a possible option to your current heading, you may also use this multi-function button to activate the auto-reroute feature. The system may then be able to give you alternate routes to the one currently planned.
This multi-function button instructs the system to begin planning a route for you based on the criteria you have entered into the system.
Navi (Navigation) System Startup Screen
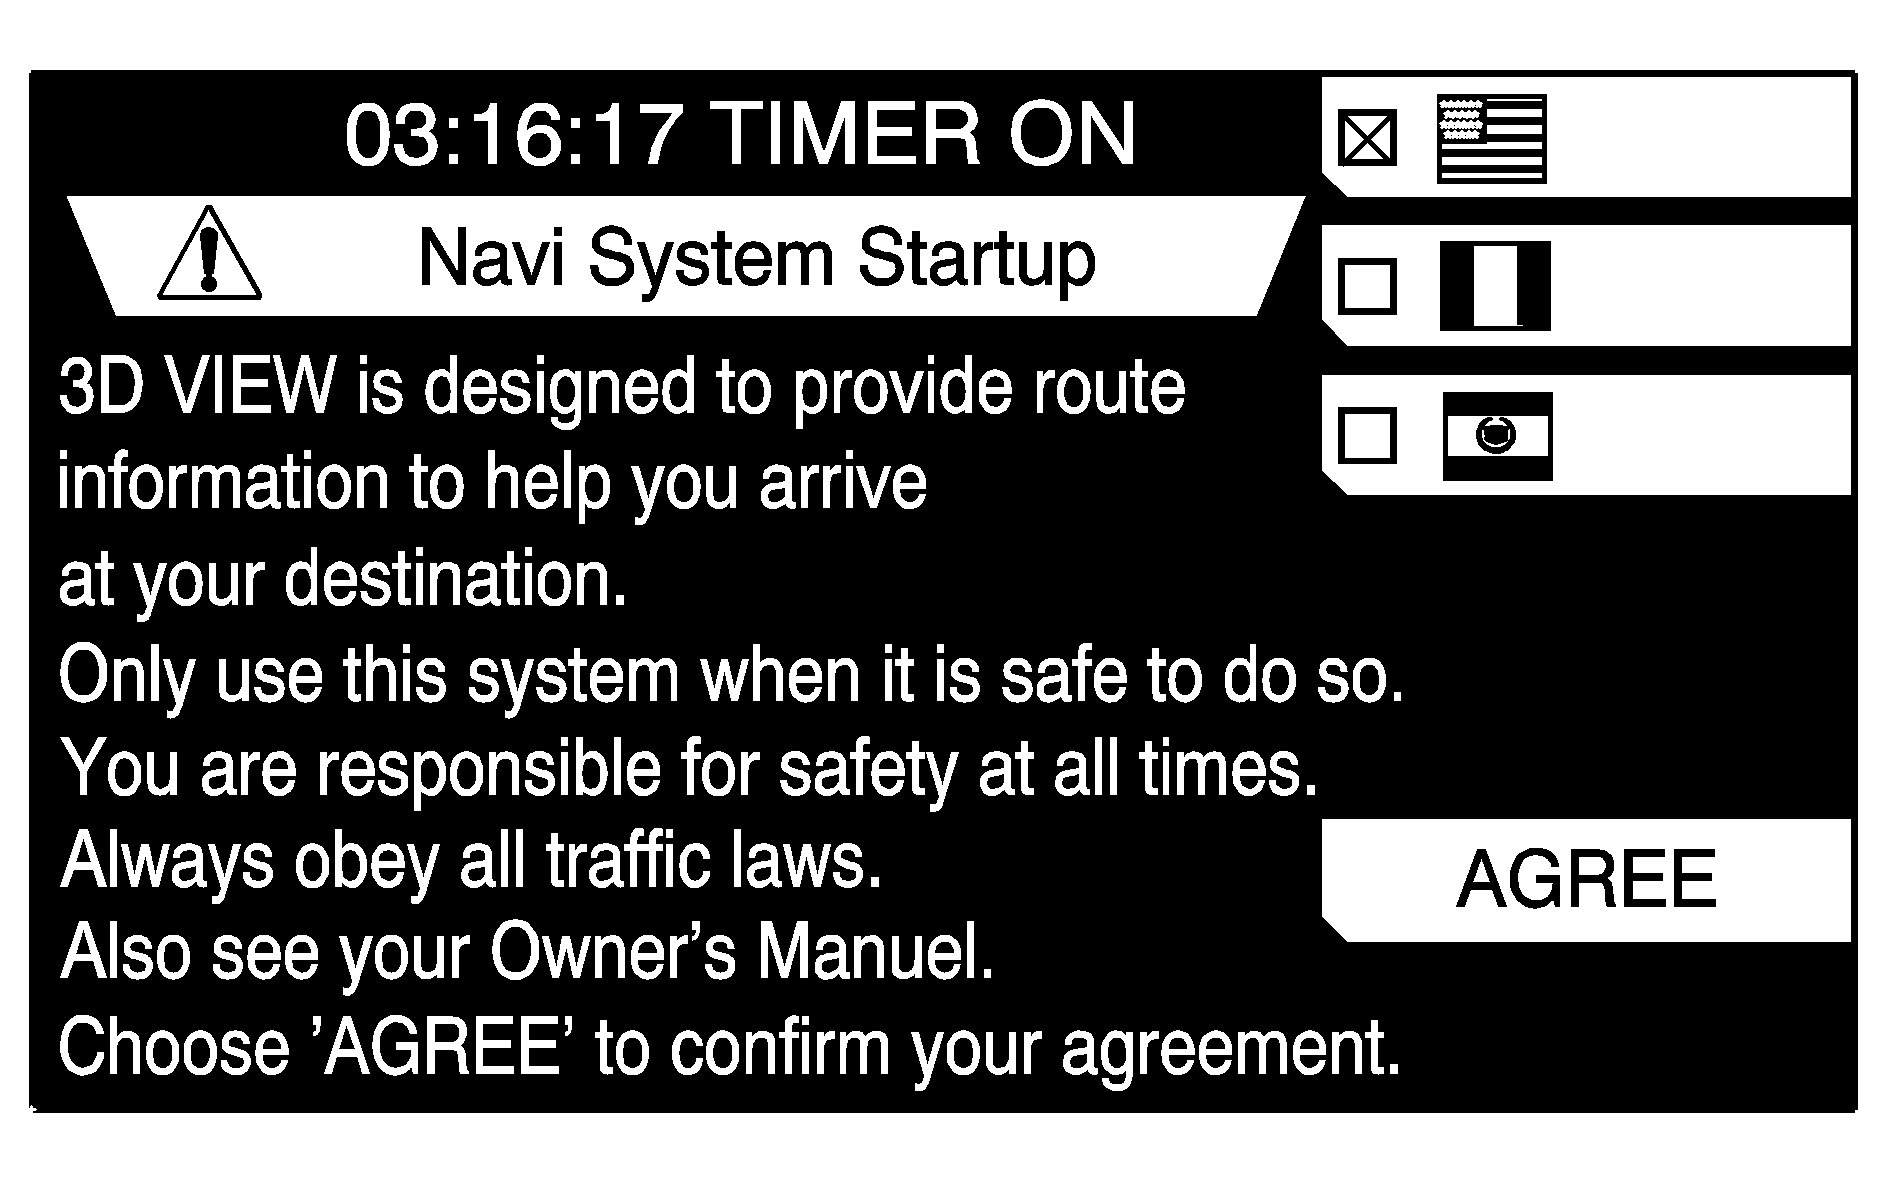
This screen appears the first time you access the Navigation System. Press the Agree multi-function button to use the navigation portion of the system.
You can also change the language used by the system. To change the language, press the multi-function button associated with the desired language. An X will appear next to your choice, and all system related language will change. See Setup Menu for more information.
Alpha-Numeric Bar
The letters, symbols and punctuation available to you are displayed on the alpha-numeric bar. The bar will automatically be available to you whenever the system needs information from you. You can cycle through the list of characters by turning the TUNE/SEL knob located to the lower right of the screen. To set your selection, press the knob once.
To enter a space between characters or words, turn the TUNE/SEL knob past the alpha characters and numerals until you reach the space symbol. It is a dark rectangle.
To make your name selections easier, the system will only allow you to select a character that can follow the last one you selected. For example, if you enter Z, you wouldn't be allowed to follow it with T. The system will only display the available characters.
The numbers available to you are at the end of the alpha-numeric bar. Turn the TUNE/SEL knob clockwise past the alpha characters to reach the numbers. You can cycle through the list turning the TUNE/SEL knob and make selections by pressing the knob once.
If you select an incorrect character, press the multi-function button next to the Backspace prompt.
If you are unsuccessful when inputting a name or word, it may need to be selected differently. It is possible that the map database may not contain that information. See Database Coverage Explanations for more information.
