For 1990-2009 cars only
Removal Procedure
Caution: In order to avoid personal injury or vehicle damage when you repair or replace the carpet, use the same thickness and material size as the original installation. Always return the carpet to the original location.
- Remove the front seats. Refer to Seat Replacement in Seats.
- Remove the rear seat cushion. Refer to Rear Seat Cushion Replacement in Seats.
- Remove the center trim panel.
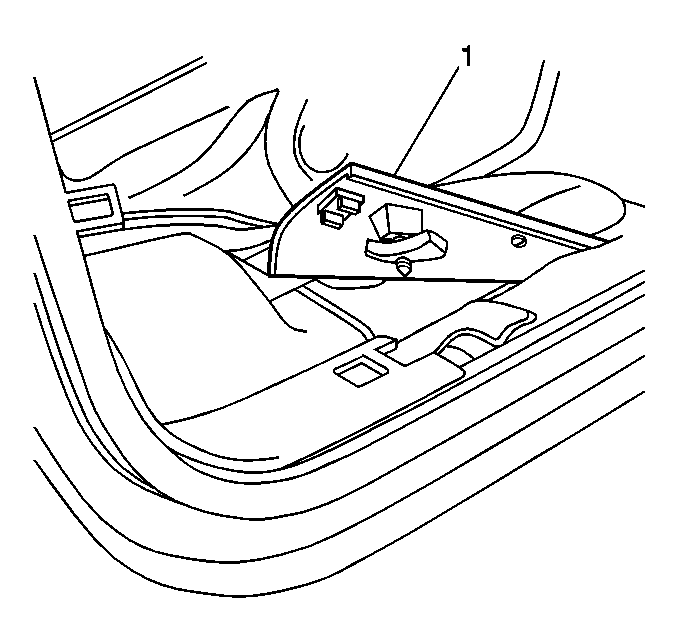
- Remove the front sill plate (1).
- Remove the rear sill plate.
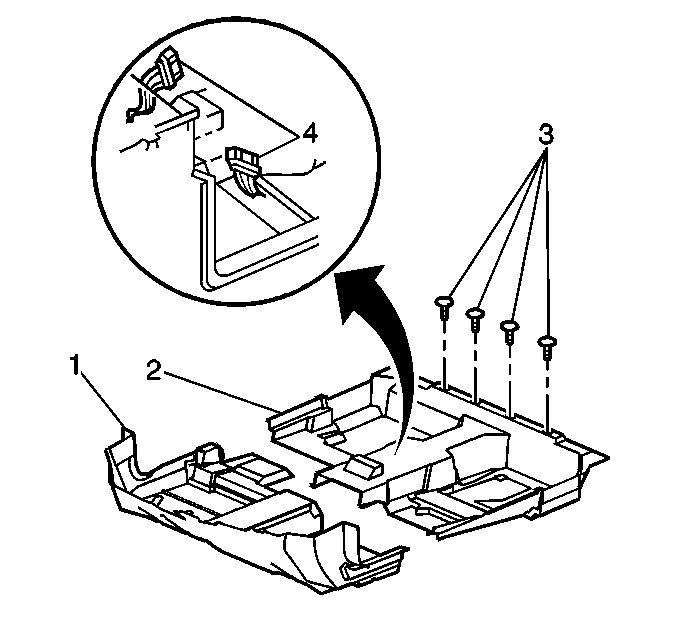
- Disconnect the electrical connectors (4).
- Remove the carpet retainers (3).
- Remove the center console, if equipped. Refer to Console Replacement in Instrument Panel, Gauges and Console.
- Remove the floor carpet (1,2).


Installation Procedure
Caution: In order to avoid personal injury or vehicle damage when you repair or replace the carpet, use the same thickness and material size as the original installation. Always return the carpet to the original location.
- Install the floor carpet (1,2).
- Install the center console, if equipped. Refer to Console Replacement in Instrument Panel, Gauges and Console.
- Install the carpet retainers (3).
- Connect the electrical connectors (4).
- Install the front sill plate (1).
- Install the rear sill plate.
- Install the center trim panel.
- Install the front seat. Refer to Seat Replacement in Seats.
- Install the rear seat cushion. Refer to Rear Seat Cushion Replacement in Seats.

Important: Align the carpet correctly. Take the following precautions:
• Ensure that the carpet does not cover any contact points. • Ensure that the seat has metal-to-metal contact with no carpet
bunching underneath the seat.


