For 1990-2009 cars only
Removal Procedure
- Pull up on control boot until indicator bezel disengages from console.
- Remove the console. Refer to Console Replacement in Instrument Panel, Gages and Console.
- Using a screwdriver, disconnect the control cable from the control assembly.
- Disconnect the electrical connector from the indicator bezel.
- Remove the control cable retaining clip.
- Press the tabs on the control cable and remove the cable from the control assembly.
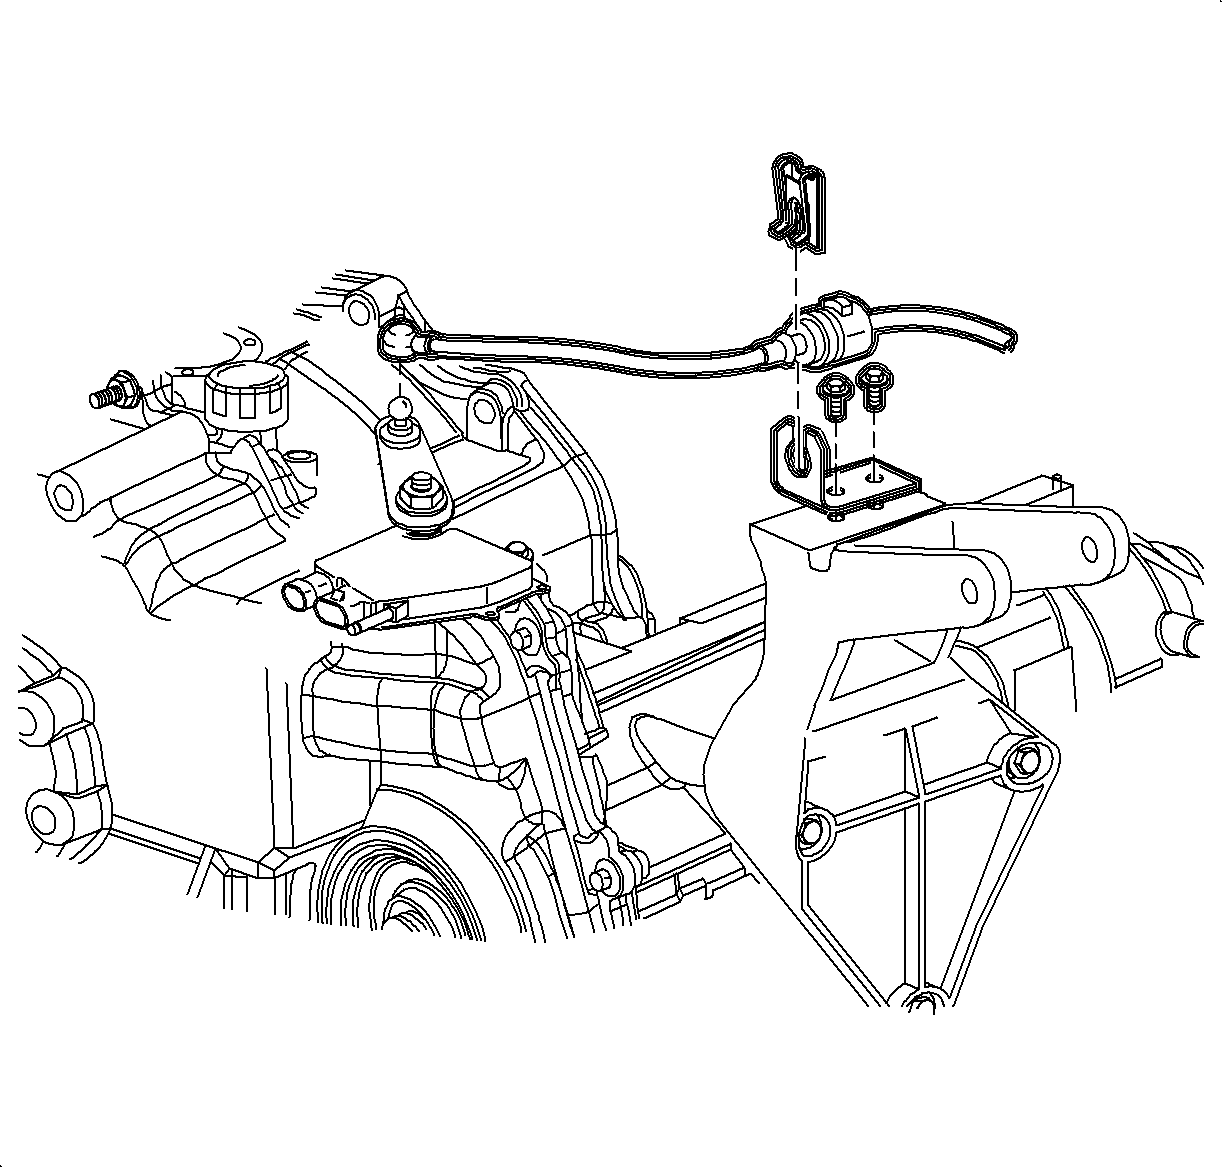
- Disconnect the control cable from the transaxle range switch lever.
- Remove the control cable retaining clip.
- Press the 2 tabs on the control cable and remove the cable from the control cable bracket.
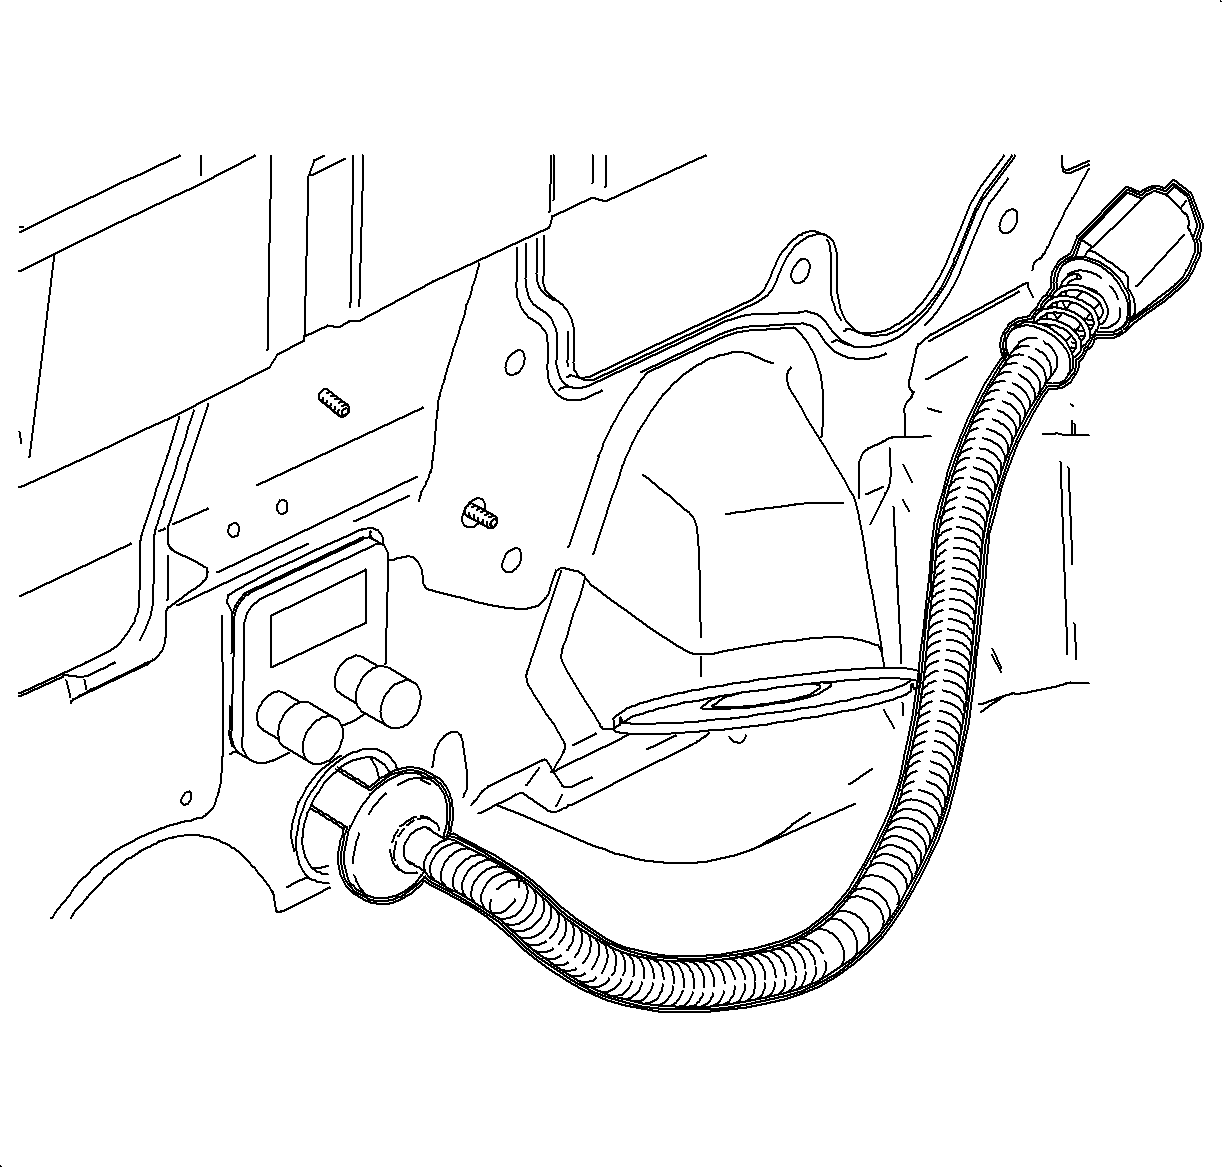
- Remove the control cable grommet from the dash panel.
- Remove the control cable from the vehicle.


Installation Procedure
- Guide the control cable through the pass-through in the dash panel.
- Secure the control cable grommet by pressing the cable into the pass-through hole in the dash panel.
- Route the control cable through the cable bracket on the powertrain mount, and secure the cable into the bracket.
- Install the control cable retaining clip.
- Connect the control cable end to the control assembly lever.
- Connect the control cable to pin on the control assembly.
- Secure the control cable into the control assembly by pushing into place.
- Install the control cable retaining clip.
- Install the console. Refer to Console Replacement in Instrument Panel, Gages and Console.
- Adjust the control cable assembly. Refer to Shift Control Cable Adjustment .


