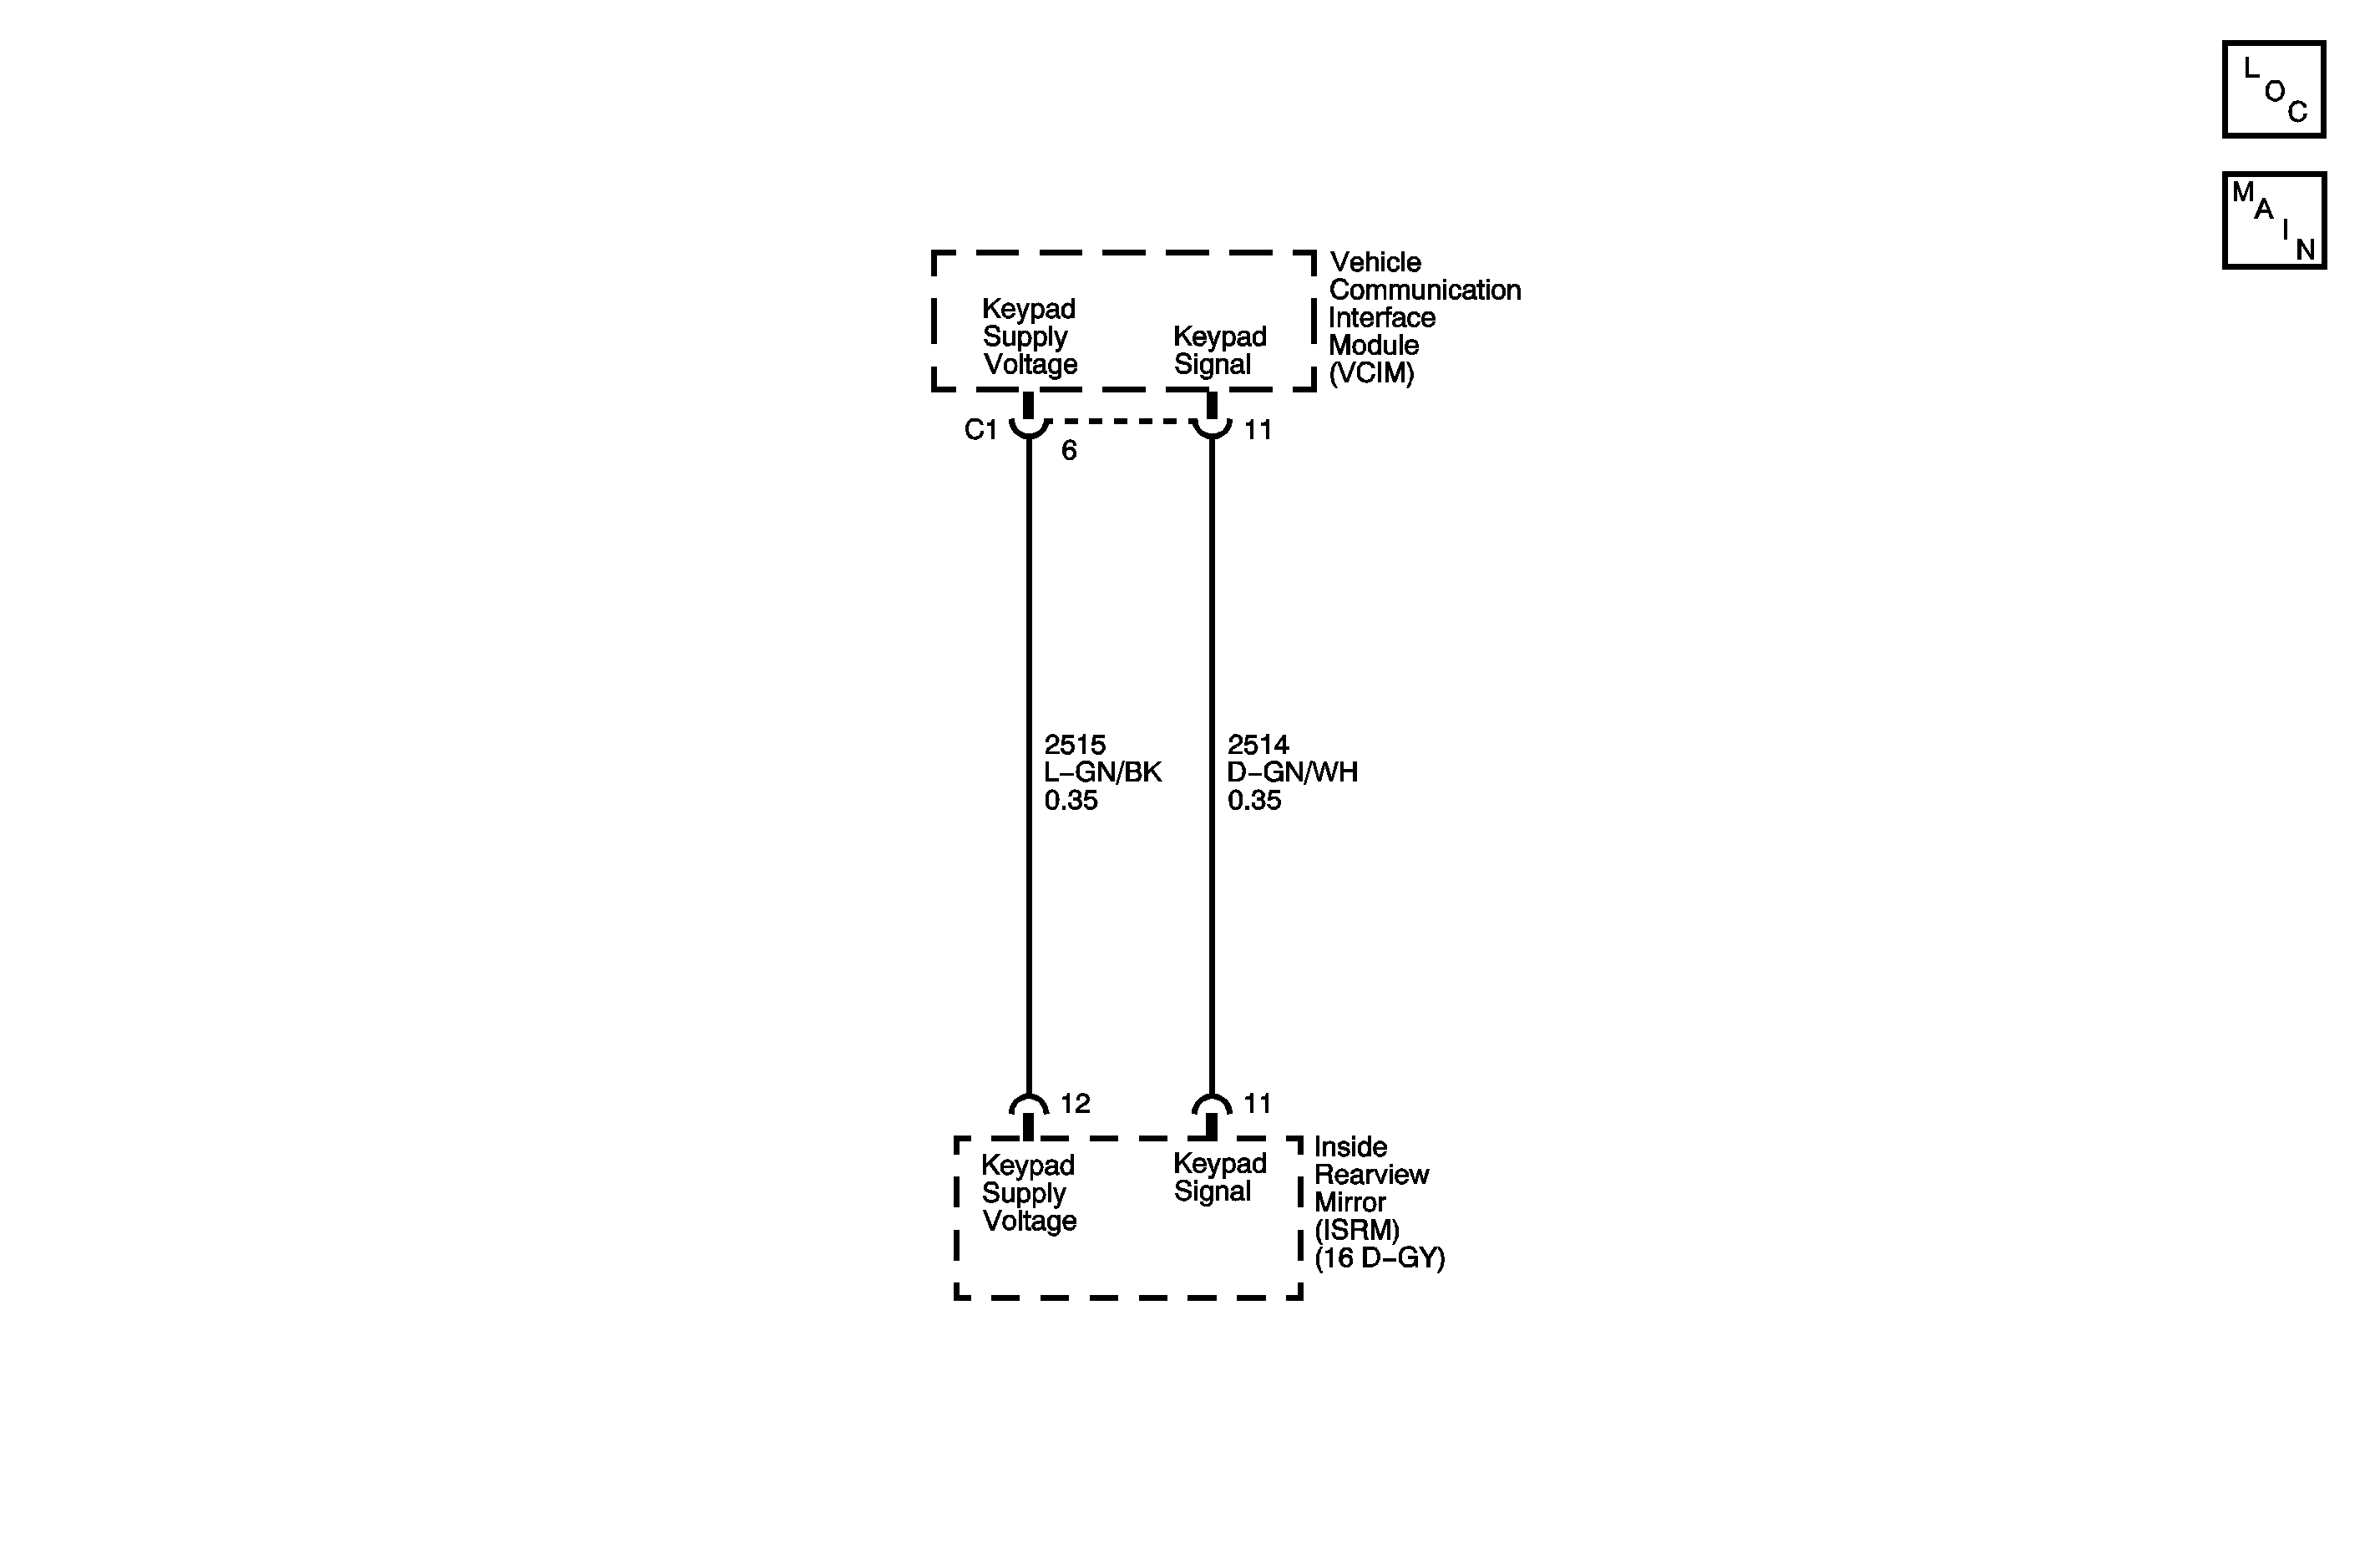
Circuit Description
The OnStar® button assembly consists of 3 buttons: Call/Answer, OnStar® Call Center and OnStar® Emergency. Ten volts is supplied to the button assembly on the keypad supply voltage circuit. Each of the buttons, when pressed, completes the circuit across a resister allowing a specific voltage to be returned to the vehicle communication interface module (VCIM) on the keypad signal circuit. Depending upon the voltage range returned, the VCIM is able to identify which button has been pressed.
Conditions for Running the DTC
| • | The ignition must be in the RUN or ACC position. |
| • | The system voltage is at least 9.5 volts and no more than 15.5 volts. |
| • | All the above conditions are present for greater than 15 seconds. |
Conditions for Setting the DTC
| • | A button is pressed or stuck for more than 15 seconds. |
| • | The above conditions are present for greater than 15 seconds. |
Action Taken When the DTC Sets
| • | The VCIM will ignore all inputs from the OnStar® button assembly. |
| • | No calls can be placed. |
| • | The OnStar® status LED turns RED. |
Conditions for Clearing the DTC
| • | The button will be declared unstuck after a 50 ms normal cycle. |
| • | A history DTC clears after 50 malfunction free ignition cycles. |
| • | The VCIM receives the clear DTC command from the scan tool. |
Test Description
The number below refers to the step number on the diagnostic table.
Step | Action | Value(s) | Yes | No |
|---|---|---|---|---|
Schematic Reference: OnStar Schematics Connector End View Reference: Cellular Communication Connector End Views | ||||
1 | Did you perform the Cellular Communications Diagnostic System Check? | -- | Go to Step 2 | |
Does the voltage measure greater than the specified value? | 0 V | Go to Step 3 | Go to Step 4 | |
3 | Test the keypad signal circuit for a short to voltage or high resistance. Refer to Circuit Testing and Wiring Repairs in Wiring Systems. Did you find and correct the condition? | -- | Go to Step 9 | Go to Step 5 |
4 | Test the keypad supply voltage circuit for an open or short. Refer to Circuit Testing and Wiring Repairs in Wiring Systems. Did you find and correct the condition? | -- | Go to Step 9 | Go to Step 6 |
5 | Inspect for poor connections at the harness connector of the rearview mirror. Refer to Testing for Intermittent Conditions and Poor Connections and Connector Repairs in Wiring Systems. Did you find and correct the condition? | -- | Go to Step 9 | Go to Step 7 |
6 | Inspect for poor connections at the harness connector of the VCIM. Refer to Testing for Intermittent Conditions and Poor Connections and Connector Repairs in Wiring Systems. Did you find and correct the condition? | -- | Go to Step 9 | Go to Step 8 |
7 | Replace the rearview mirror. Refer to Inside Rearview Mirror Replacement in Stationary Windows. Did you complete the replacement? | -- | Go to Step 9 | -- |
8 |
Important: Perform the OnStar setup procedure. Replace the VCIM. Refer to Communication Interface Module Replacement . Did you complete the replacement? | -- | Go to Step 9 | -- |
9 |
Does the DTC reset? | -- | Go to Step 2 | System OK |
