For 1990-2009 cars only
Radiator Outlet Hose Replacement L61
Removal Procedure
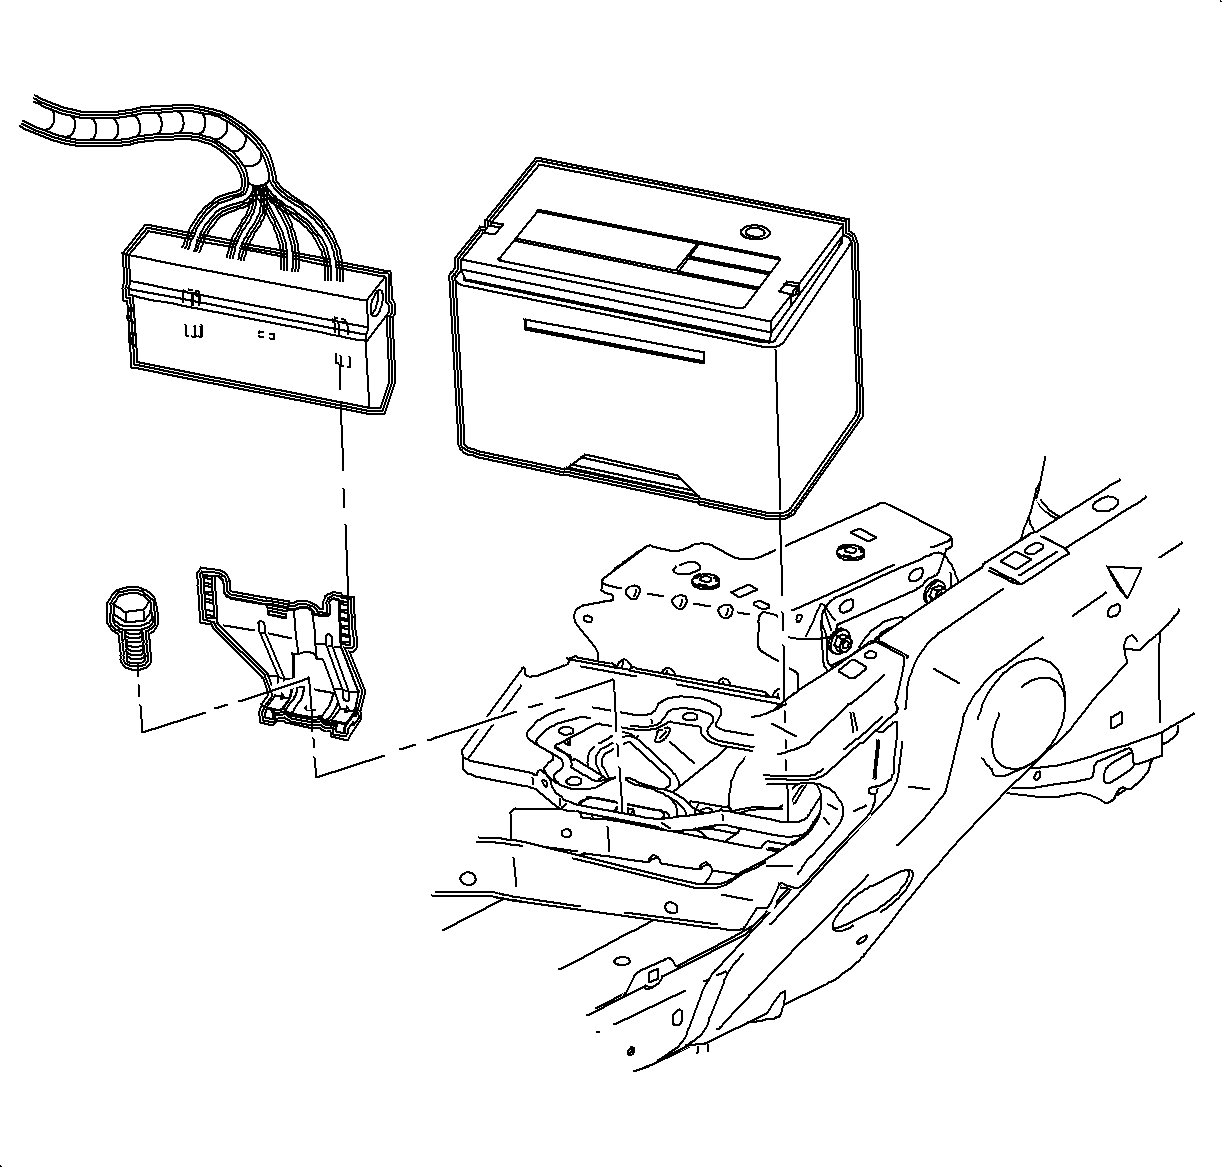
- Remove the battery. Refer to Battery Replacement in Engine Electrical.
- Drain the coolant. Refer to Cooling System Draining and Filling .
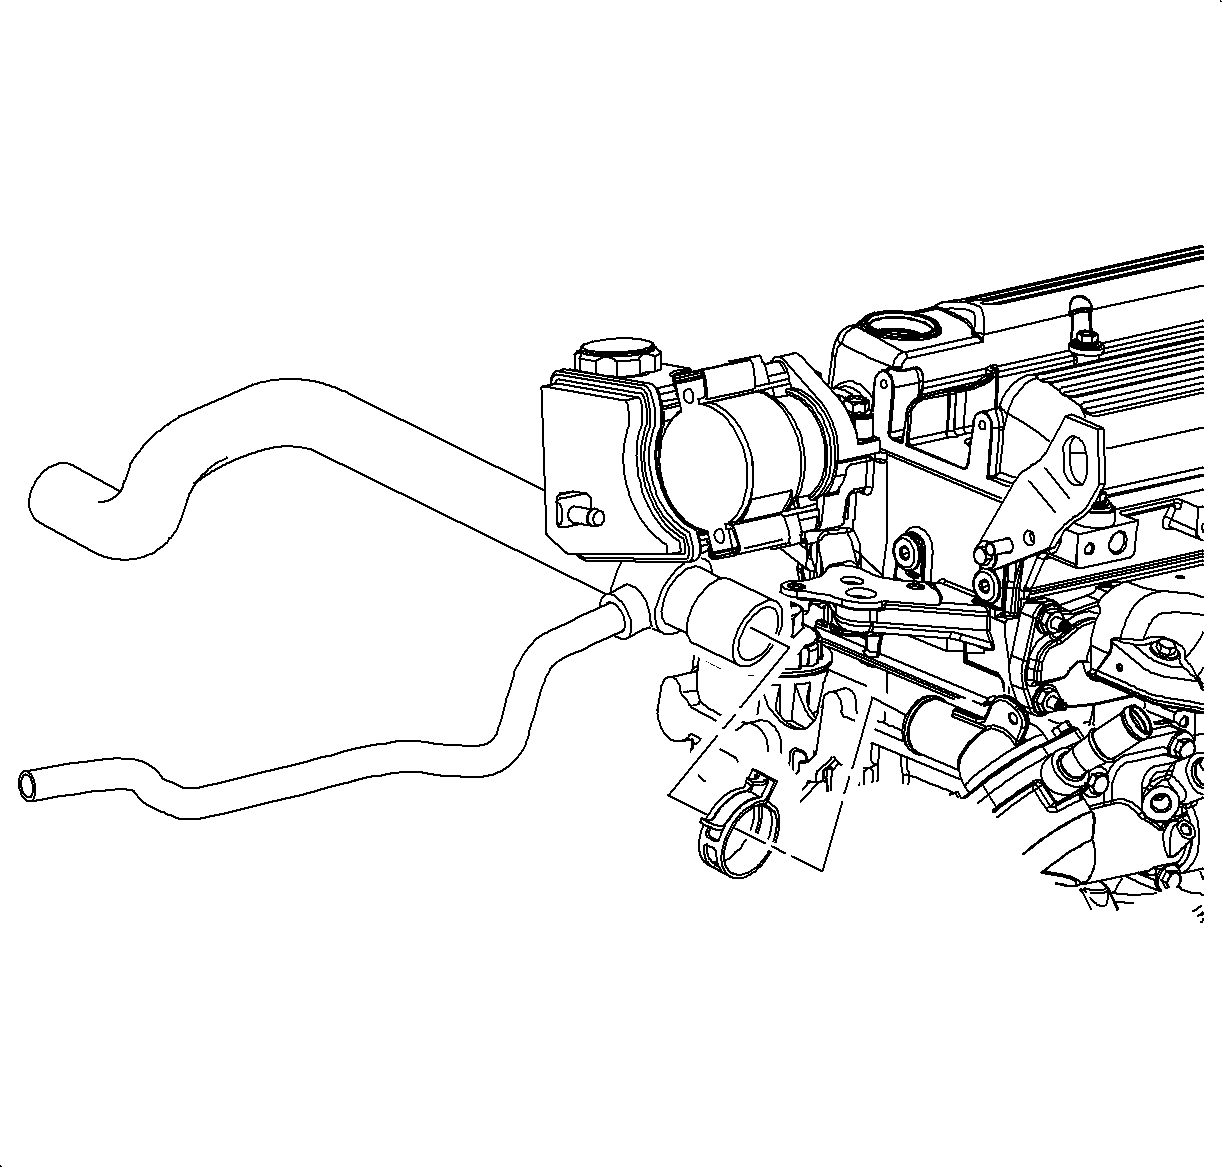
- Remove the clamp which secures the lower radiator hose to the engine block.
- Remove the lower radiator hose from the engine block.
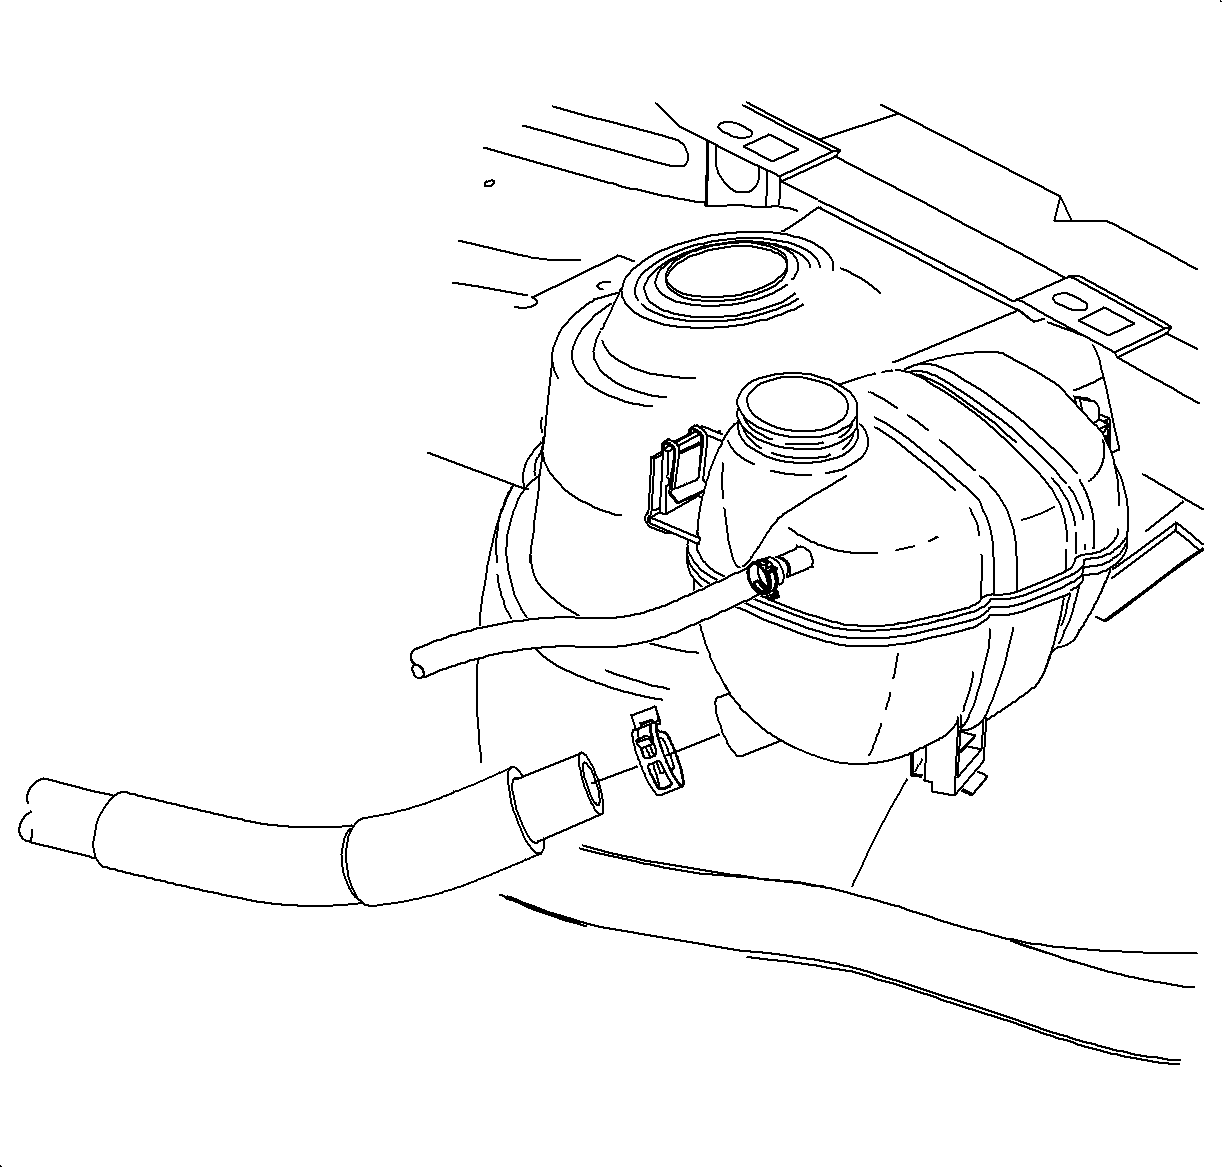
- Remove the clamp which secures the return hose to the surge tank.
- Remove the return hose from the surge tank.
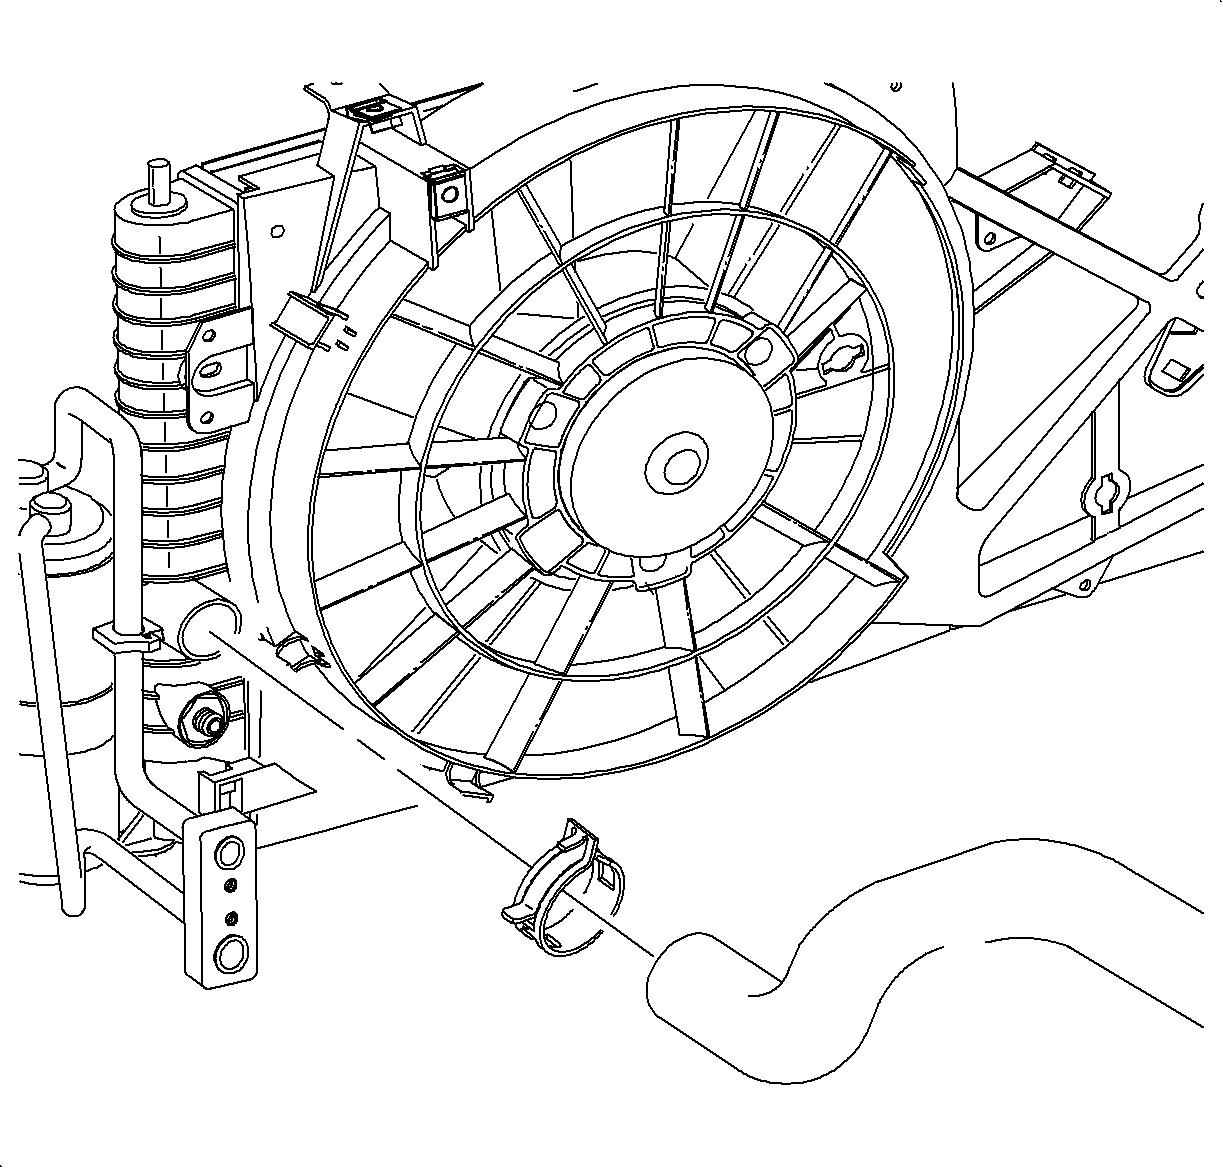
- Remove the clamp which secures the lower radiator hose to the radiator.
- Remove the lower radiator hose from the radiator.
- Remove the clamp which secures the lower radiator hose to the engine bracket.
- Remove the lower radiator hose.
Installation Procedure
- Position the lower radiator hose into the engine bracket clamp.
- Install the lower radiator hose to the engine block.
- Install the lower radiator hose clamp to the 1 o'clock position.
- Install the return hose to the surge tank.
- Install the return hose clamp to the 2 o'clock position.
- Install the lower radiator hose to radiator outlet.
- Install the lower radiator hose clamp to the 12 o'clock position.
- Secure the lower radiator hose into the engine bracket clamp.
- Install the battery. Refer to Battery Replacement in Engine Electrical.
- Fill the coolant. Refer to Cooling System Draining and Filling .

Important: The white line on the hose should be installed at the 12 o'clock position.


Important: The white line on the hose should be installed at the 12 o'clock position.
Radiator Outlet Hose Replacement L81
Removal Procedure
- Remove the battery. Refer to Battery Replacement in Engine Electrical.
- Drain the coolant. Refer to Cooling System Draining and Filling .
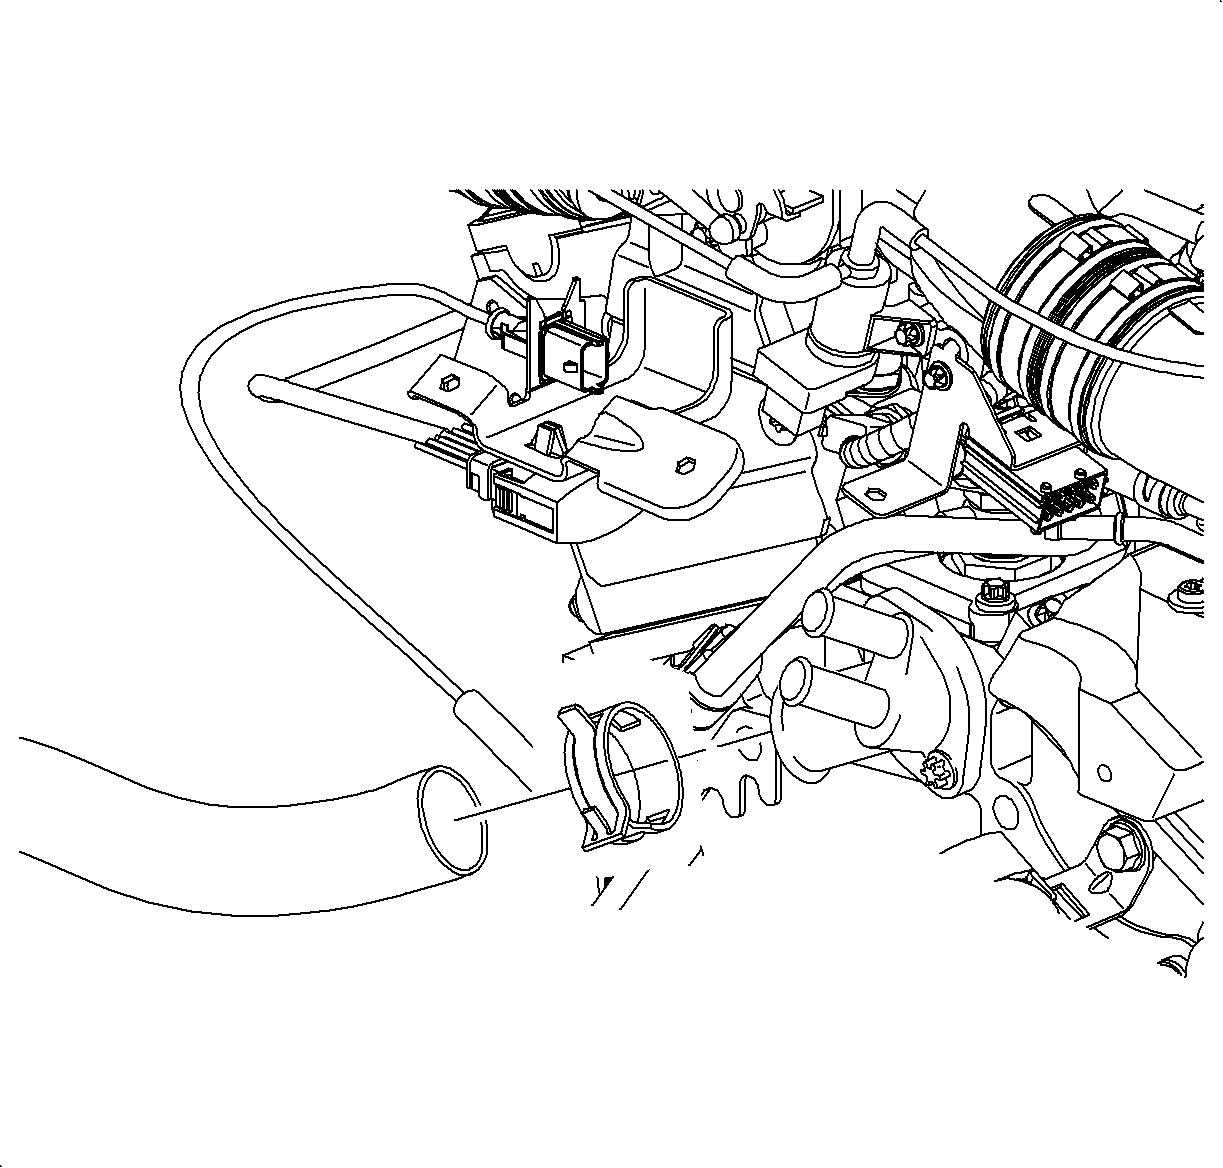
- Remove the clamp which secures the lower radiator hose to the engine block.
- Remove the lower radiator hose from the engine block.
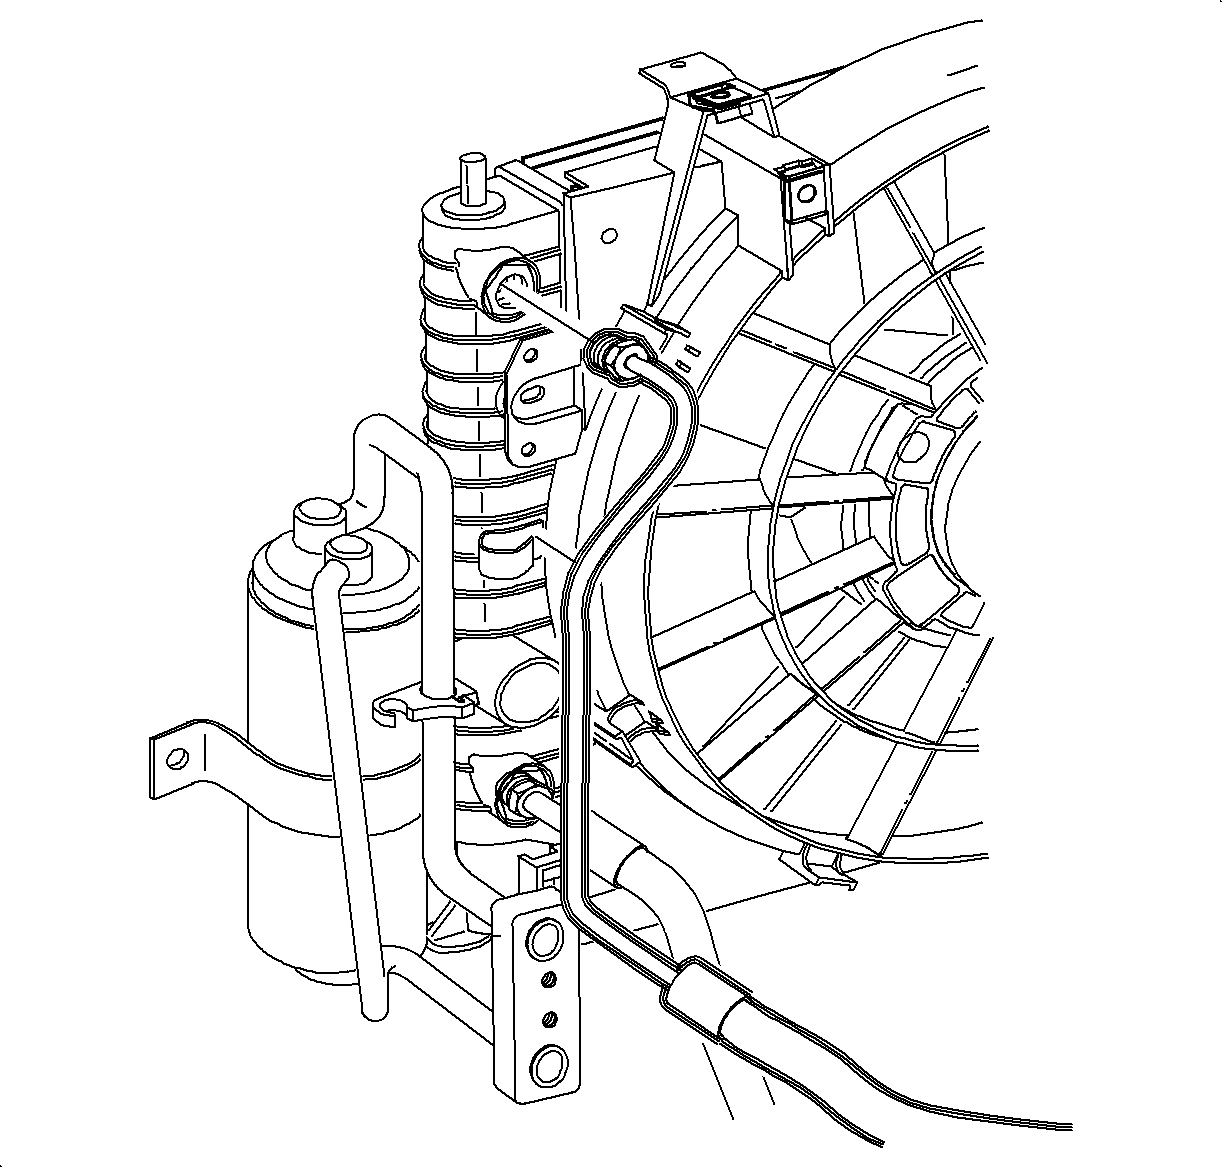
- Remove the upper transaxle cooler line from the radiator.
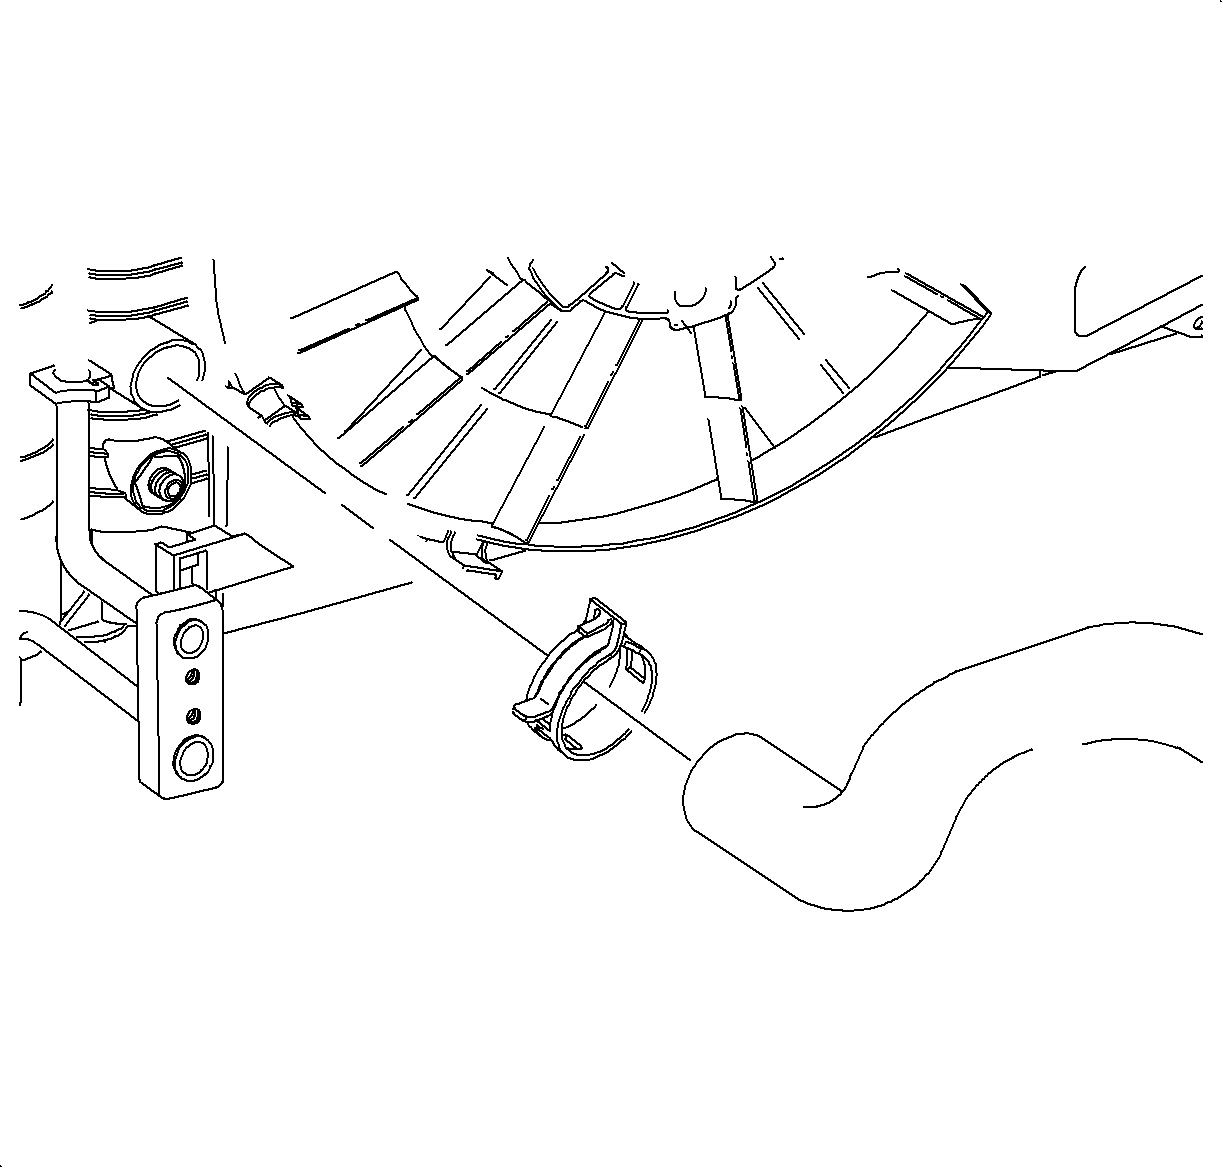
- Remove the lower radiator hose clamp.
- Remove the lower radiator hose from the radiator.
- Remove the clamp which secures the lower radiator hose to the wiring harness.
Installation Procedure
- Install the lower radiator hose to the engine block fitting.
- Install the lower radiator hose clamp at the 1 o'clock position.
- Install the lower radiator hose to the radiator.
- Install the lower radiator hose clamp at the 11 o'clock position.
- Install the lower radiator hose into the wiring harness clamp.
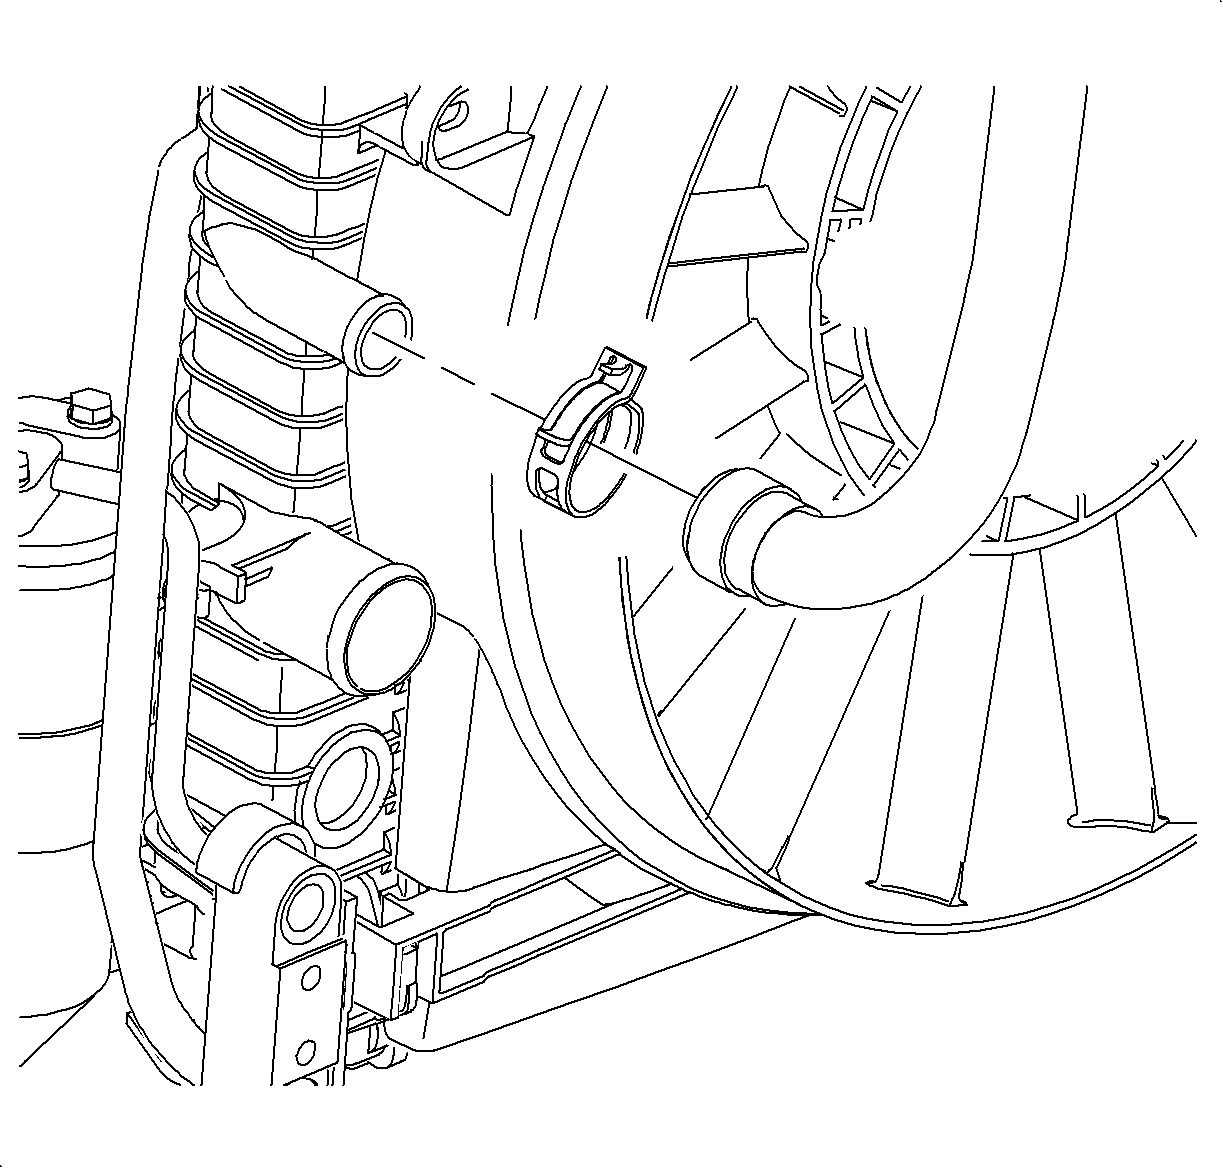
- Install the outlet hose to the radiator.
- Install the outlet hose clamp at the 12 o'clock position.
- Install the upper transaxle cooler line to the radiator end tank.
- Install the battery. Refer to Battery Replacement in Engine Electrical .
- Install the fan control module by sliding down onto the bracket.
- Fill the cooling system. Refer to Cooling System Draining and Filling .

Important: The white line on the hose should be installed at the 12 o'clock position.

Important: The white line on the hose should be installed at the 12 o'clock position.

Tighten
Tighten the cooler line to 25 N·m (18 lb ft).
