If you want to change the oil and oil filter yourself, here's how to do it.

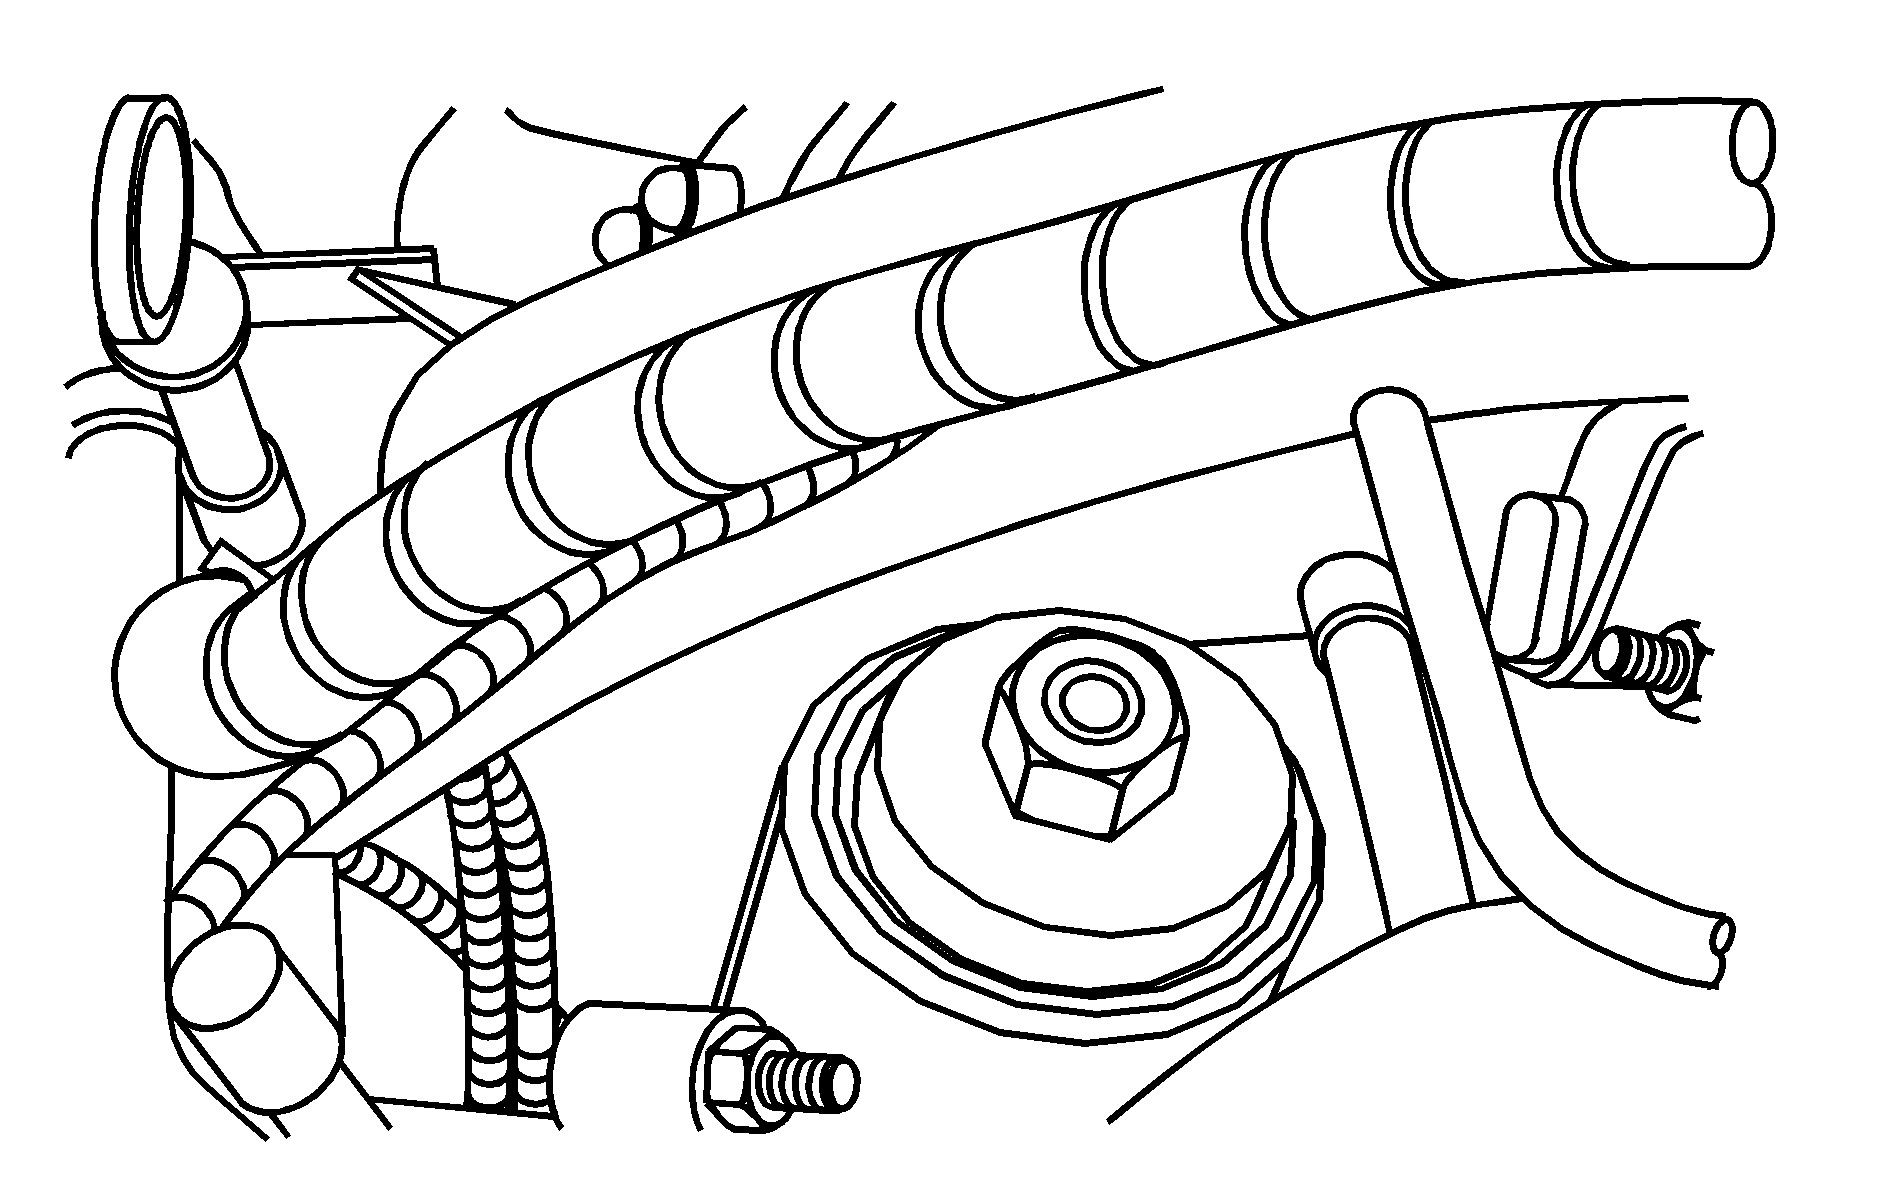
The oil filter is located in the front right side of the engine (when standing in front of the vehicle) and must be accessed from the top of the vehicle.
Remove the oil fill cap. Put a suitable container under the drain plug and remove the drain plug. Then remove the oil cap.
Use a 32 mm (1 1/4 in.) shallow socket or 14-flat 68 mm (2.68 in.) oil filter wrench to remove the oil filter cap. The oil filter element should be attached to the cap. If not, remove the element from the oil filter housing on the engine block.
Inspect the condition of the O-ring seal. Ensure the O-ring seal is free of debris, nicks, nuts, or damage before installing the cap and element to the engine oil housing. Replace the O-ring seal if it is damaged.
Install new filter element into the oil cap. Apply clean engine oil to the O-ring and cap threads before installing the cap and element into the engine oil housing. Screw the oil filter cap down into position. Ensure the cap and O-ring seal are fully seated tot he oil filter housing.
Tighten
Tighten the oil filter cap to 25 N·m
(18 lb ft).
Install drain plug back into the oil pan.
Tighten
Tighten the drain plug to 25 N·m (18 lb ft).
Add new engine oil and install oil filler cap. It takes about 5 minutes for the new oil to drain back into the oil pan. If you don't wait about 5 minutes, or if the vehicle is not on level ground, the oil dipstick will not show the actual oil level.
If your engine's oil level is 3/16 in (5 mm) above or below the MAX line after the engine's oil and filter has been changed, your engine's oil level is correct.
After adding oil, start your engine and check for oil leaks around the filter and the drain plug(s).
Each time you change your engine oil, the "CHG OIL" message in the message center must be reset. To find out how to do this, see "Resetting the CHG OIL Message."
