For 1990-2009 cars only
Air Conditioning Condenser Replacement Except North America
Removal Procedure
- Disconnect the negative battery cable.
- Discharge and recover the refrigerant. Refer to Refrigerant Recovery and Recharging.
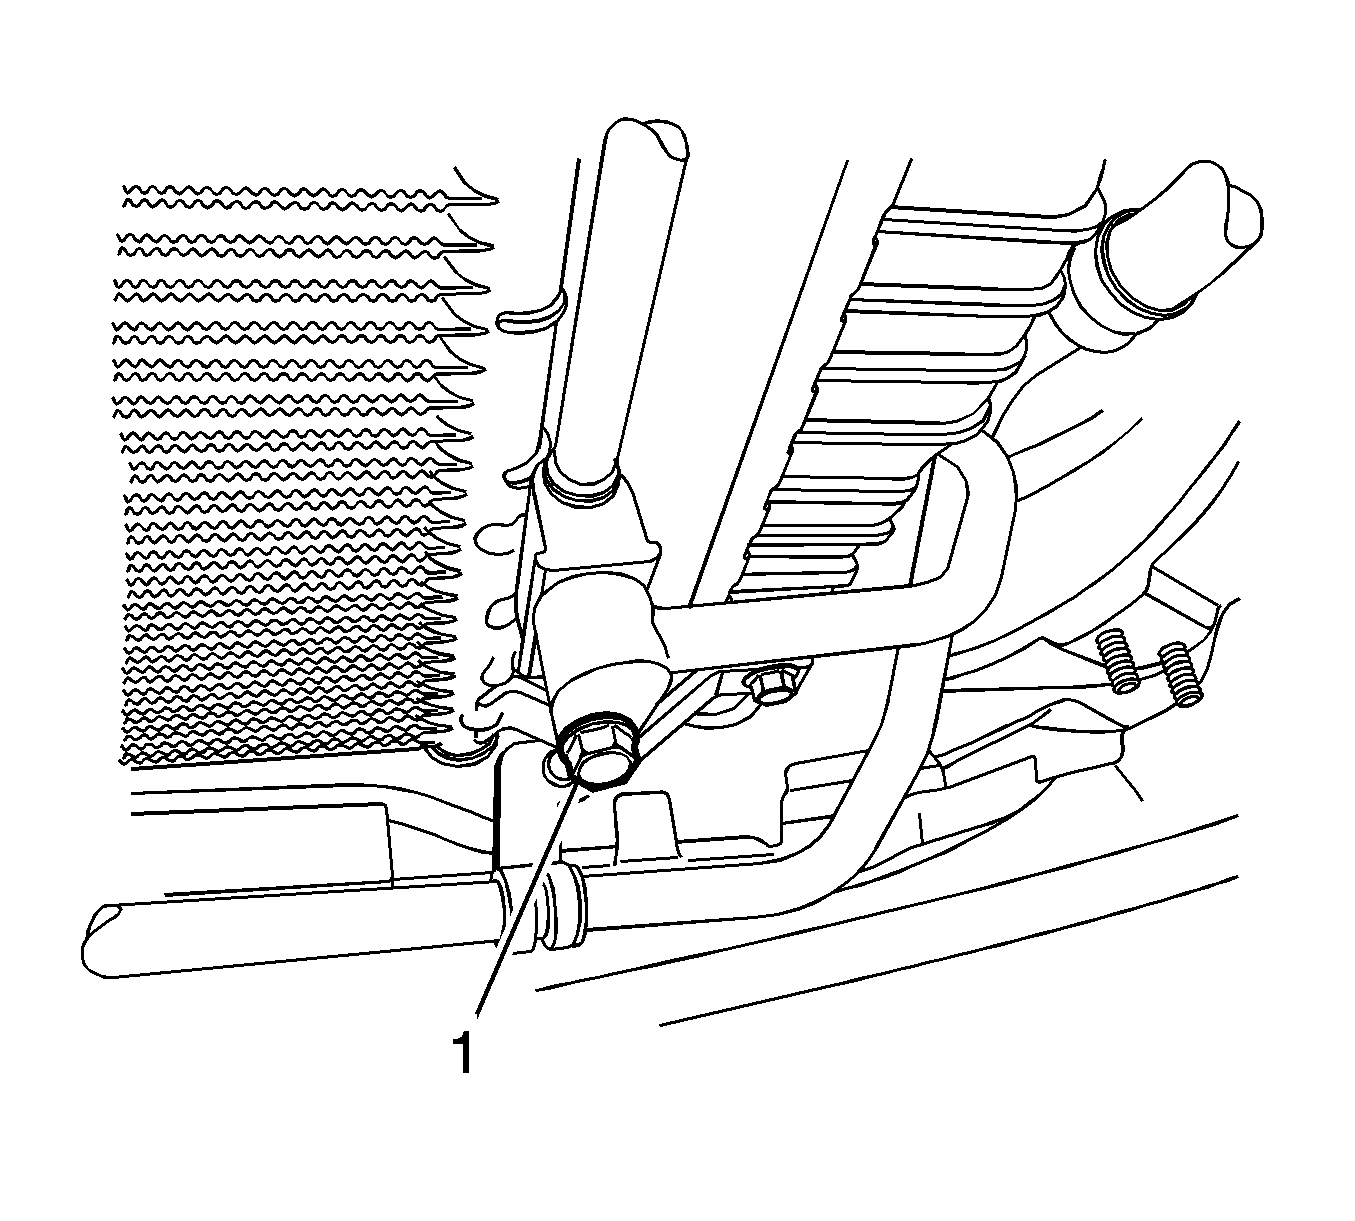
- Remove the liquid pipe connector block to condenser retaining bolt.
- Remove the refrigerant discharge hose connector block bolt at the condenser.
- Remove the radiator. Refer to Radiator Replacement.
- Cap all the openings to prevent contamination.
- Remove the condenser mount bolts.
- Remove the condenser from the radiator.
Warning: Refer to Battery Disconnect Warning in the Preface section.


Installation Procedure
- Install new O-rings onto the receiver-dryer tube fittings.
- Ensure that the condenser rubber mounts are in place.
- Install the condenser to the radiator. The lower mount shock protectors must fit into the holes provided.
- Install the condenser mount bolts.
- Install the radiator. Refer to Radiator Replacement.
- Install the refrigerant discharge hose connector block bolt at the condenser.
- Install the liquid pipe connector block to condenser retaining bolt.
- Connect the negative battery cable.
- Evacuate and recharge the A/C system. Refer to Refrigerant Recovery and Recharging.

Caution: Refer to Fastener Caution in the Preface section.
Tighten
Tighten the upper condenser bolts to 8 N·m (70 lb in).

Tighten
Tighten the refrigerant discharge hose connector block bolt to 16 N·m (12 lb ft).

Tighten
Tighten the liquid pipe connector block to condenser retaining bolt to 14 N·m (10 lb ft).
Air Conditioning Condenser Replacement North America
Removal Procedure
- Disconnect the negative battery cable.
- Discharge and recover the refrigerant. Refer to Refrigerant Recovery and Recharging.
- Remove the liquid pipe connector block to condenser retaining bolt.
- Remove the refrigerant discharge hose connector block bolt at the condenser.
- Remove the radiator. Refer to Radiator Replacement.
- Cap all the openings to prevent contamination.
- Remove the condenser mount bolts.
- Remove the condenser from the radiator.
Warning: Refer to Battery Disconnect Warning in the Preface section.


Installation Procedure
- Install new O-rings onto the receiver-dryer tube fittings.
- Ensure that the condenser rubber mounts are in place.
- Install the condenser to the radiator. The lower mount shock protectors must fit into the holes provided.
- Install the condenser mount bolts.
- Install the radiator. Refer to Radiator Replacement.
- Install the refrigerant discharge hose connector block bolt at the condenser.
- Install the liquid pipe connector block to condenser retaining bolt.
- Connect the negative battery cable.
- Evacuate and recharge the A/C system. Refer to Refrigerant Recovery and Recharging.

Caution: Refer to Fastener Caution in the Preface section.
Tighten
Tighten the upper condenser bolts to 8 N·m (70 lb in).

Tighten
Tighten the refrigerant discharge hose connector block bolt to 16 N·m (12 lb ft).

Tighten
Tighten the liquid pipe connector block to condenser retaining bolt to 14 N·m (10 lb ft).
