For 1990-2009 cars only
Removal Procedure
- Relieve the fuel pressure. Refer to Fuel Pressure Relief.
- Disconnect the negative battery cable.
- Drain the fuel tank.
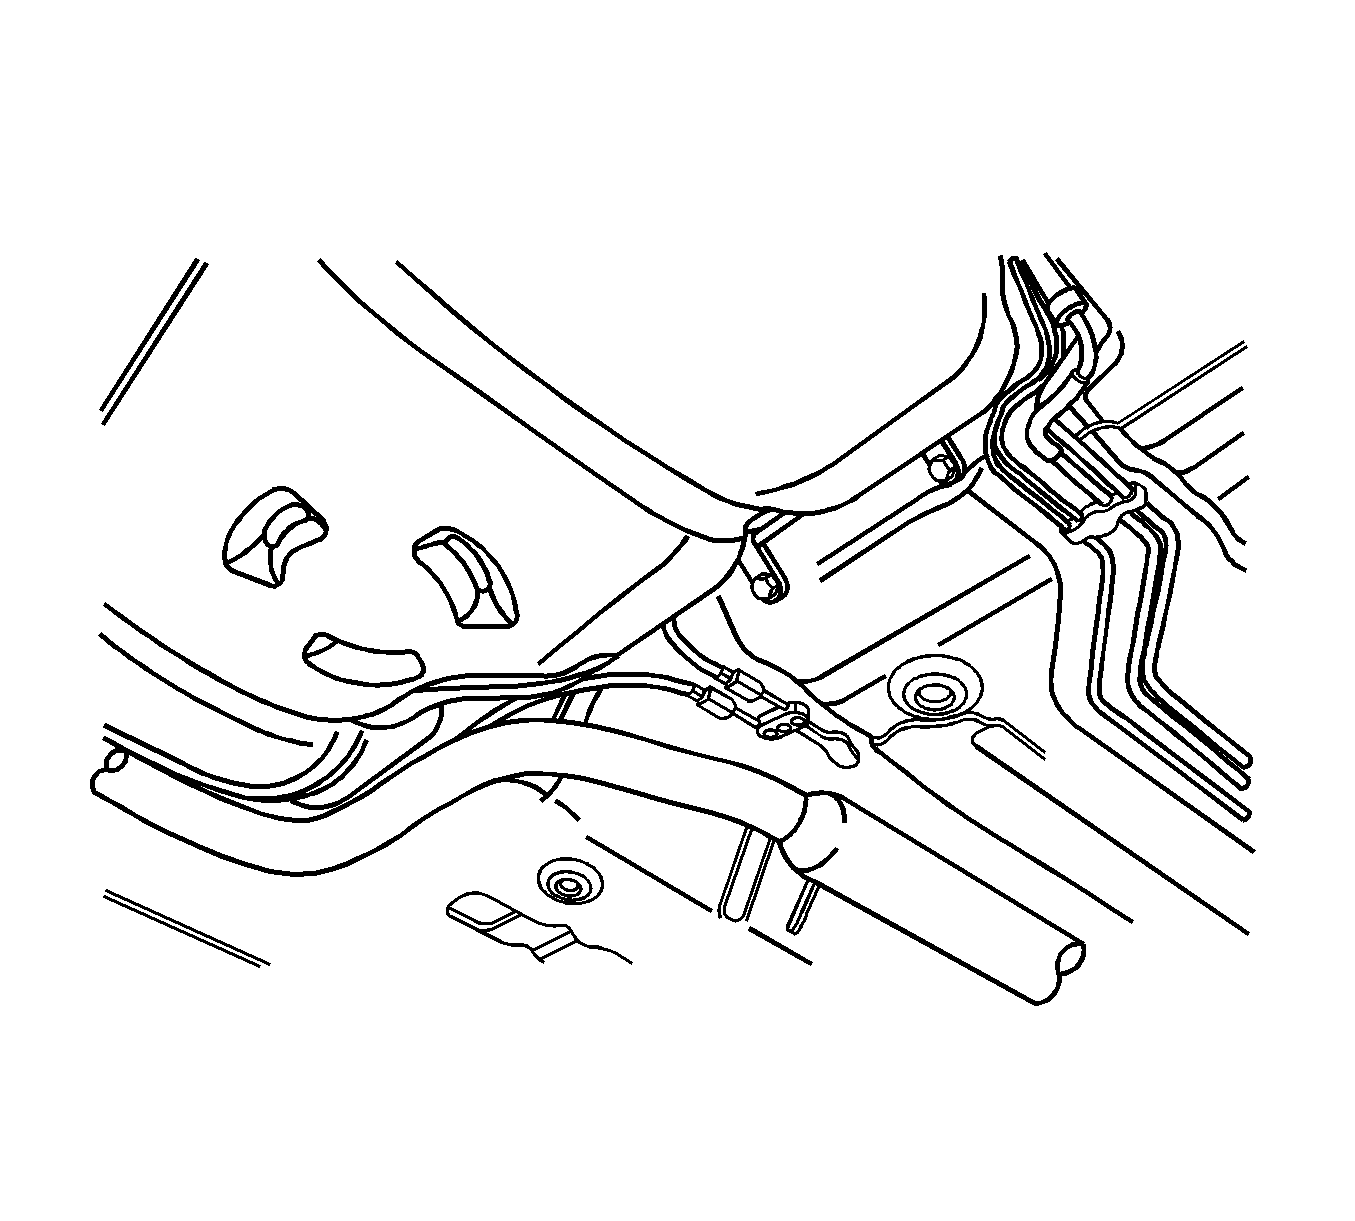
- Disconnect the parking brake cable retainer clamps and the support along the fuel tank to provide clearance for the tank.
- Remove the fuel tank filler tube clamp at the fuel tank.
- Disconnect the fuel tank filler tube.
- Disconnect the fuel tank filler tube at the fuel tank.
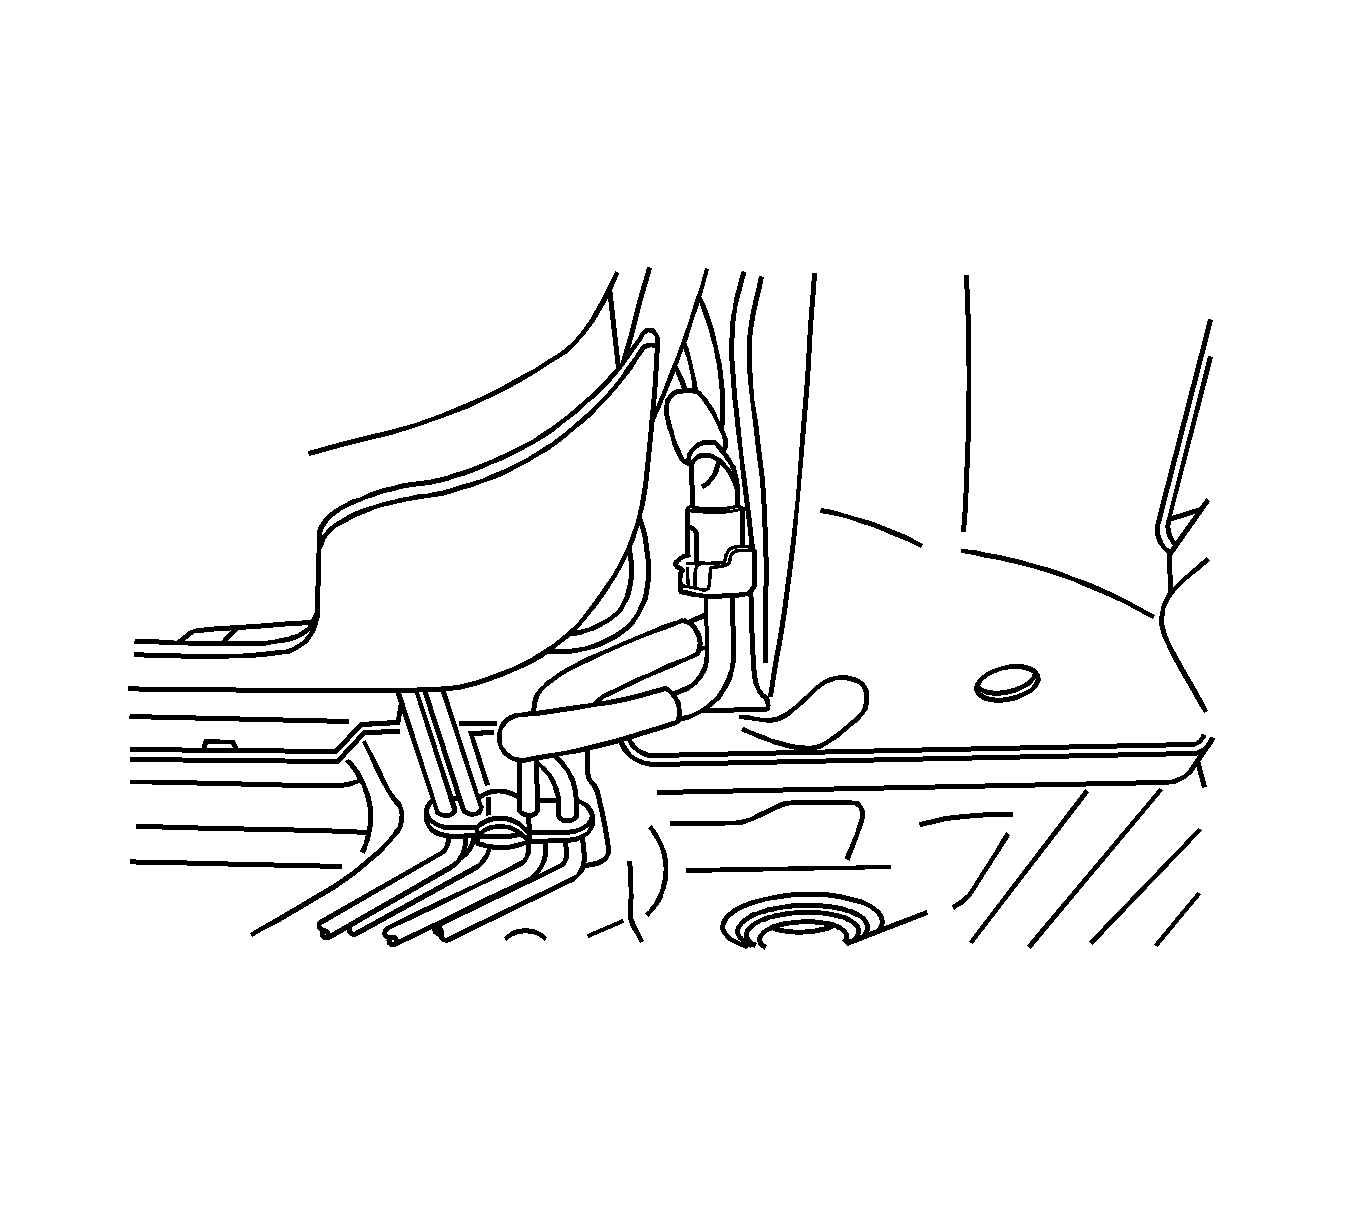
- Disconnect the canister vapor tube at the control valve vapor tube.
- Disconnect the fuel line near the right front of the fuel tank.
- Disconnect the wiring harness clips and the fuel line clips as needed.
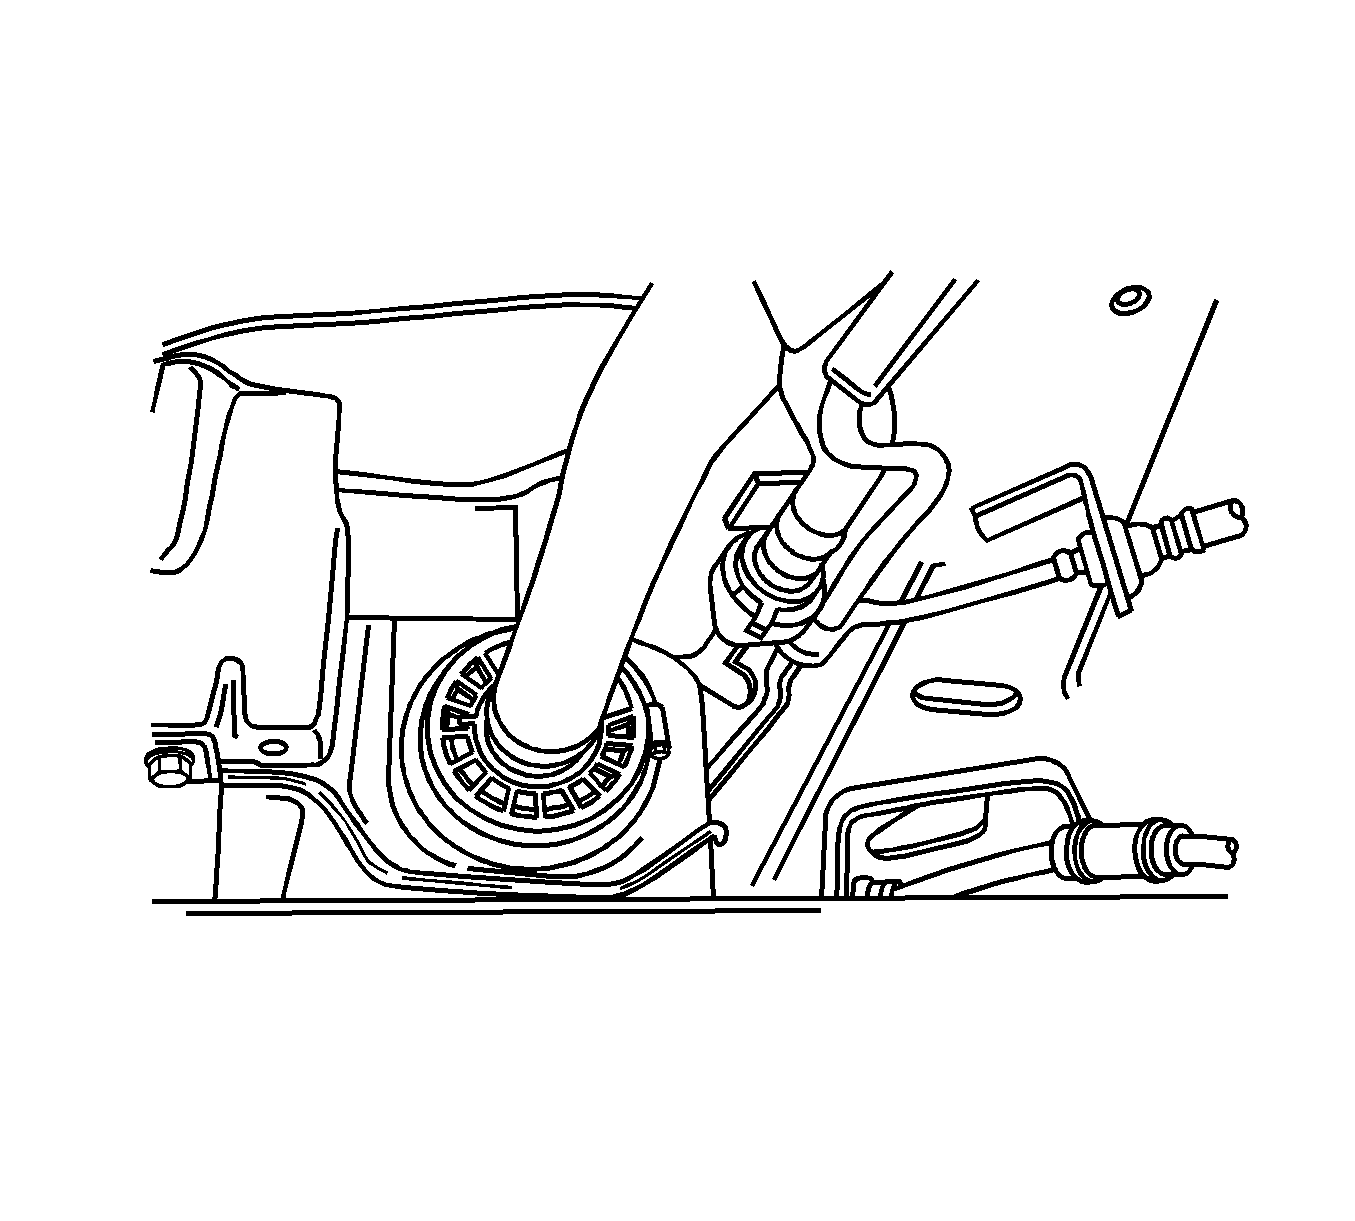
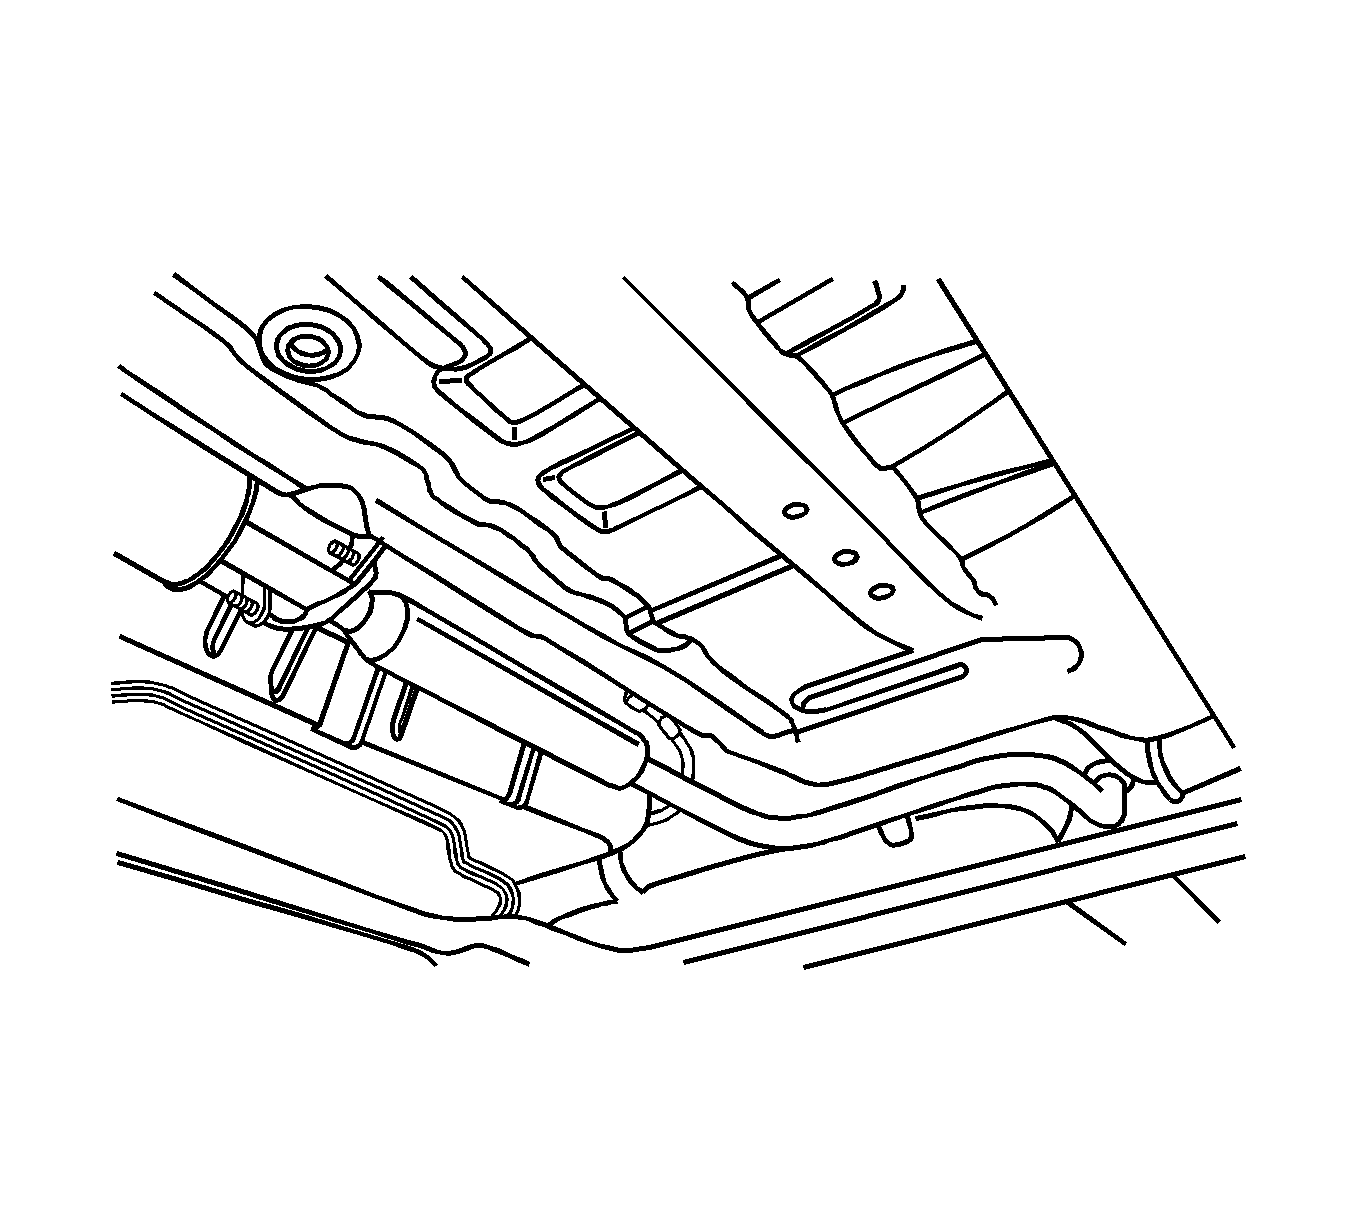
- Remove the front exhaust pipe. Refer to Front Pipe Replacement.
- Support the fuel tank.
- Remove the fuel tank retaining nuts.
- Carefully lower the fuel tank.
- Remove the fuel tank.
- Transfer any parts as needed.
Warning: Refer to Relieving Fuel Pressure Warning in the Preface section.
Warning: Refer to Battery Disconnect Warning in the Preface section.
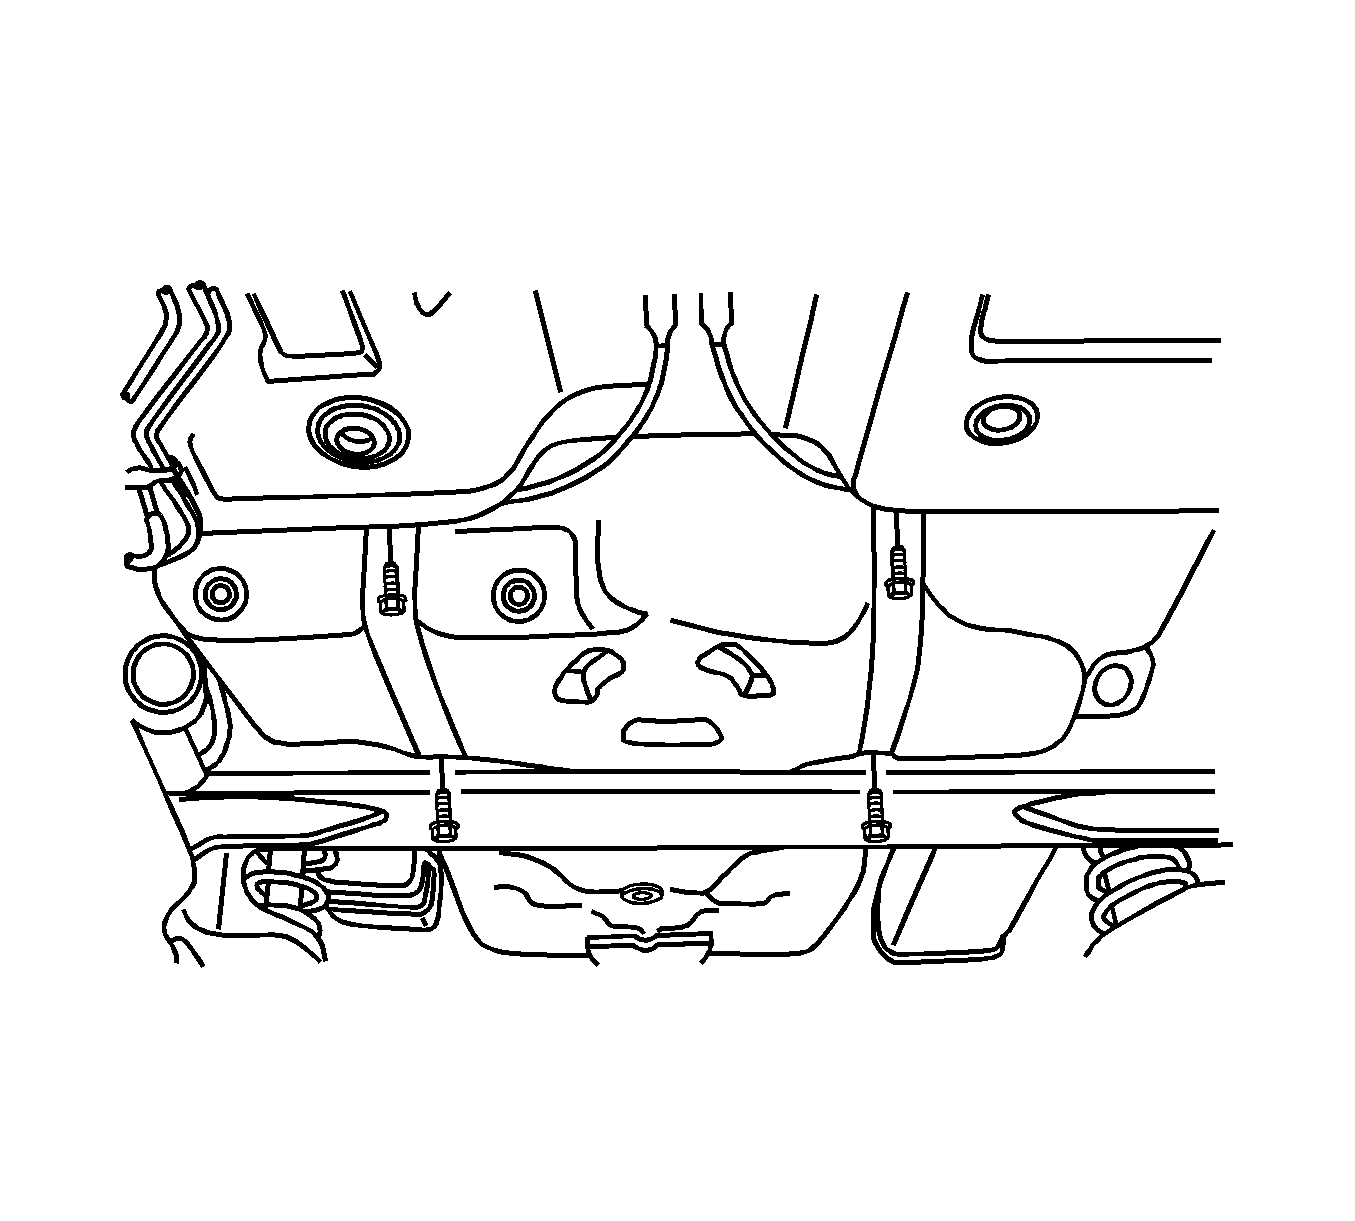
Installation Procedure
- Raise the fuel tank into position.
- Install the fuel tank mounting straps and bolts.
- Connect the fuel line.
- Connect the wiring harness clips and the fuel line clips as needed.
- Connect the fuel pump electrical connector.
- Connect the fuel vapor line.
- Connect the fuel tank filler tube and the fuel tank vent tube.
- Install the fuel tank filler tube clamp at the fuel tank.
- Install the front exhaust pipe. Refer to Front Pipe Replacement.
- Install the parking brake cable retainer clamps and the support.
- Connect the negative battery cable.
- Fill the fuel tank.
- Perform a leak check of the fuel tank and the fuel line connections.

Caution: Refer to Fastener Caution in the Preface section.
Caution: Refer to Fuel Tank Strap Fastener Caution in the Preface section.
Tighten
Tighten the fuel tank strap retaining bolts to 20 N·m (15 lb ft).

Tighten
Tighten the parking brake cable retainer clamps to 10 N·m (89 lb in).
