For 1990-2009 cars only
Removal Procedure
- Remove the I/P center trim panel. Refer to Instrument Panel Center Trim Panel Replacement .
- Remove the front floor console trim plate. Refer to Front Floor Console Trim Plate Replacement.
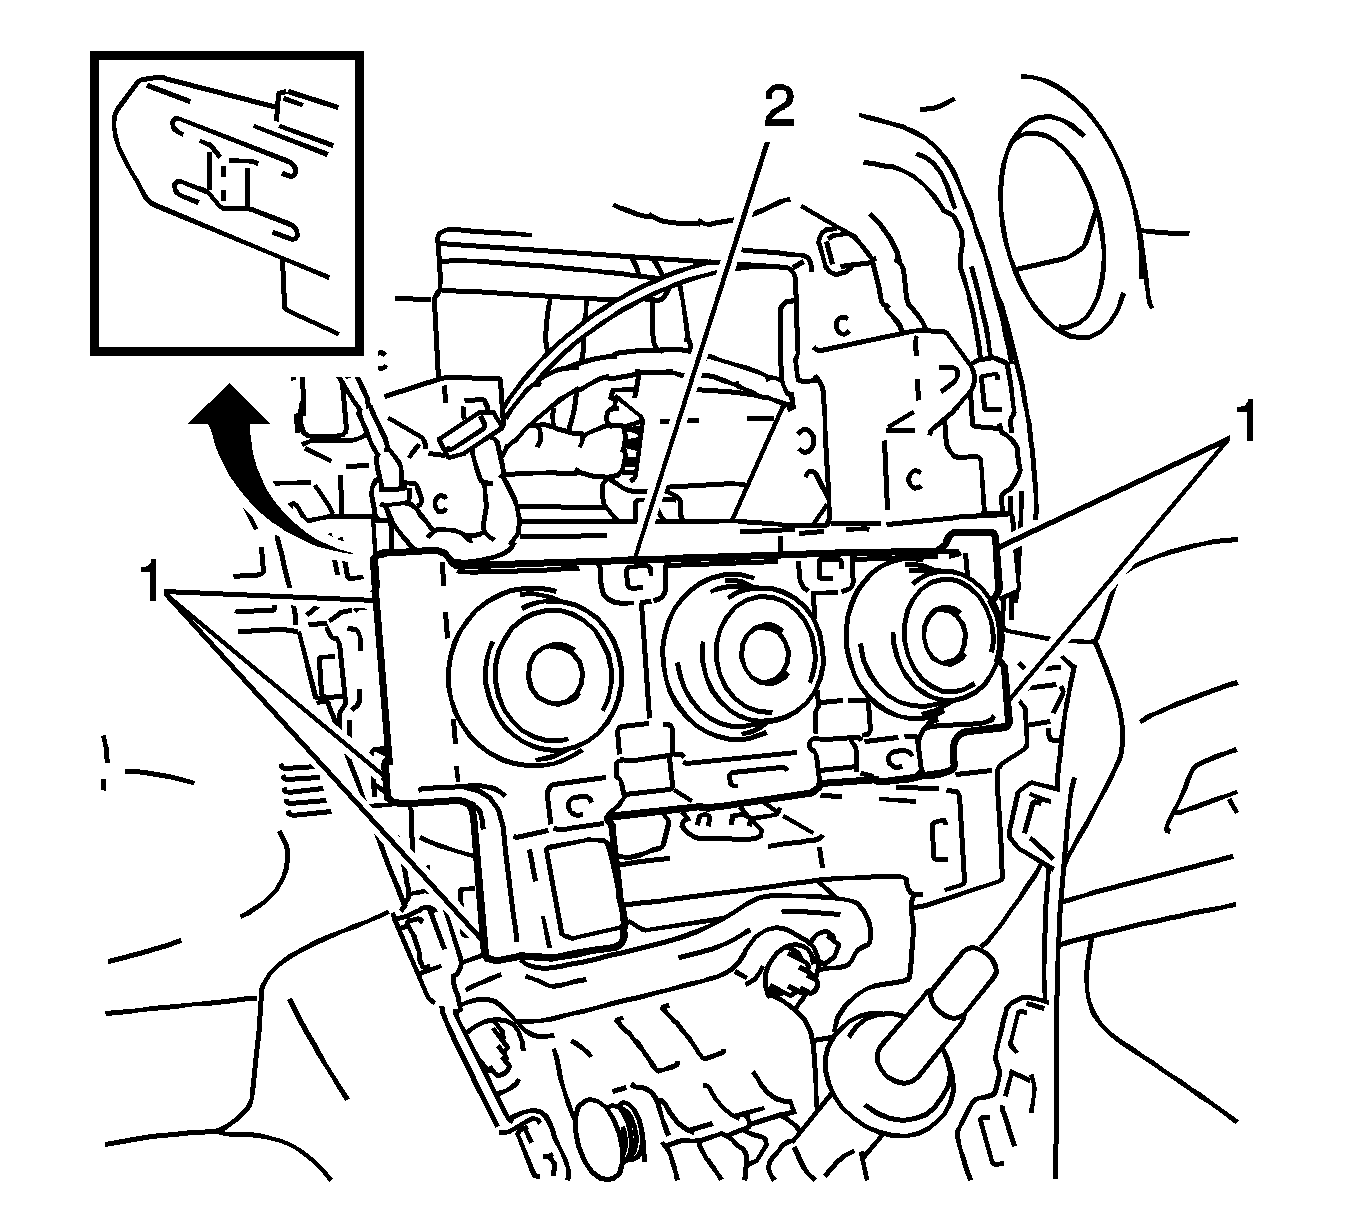
- Disengage the five retainers (1) from the HVAC control unit (2).
- Remove the HVAC control unit (2).
- Remove the electrical connectors from the HVAC control unit.
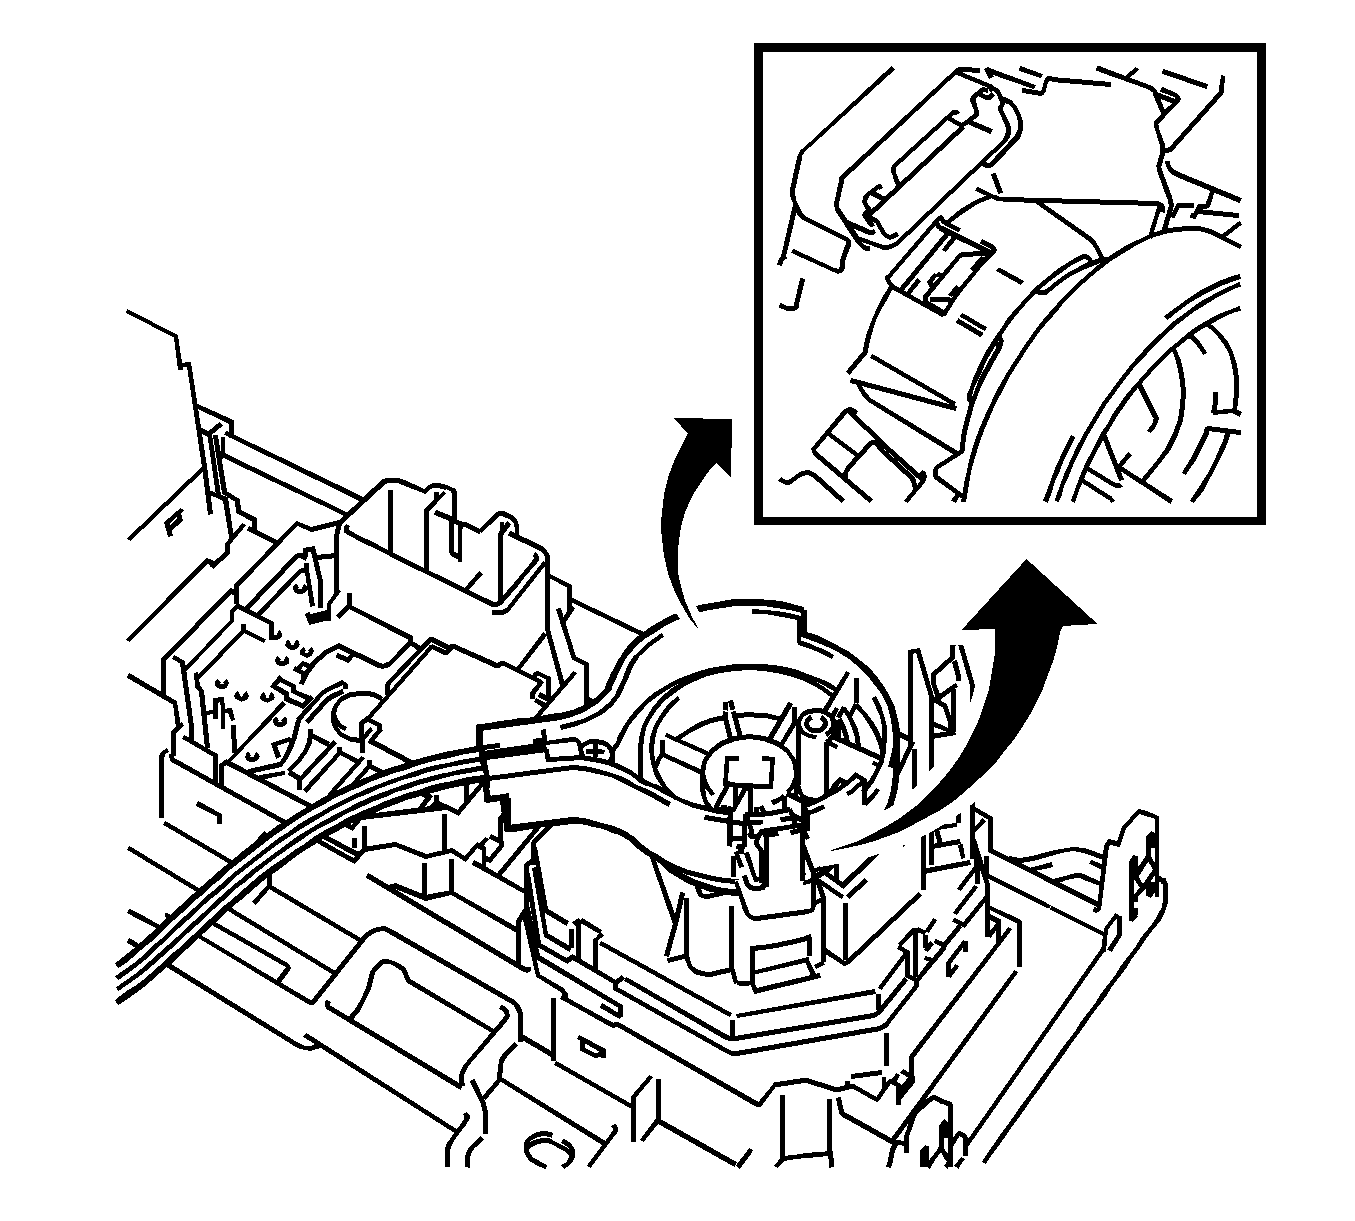
- Disengage the two clips and disconnect the mode control cable.
- Disengage the two clips and disconnect the temperature control cable assembly.
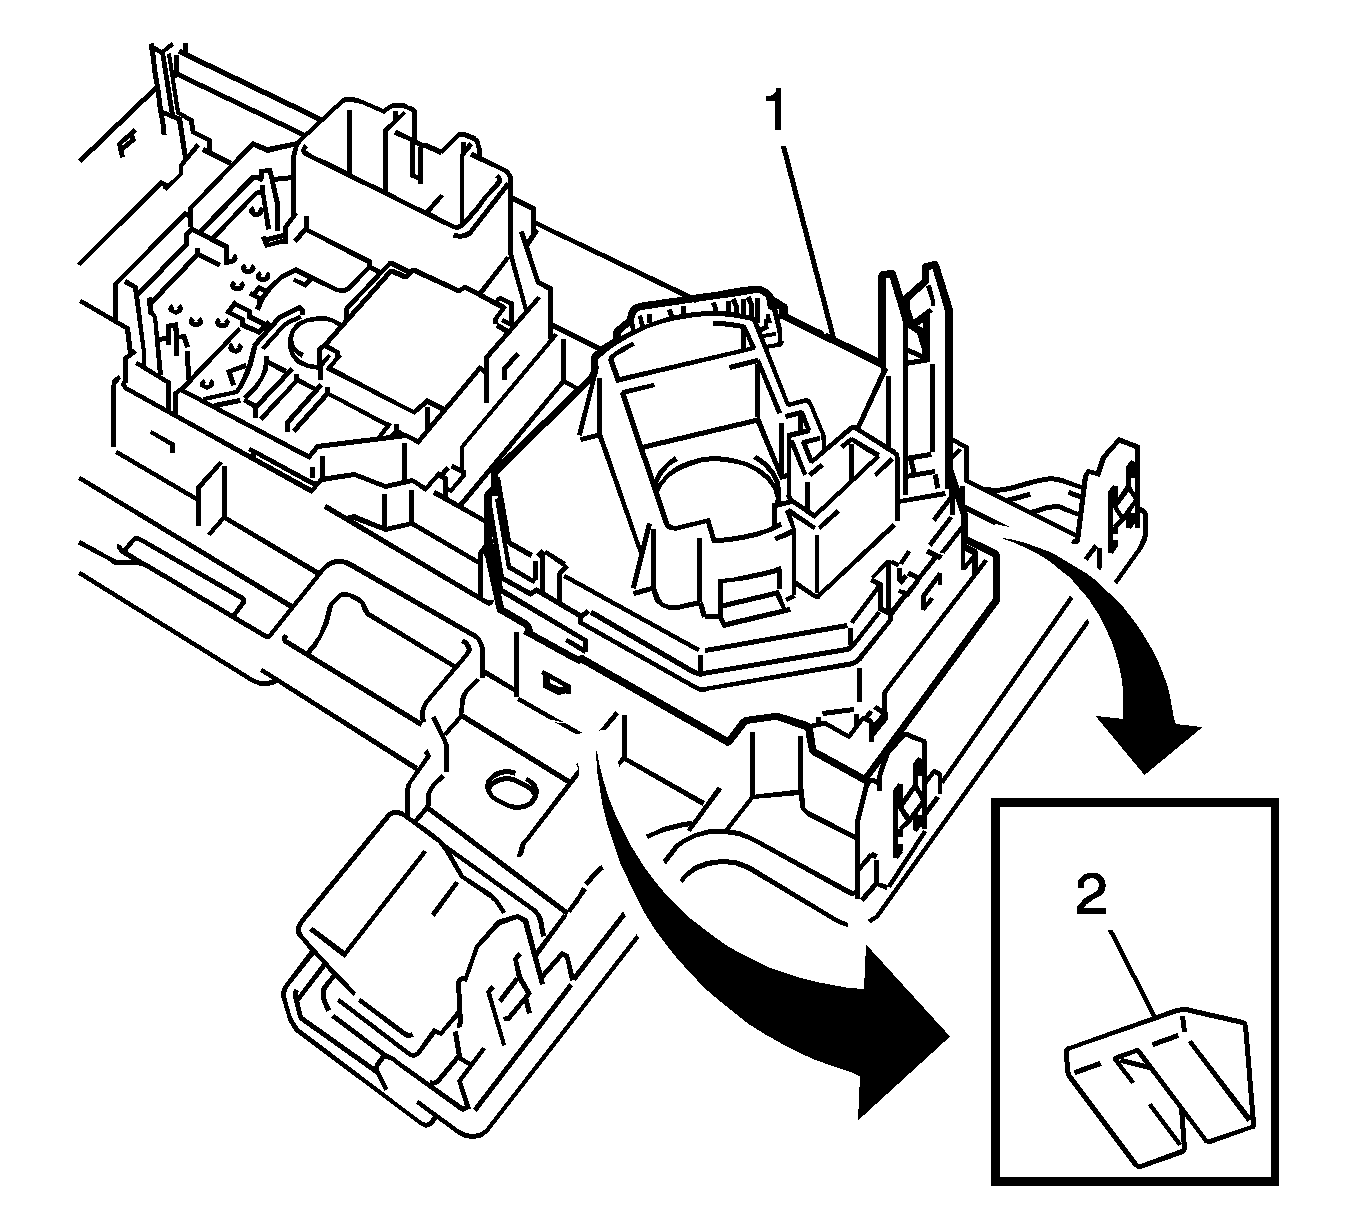
- Disengage the two clips (2) and remove the mode control switch (1), if necessary.
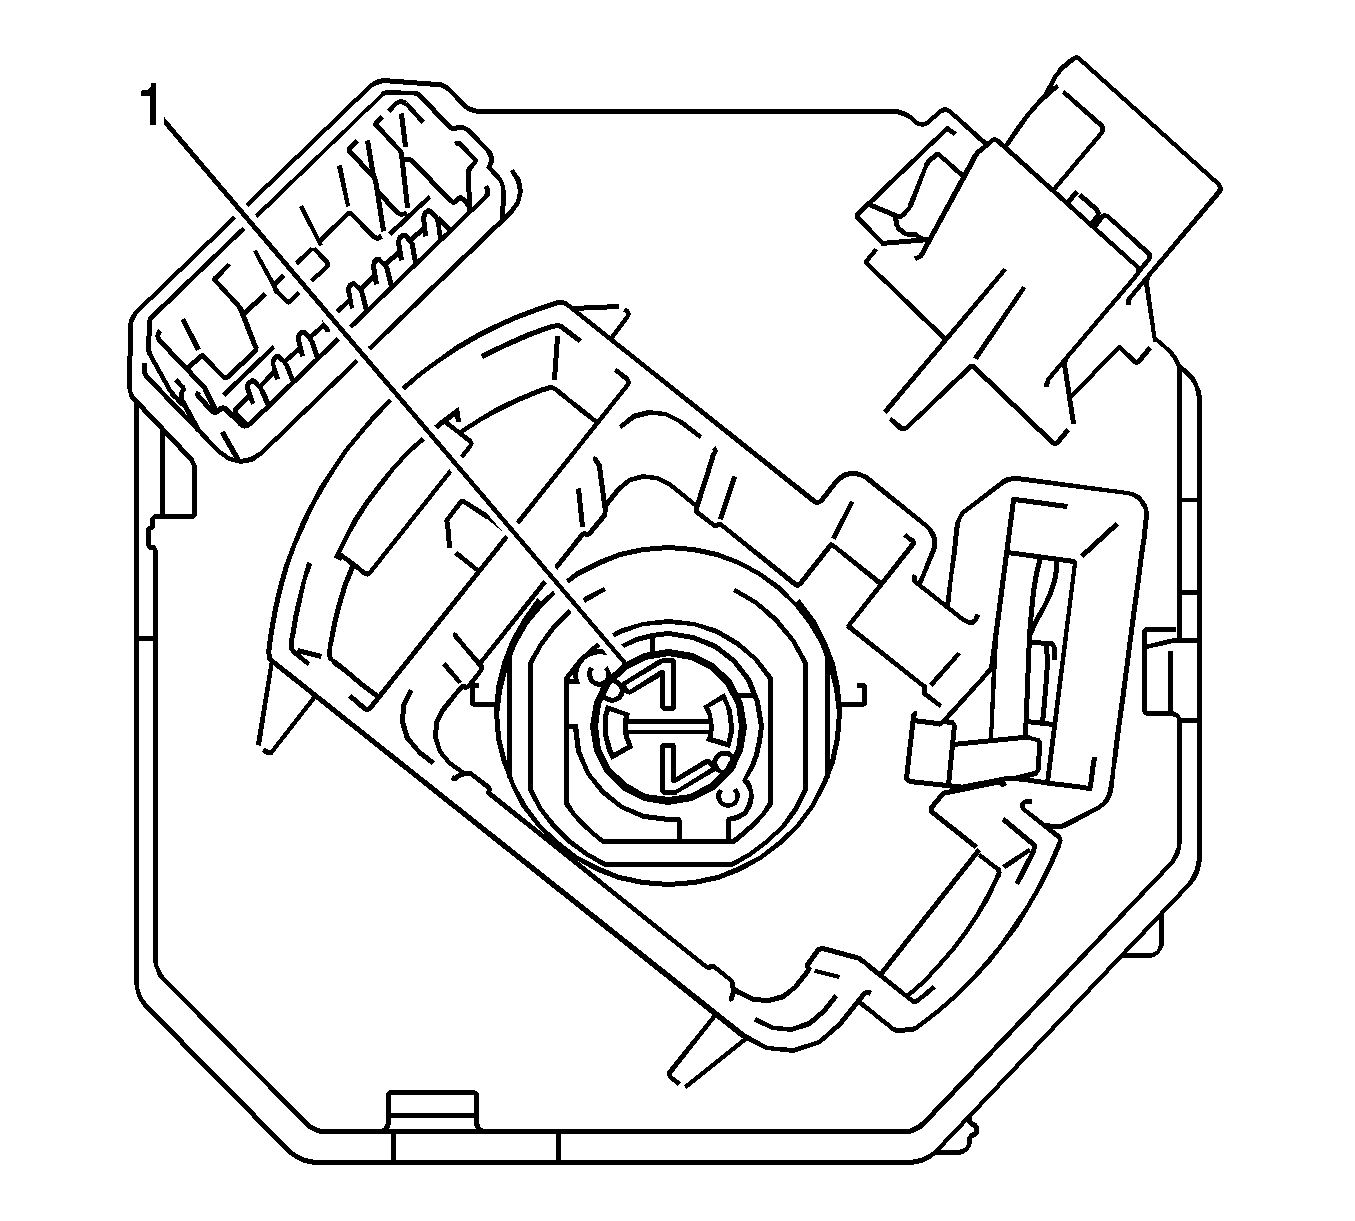
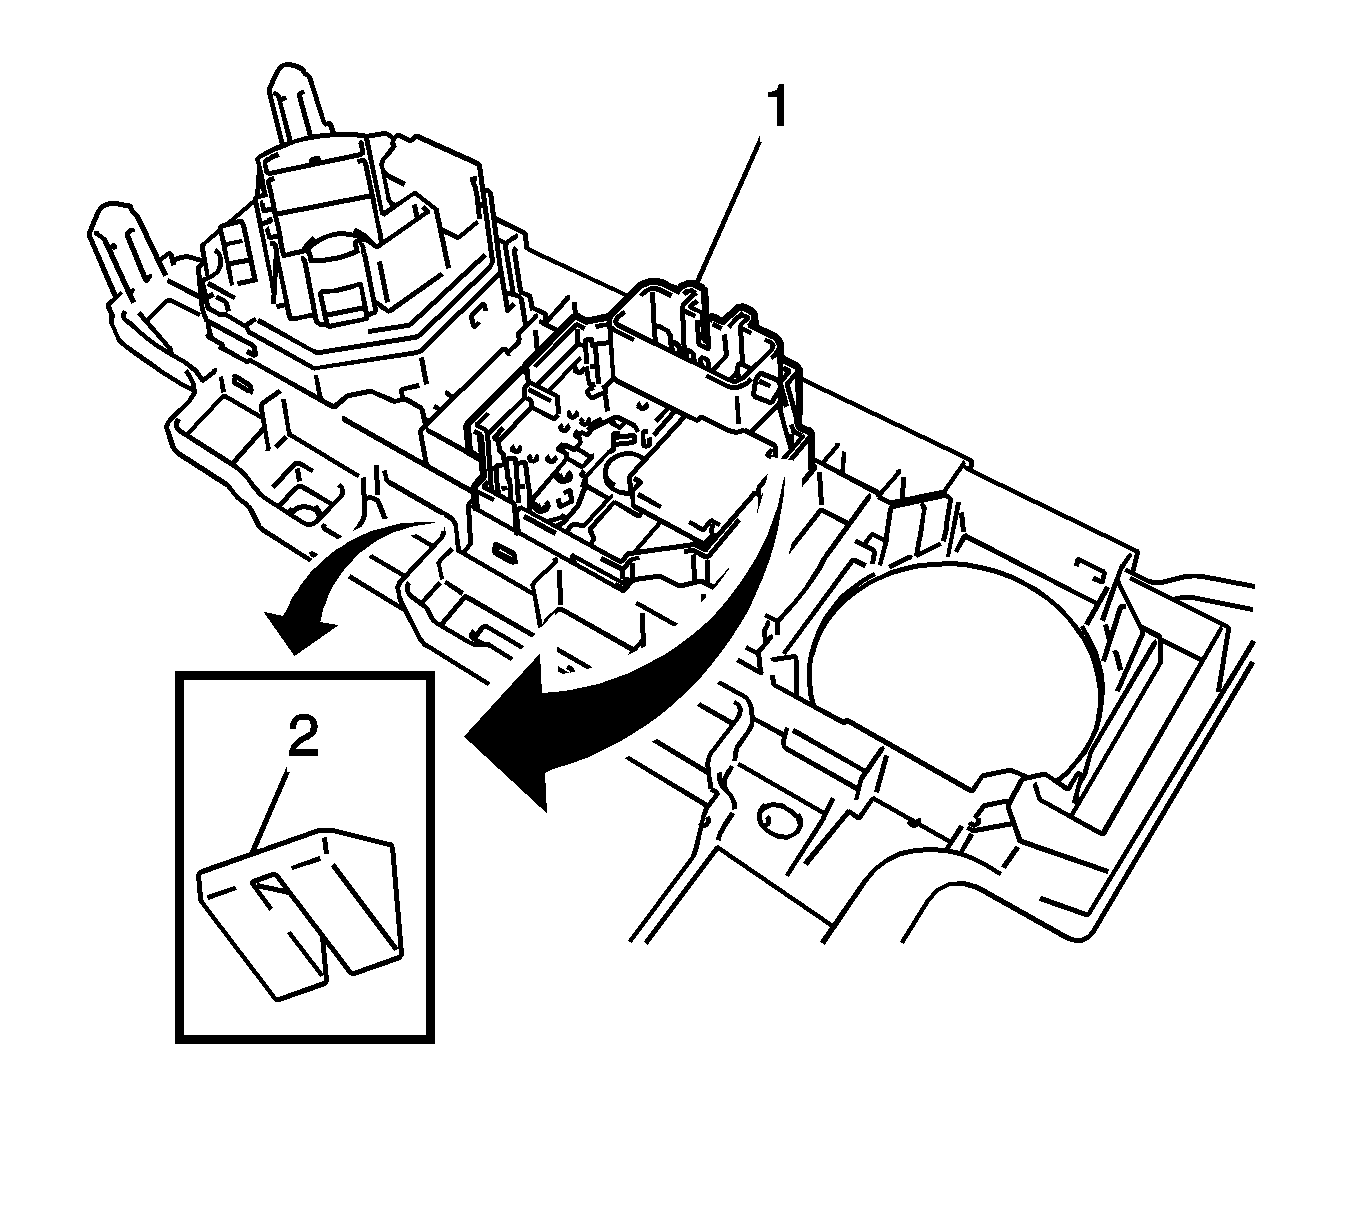
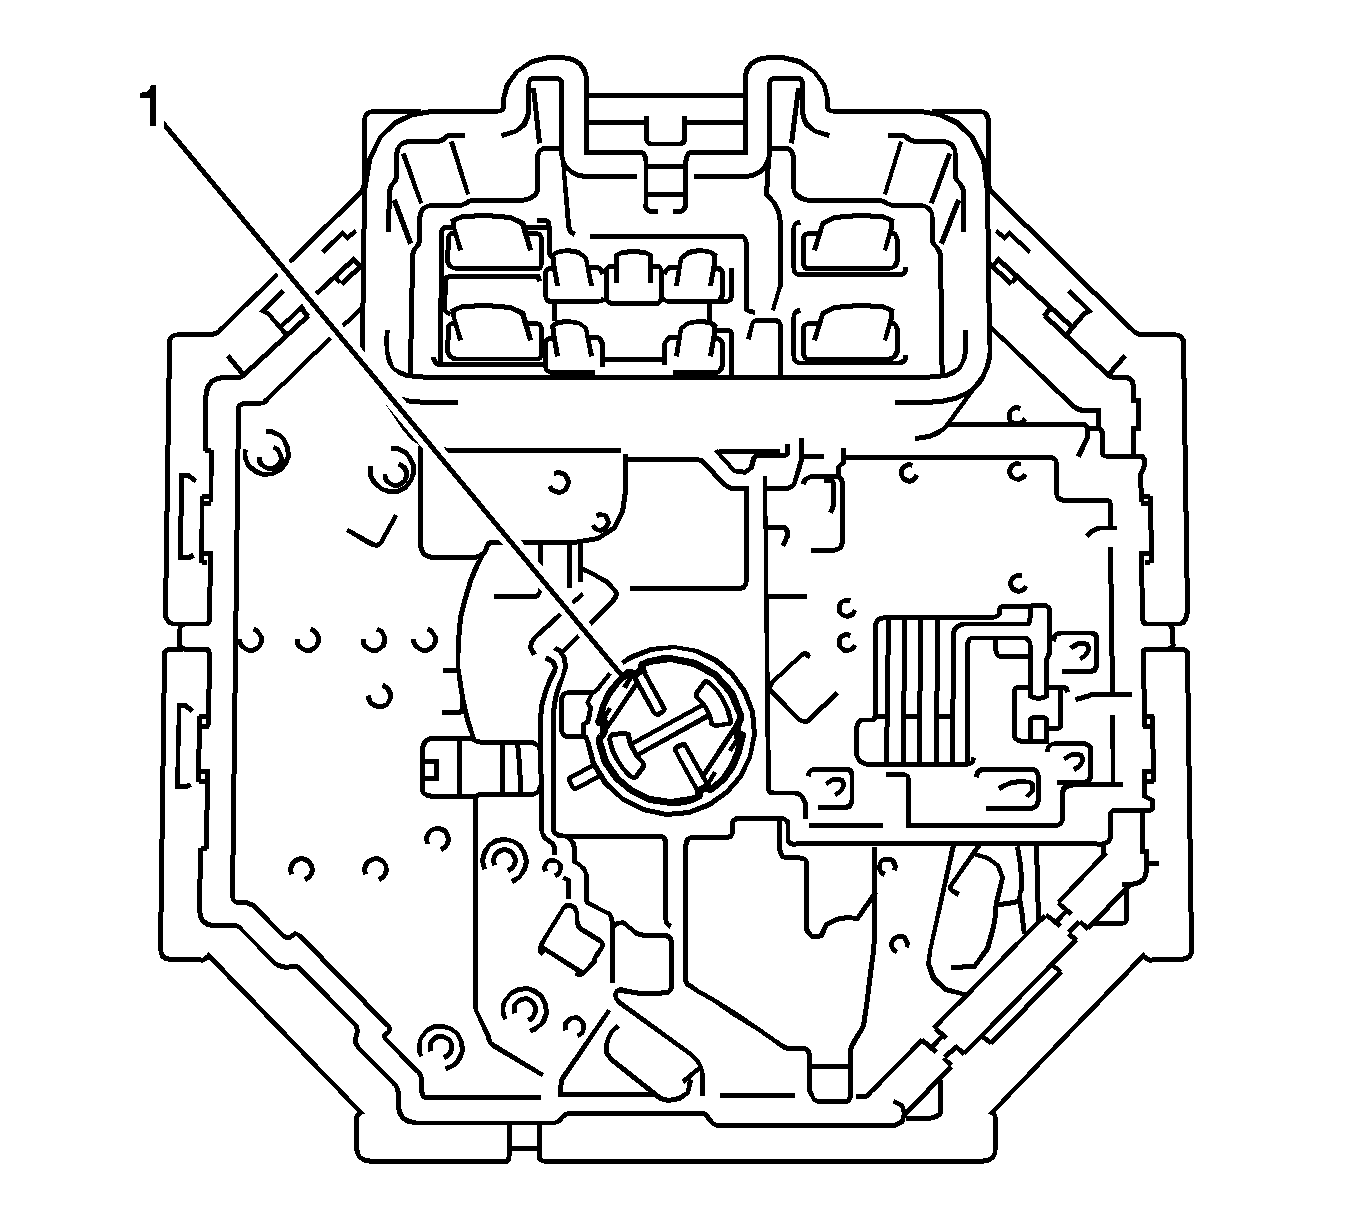
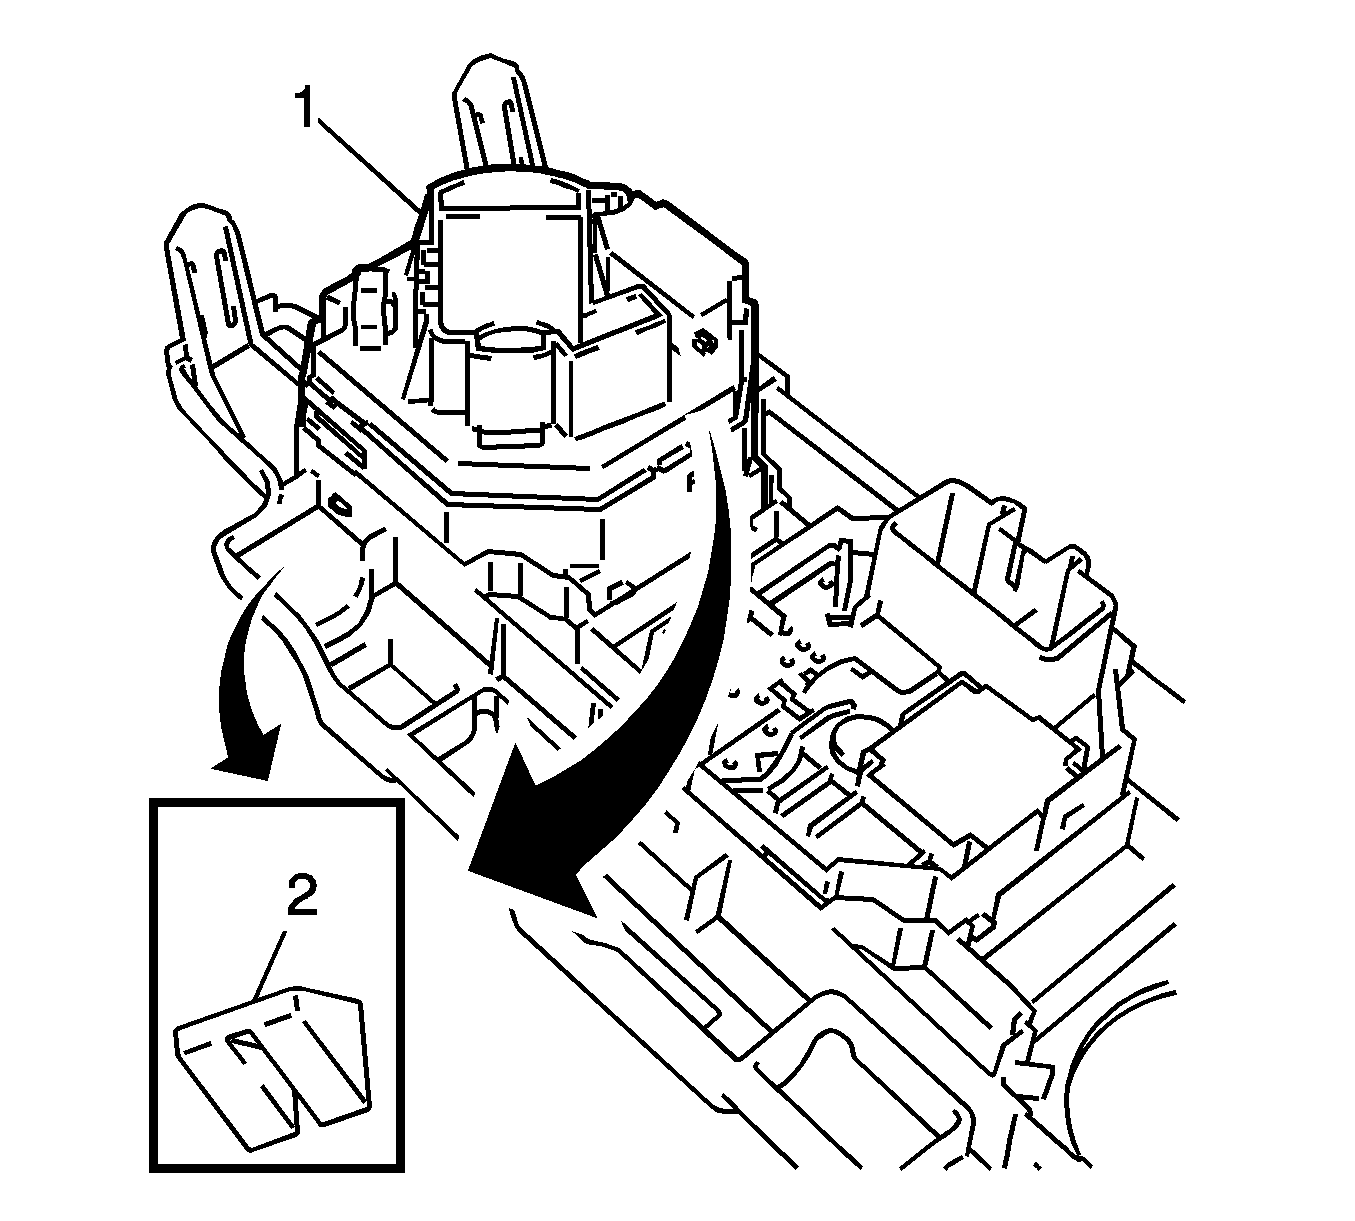
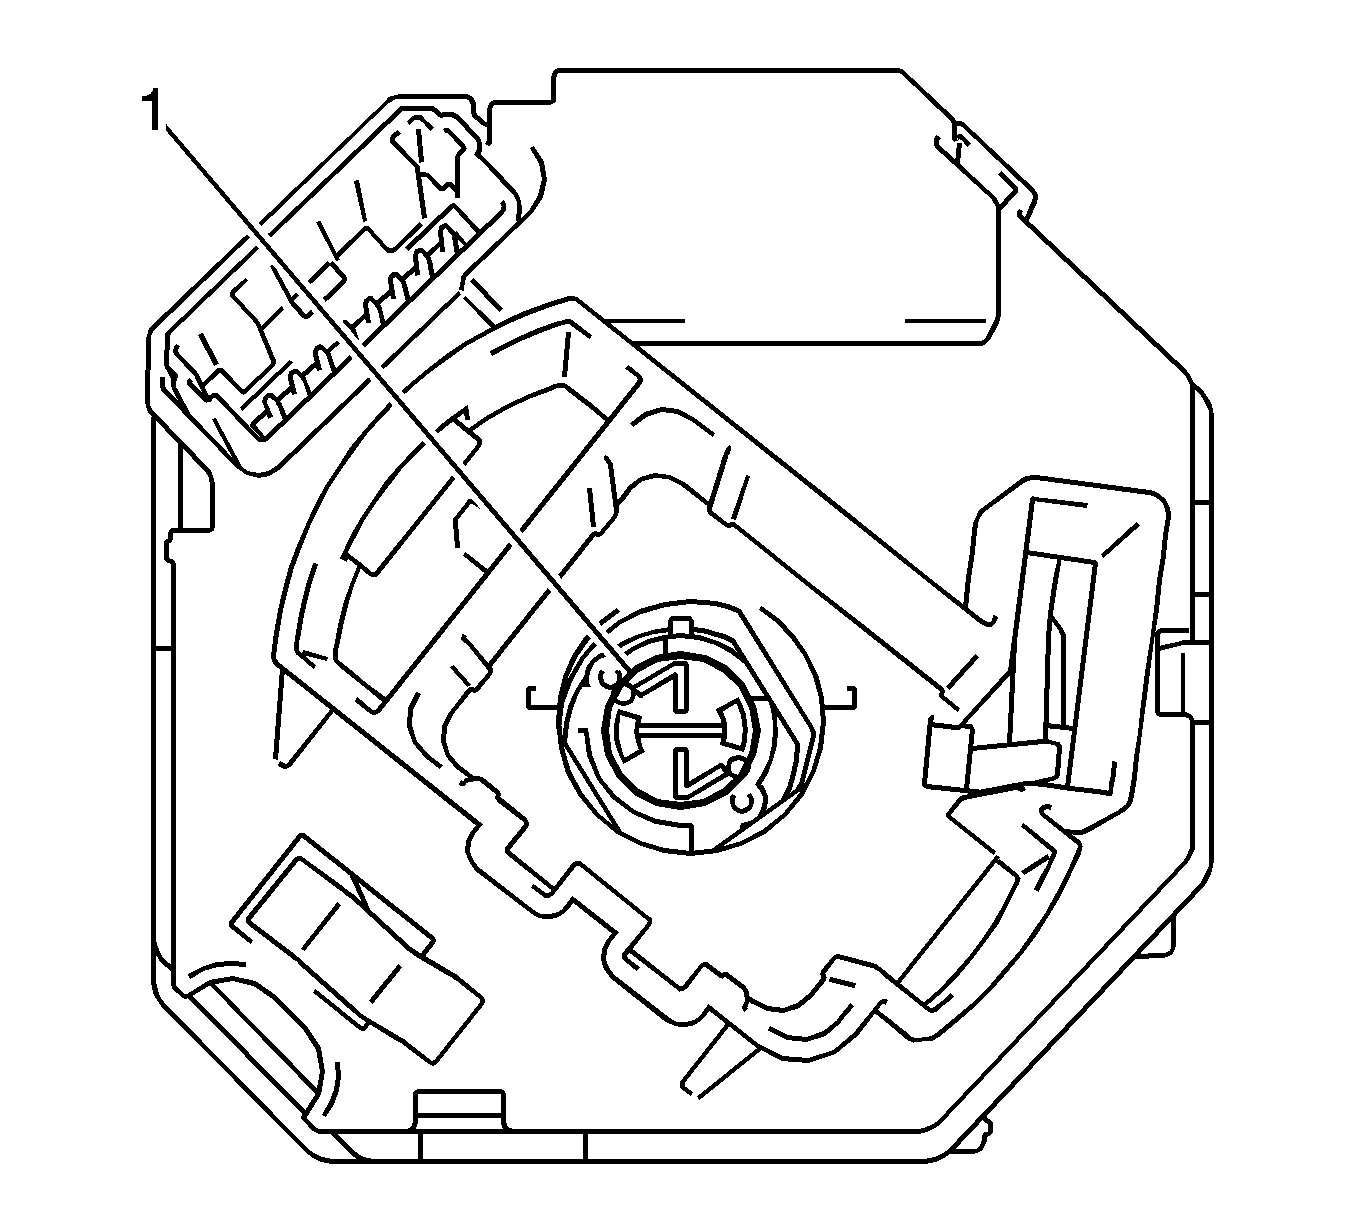
- Remove the bulb (1) from the mode control switch, if necessary.
- Disengage the two clips (2) and remove the blower/rear defogger switch (1), if necessary.
- Remove the bulb (1) from the blower/rear defogger switch, if necessary.
- Disengage the two clips (2) and remove the A/C switch (1), if necessary.
- Remove the bulb (1) from the A/C switch, if necessary.

Installation Procedure
- Install the bulb (1) to the A/C switch, if removed.
- Engage the two clips (2) and install the A/C switch (1), if removed.
- Install the bulb (1) to the blower/rear defogger switch, if removed.
- Engage the two clips (2) and install the blower/rear defogger switch (1), if removed.
- Install the bulb (1) to the mode control switch, if removed.
- Engage the two clips (2) and install the mode control switch (1), if removed.
- Engage the two clips and connect the temperature control cable assembly.
- Engage the two clips and connect the mode control cable.
- Connect the electrical connectors from the HVAC control unit.
- Install the HVAC control unit (2).
- Engage the five retainers (1) to the HVAC control unit (2).
- Install the front floor console trim plate. Refer to Front Floor Console Trim Plate Replacement.
- Install the I/P center trim panel. Refer to Instrument Panel Center Trim Panel Replacement .


