For 1990-2009 cars only
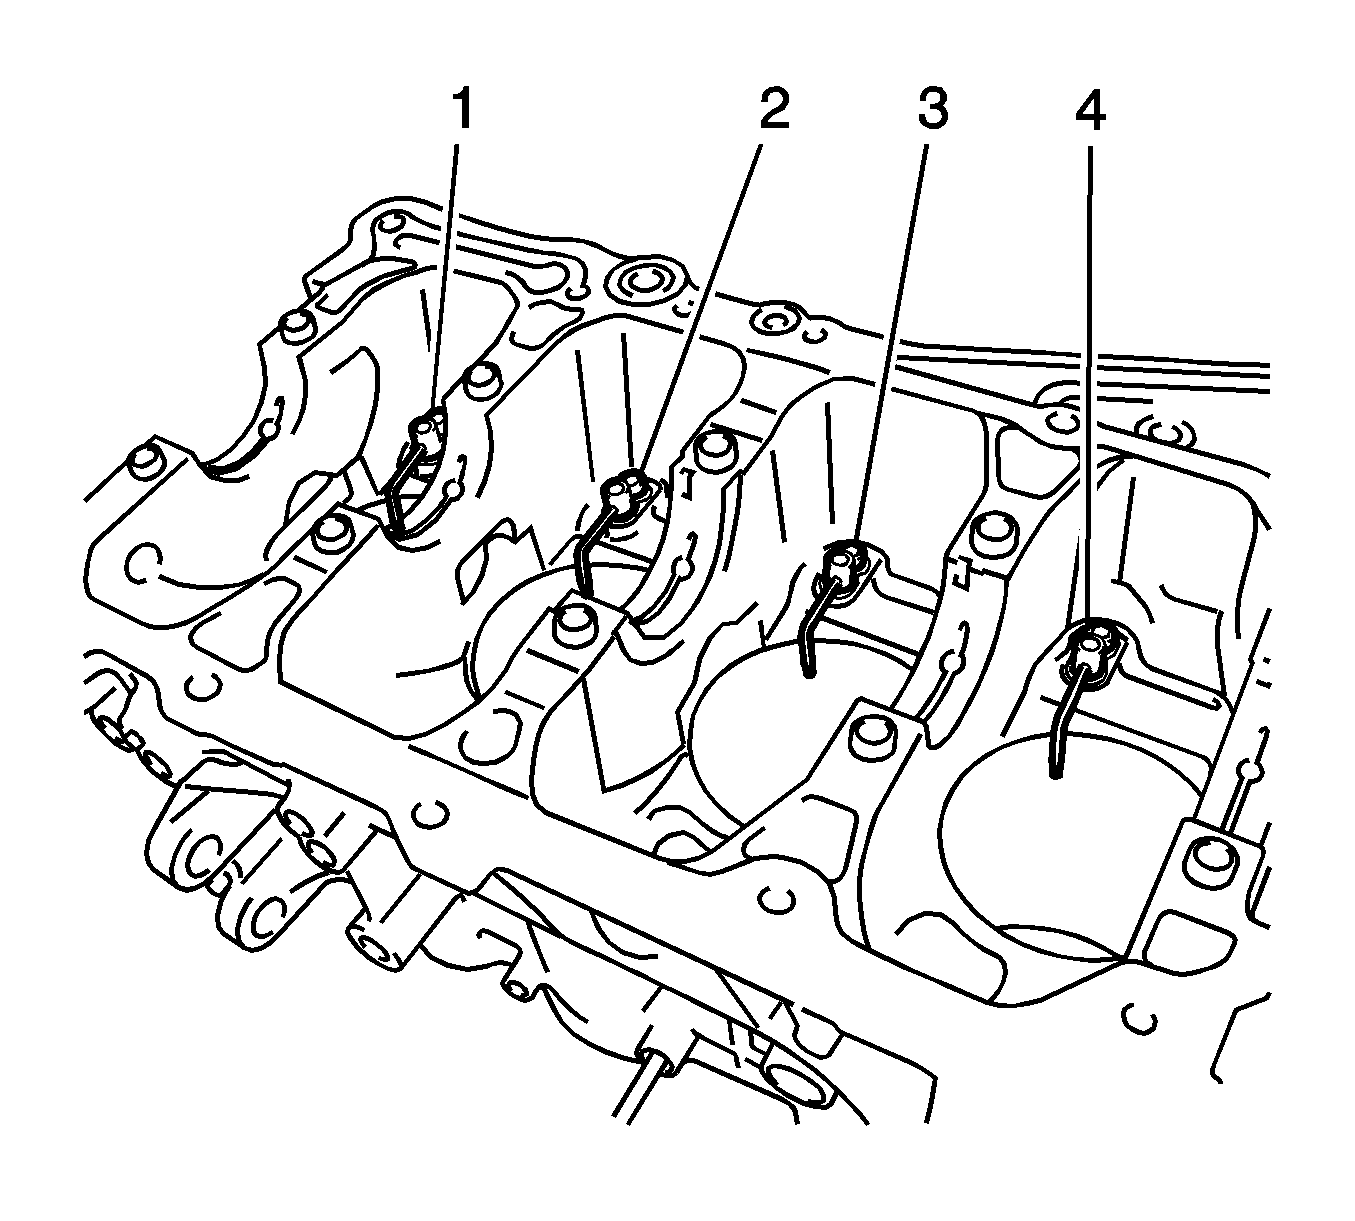
- Using a 5 mm hexagon wrench, install the oil nozzles (1-4) with the bolts.
- Install the upper crankshaft bearing with an oil groove on the cylinder block.
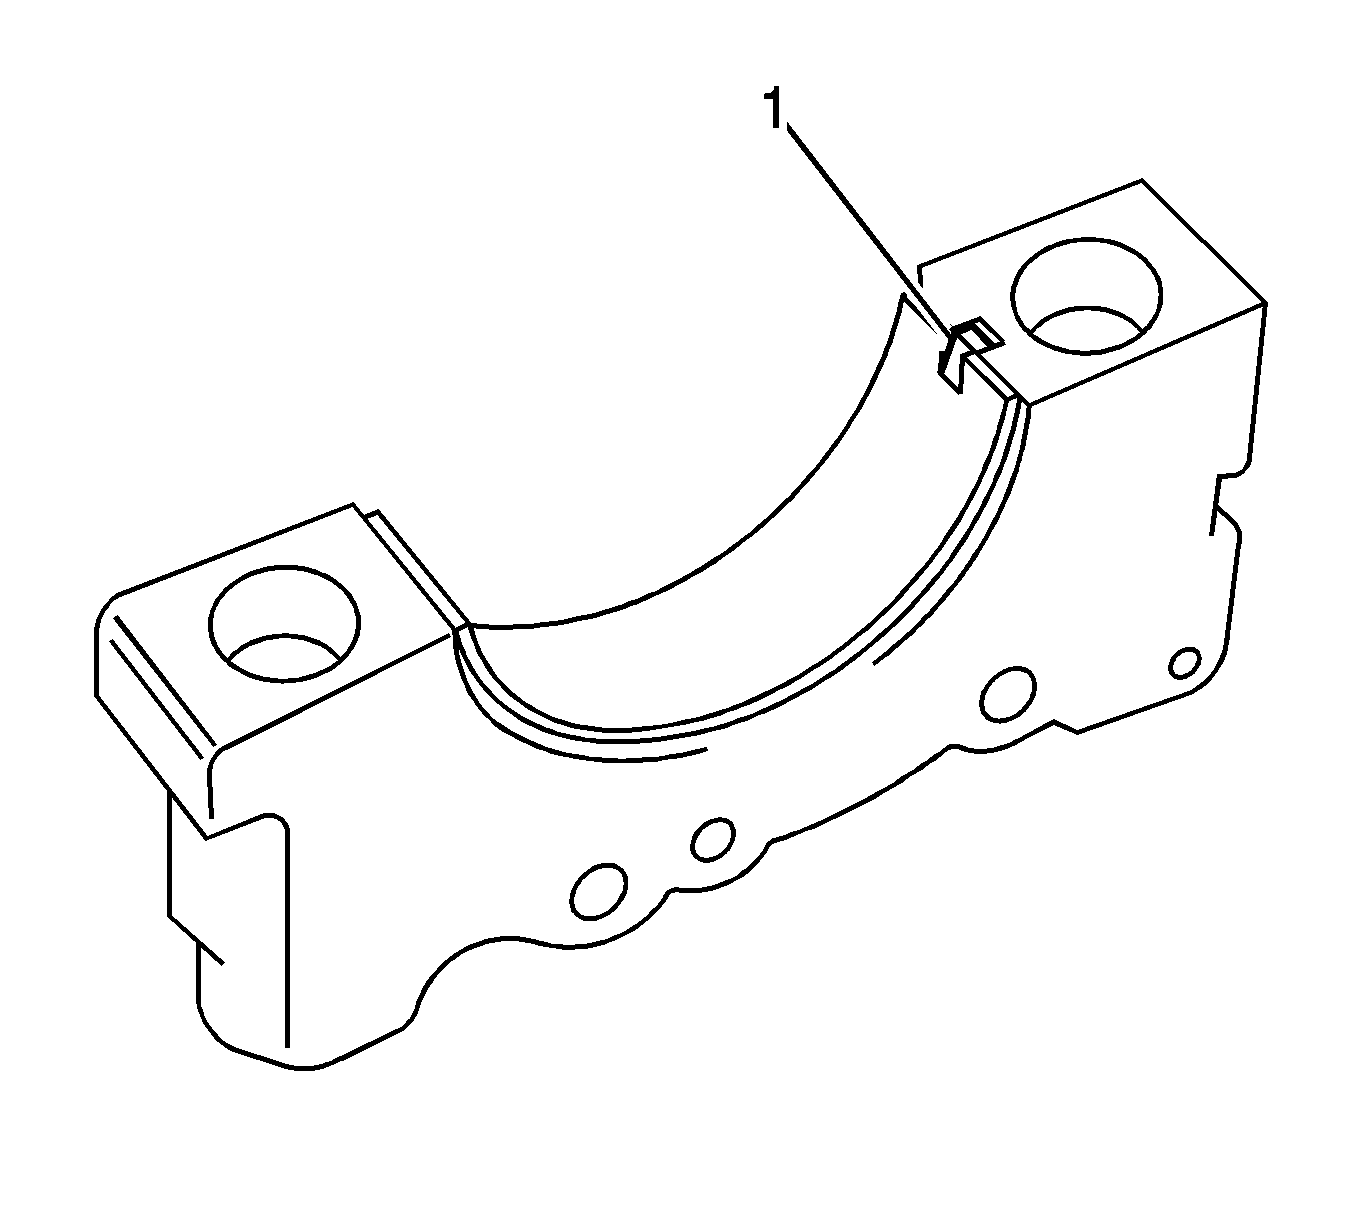
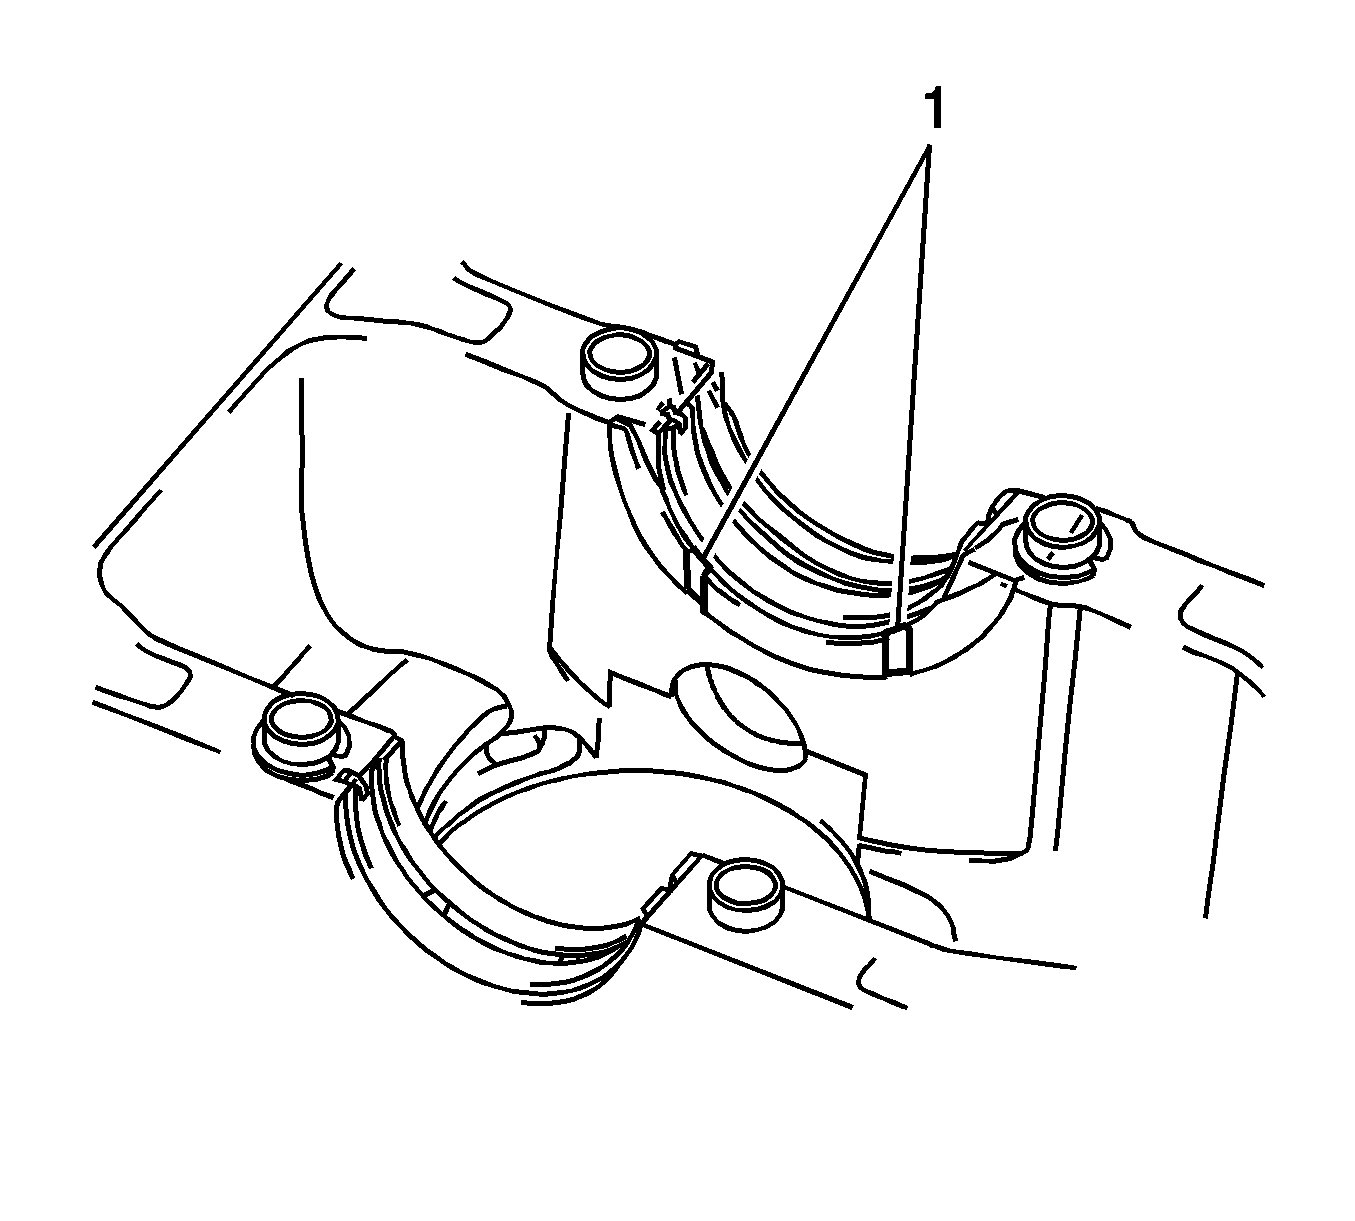
- Install the crankshaft bearing (1) on the bearing cap.
- Install the 2 upper crankshaft thrust washers under the journal of the cylinder block with the oil grooves facing outward (1).
- Apply engine oil to the crankshaft thrust washer.
- Apply engine oil to the upper bearing and install the crankshaft on the cylinder block.
- Apply engine oil to the lower bearing.
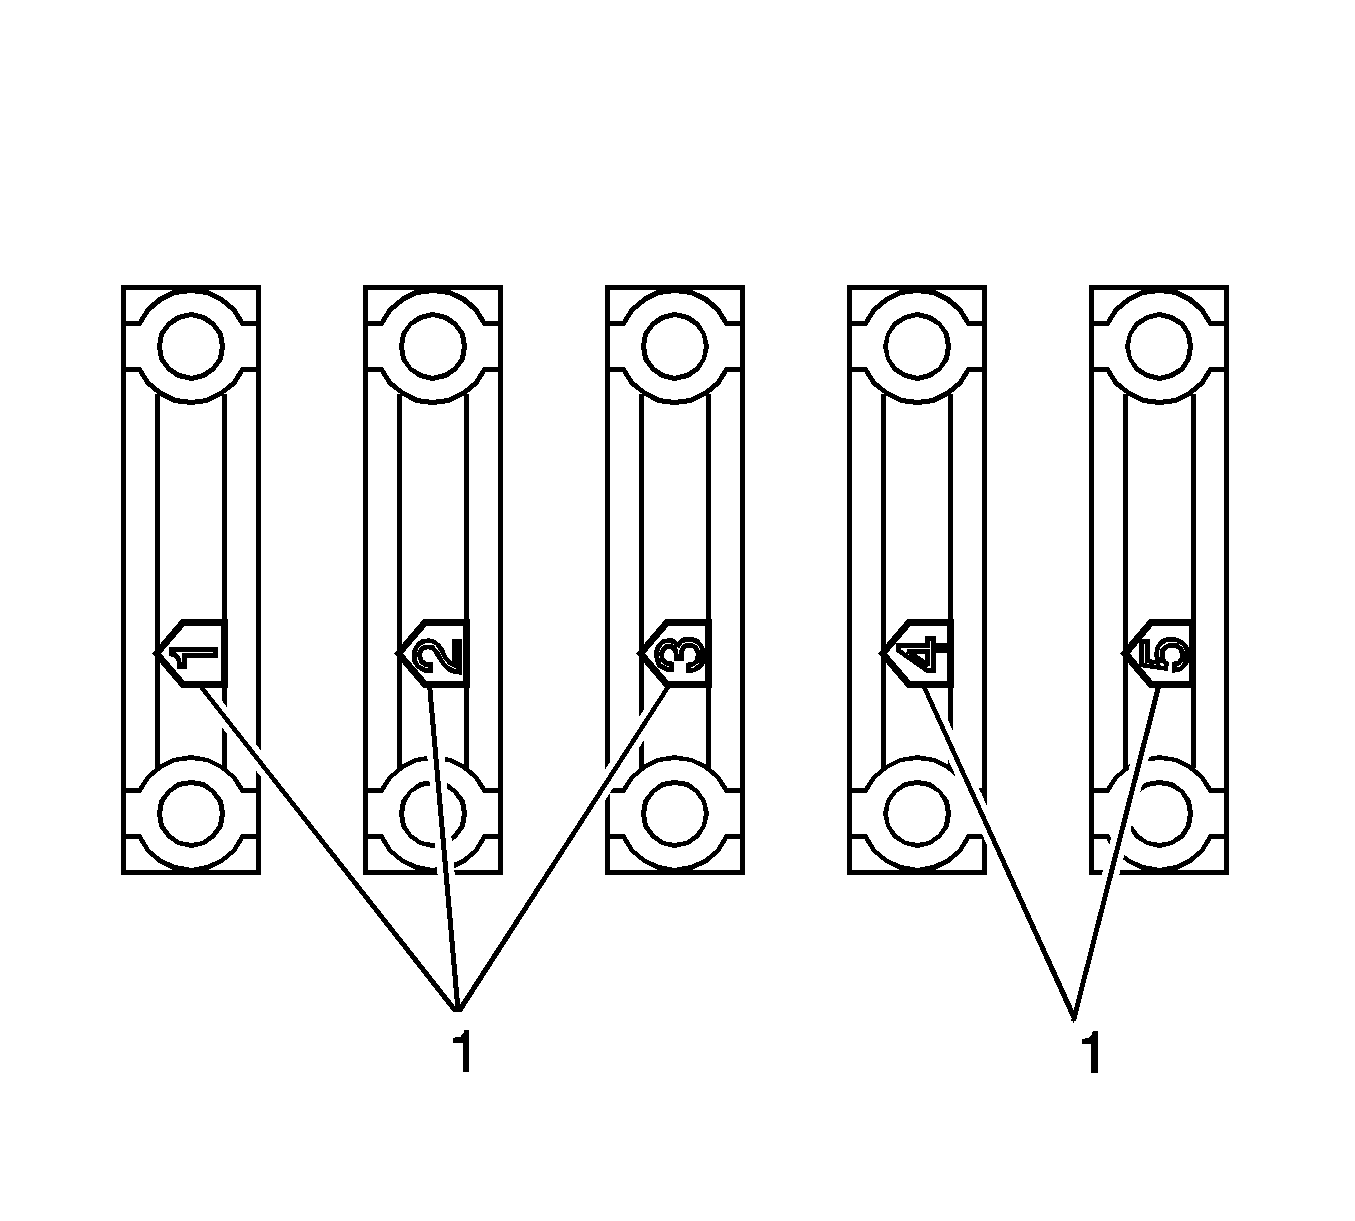
- Examine the front marks (1) and install the bearing caps on the cylinder block.
- Apply a light coat of engine oil to the threads and under the bearing cap bolts.
- Install the crankshaft bearing cap bolts.
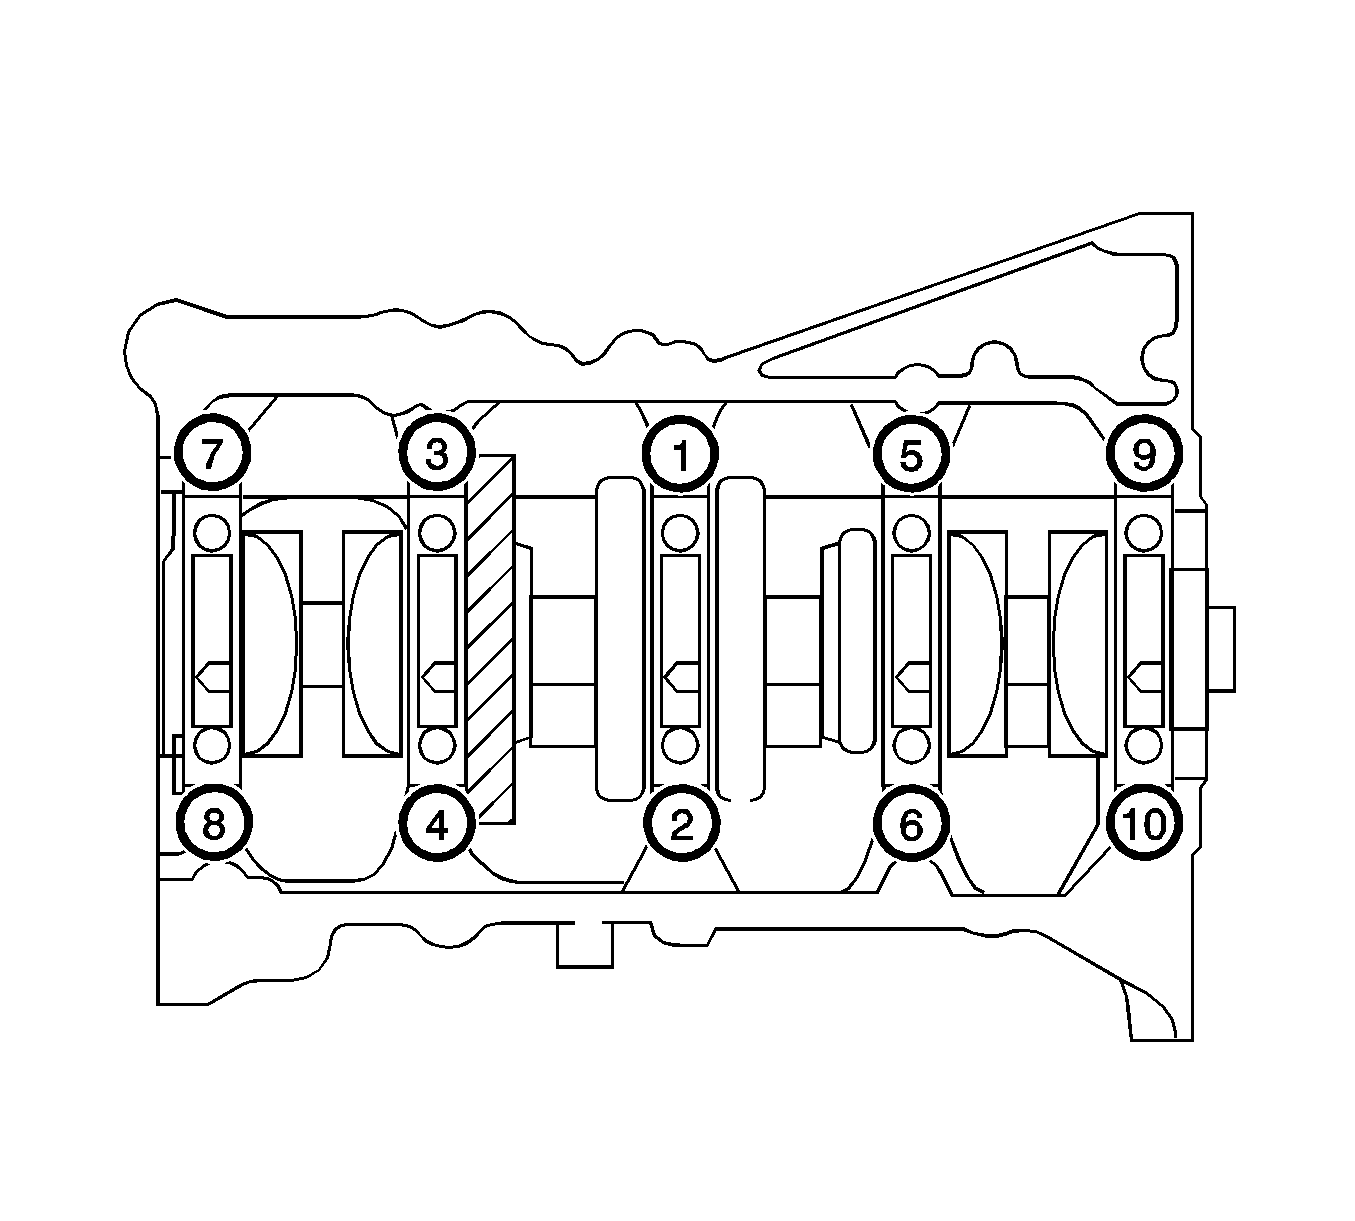
- Install and uniformly tighten the 10 main bearing cap bolts in the sequence shown in the illustration.
- Retighten the 10 main bearing cap bolts in the sequence shown in the illustration.
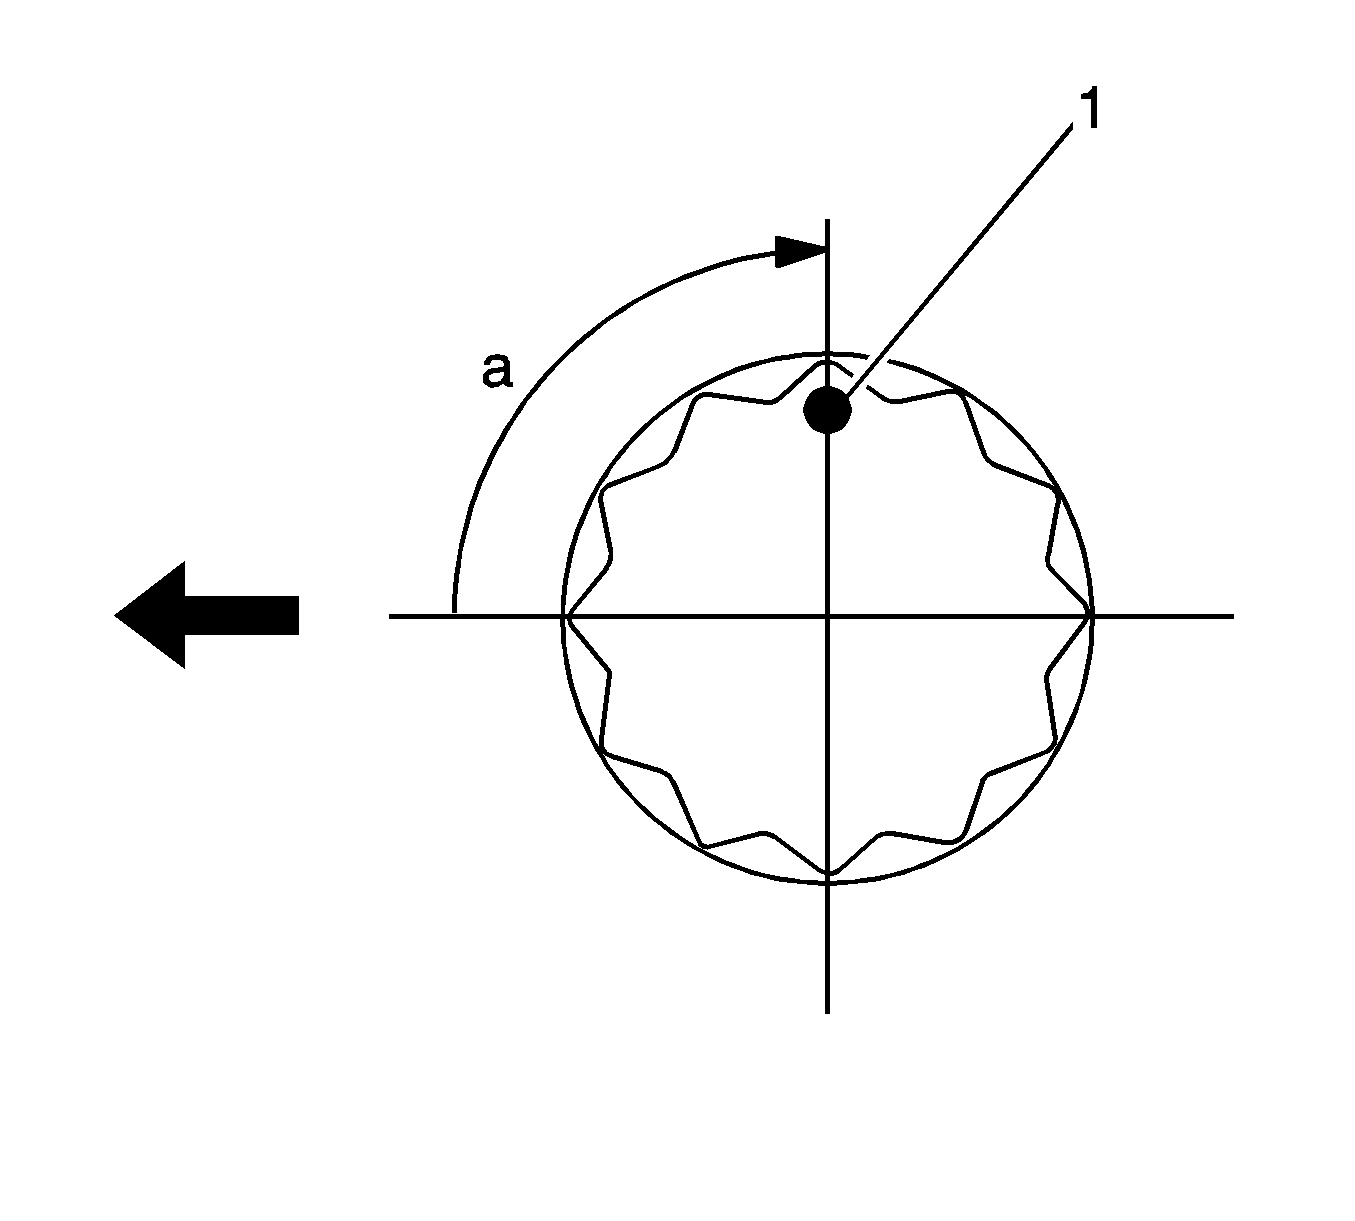
- Mark the front of the bearing cap bolts with paint (1).
- Retighten the bearing cap bolts by 90 degrees (a) in the numerical order shown in the illustration.
- Check that the paint mark is now at a 90-degree angle to the front.
- Check that the crankshaft turns smoothly.
- Check the crankshaft thrust clearance. Refer to Crankshaft and Bearing Removal.
Caution: Refer to Fastener Caution in the Preface section.
Tighten
Tighten the oil nozzle bolts to 7.0 N·m (62 lb in).
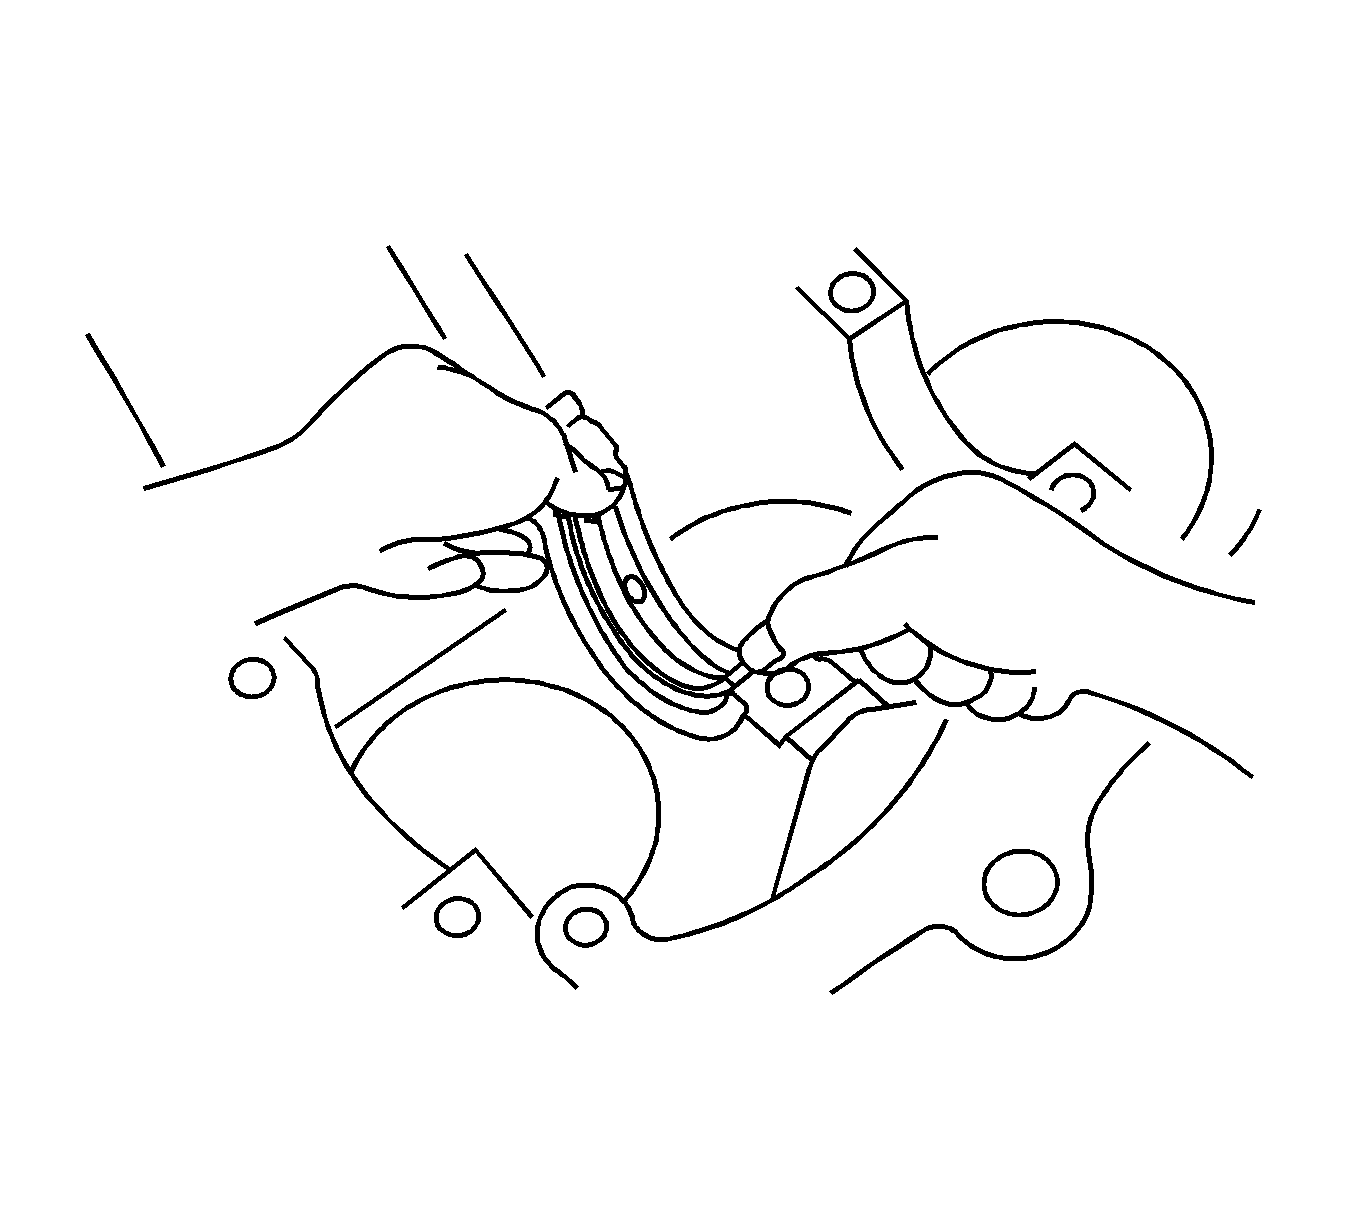
Note: Do not apply engine oil to the bearings or the contact surfaces.
Note: Clean the backside of the bearing and the bearing surface of the connecting rod. The surface should be free of dust and oils.
Note: Make sure to install the proper thrust washers.
Note: The main bearing cap bolts are tightened in 2 progressive steps.
Tighten
Tighten the main bearing cap bolts to 20 N·m (15 lb ft).
Tighten
Tighten the main bearing cap bolts to 40 N·m (30 lb ft).
