For 1990-2009 cars only
Special Tools
| • | J-8614-A Pinion Flange Holder and Remover |
| • | J-21052-4 Crankshaft End Protector |
| • | J-41665-A Crankshaft Balancer and Sprocket Installer |
| • | J-41998-A Crankshaft Balancer Installer |
Removal Procedure
- Remove the front wheel RH.
- Remove the engine under cover RH.
- Remove the V-ribbed belt. Refer to Drive Belt Replacement
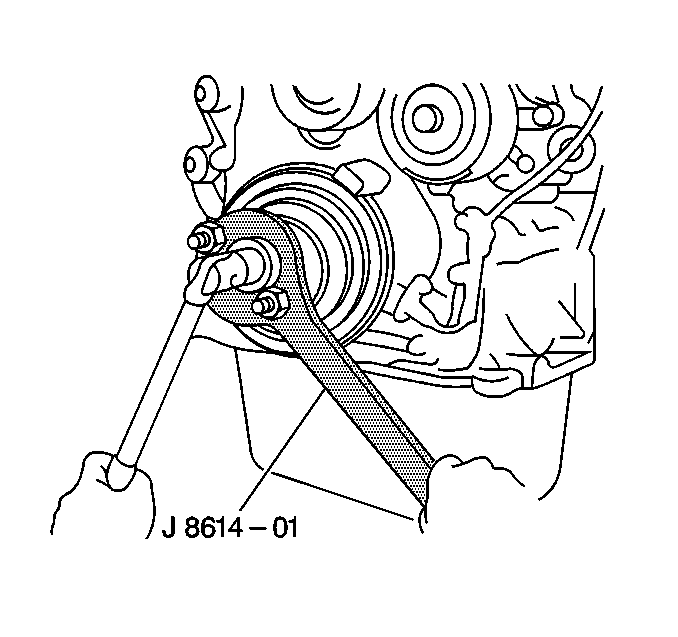
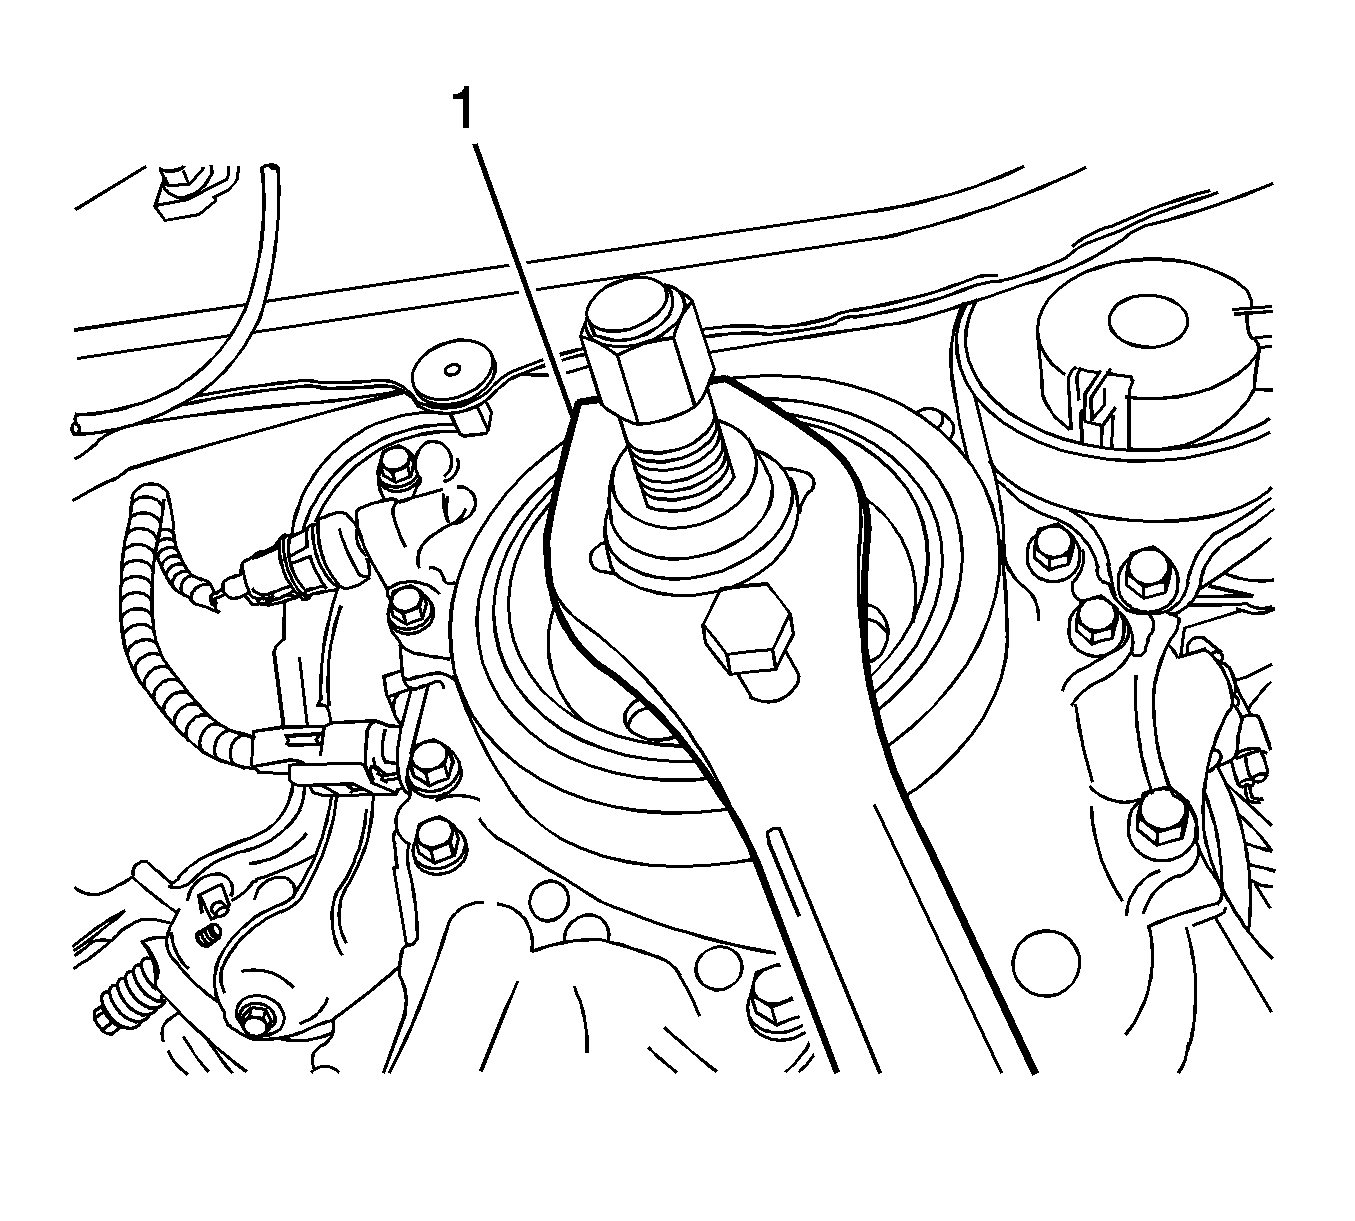
- Using the J-8614-A holder and remover , hold the pulley in place and loosen and remove the pulley bolt.
- Place the J-21052-4 protector on the end of the crankshaft.
- Using the J-8614-A holder and remover , remove the crankshaft pulley.
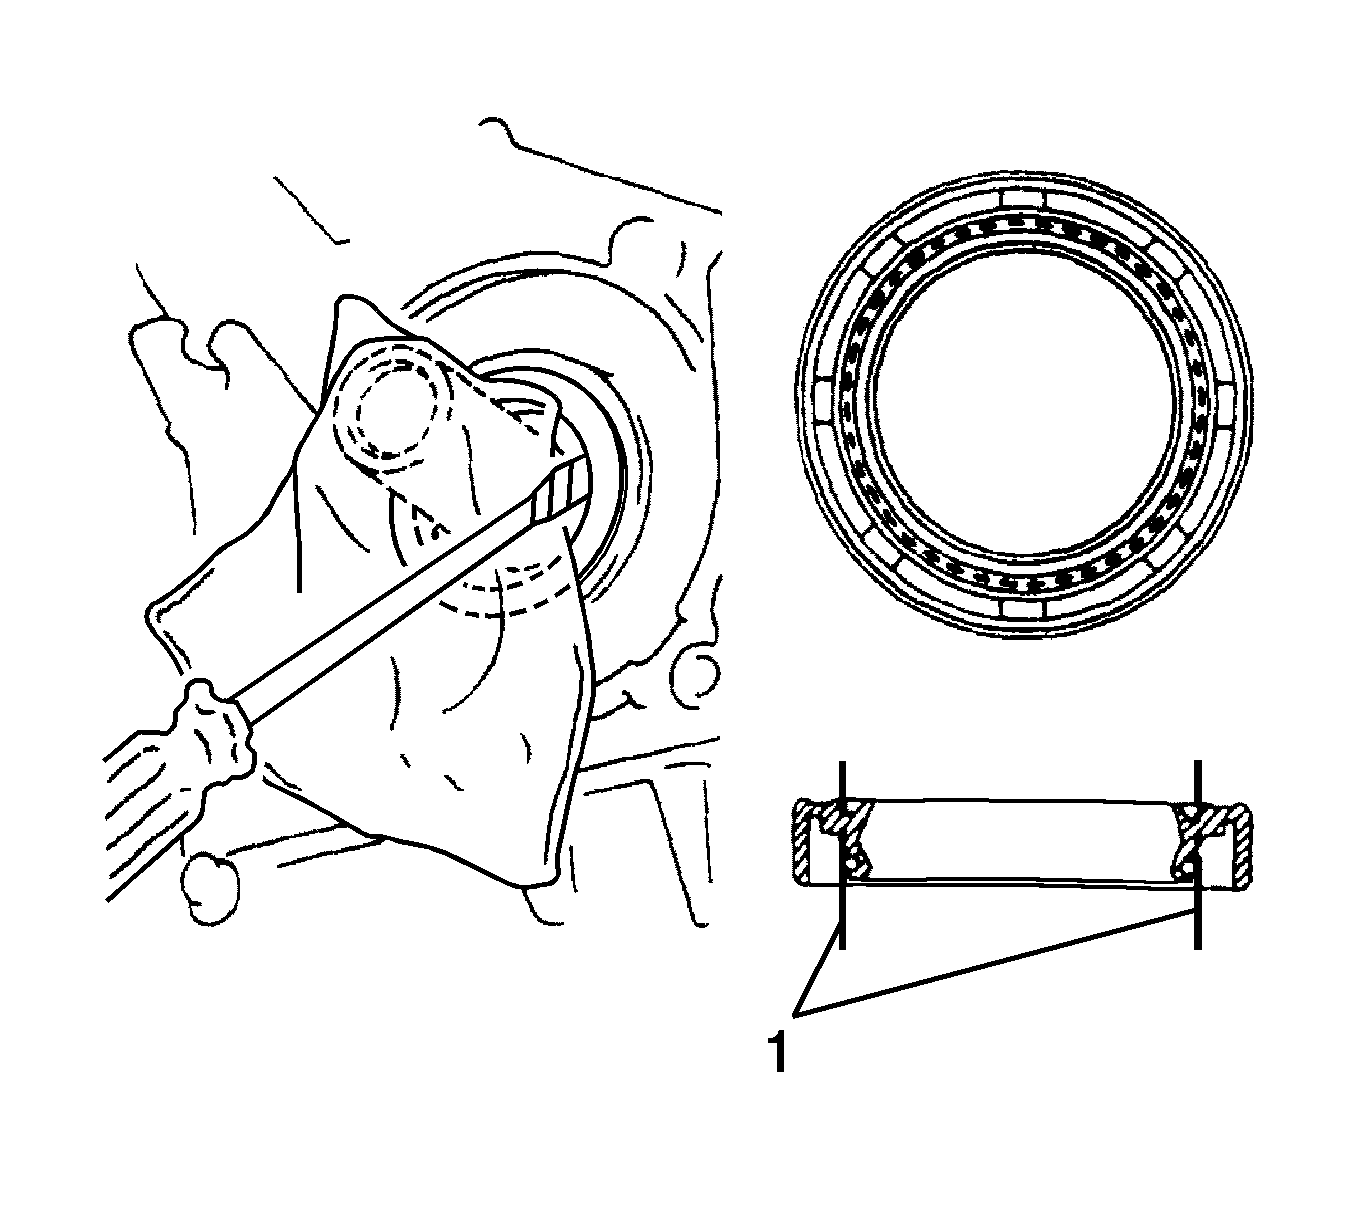
- Using a knife, cut off the lip (1) of the oil seal.
- Using a screwdriver with its tip wrapped with tape, pry out the oil seal.
Note: After removing, check the crankshaft for damage. If damaged, smooth the surface with 400-grit sandpaper.
Installation Procedure
- Install timing chain cover oil seal.
- Apply MP grease to the lip of a new oil seal.
- Using the J-41665-A installer (1) and a hammer, tap in the oil seal until its surface is flush with the rear oil seal retainer edge.
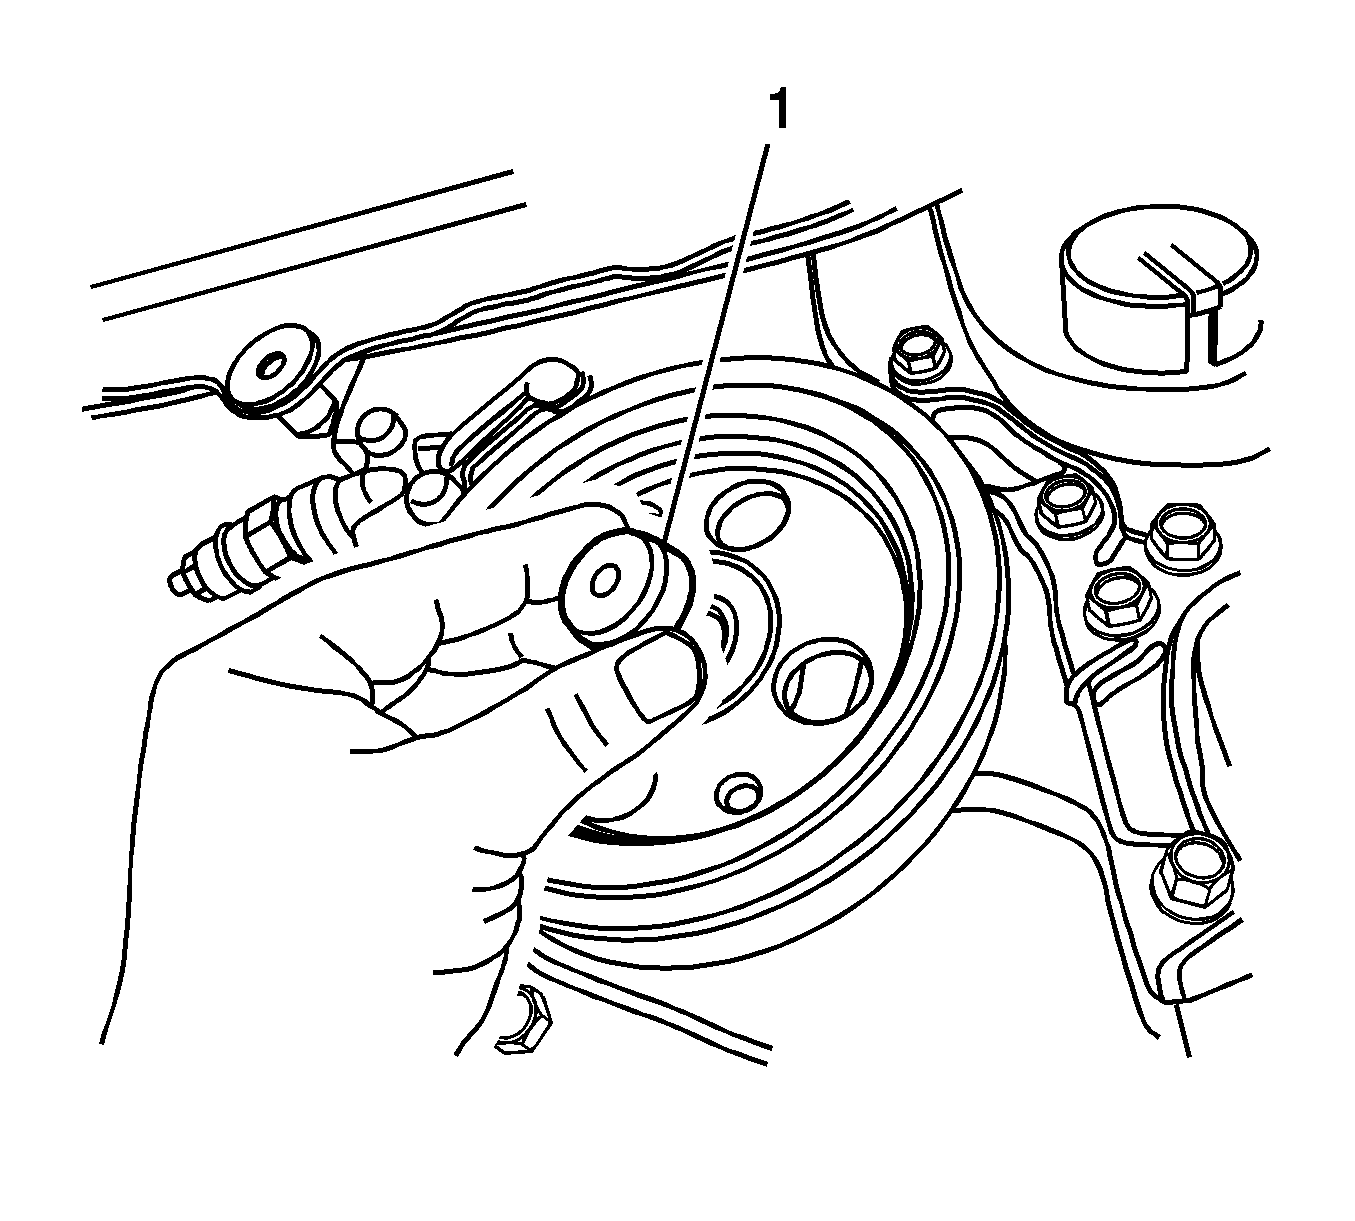
- Align the pulley set key with the key groove of the pulley.
- Using the J-41998-A installer (1), push the pulley on the crankshaft.
- Using J-8614-A holder and remover hold the pulley in place and tighten the bolt to 190 N·m (140 lb ft).
- Install the V-ribbed belt. Refer to Drive Belt Replacement.
- Add engine oil if necessary.
- Inspect for engine oil leak.
- Install the engine under cover RH.
- Install the front wheel RH.
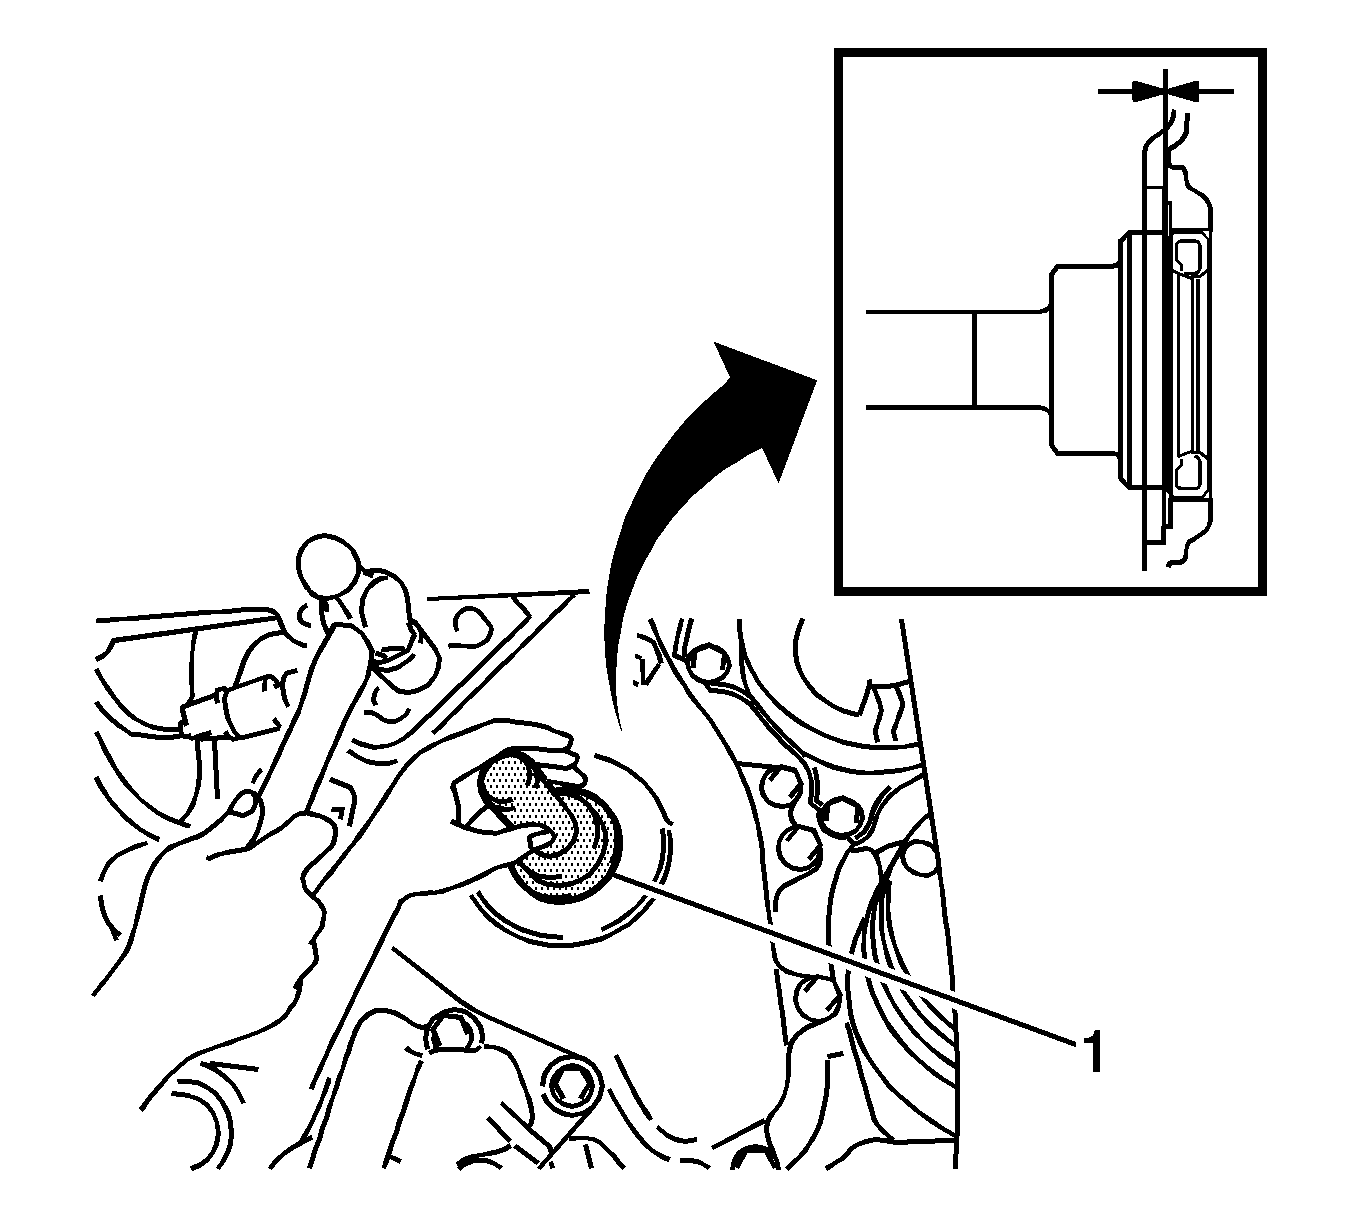
Note: Wipe off extra grease from the crankshaft.
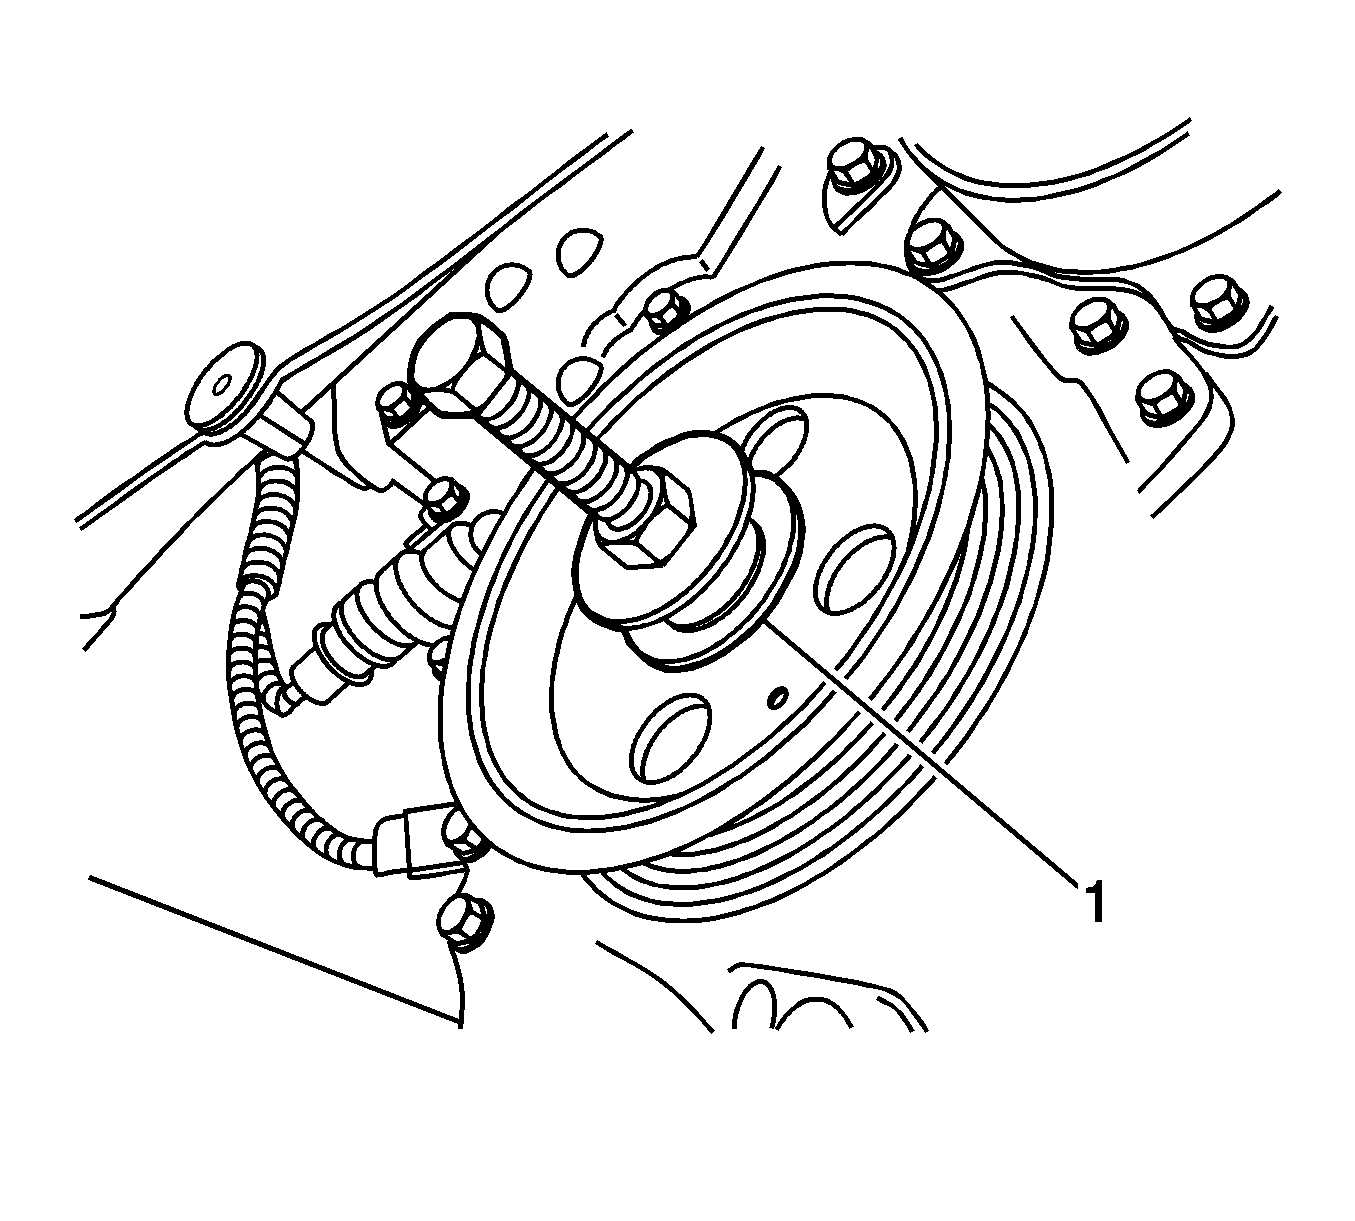
Caution: Refer to Fastener Caution in the Preface section.
