For 1990-2009 cars only
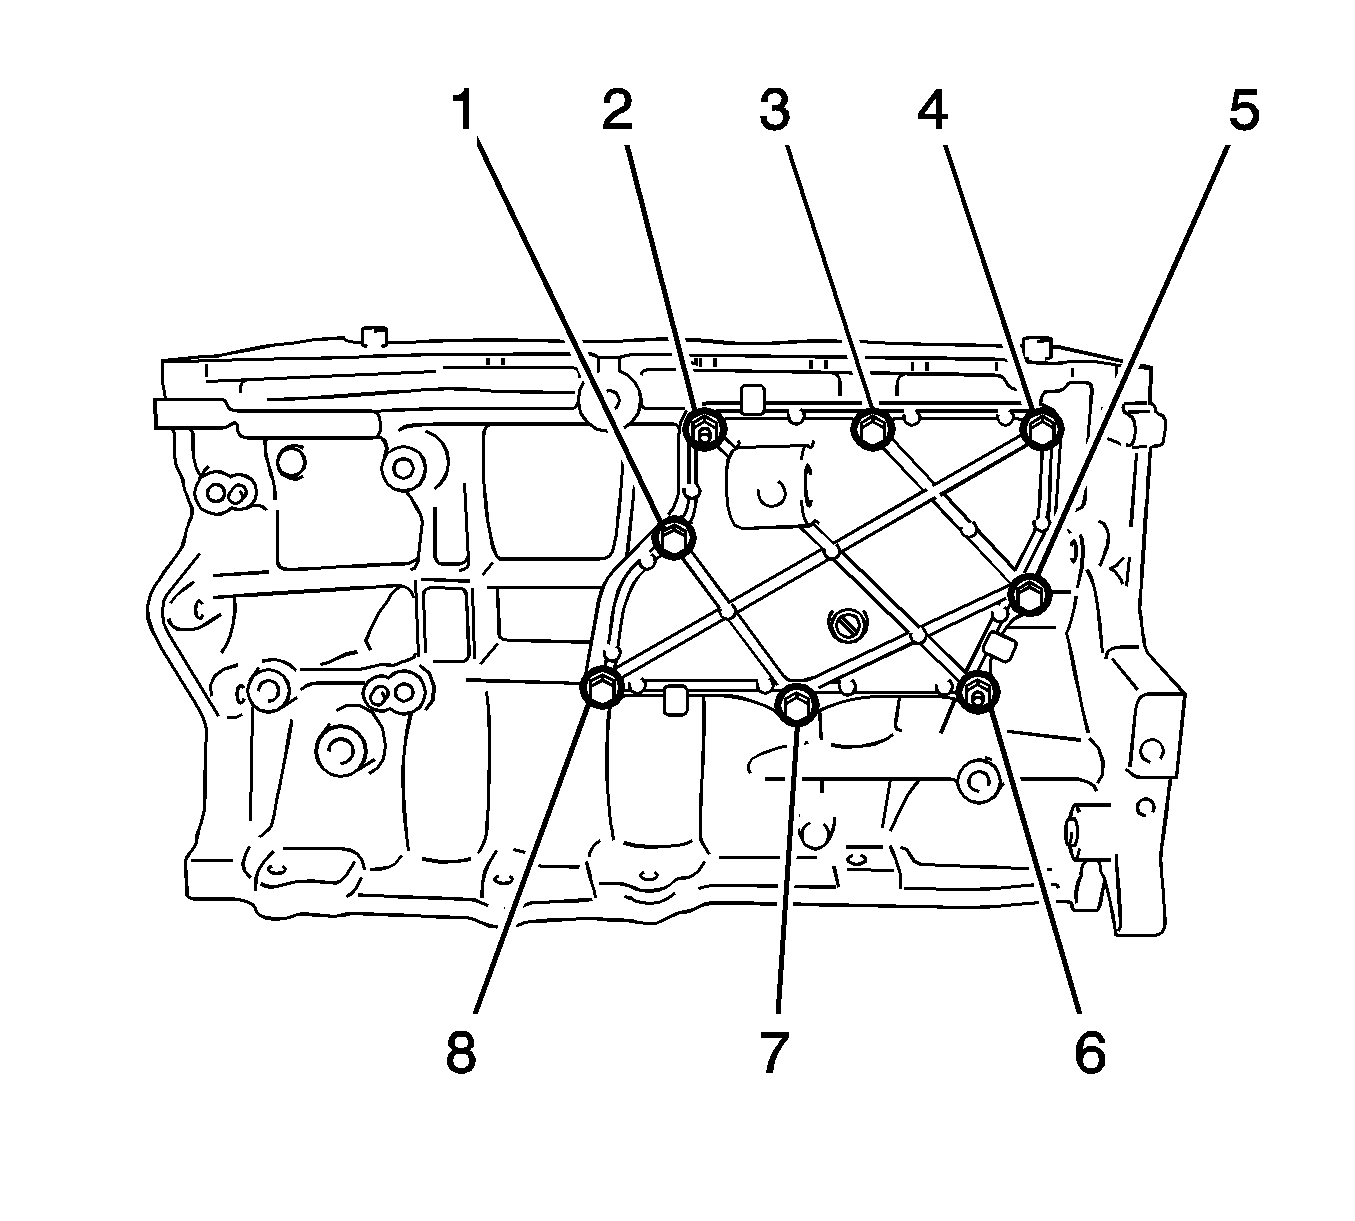
- Remove the 6 bolts (1,3,4,5,7 and 8) and 2 nuts (2,6).
- Remove the ventilation case by prying between the ventilation case and cylinder block with a screwdriver (1) as shown in the illustration.
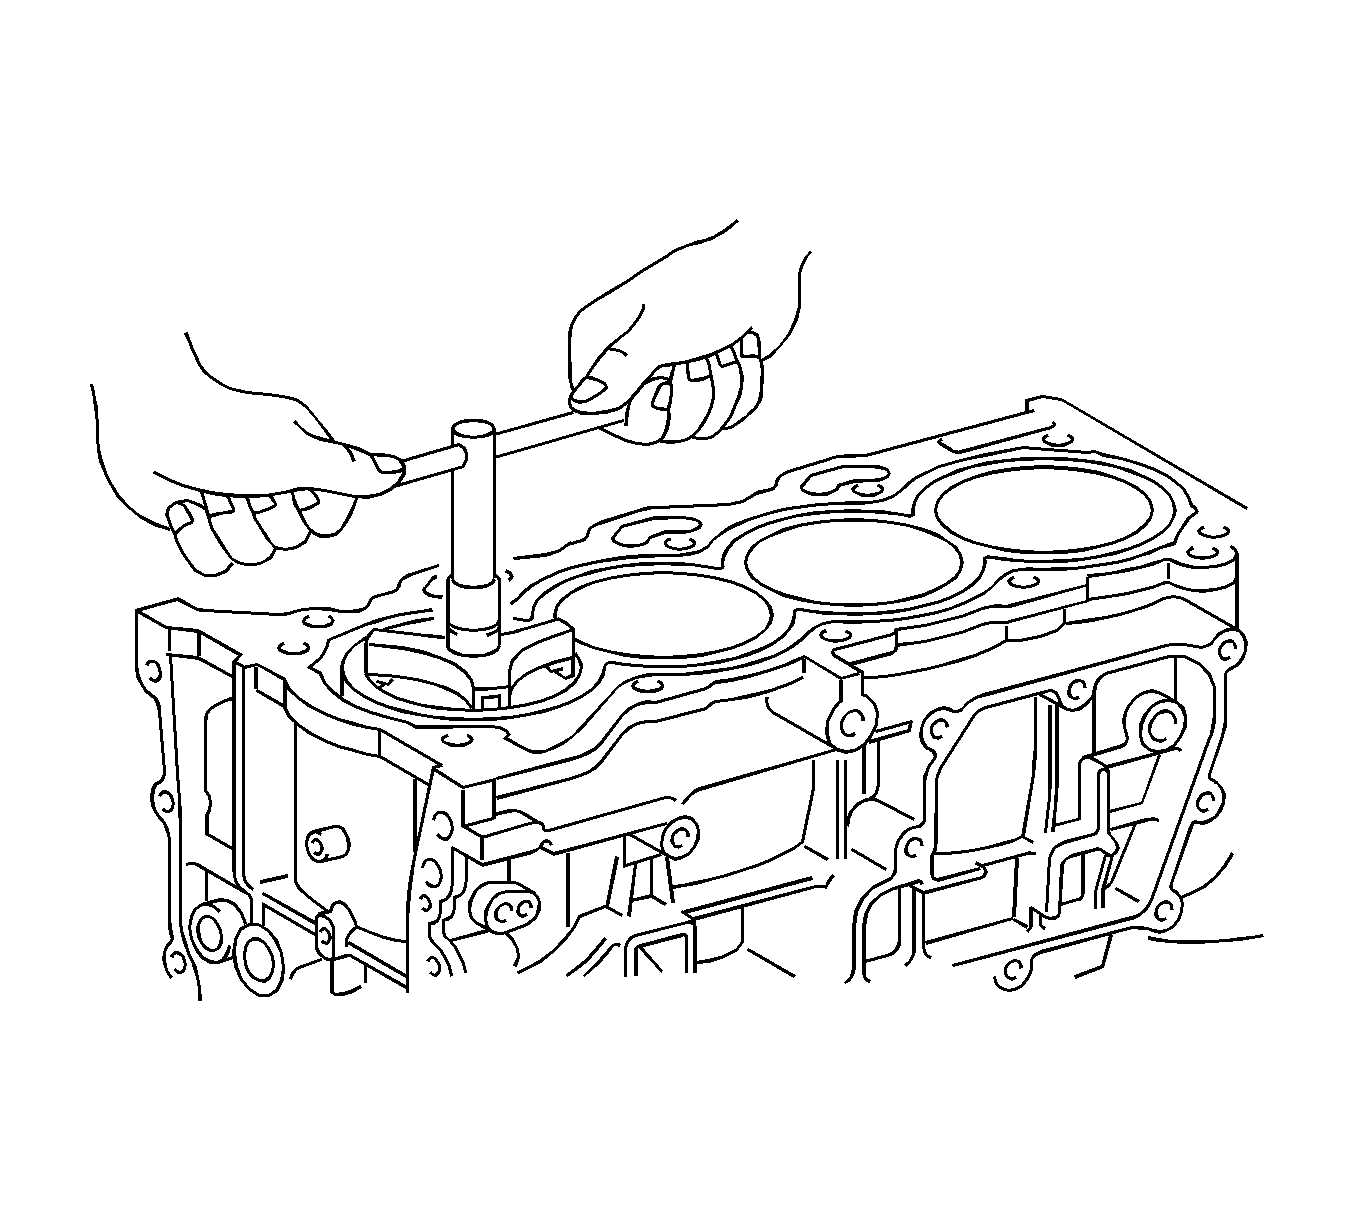
- Using a ridge reamer, remove all the carbon from the top of the cylinder.
- Check that the matchmarks (1) on the connecting rod and cap are aligned to ensure correct reassembly.
- Using a suitable tool, uniformly loosen the 2 bolts (1).
- Using the 2 removed connecting rod cap bolts, remove the connecting rod cap and lower bearing by wiggling the connecting rod cap right and left.
- Push the piston, connecting rod assembly and upper bearing through the top of the cylinder block.
- Remove the connecting rod bearings.
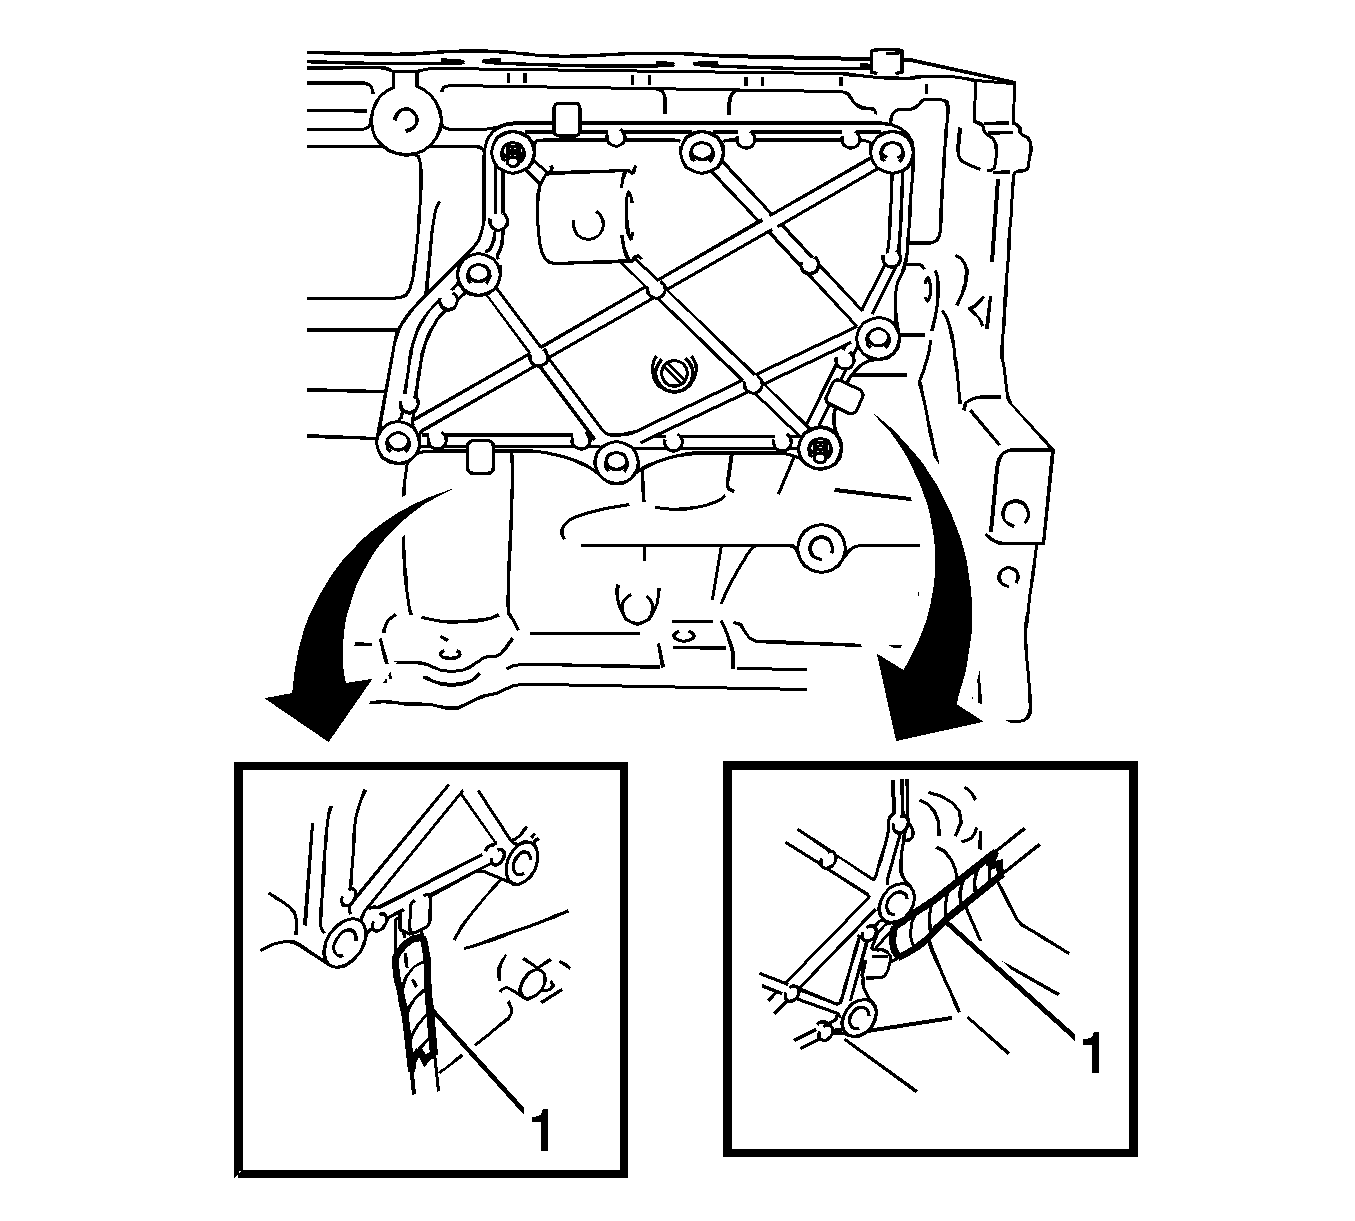
Note: Tape the screwdriver tip before use.
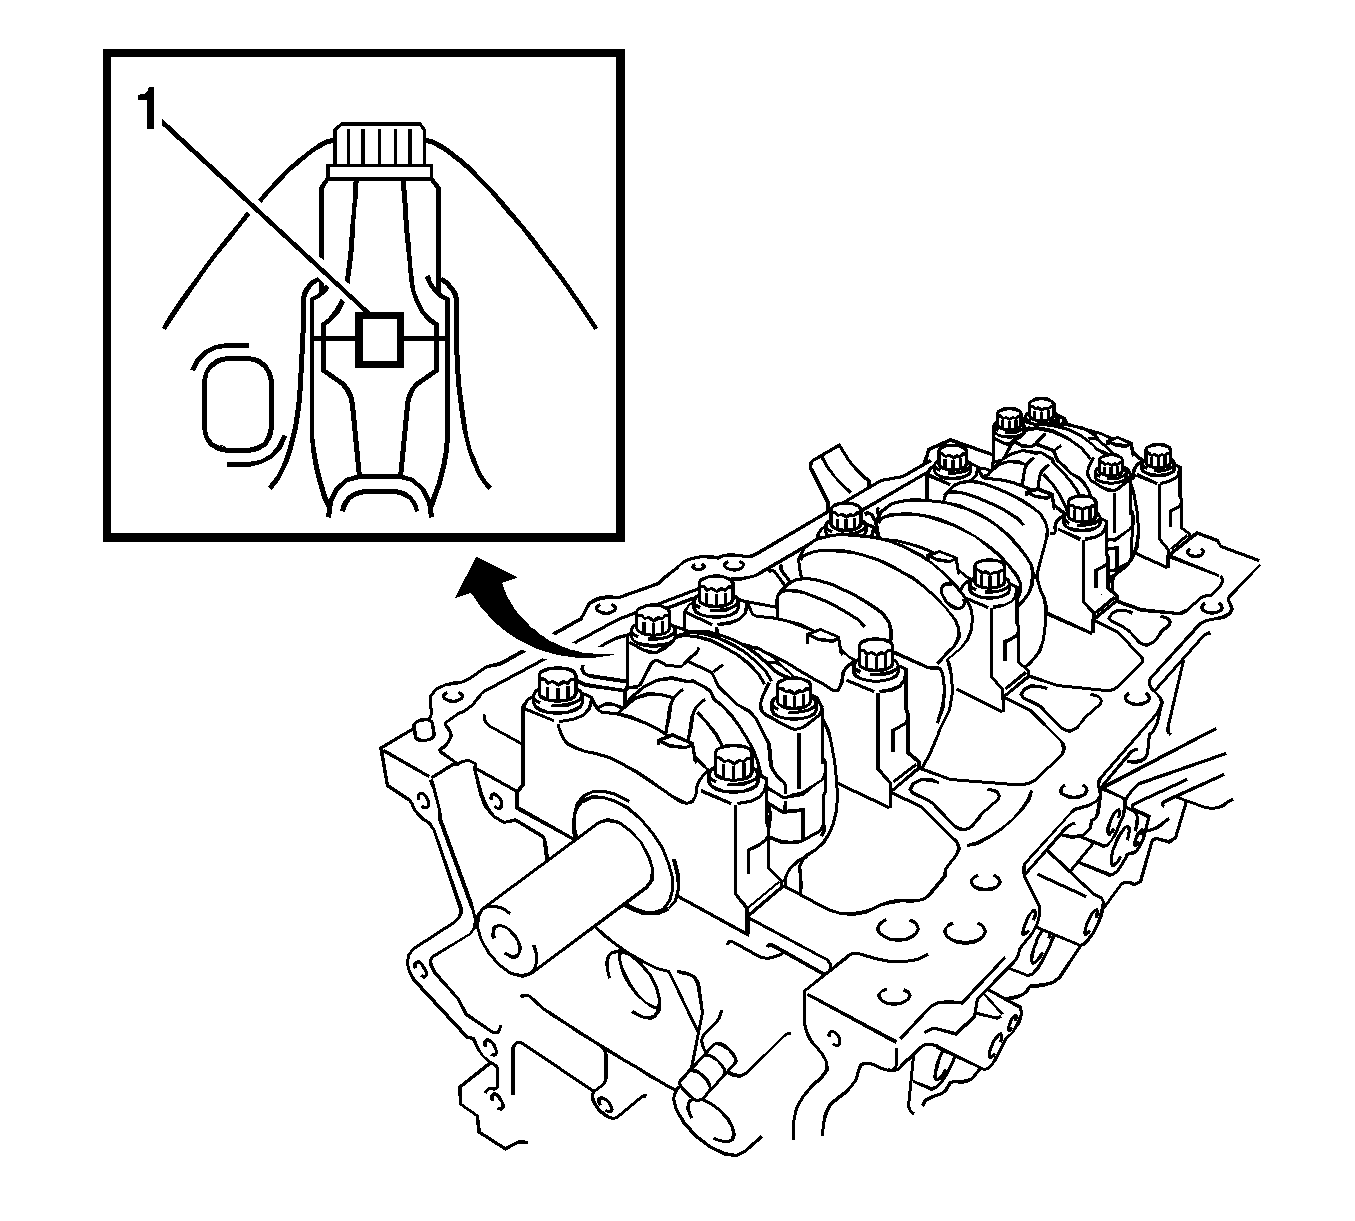
Note: The matchmarks on the connecting rods and caps are provided to ensure correct reassembly.
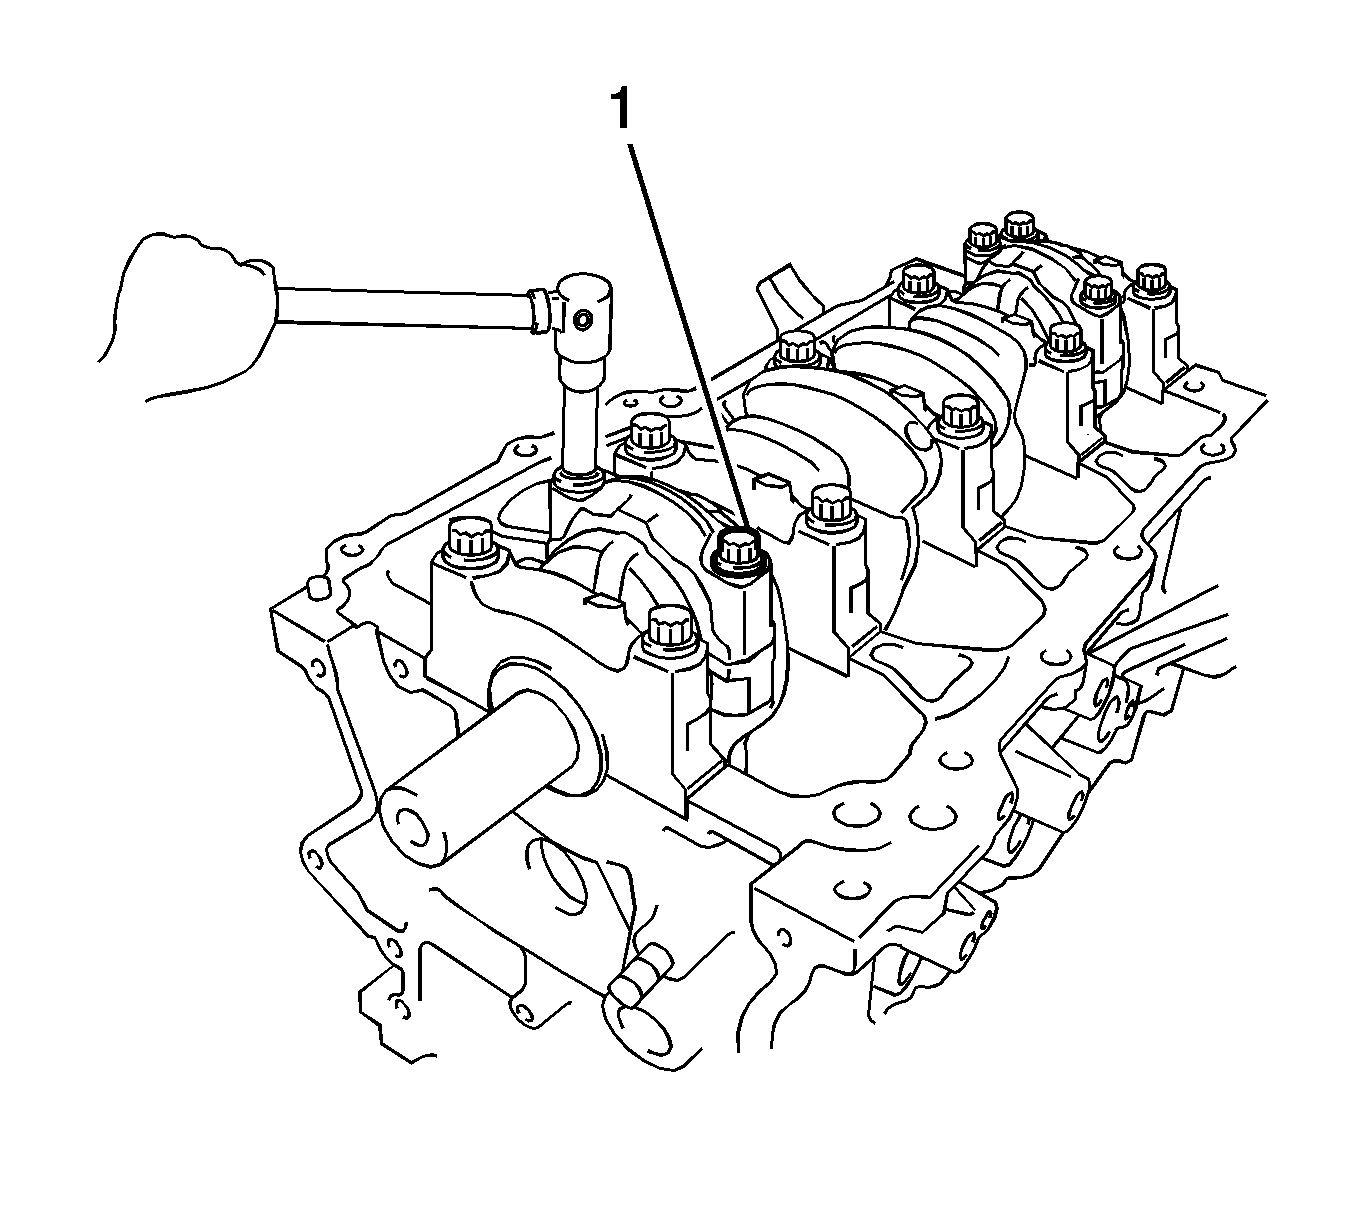
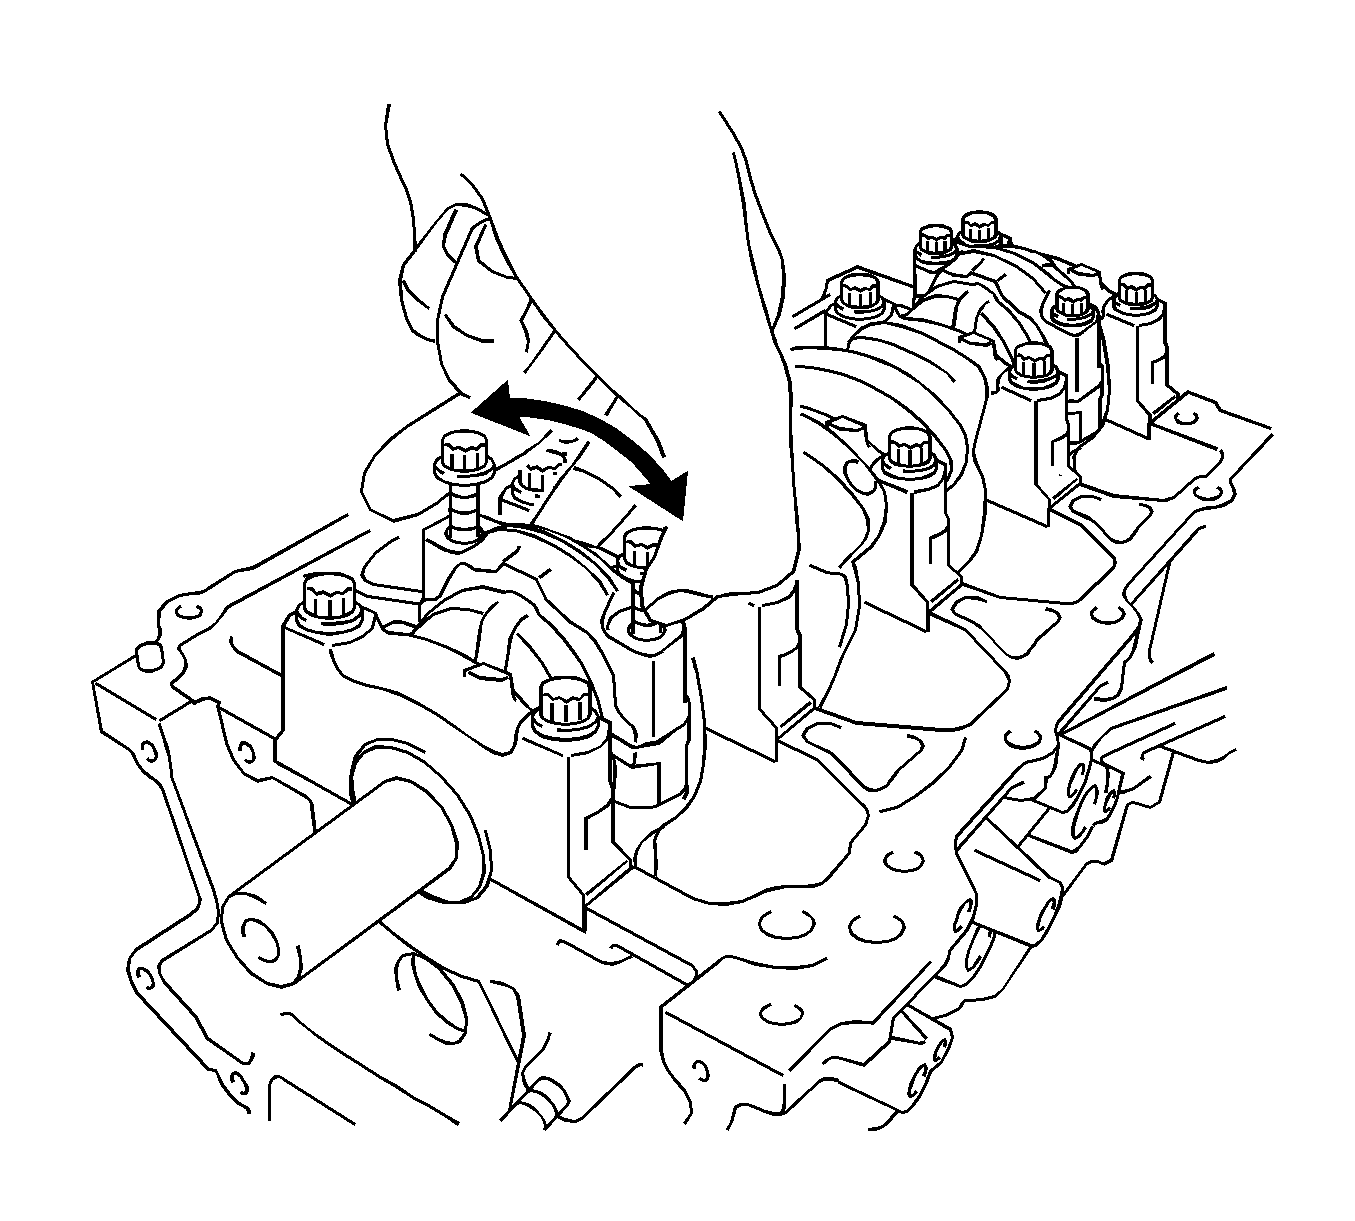
Note: Keep the lower bearing inserted in the connecting rod cap.
Note: Keep the bearing, connecting rod and cap as a set and arrange the piston and connecting rod assemblies in the correct order.
