For 1990-2009 cars only
Removal Procedure
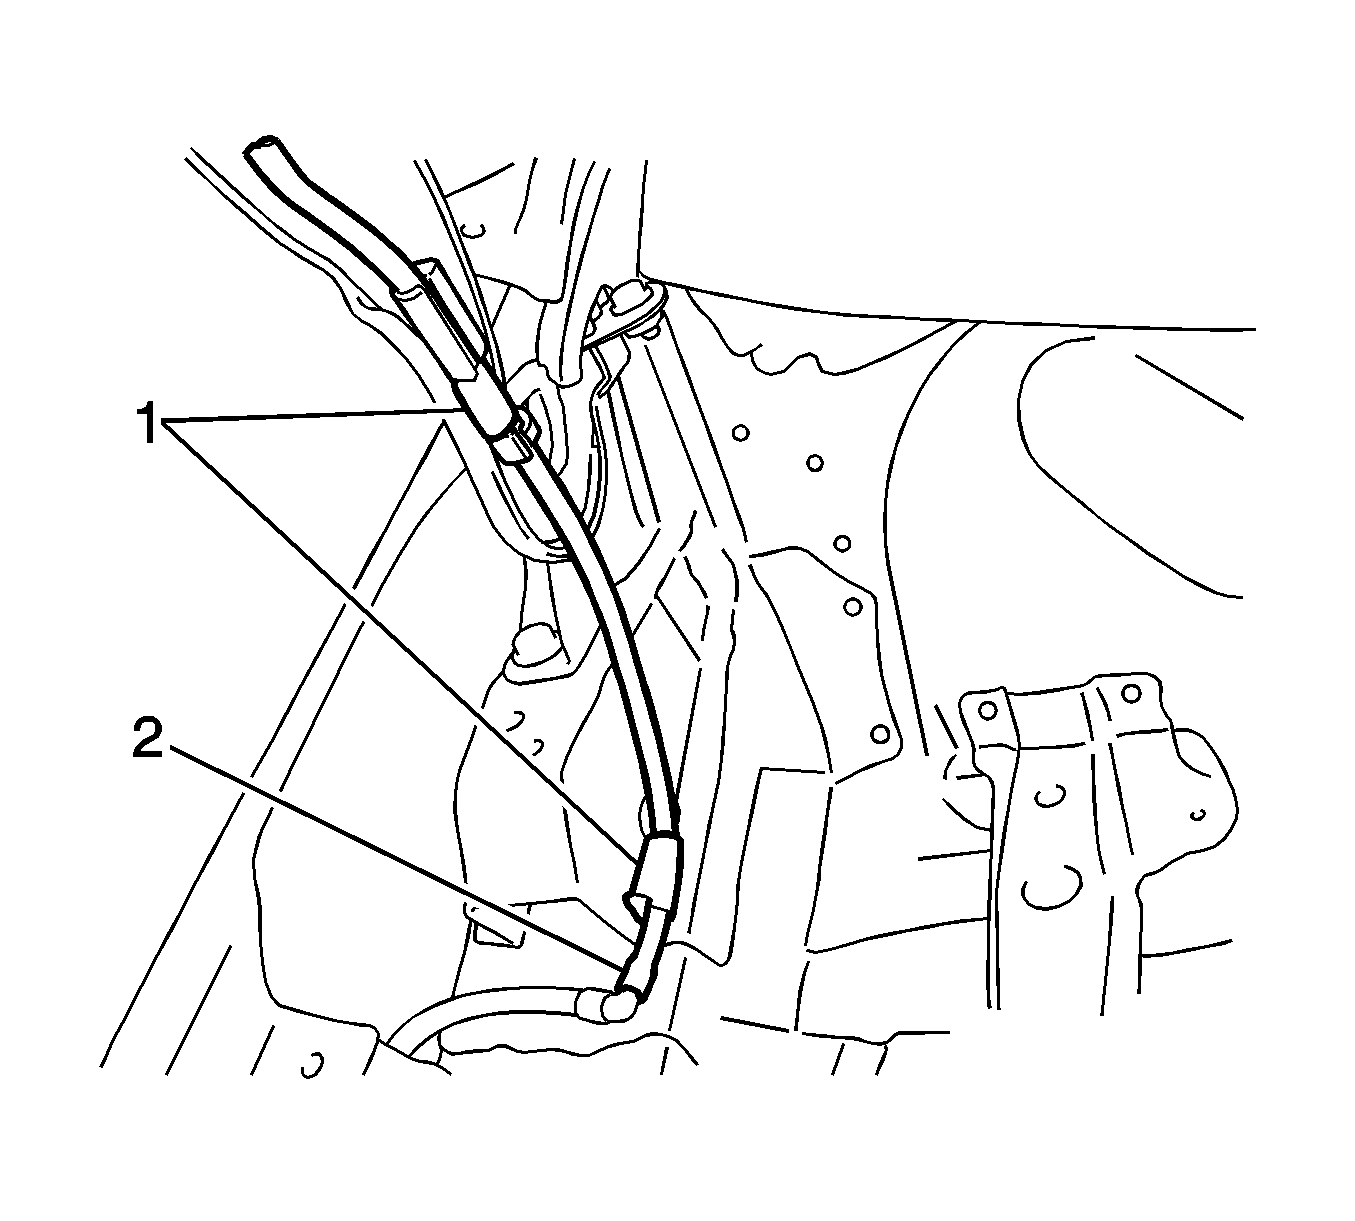
- Disconnect the washer hose clamps and washer hose (2).
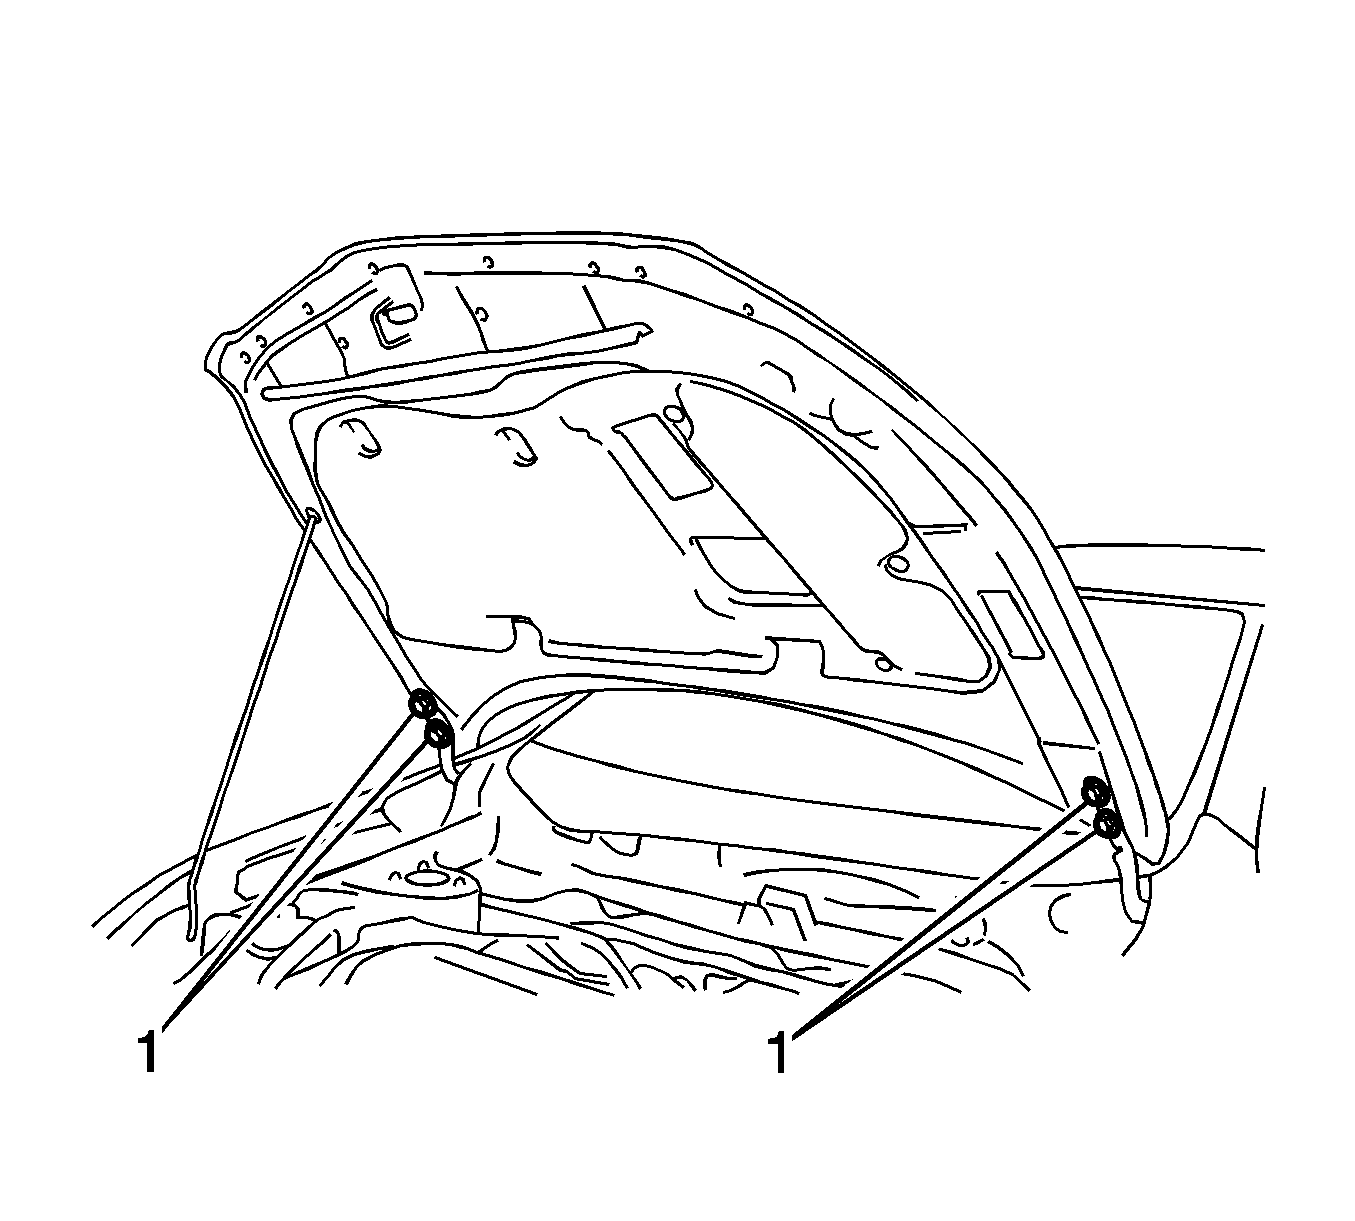
- Remove the bolts (1) and hood sub-assembly.
- Remove the windshield wiper transmission assembly. Refer to Windshield Wiper Transmission Replacement.
- Align the front wheels facing straight ahead.
- Remove the front wheels. Refer to Tire and Wheel Removal and Installation.
- Remove the engine splash shields. Refer to Engine Splash Shield Replacement - Left Side and Engine Splash Shield Replacement - Right Side.
- Drain the automatic transaxle fluid.
- Remove the engine cover. Refer to Engine Cover Replacement.
- Remove the air cleaner assembly.
- Remove the battery. Refer to Battery Replacement.
- Remove the battery tray. Refer to Battery Tray Replacement.
- Disconnect the oil cooler hoses from the transmission.
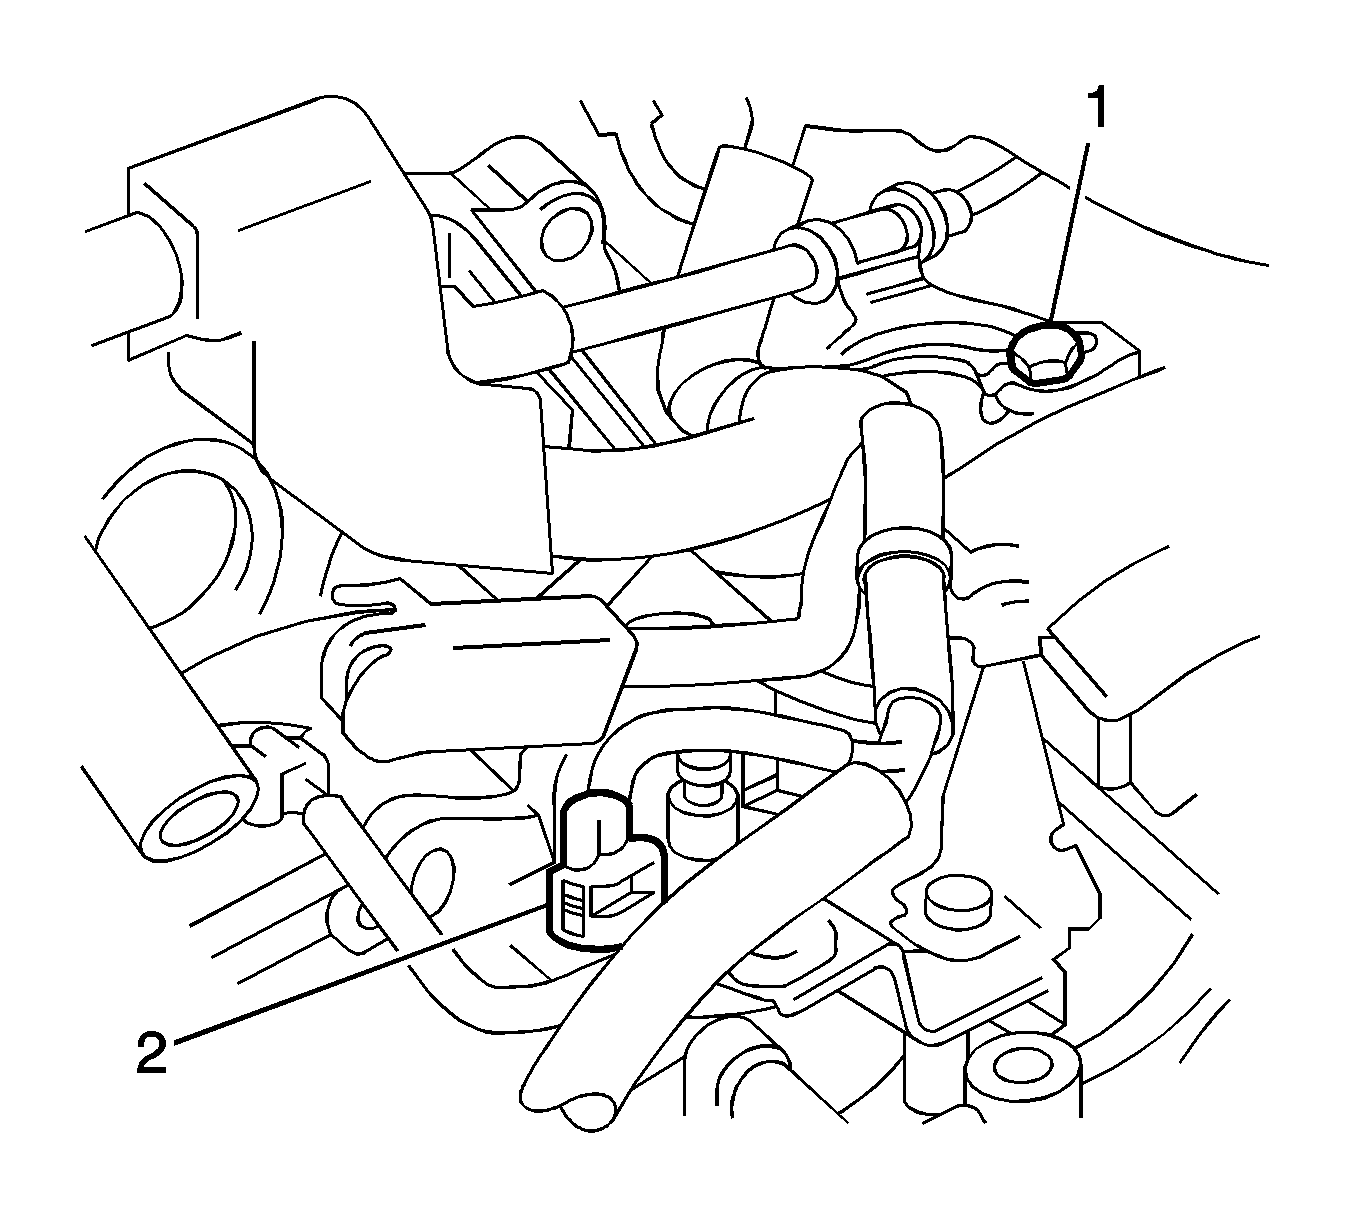
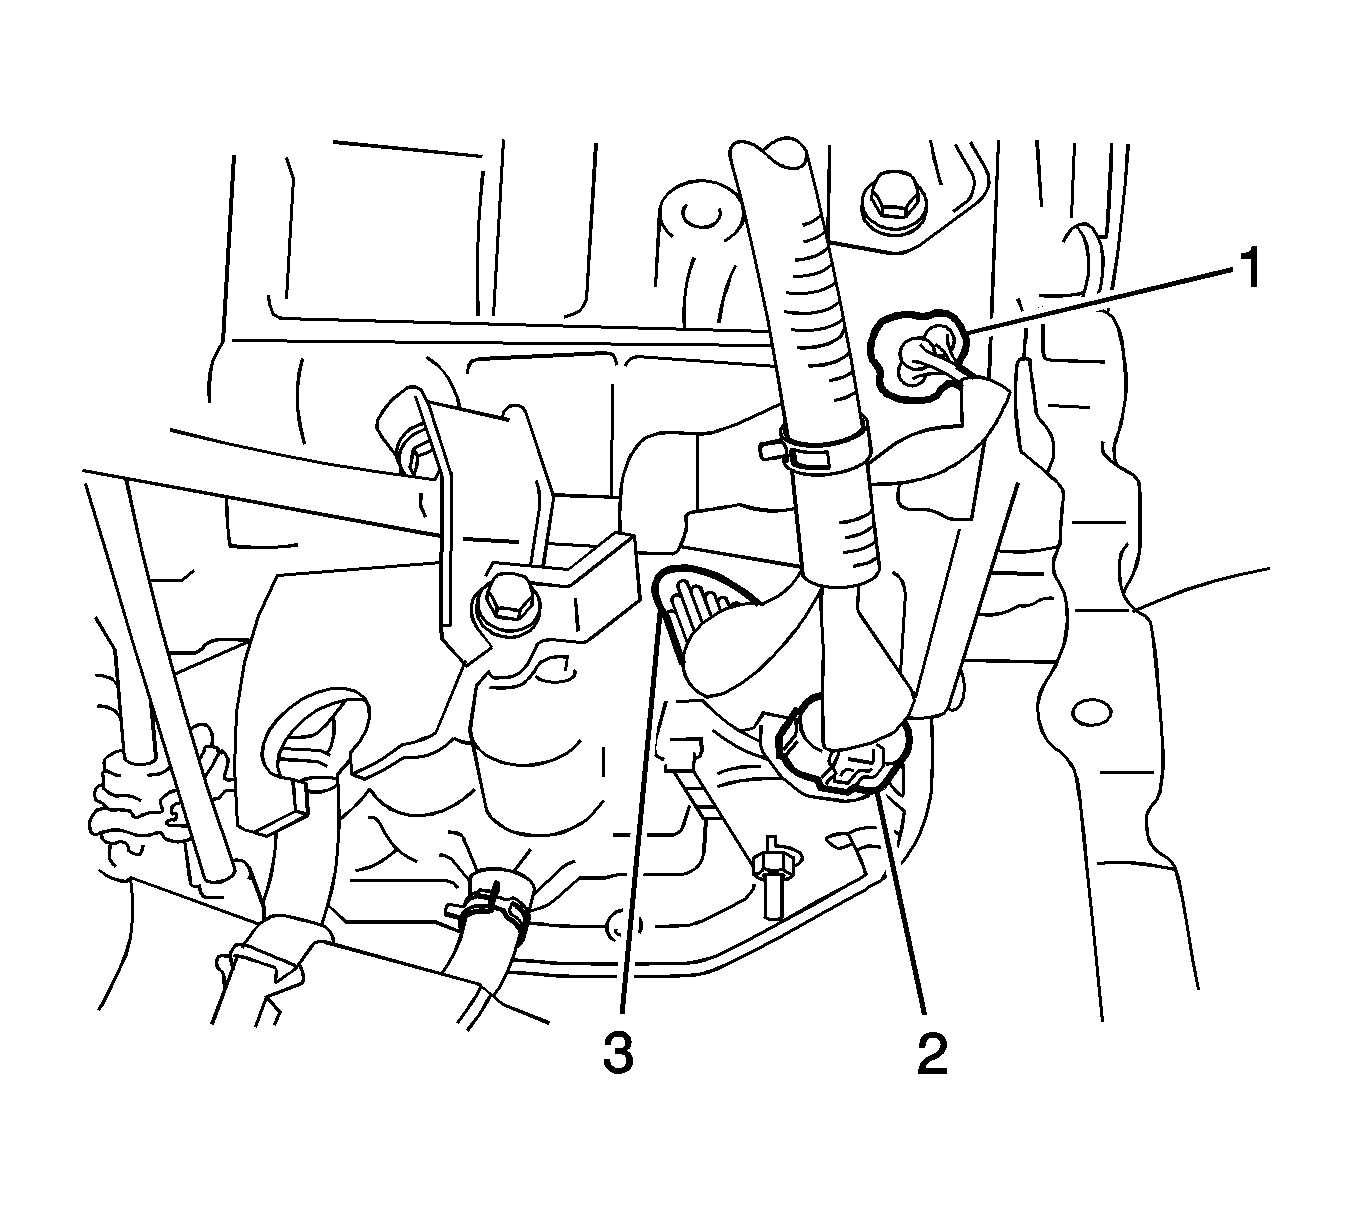
- Remove the bolt (1) and disconnect the engine wire clamps and speed sensor connector (2).
- Disconnect the engine wire clamp, speed sensor connector, park/neutral position switch connector (2) and transmission wire connector.
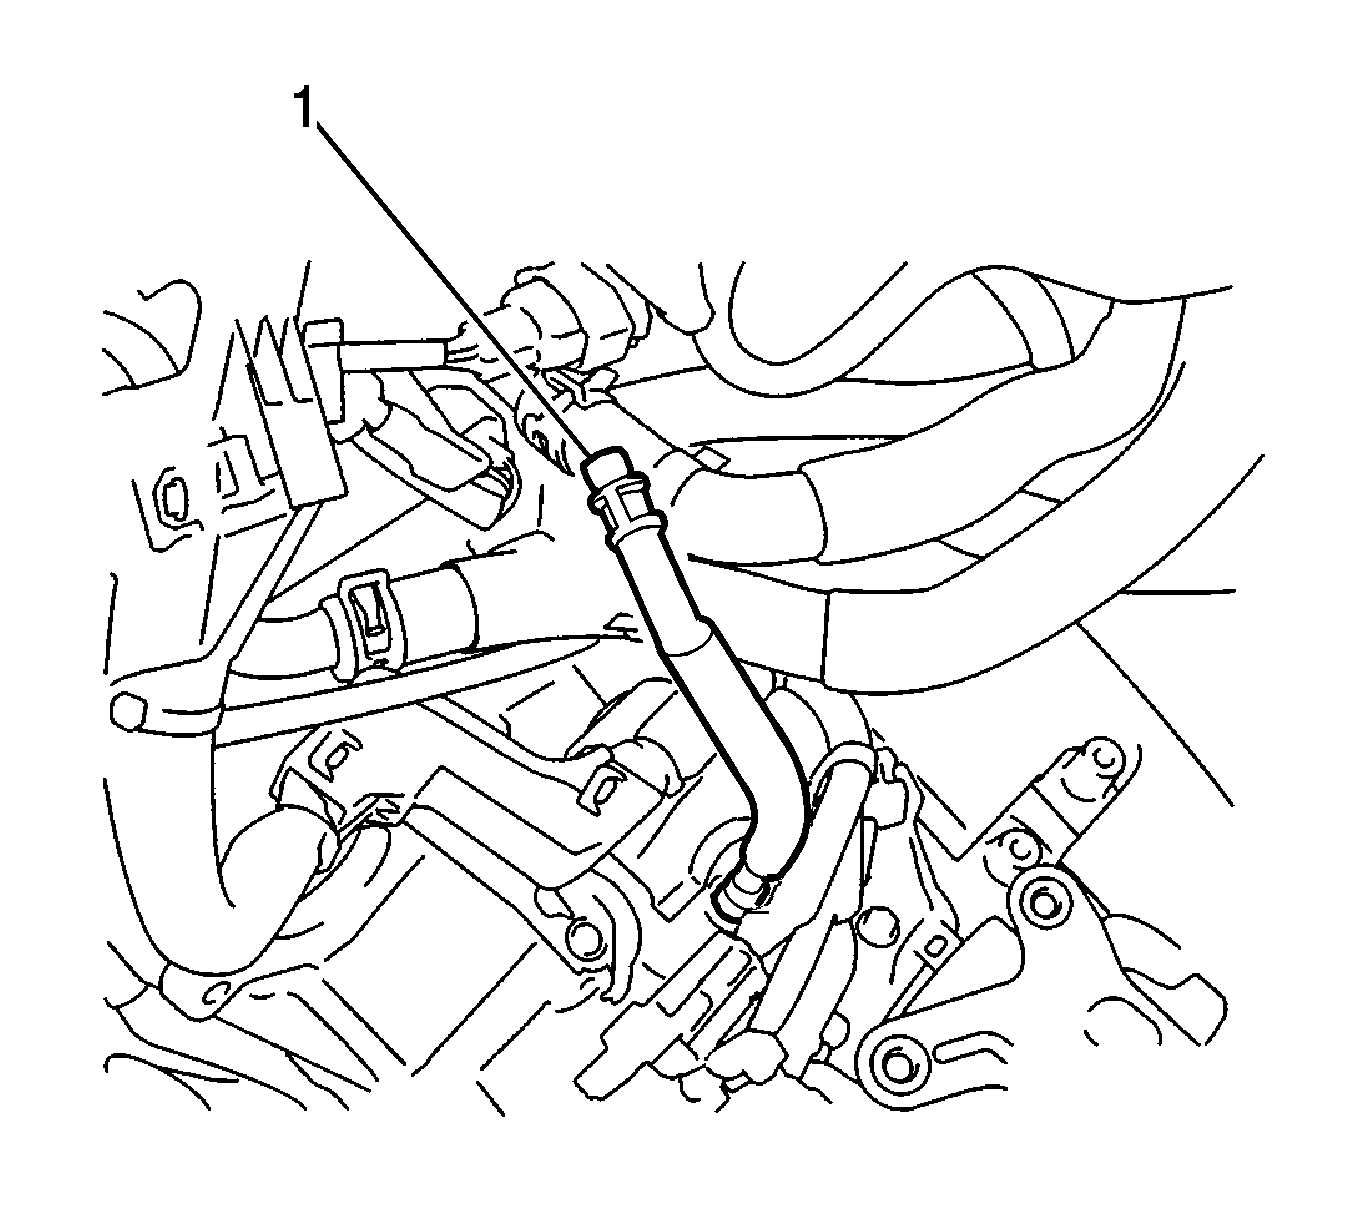
- Disconnect the breather hose (1).
- Disconnect the transmission control cable assembly.
- Disconnect the oxygen sensor.
- Remove the exhaust pipe assembly. Refer to Front Pipe Replacement.
- Remove the front suspension crossmember assembly. Refer to Front Suspension Crossmember Replacement.
- Remove the front engine mounting insulator.
- Remove the rear engine mounting insulator.
- Remove the flywheel housing under cover.
- Turn the crankshaft to gain access and remove the bolts (1) while holding the crankshaft pulley bolt with a wrench.
- Remove the starter assembly. Refer to Starter Replacement.
- Support the automatic transaxle assembly with a transmission jack.
- Separate the engine mounting insulator LH.
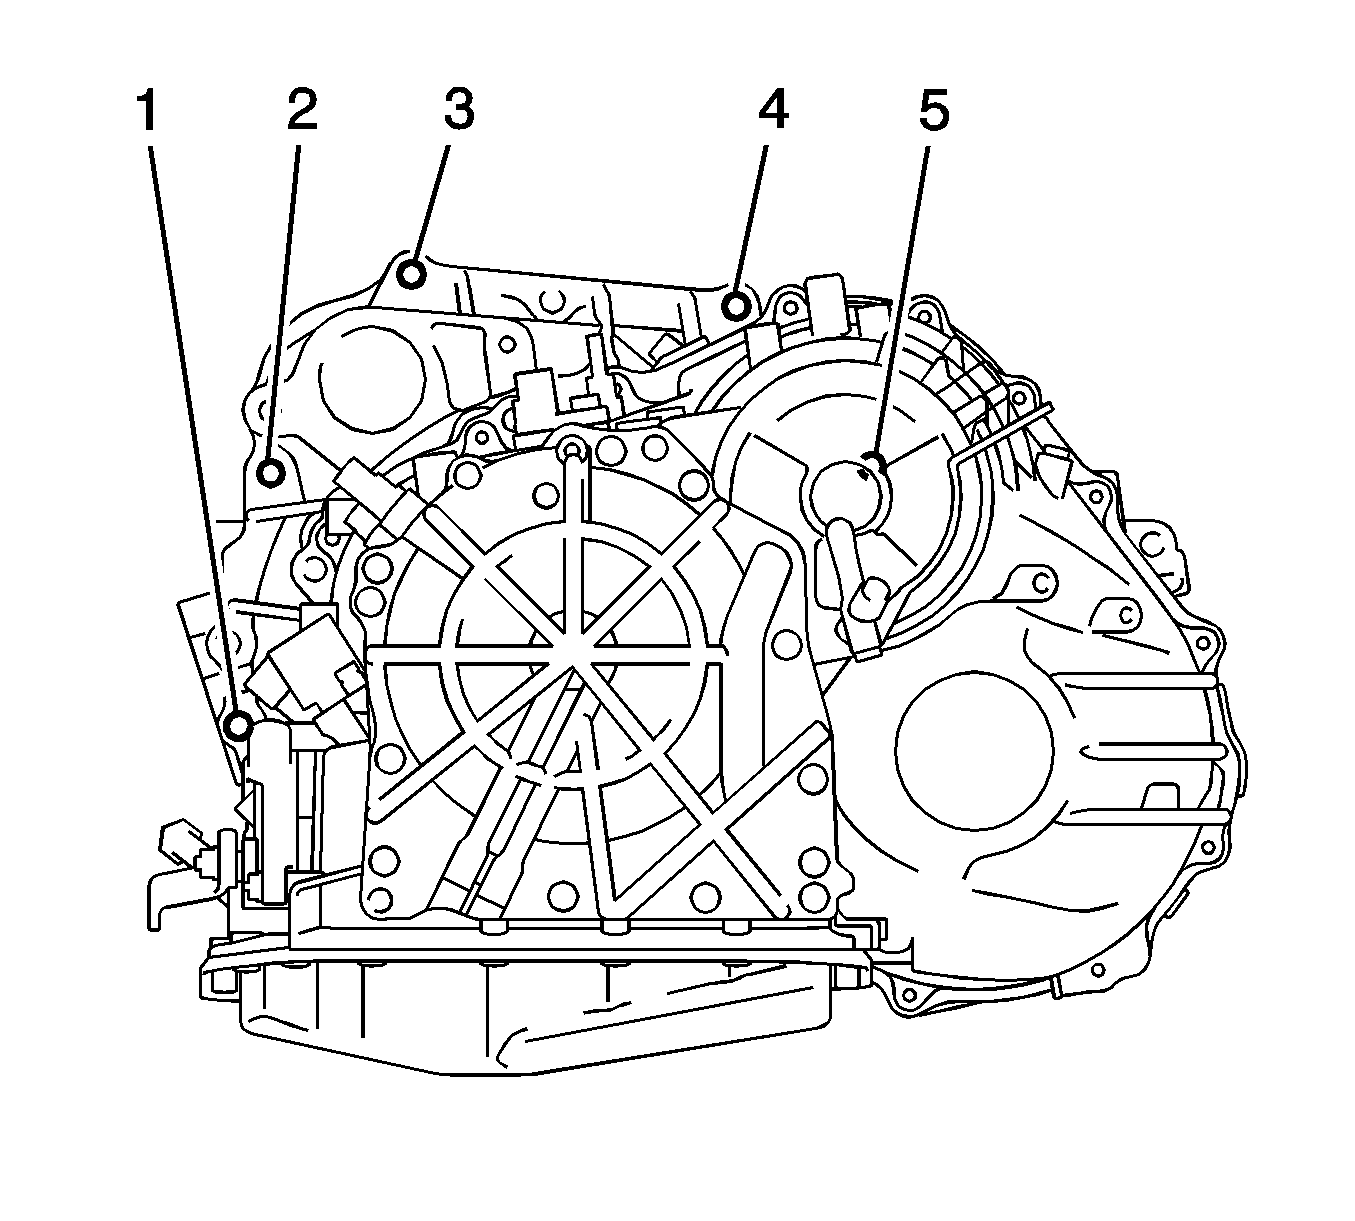
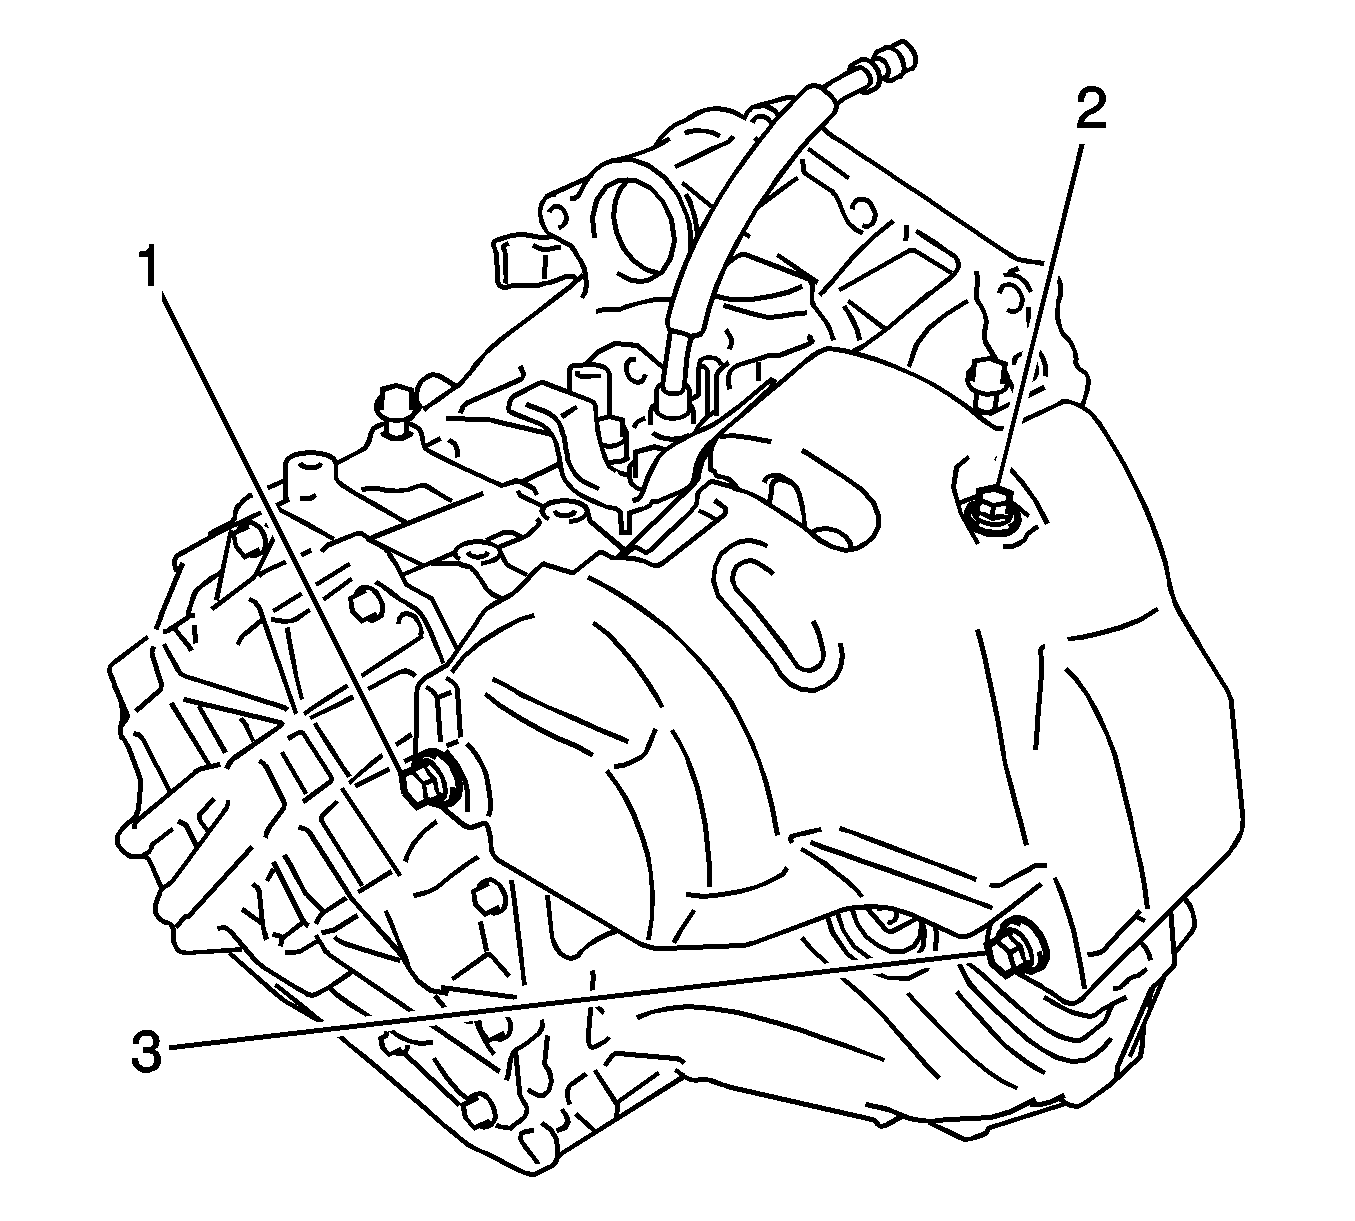
- Remove the bolts (1-5).
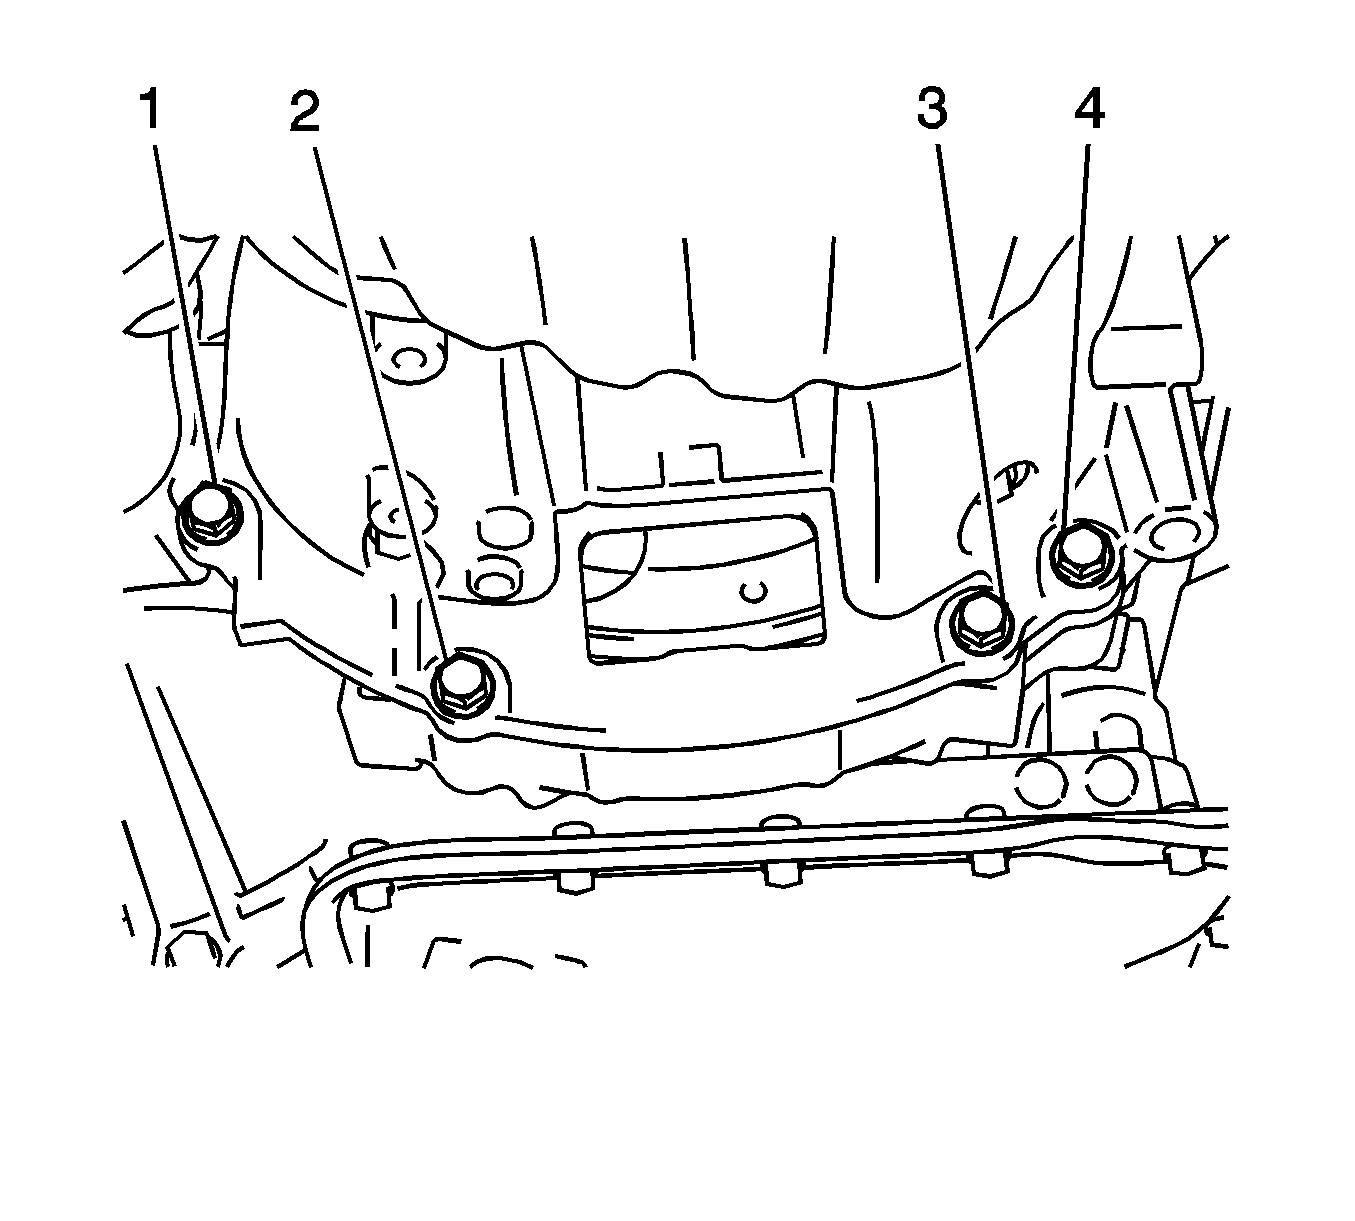
- Remove the lower side mounting bolts (1-4).
- Separate and remove the automatic transaxle.
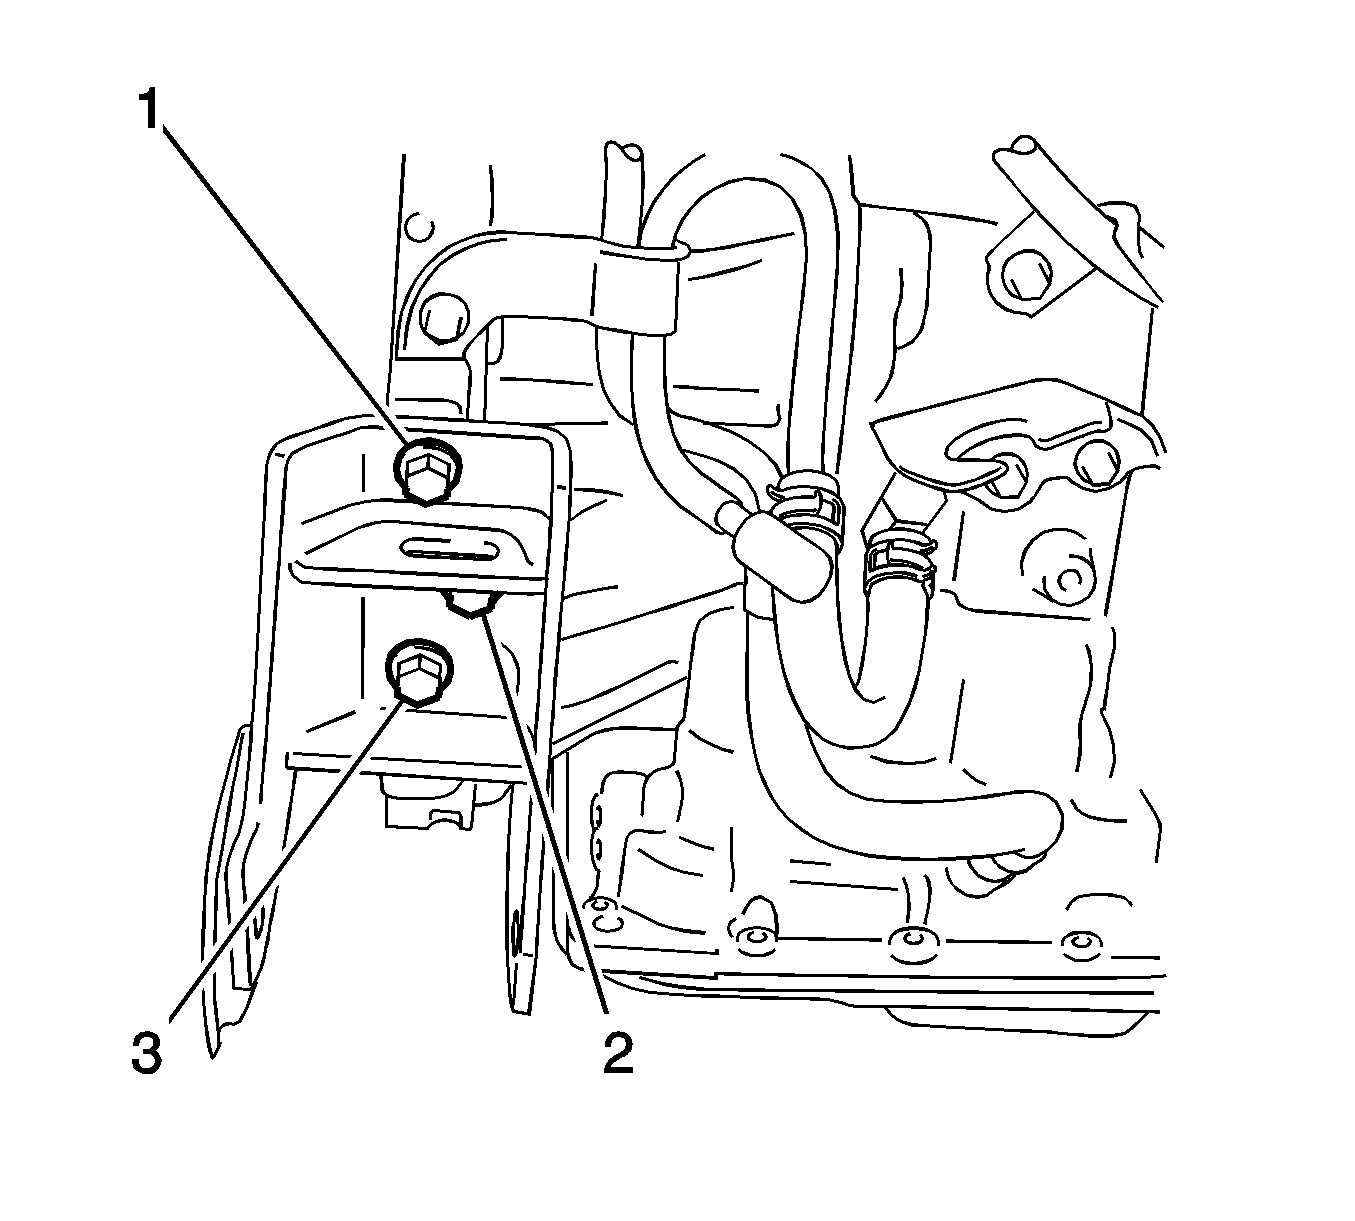
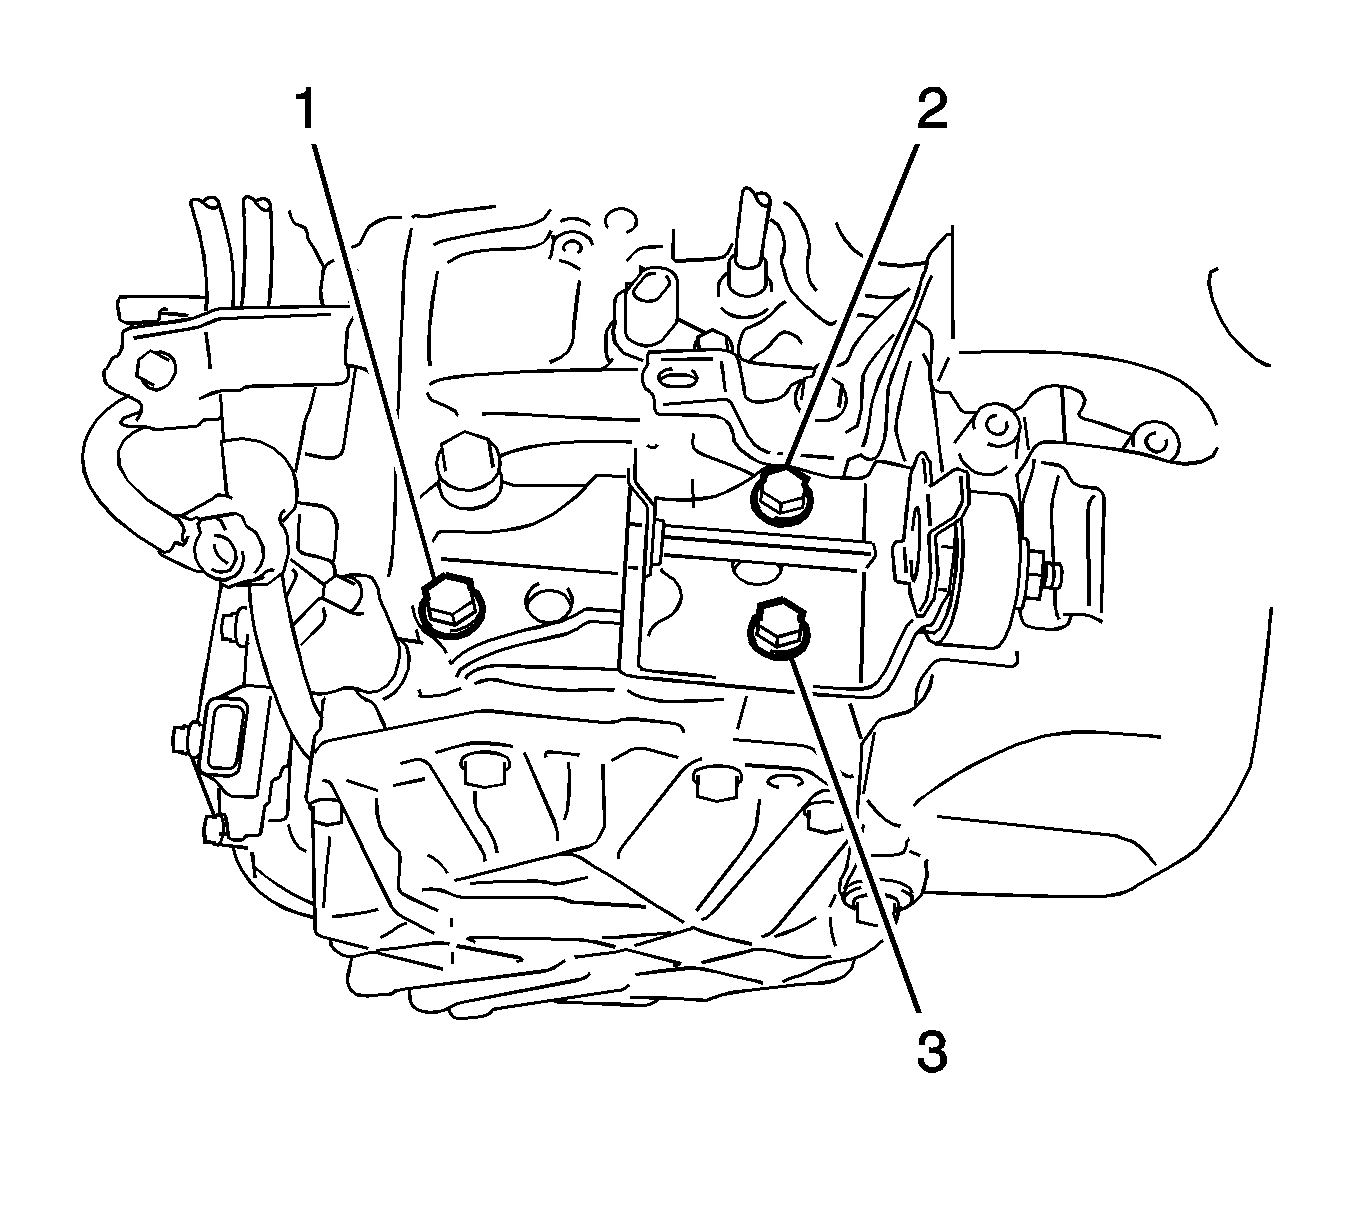
- Remove the bolts (1-3) and front engine mounting bracket.
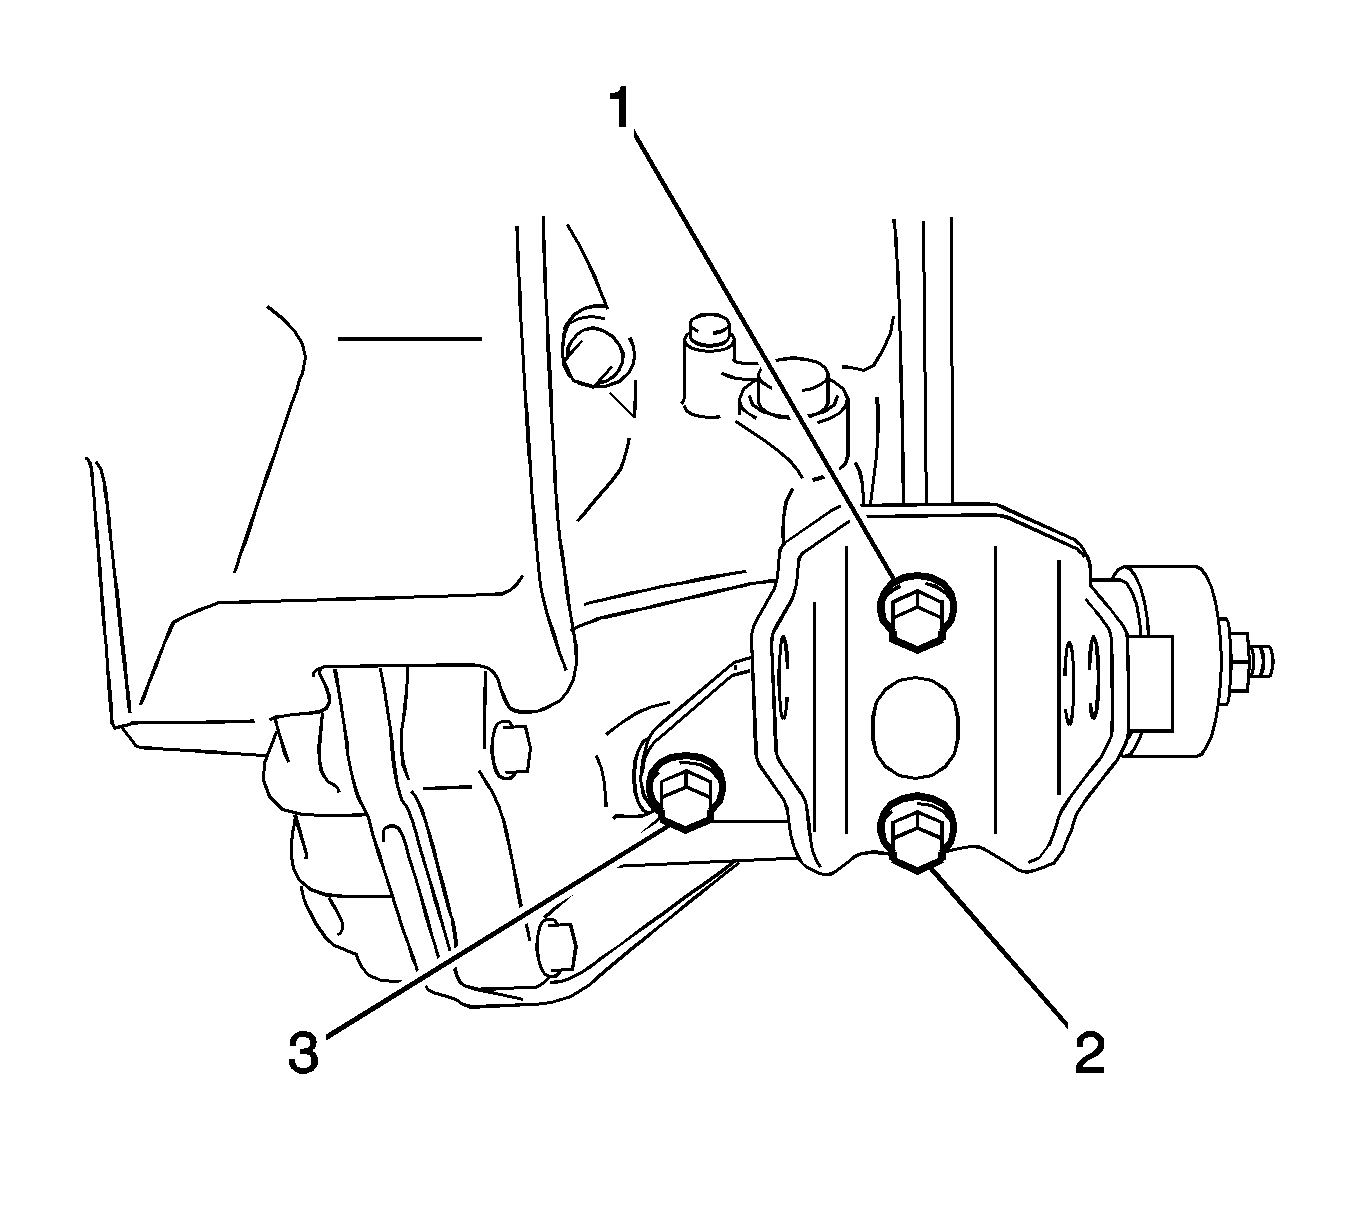
- Remove the bolts (1-3) and rear engine mounting bracket.
- Remove the bolts (1-3) and engine mounting bracket LH.
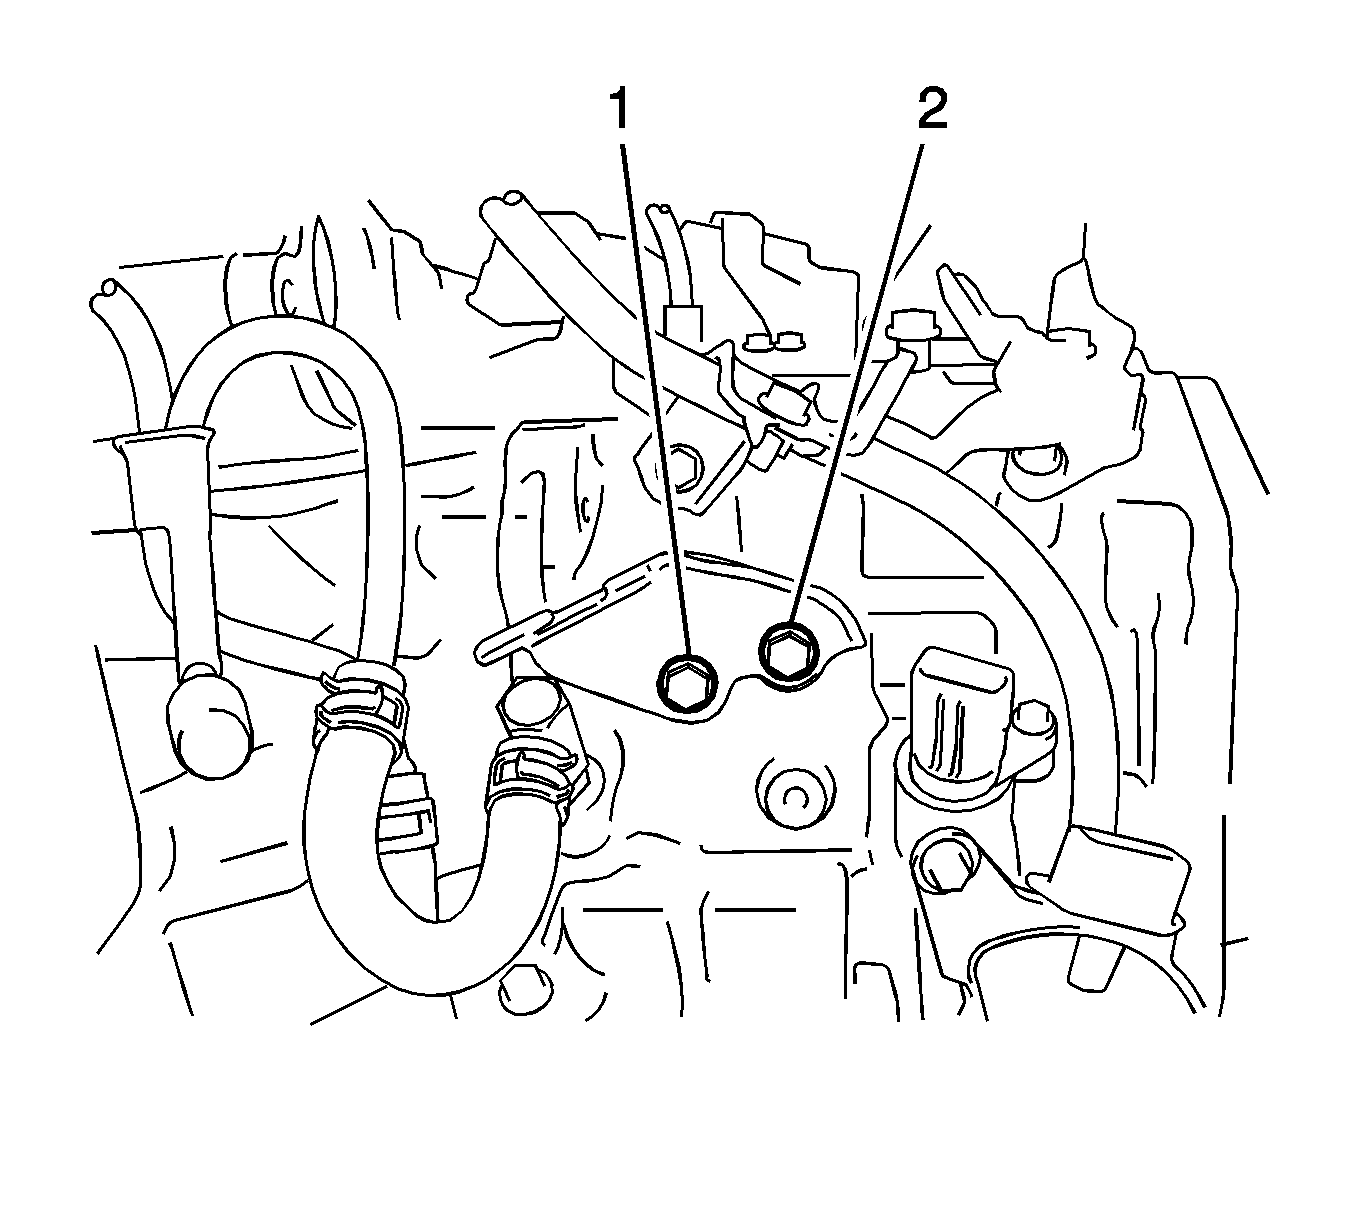
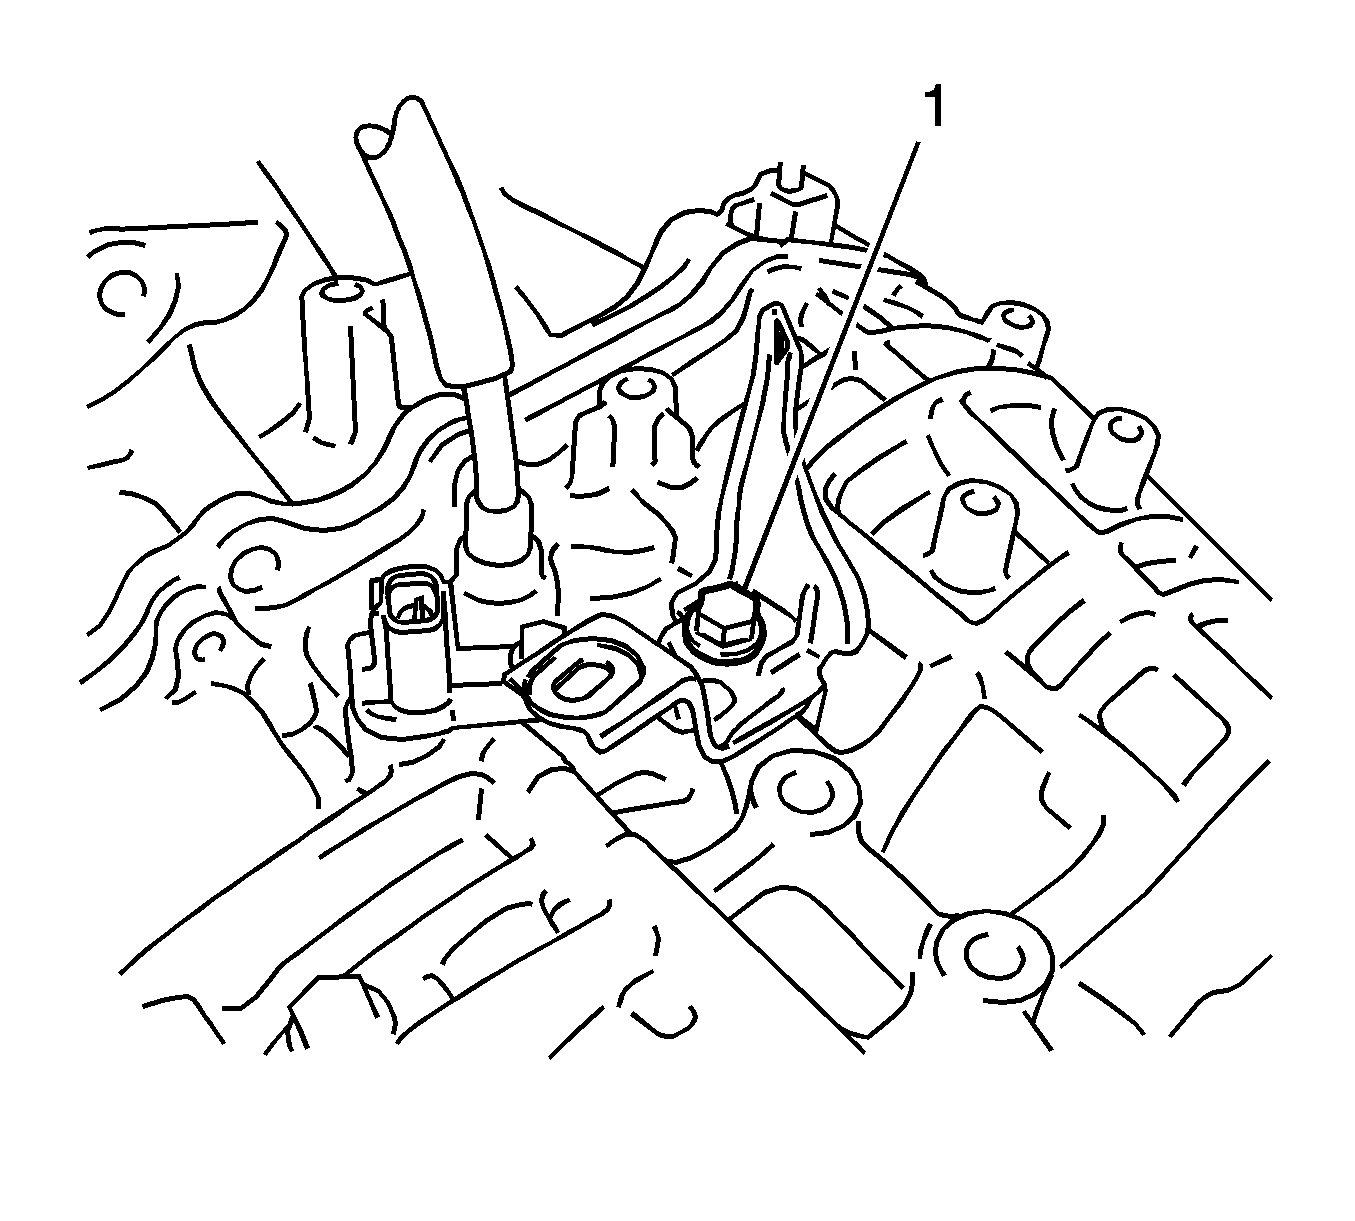
- Remove the bolts (1, 2) and number 1 transmission control cable bracket.
- Remove the transmission oil level indicator.
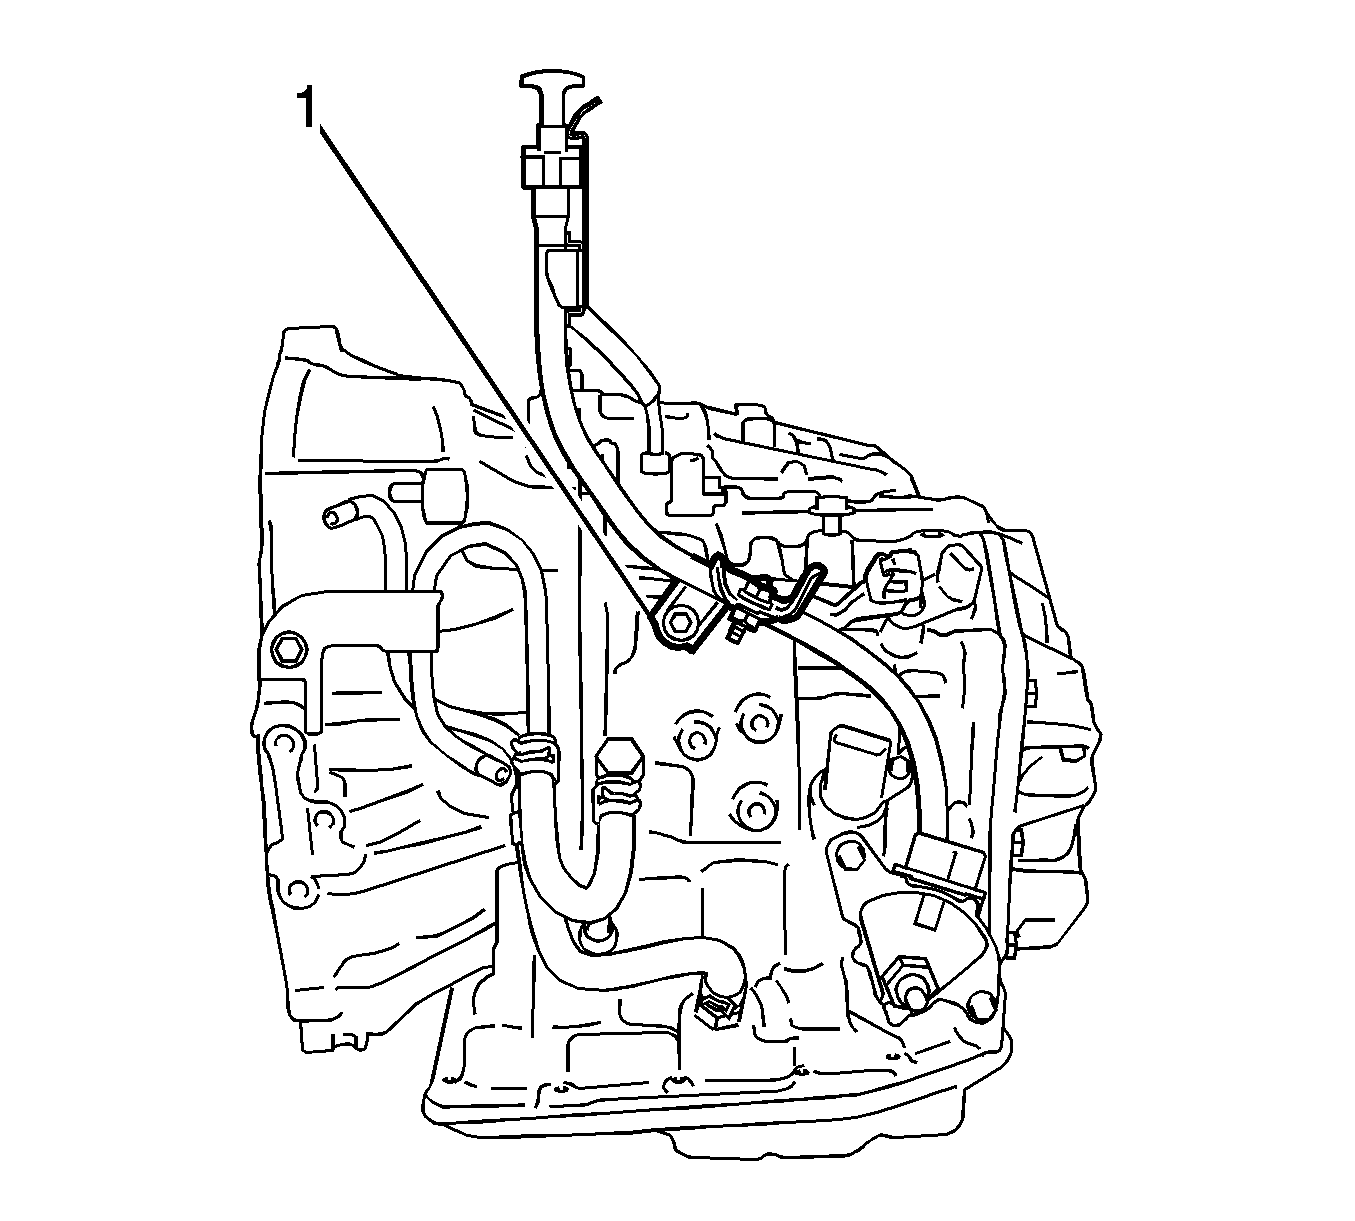
- Remove the bolt (1) and remove the transmission oil level indicator tube.
- Remove the O-ring from the transmission oil level indicator tube.
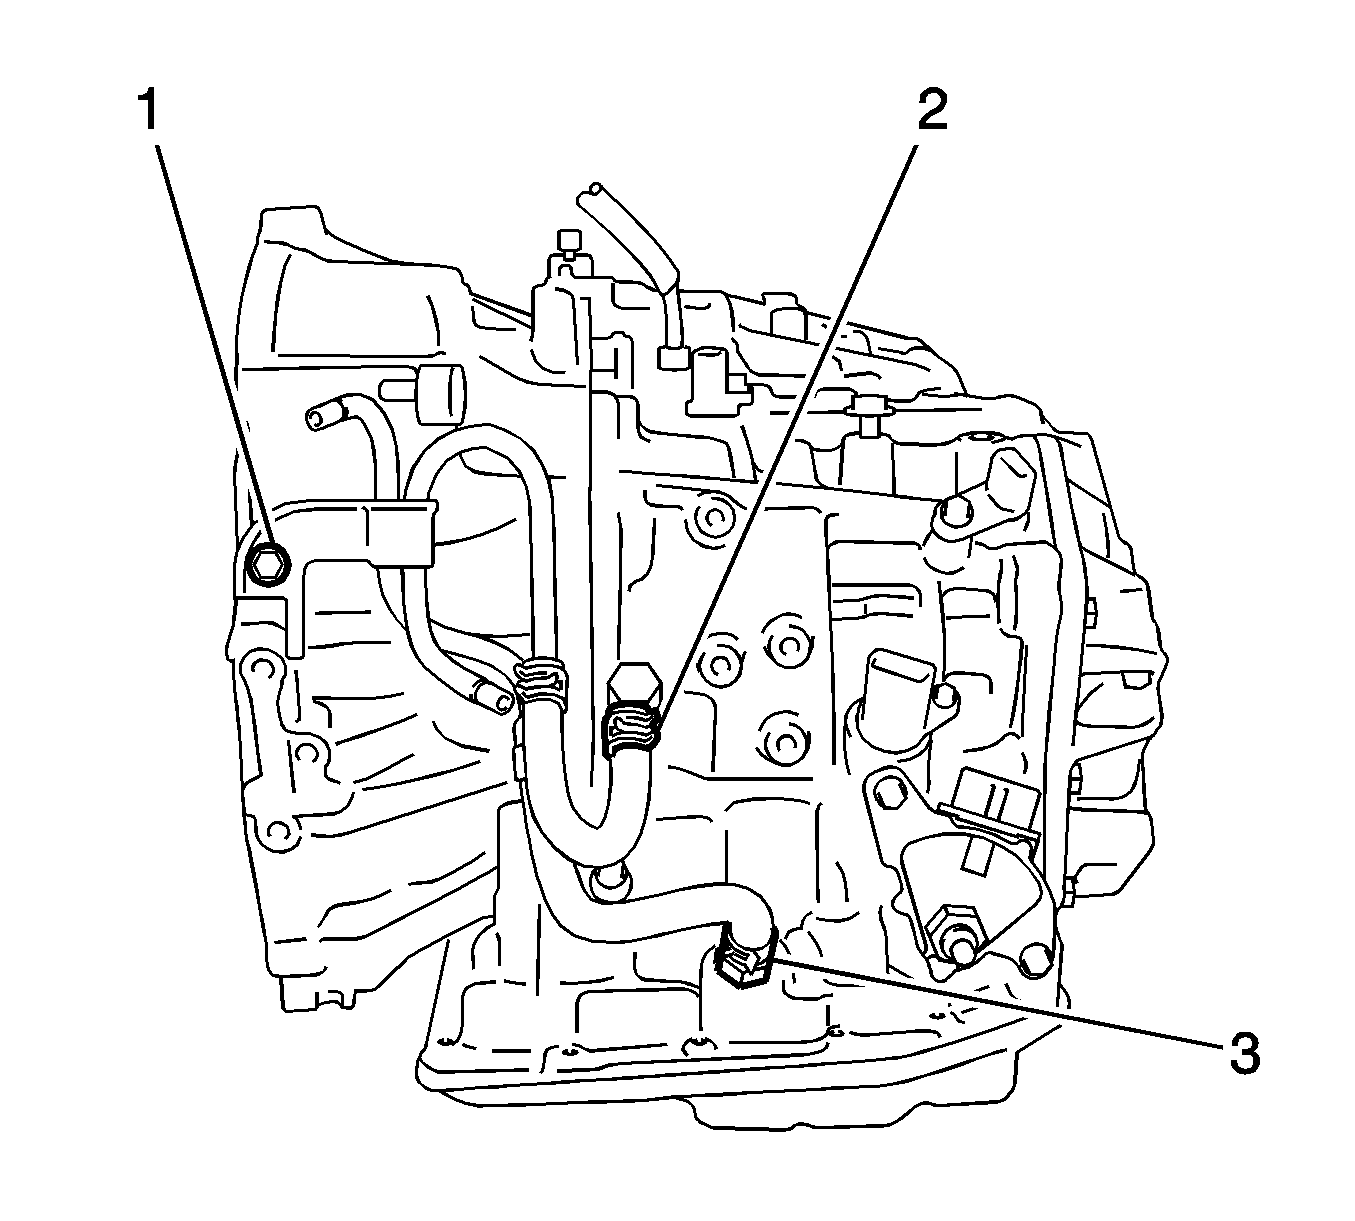
- Remove the hose clamps (2, 3), bolt (1) and remove the oil cooler tube sub-assembly.
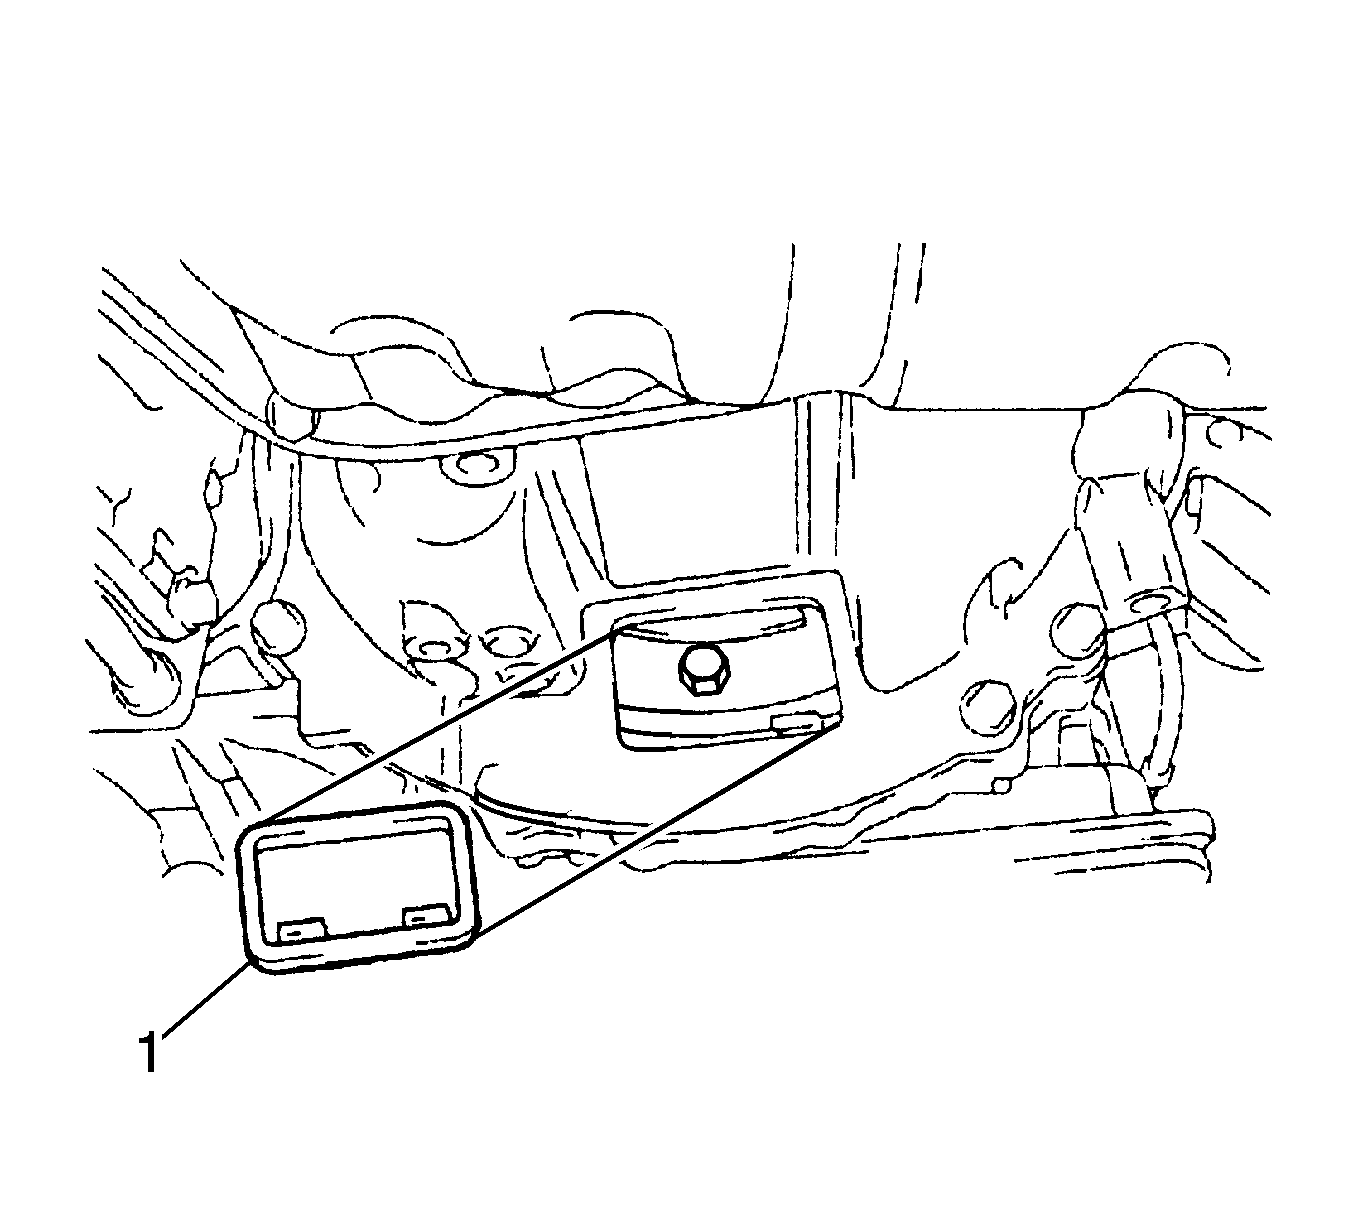
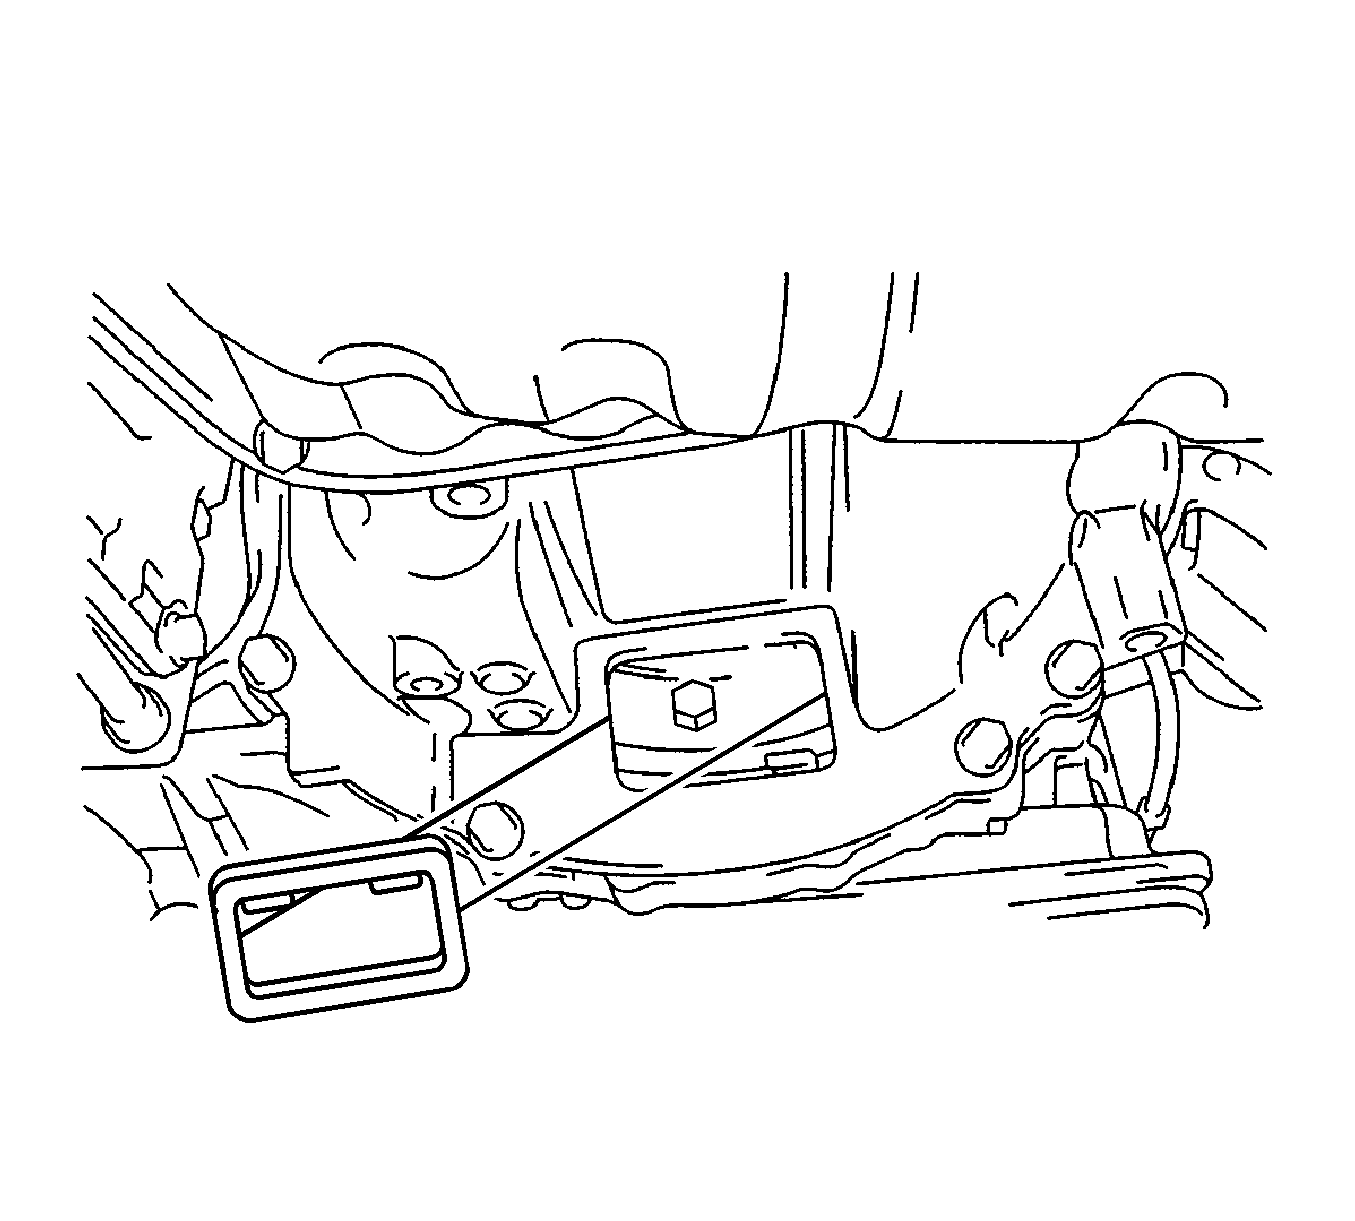
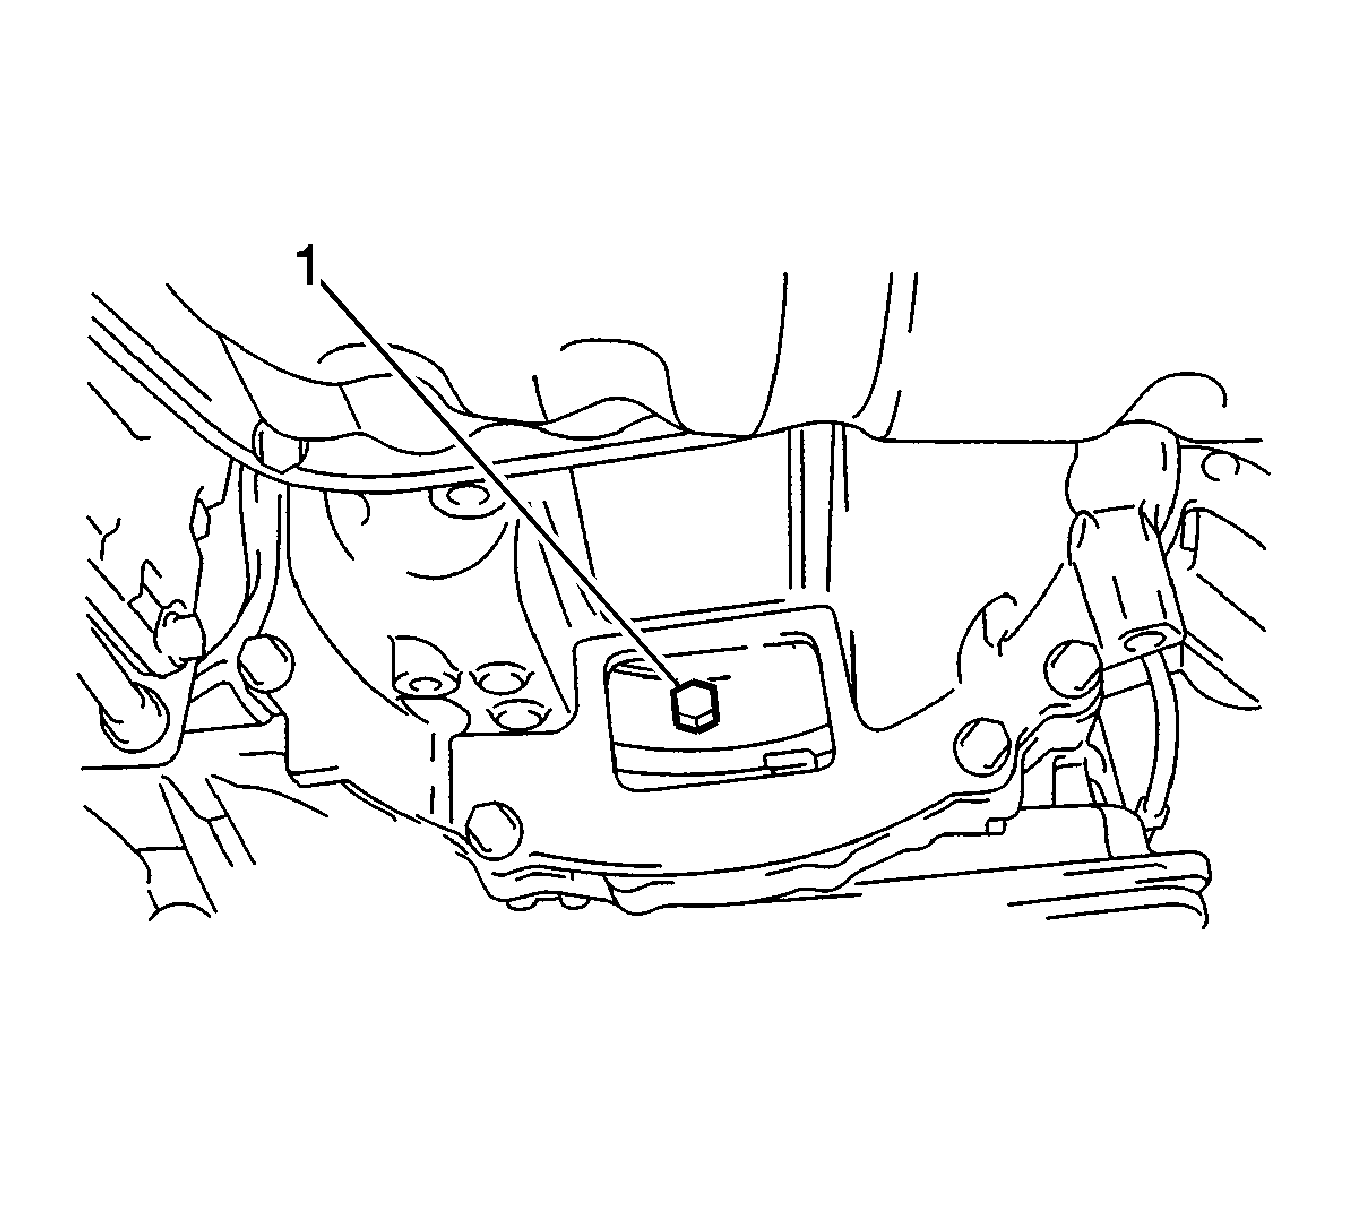
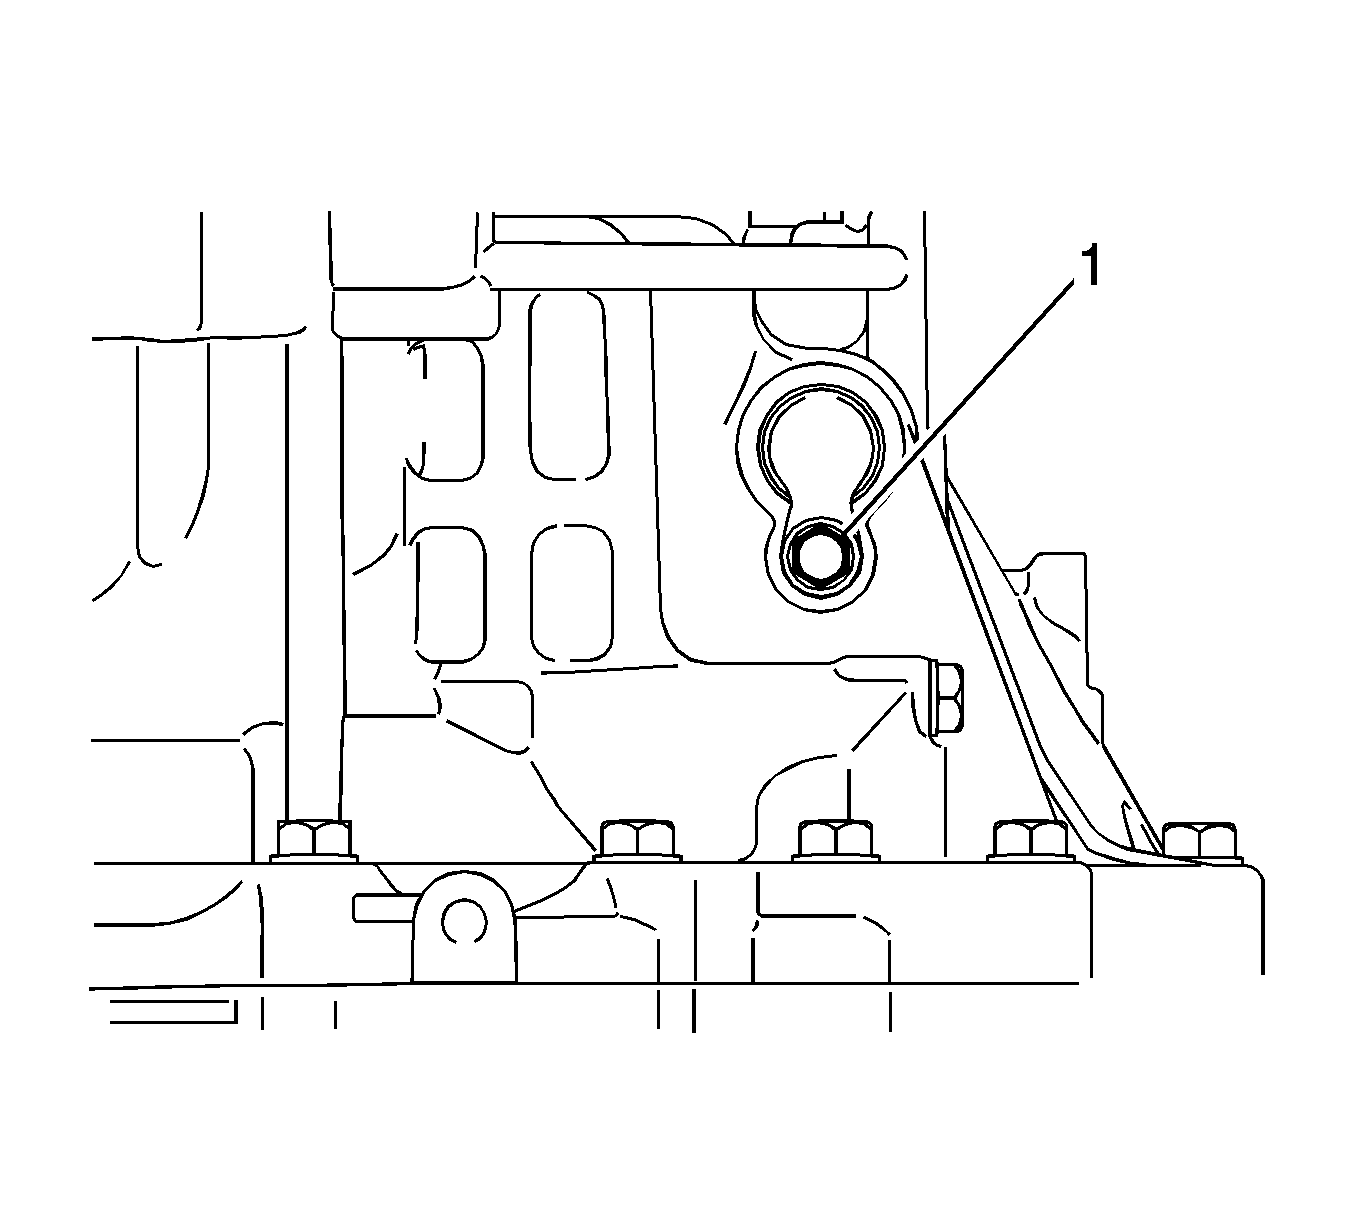
- Remove the bolt (1) and hole cover from the transaxle case.
- Remove the O-ring from the hole cover.
- Remove the bolts (1-3) and transaxle case upper cover.
- Remove the bolt (1) and wire harness clamp bracket.
- Remove the torque converter clutch from the automatic transaxle.
Note: One of the 6 bolts has a different color than the other ones. Mark this bolt position.
Installation Procedure
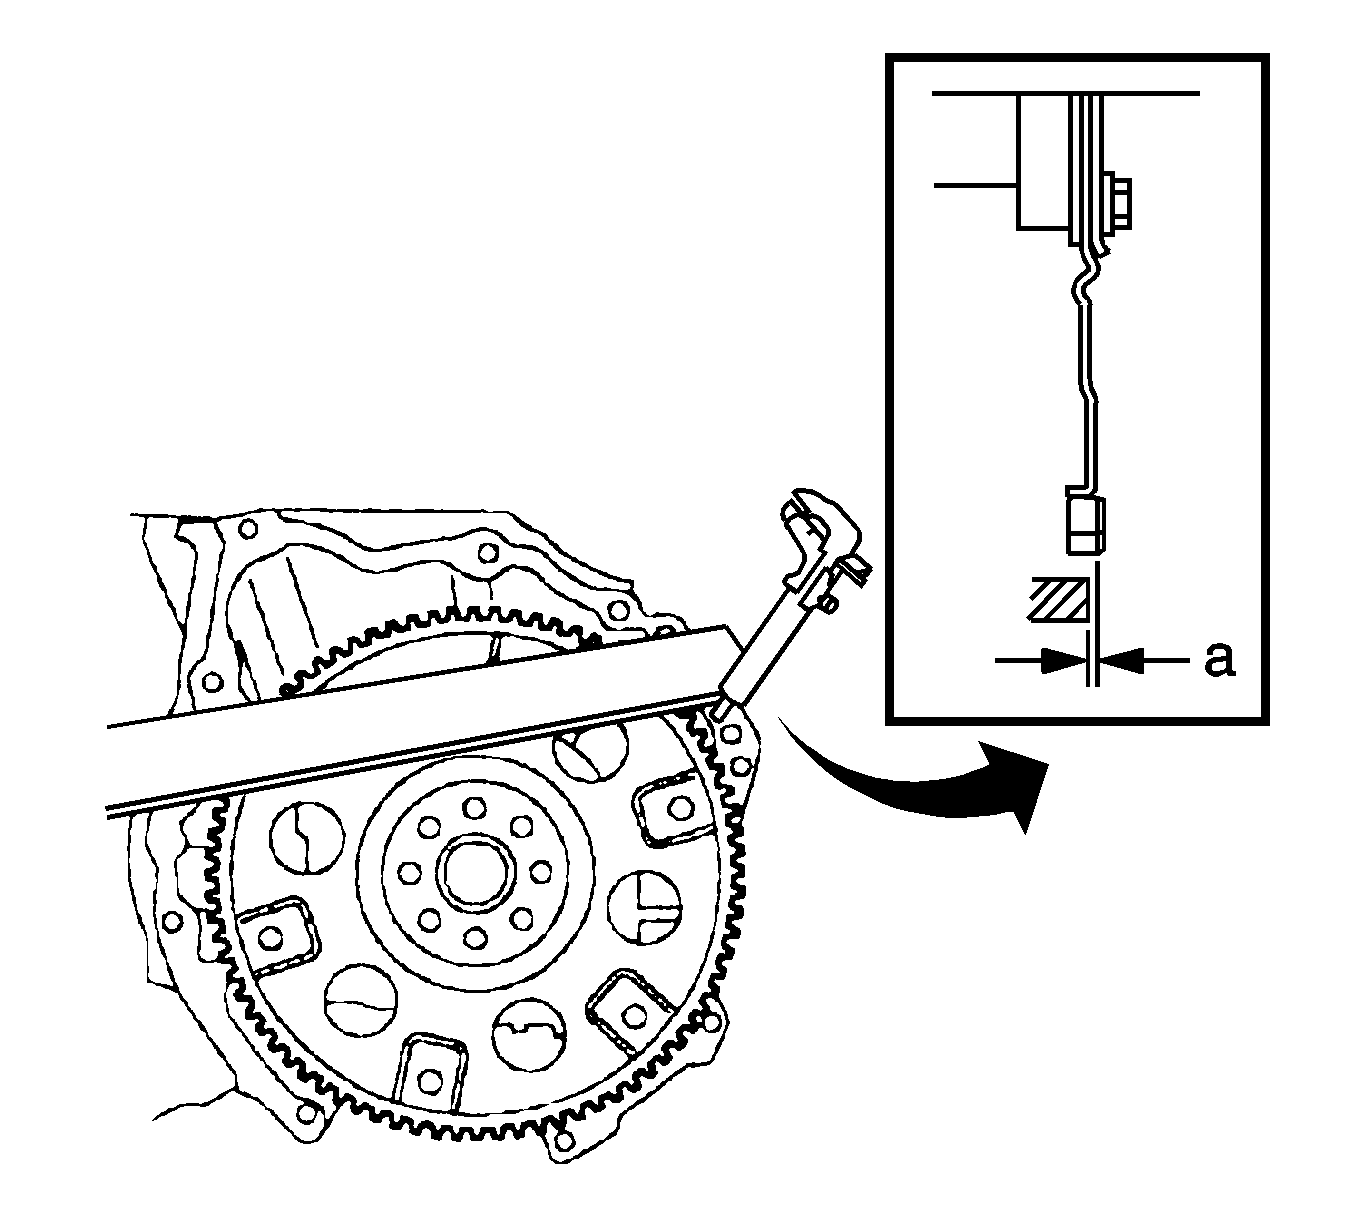
- Using vernier calipers and a straight edge, measure dimension "A" between the transaxle fitting part of the engine and the converter fitting part of the drive plate.
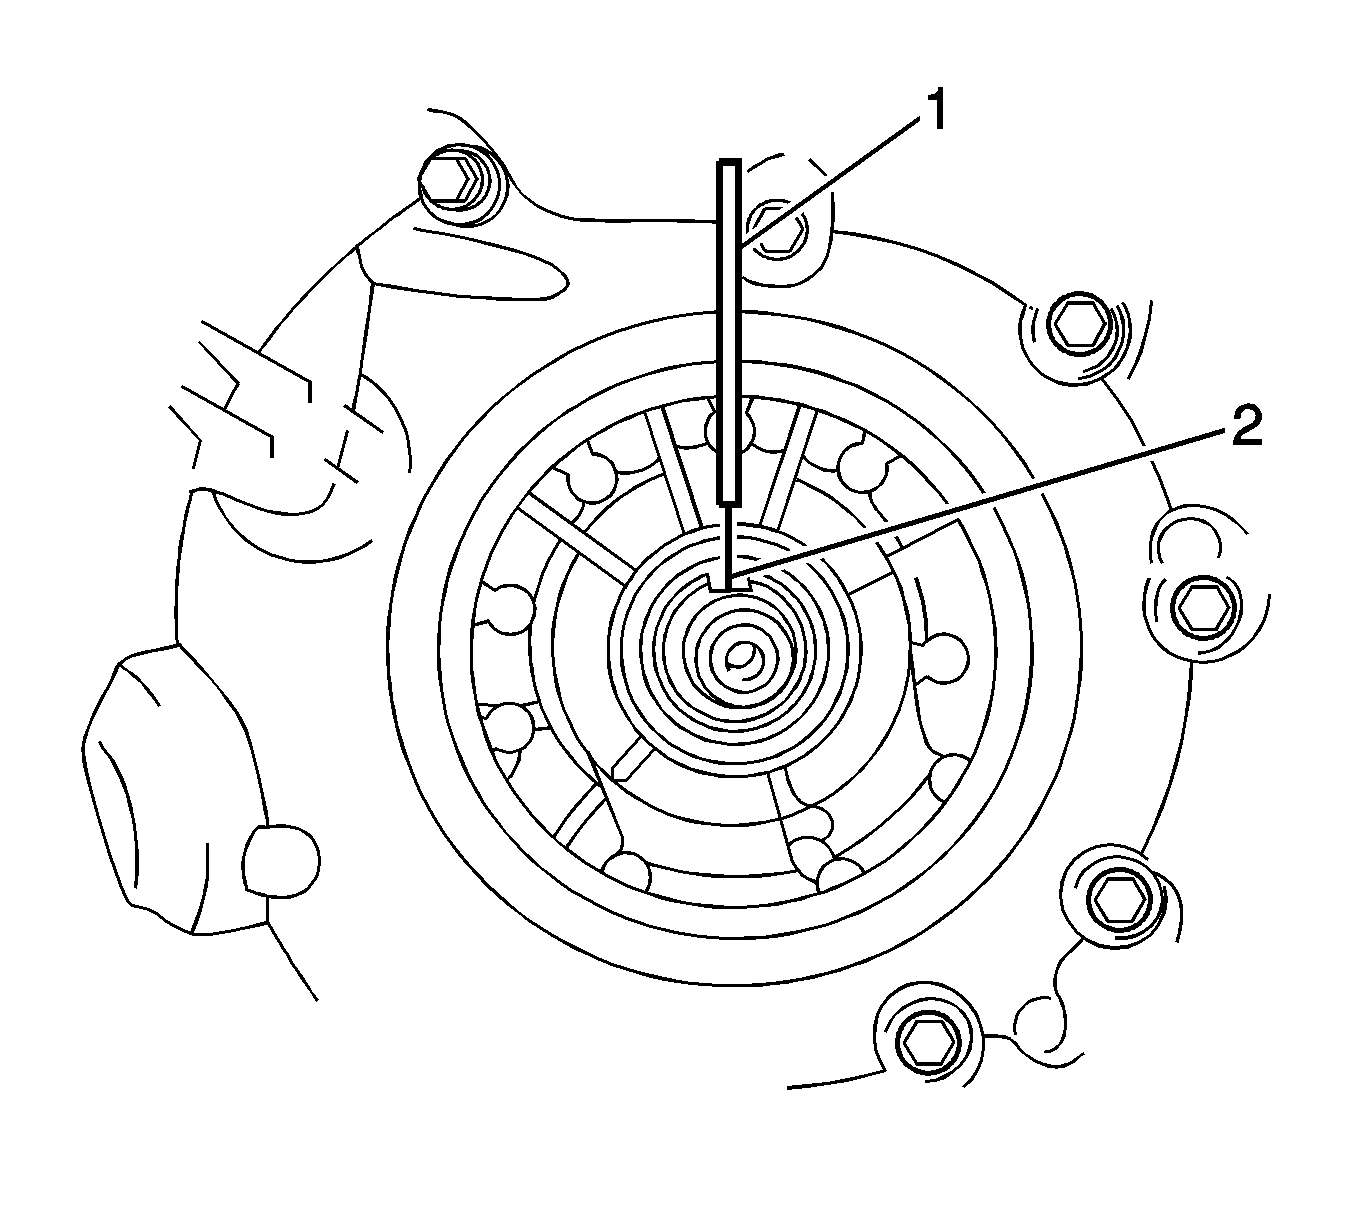
- Set the key of the front oil pump drive gear to the top and put a mark (1) on the housing.
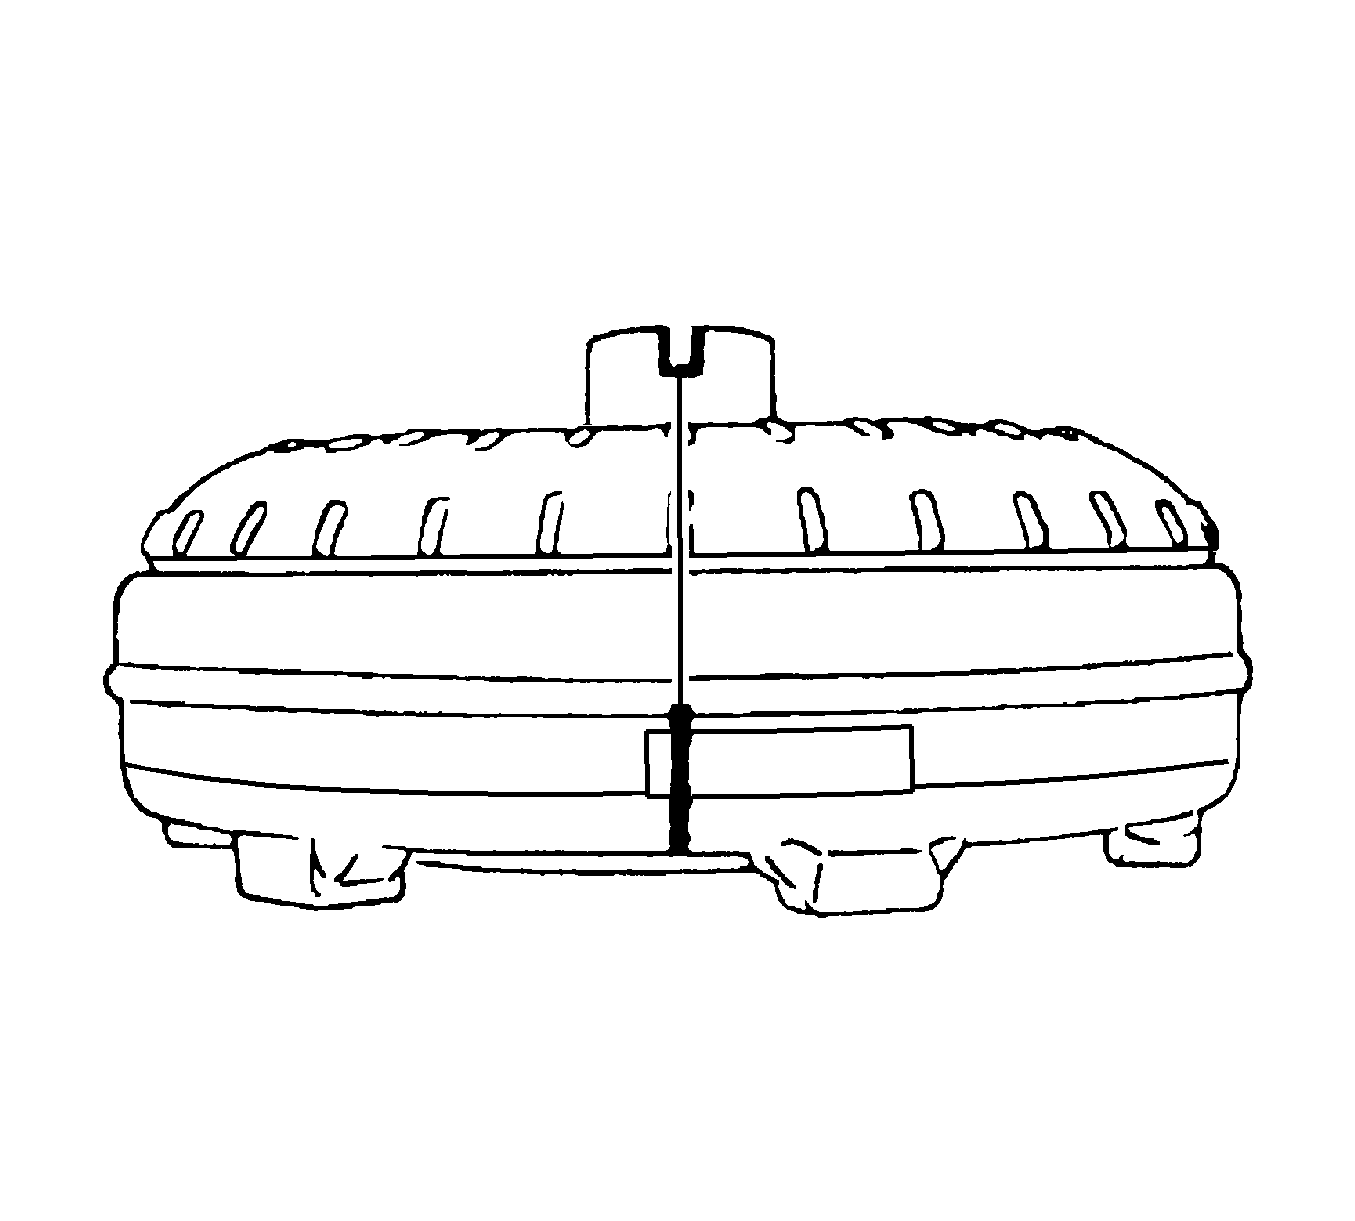
- Put a mark on the torque converter clutch so that its groove can be clearly indicated.
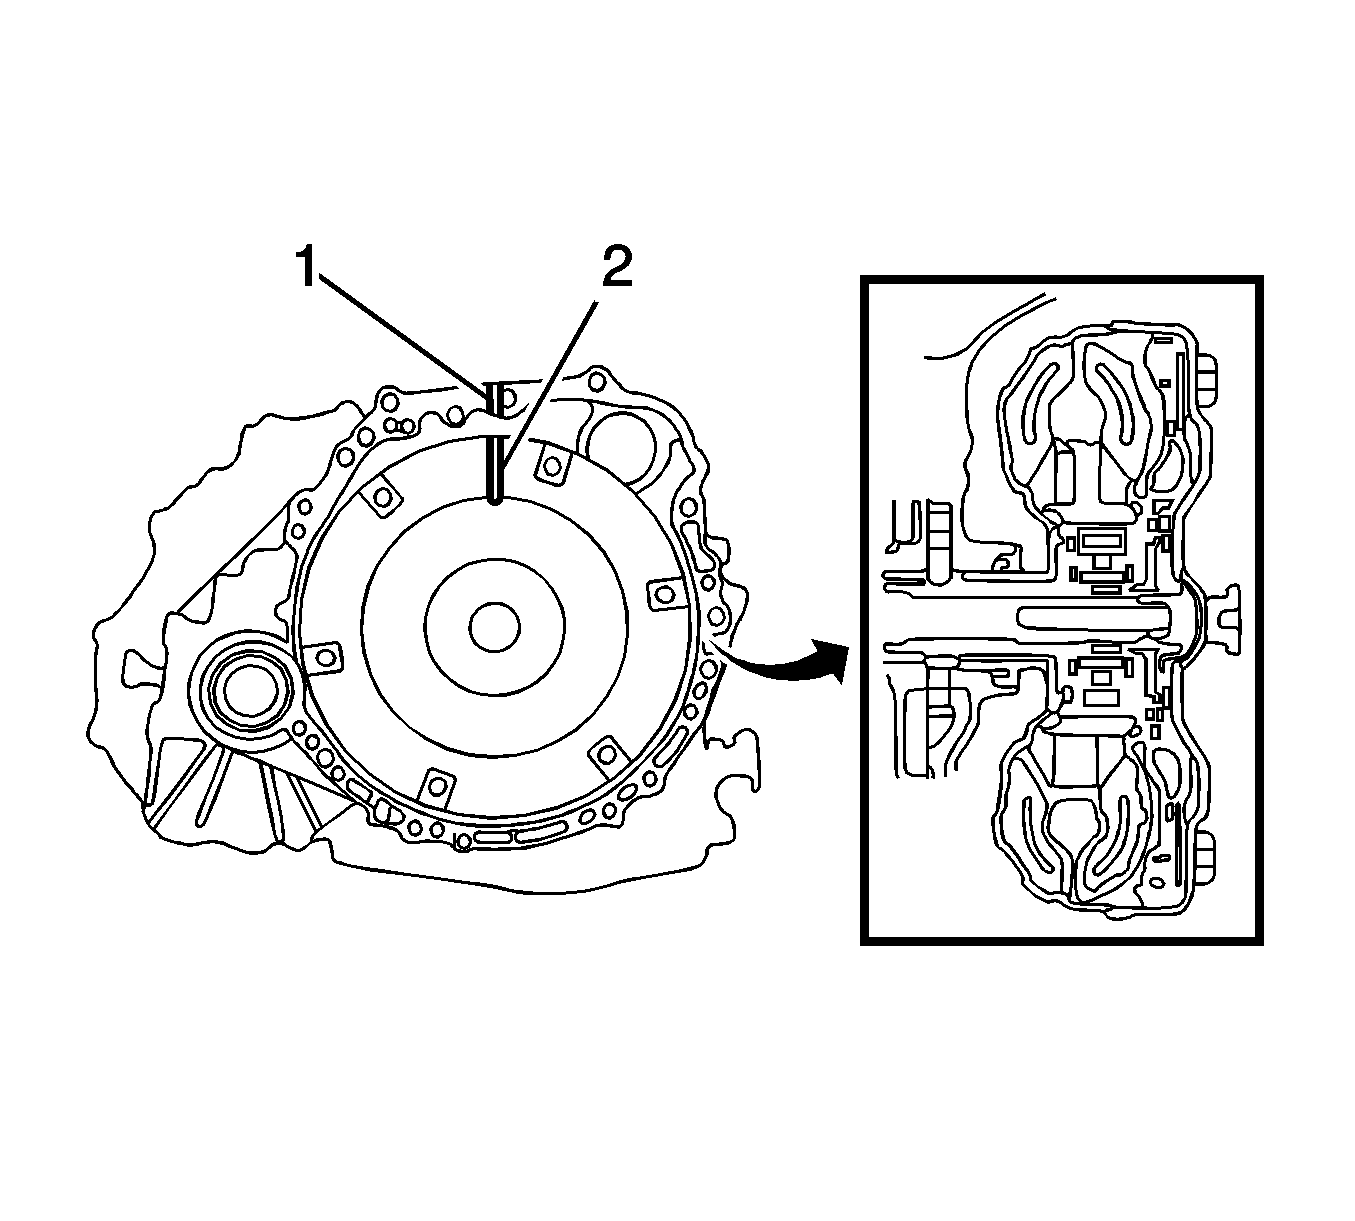
- Align the marks (1, 2) on the transaxle case and torque converter clutch and fit the spline part of the input shaft to the spline part of the turbine runner.
- Rotating the torque converter (2), fit the spline part of the stator shaft to the spline part of the stator.
- Rotating the torque converter, align the marks (1, 2) on the case and the torque converter clutch again and fit the key of the oil pump drive gear into the key way of the torque converter clutch.
- Using vernier calipers and a straightedge, measure dimension "B" and check that "B" is greater than "A" (measured in step 1).
- Install the bracket with the bolt (1) and tighten to 13 N·m (115 lb in).
- Install the upper transmission case cover with the bolts (1-3) and tighten to 12 N·m (106 lb in).
- Coat a new O-ring with ATF WS, and install it to the hole cover.
- Install the hole cover to the transaxle case with the bolt (1) and tighten to 6 N·m (53 lb in).
- Connect the oil cooler hoses to the unions with the hose clamps (2, 3).
- Install the oil cooler tube sub-assembly to the automatic transaxle with the bolt (1) and tighten to 12 N·m (106 lb in).
- Coat a new O-ring with ATF WS, and install it to the oil level indicator tube.
- Install the oil level indicator tube to the automatic transaxle with the bolt (1) and tighten to 6 N·m (53 lb in).
- Install the transmission oil level indicator sub-assembly.
- Install the number 1 transmission control cable bracket with the bolts (1, 2) and tighten to 12 N·m (106 lb in).
- Install the engine mounting bracket LH to the automatic transaxle with the bolts (1-3) and tighten to 52 N·m (38 lb ft).
- Install the rear engine mounting bracket to the automatic transaxle with the bolts (1-3) and tighten to 45 N·m (33 lb ft).
- Install the front engine mounting bracket to the automatic transaxle with the bolts (1-3) and tighten to 64 N·m (47 lb ft).
- Install the automatic transaxle to the engine with the bolts and tighten:
- Install the lower side mounting bolts (1) and tighten to 44 N·m (32 lb ft).
- Install the engine mounting insulator LH.
- Install the starter assembly. Refer to Starter Replacement.
- Apply sealant Three Bond 1324 or equivalent to the torque converter clutch mounting bolts.
- Install the torque converter clutch mounting bolts (1) and tighten to 41 N·m (30 lb ft).
- Install the flywheel housing under cover (1).
- Install the front engine mounting insulator.
- Install the rear engine mounting insulator.
- Install the front suspension crossmember assembly. Refer to Front Suspension Crossmember Replacement.
- Install the exhaust pipe assembly. Refer to Front Pipe Replacement.
- Connect the oxygen sensor electrical connector.
- Connect the transmission control cable assembly.
- Install the breather hose (1).
- Install the engine wire clamps and speed sensor connector.
- Install the transmission control cable support with the bolt (1) and tighten to 12 N·m (106 lb in).
- Install the engine wire clamp, speed sensor connector (1), park/neutral position switch connector (2), and transmission wire connector.
- Install the oil cooler hoses.
- Install the wire harness.
- Install the battery tray. Refer to Battery Tray Replacement.
- Install the battery. Refer to Battery Replacement.
- Remove the windshield wiper transmission assembly. Refer to Windshield Wiper Transmission Replacement.
- Install the air cleaner assembly.
- Add automatic transaxle fluid.
- Install the hood sub-assembly with the bolts (1) and tighten to 13 N·m (115 lb in).
- Install the washer hose (2) and washer hose clamps.
- Adjust the hood sub-assembly.
- Install the front wheels. Refer to Tire and Wheel Removal and Installation.
- Inspect and adjust the front wheel alignment.
- Install the engine splash shields. Refer to Engine Splash Shield Replacement - Left Side and Engine Splash Shield Replacement - Right Side.
- Install the engine cover. Refer to Engine Cover Replacement.
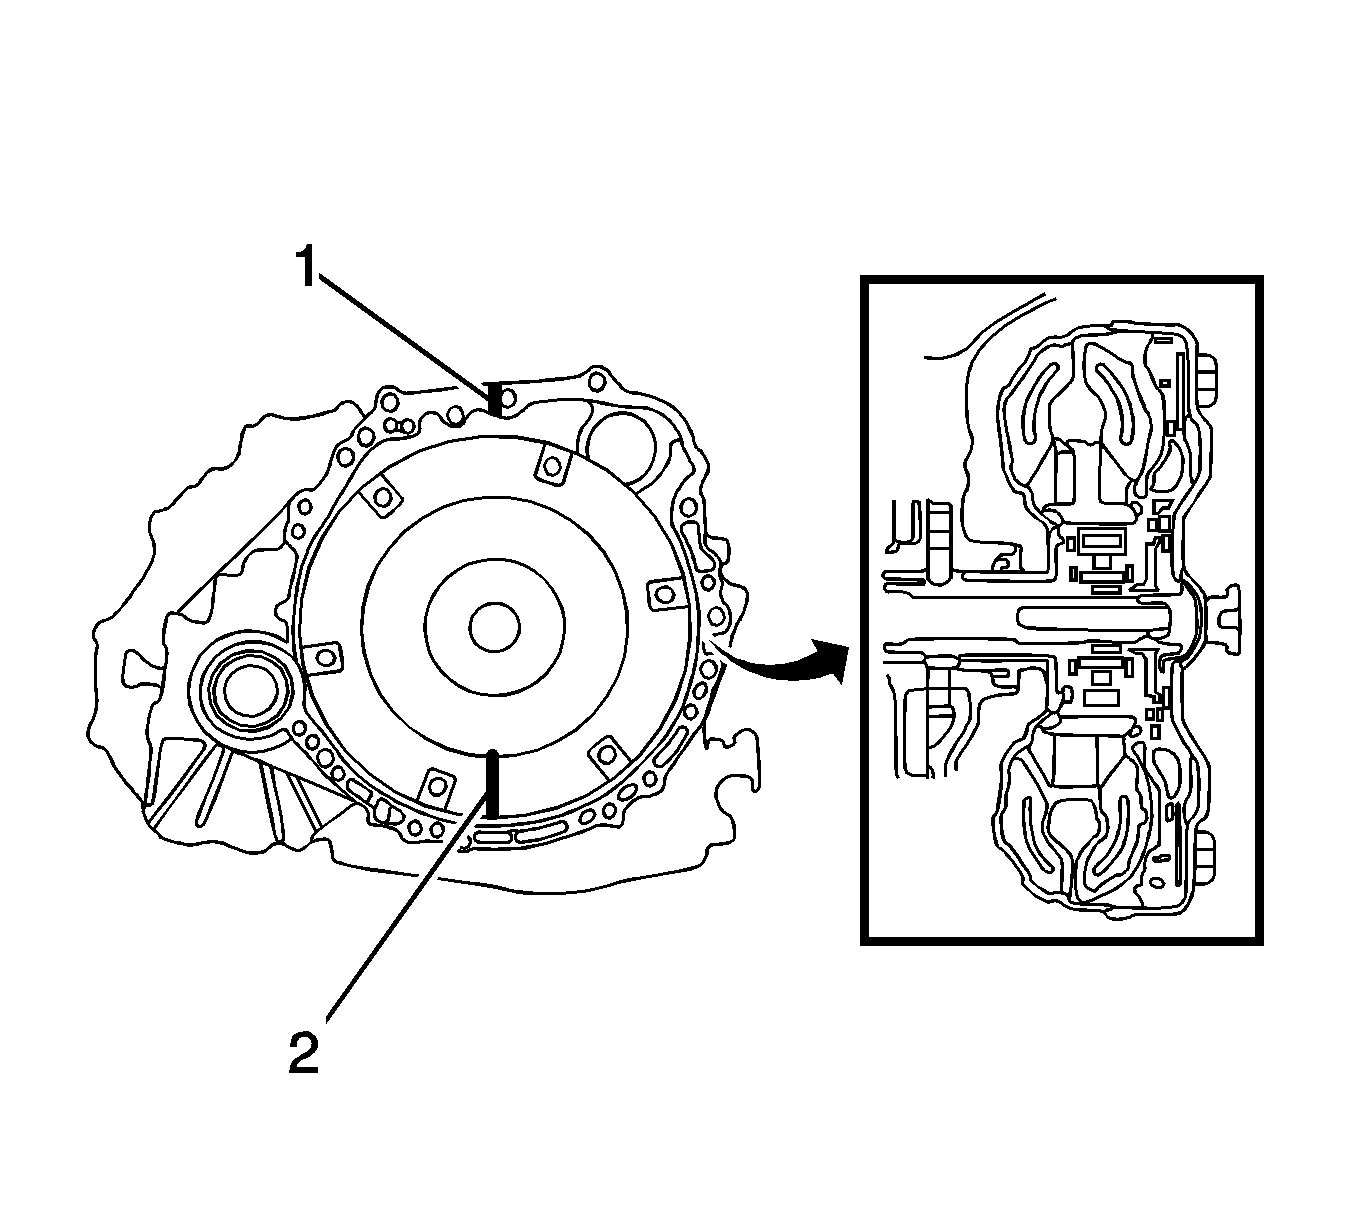
Rotate it about 180 degrees.
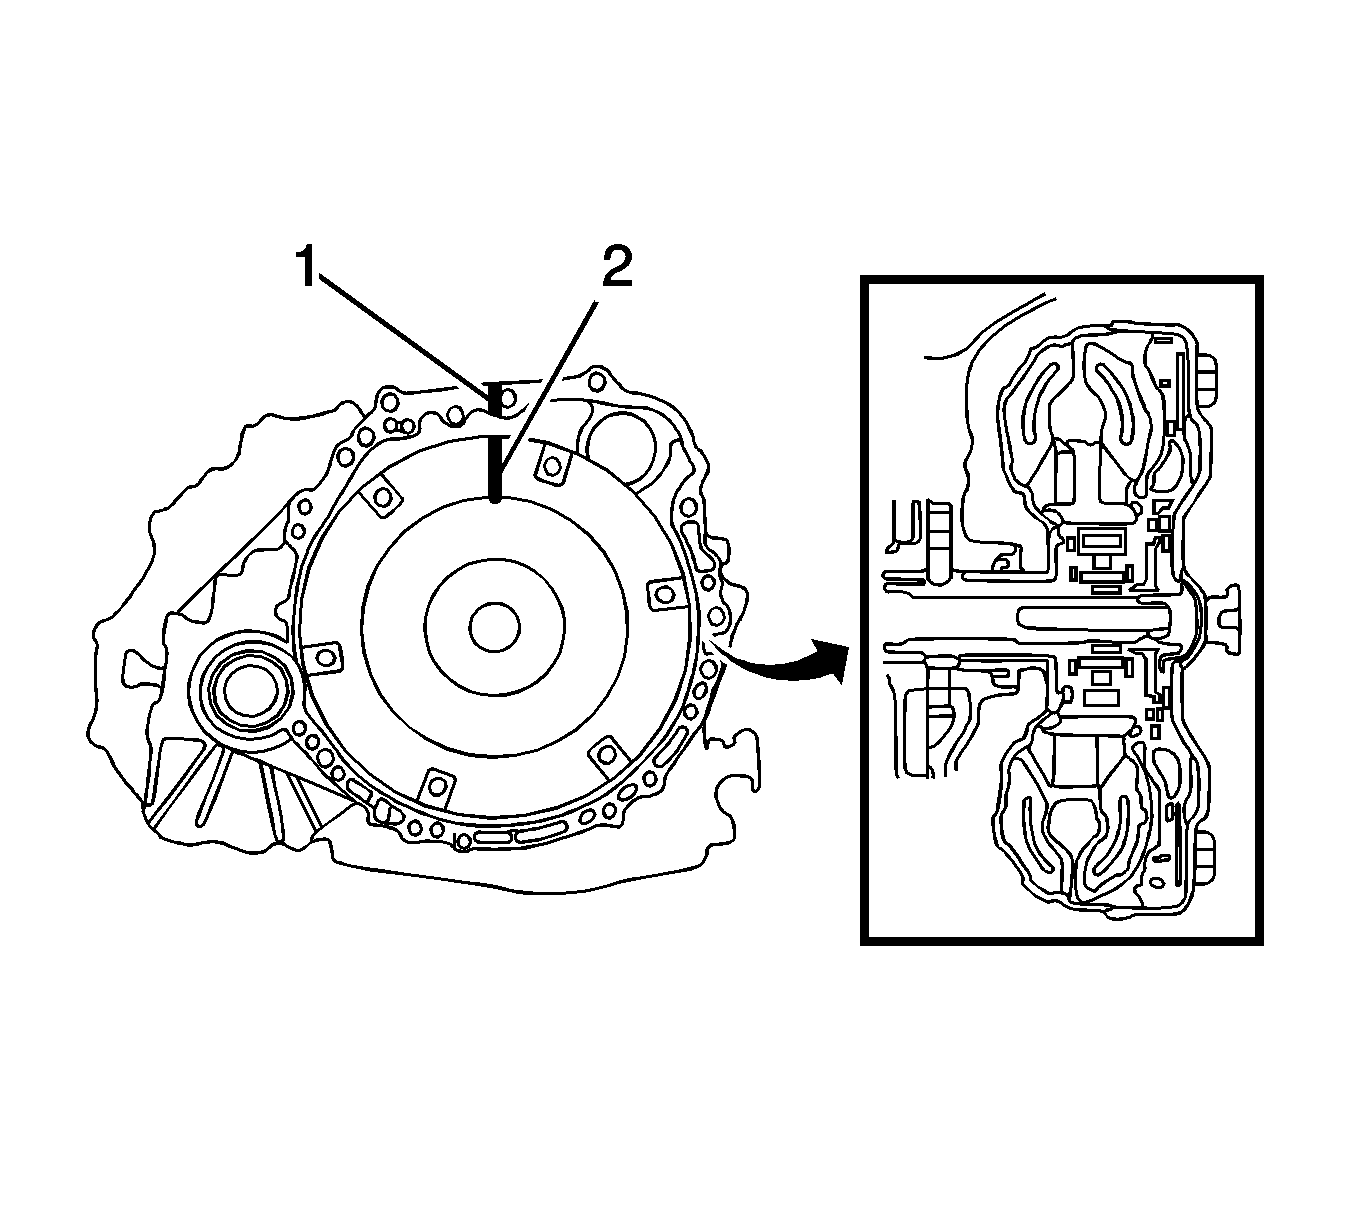
Note: When rotating the torque converter, do not rotate it with excessive force.
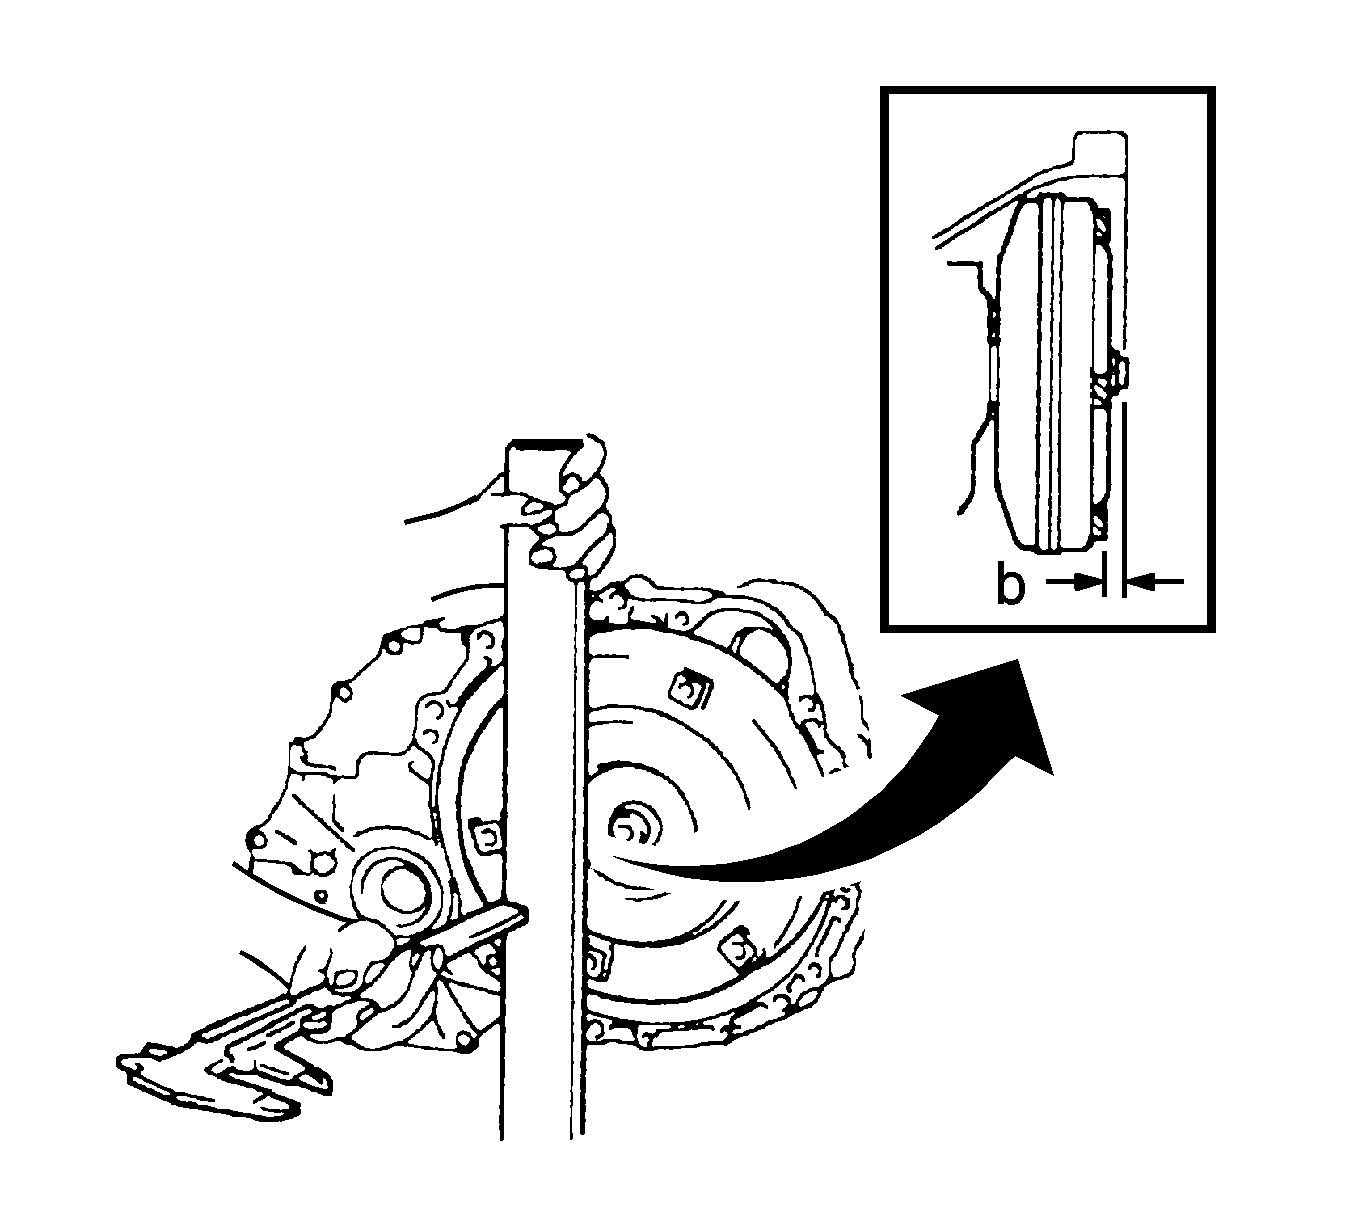
Note: Remember to subtract the thickness of the straightedge.
Specification
Standard - A + 1 mm (0.04 in) or more
Caution: Refer to Fastener Caution in the Preface section.


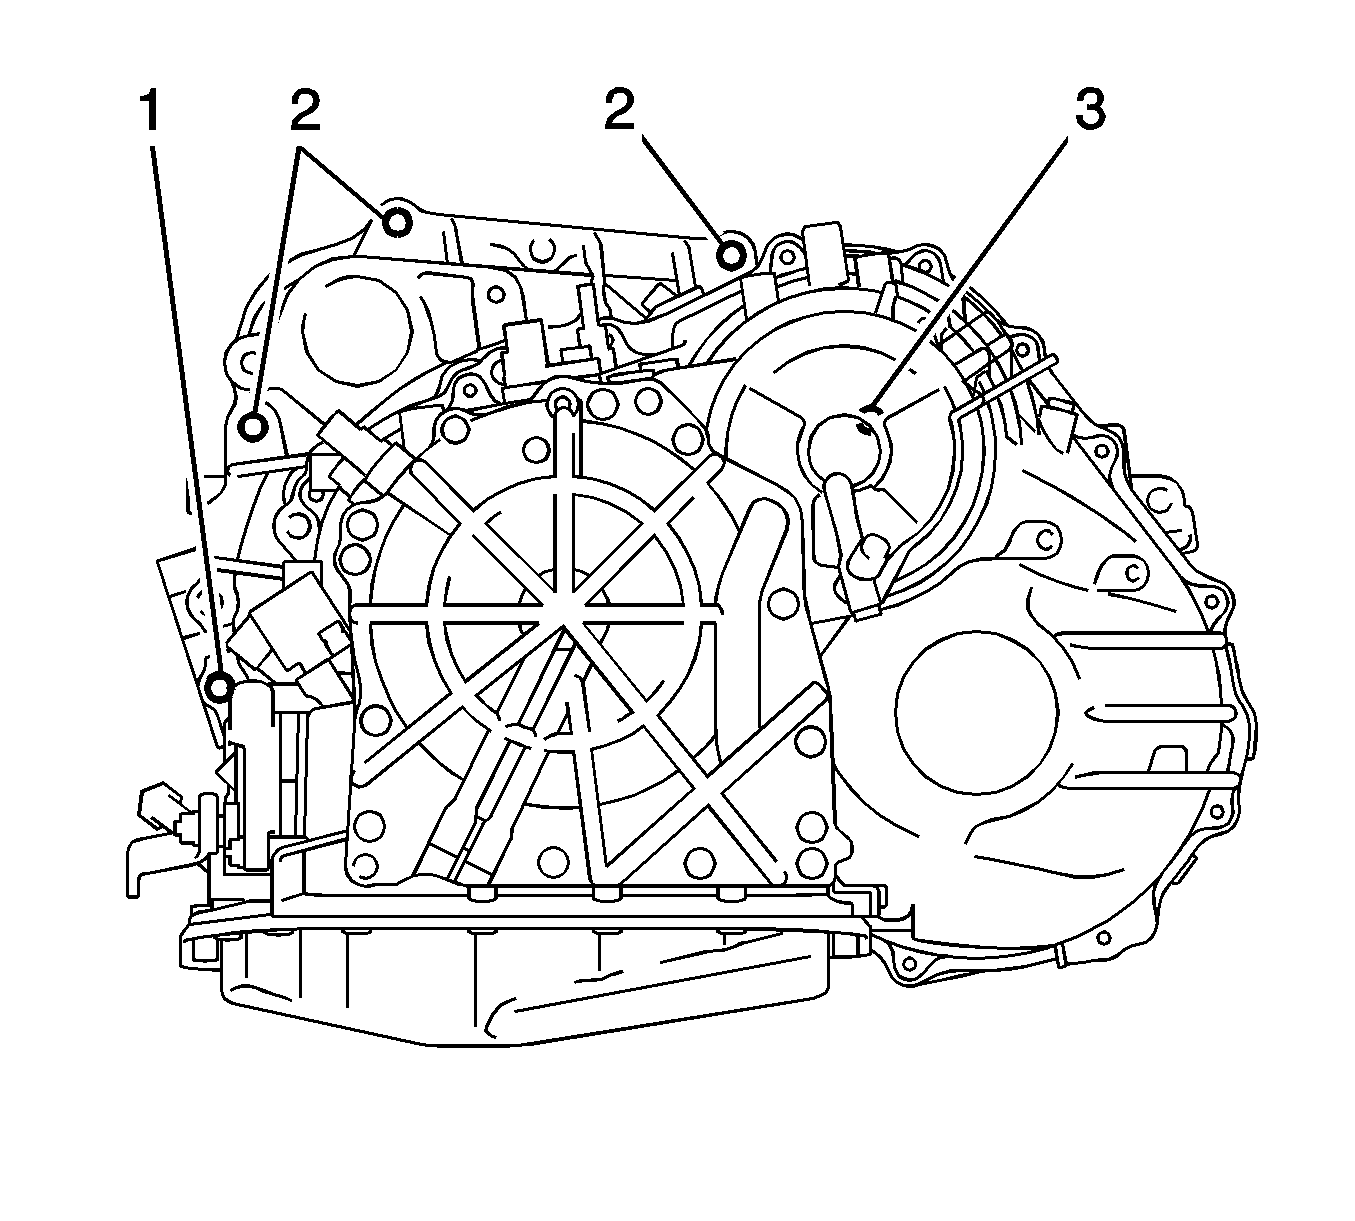
| • | Bolt 1 to 46 N·m (34 lb ft). |
| • | Bolt 2 to 64 N·m (47 lb ft). |
| • | Bolt 3 to 46 N·m (34 lb ft). |
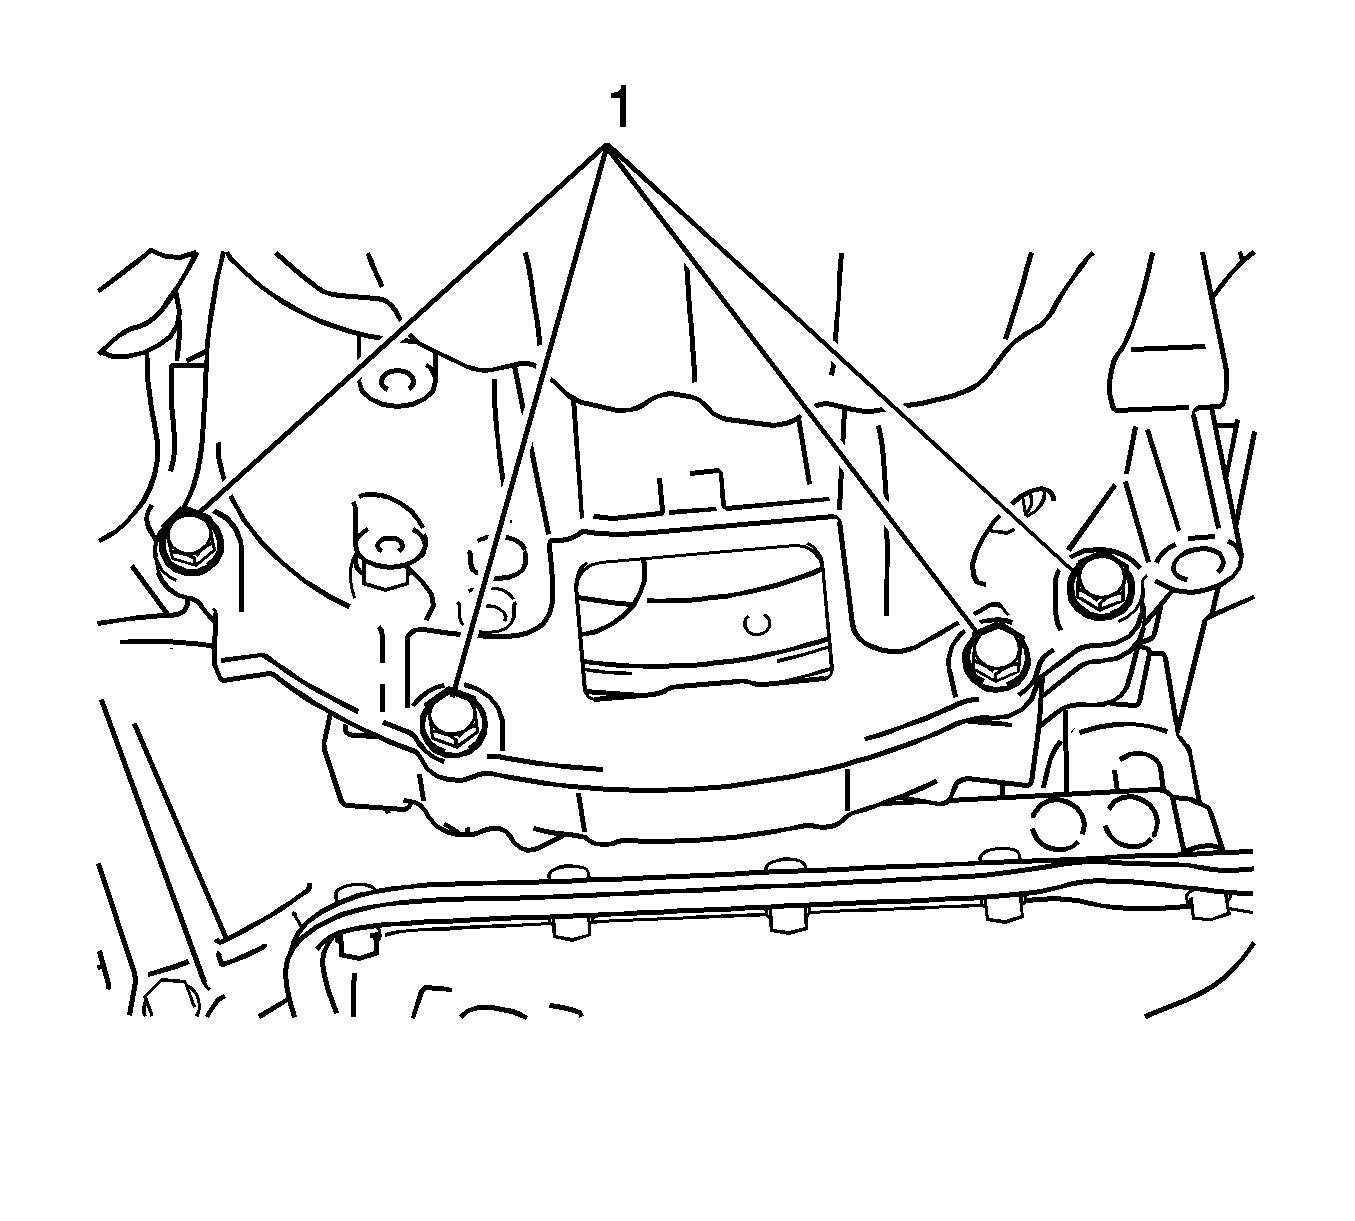

Note: Install the different colored bolt first, and then the remaining bolts.
