For 1990-2009 cars only
Special Tools
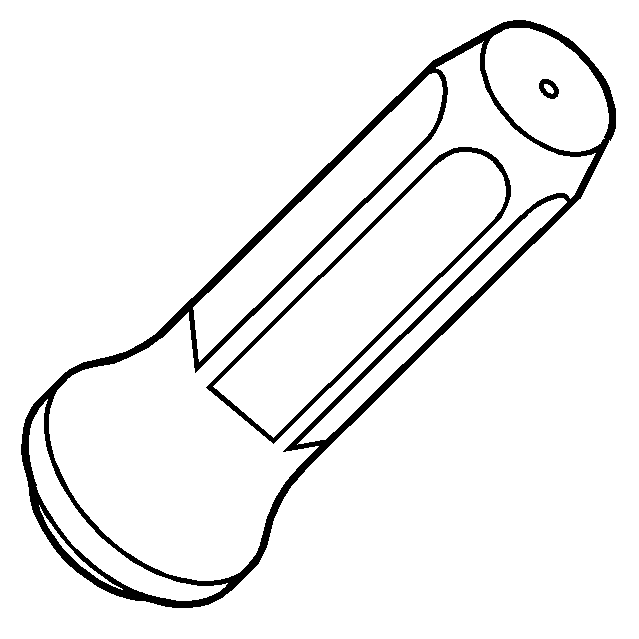
| • | J 38868 Output Shaft Assembly Remover and Installer |
| • | J 44809 Output Shaft Seal Installer |
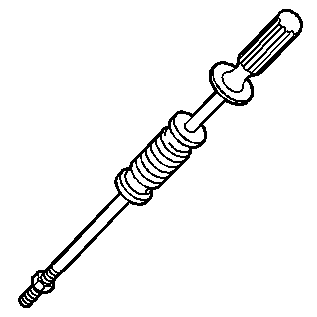
| • | J 6125-1B Slide Hammer with Adapter |
Removal Procedure
- Raise and support the vehicle. Refer to Lifting and Jacking the Vehicle.
- Remove the right wheel drive shaft. Refer to Front Wheel Drive Shaft Replacement.
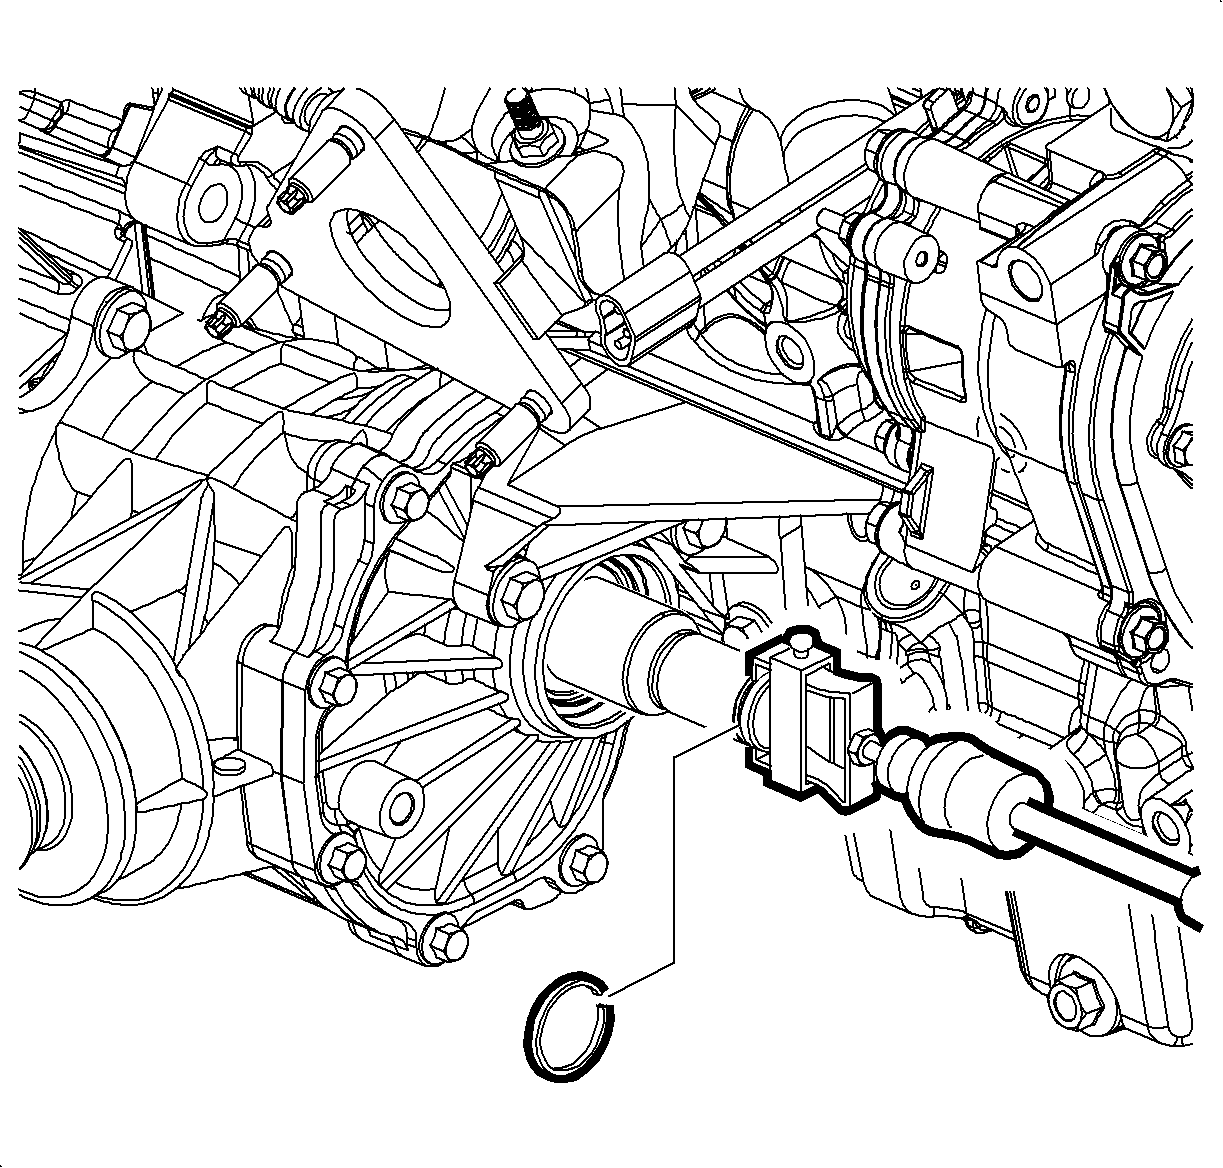
- Remove the retainer ring from the stub shaft for tool installation. Discard the used retainer ring.
- Remove the stub shaft using the J 6125-1B and J 38868 .
- Carefully, remove the output shaft seal and discard.

Installation Procedure
- Clean any dirt or foreign material from the seal bore area.
- Using the J 44809 , install the NEW output shaft seal.
- Install the stub shaft using the J 6125-1B and J 38868 .
- Install a NEW retainer ring on the stub shaft.
- Install the right wheel drive shaft. Refer to Front Wheel Drive Shaft Replacement.
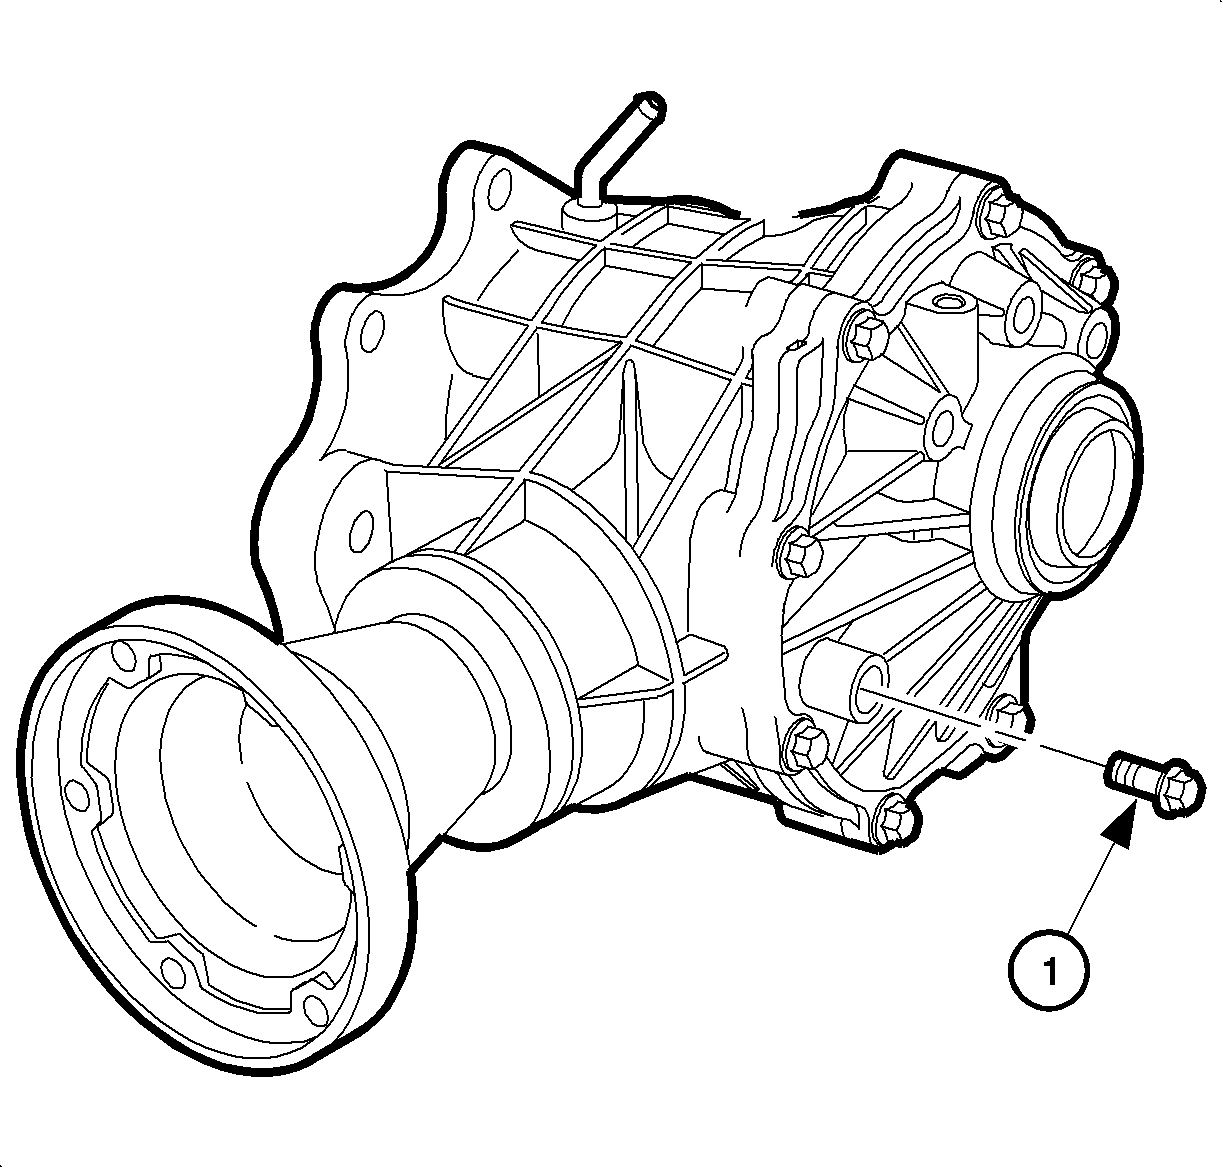
- Remove the fluid fill plug and check the fluid level. Fluid should be to the bottom of the fill hole threads. Add synthetic gear lubricant GM P/N 12378514 (Canadian P/N 88901045) if necessary.
- Clean and fill plug and apply adhesive GM P/N 12345493 (Canadian P/N 10953488) to the threads.
- Install the fill plug (1) and tighten to 15 N·m (11 lb ft).
- Lower the vehicle.

Caution: Refer to Component Fastener Tightening Caution in the Preface section.
