For 1990-2009 cars only
Removal Procedure
- Using the finger opening, remove the right instrument panel (I/P) compartment access hole cover.
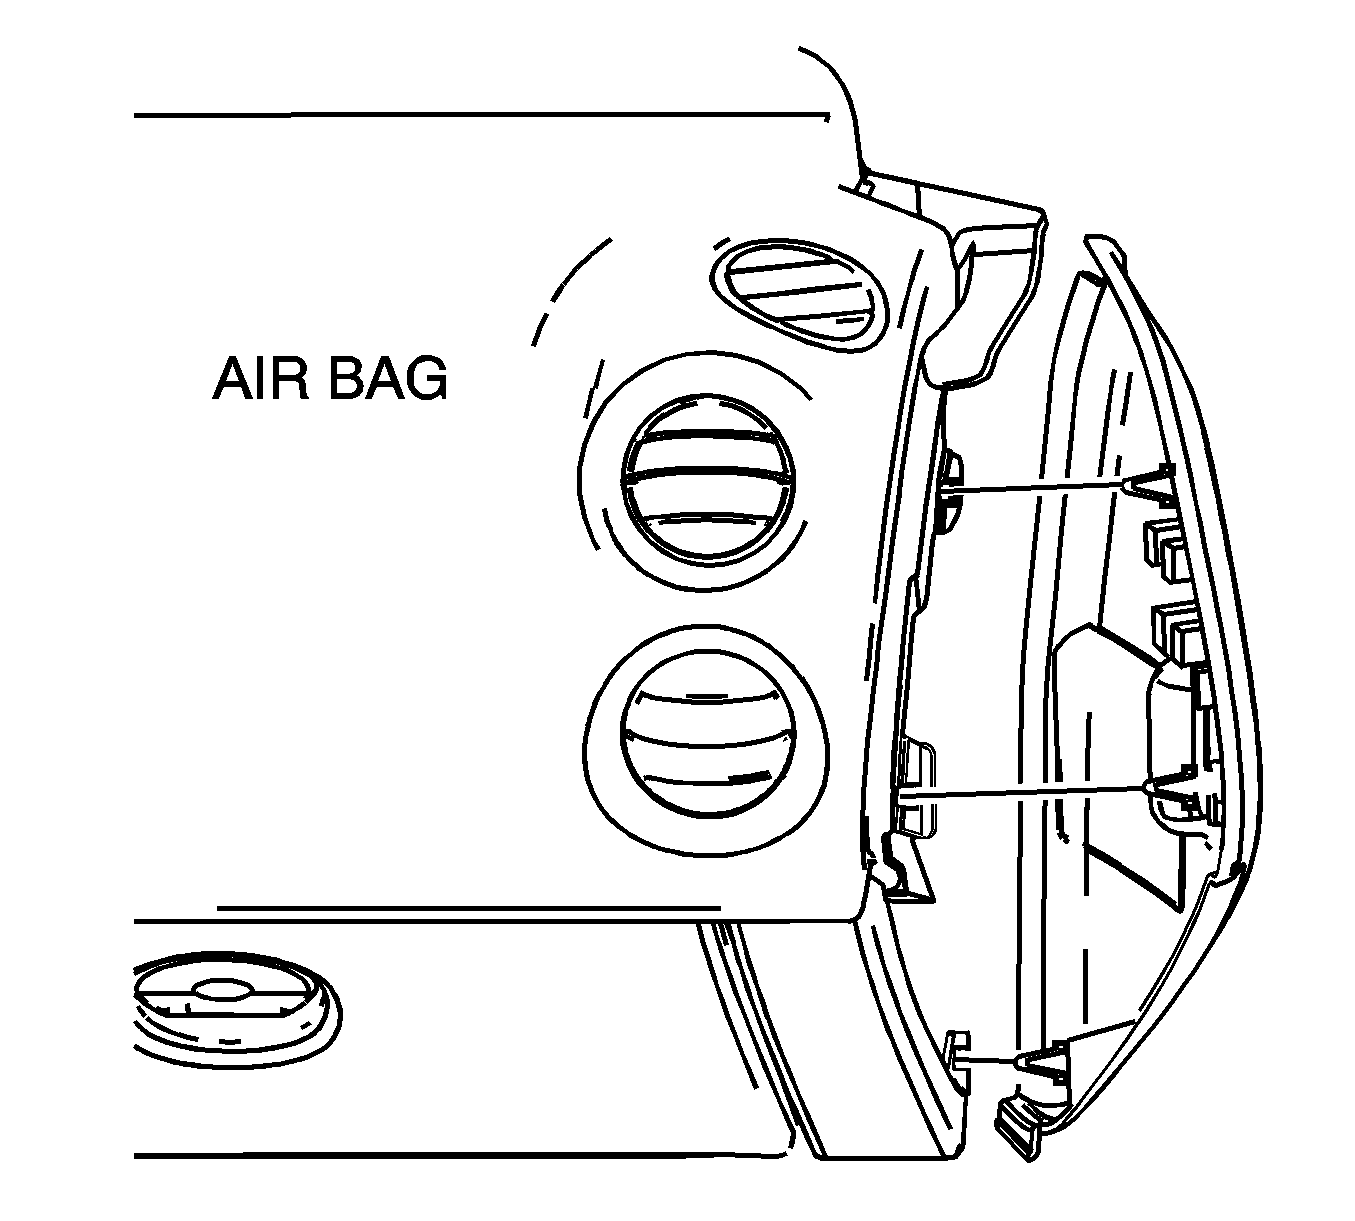
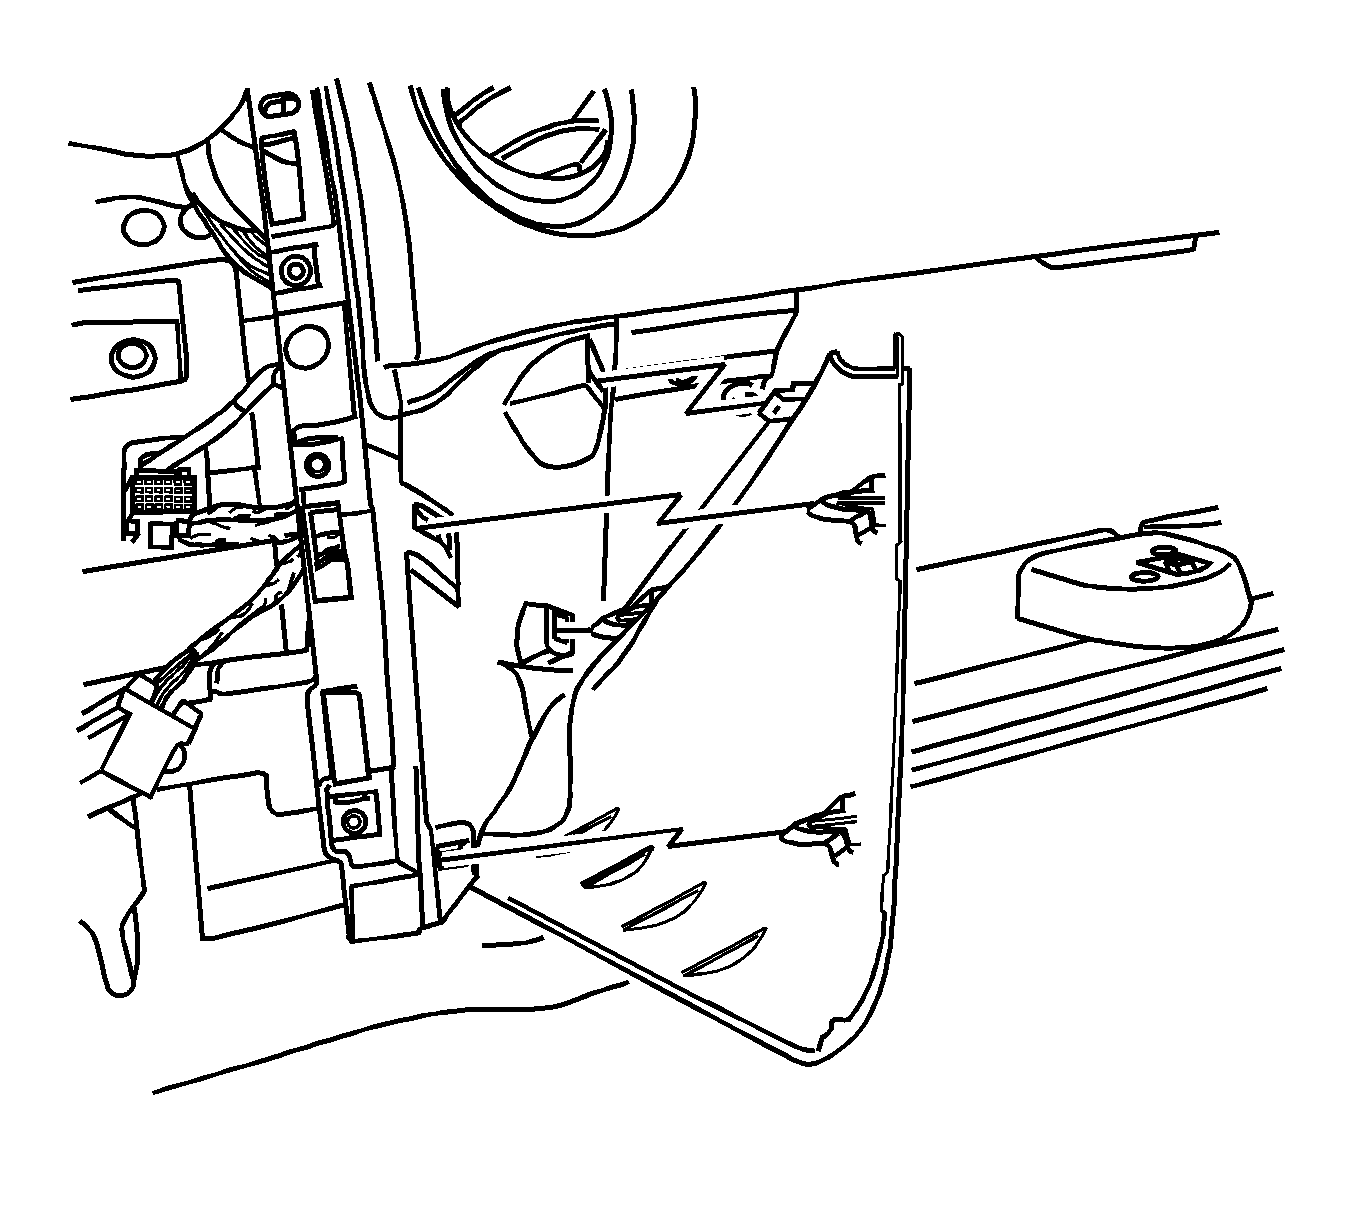
- Pull the I/P outboard trim plate rearward in order to release the retainers.
- Remove the I/P trim plate.
- Open the I/P compartment.
- If the I/P compartment is equipped with a dampener, disengage the compartment door stop using the following procedure:
- If the I/P compartment is not equipped with a dampener, disengage the I/P compartment door stop as shown.
- Pull the I/P accessory trim plate rearward slightly for access to the I/P inboard trim plate. Refer to Instrument Panel Accessory Trim Plate Replacement .
- Pull the I/P inboard trim plate toward the passenger door opening. Remove the I/P trim plate.
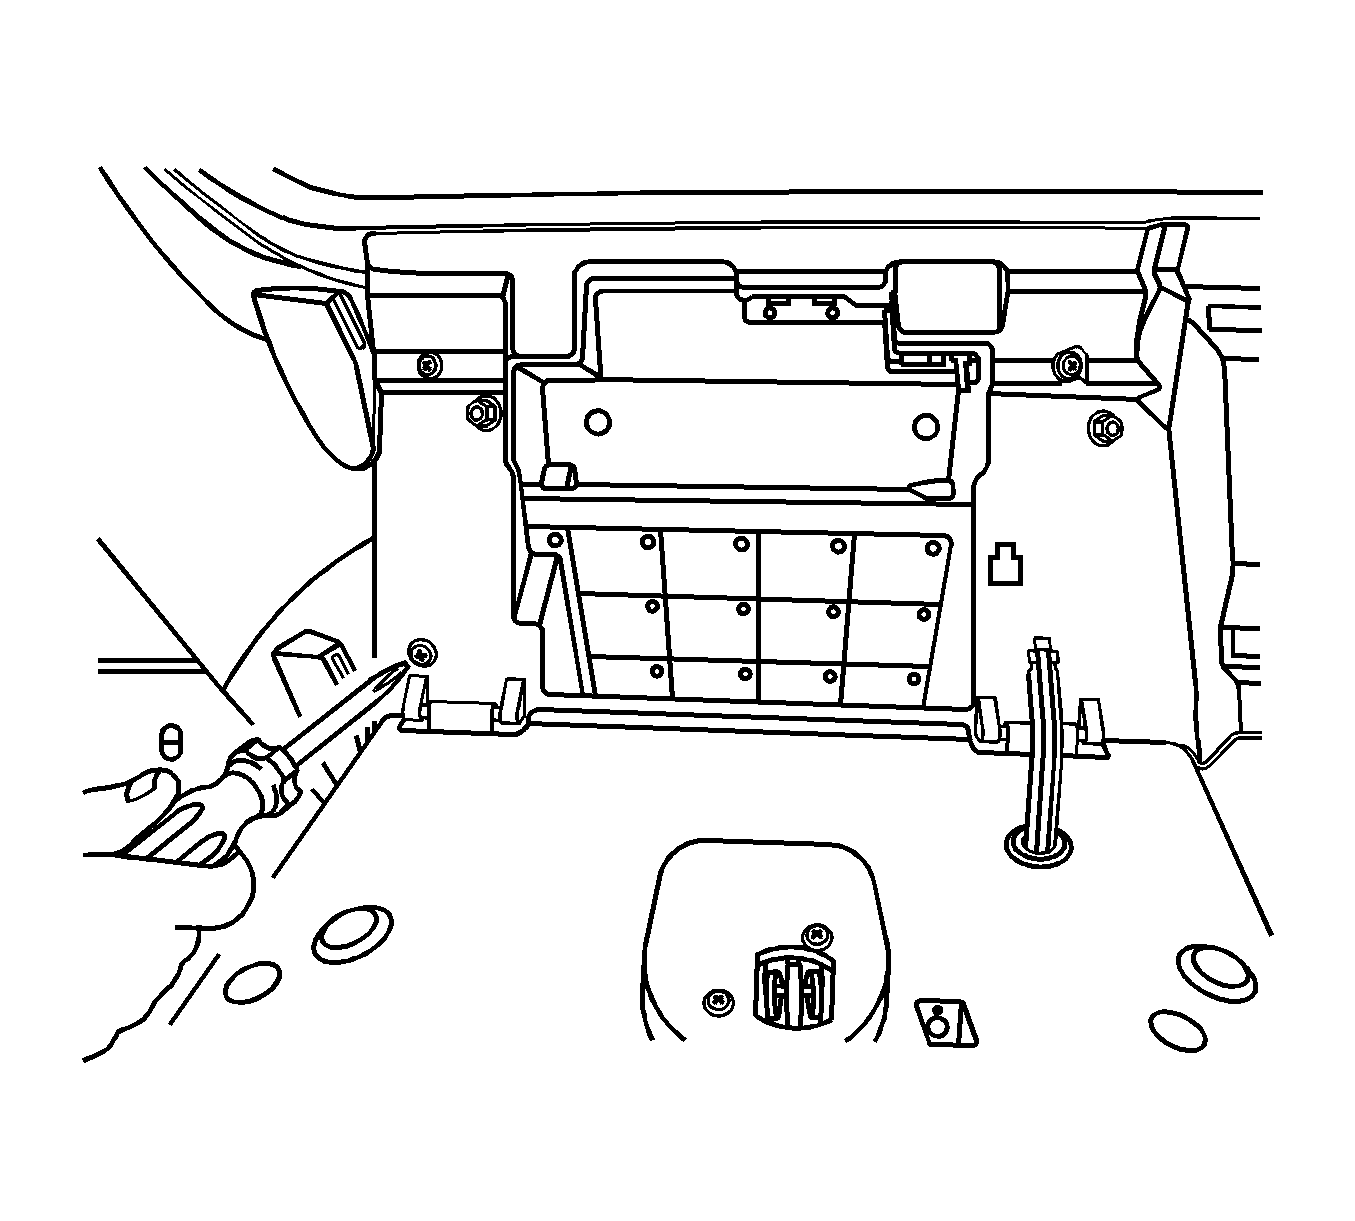
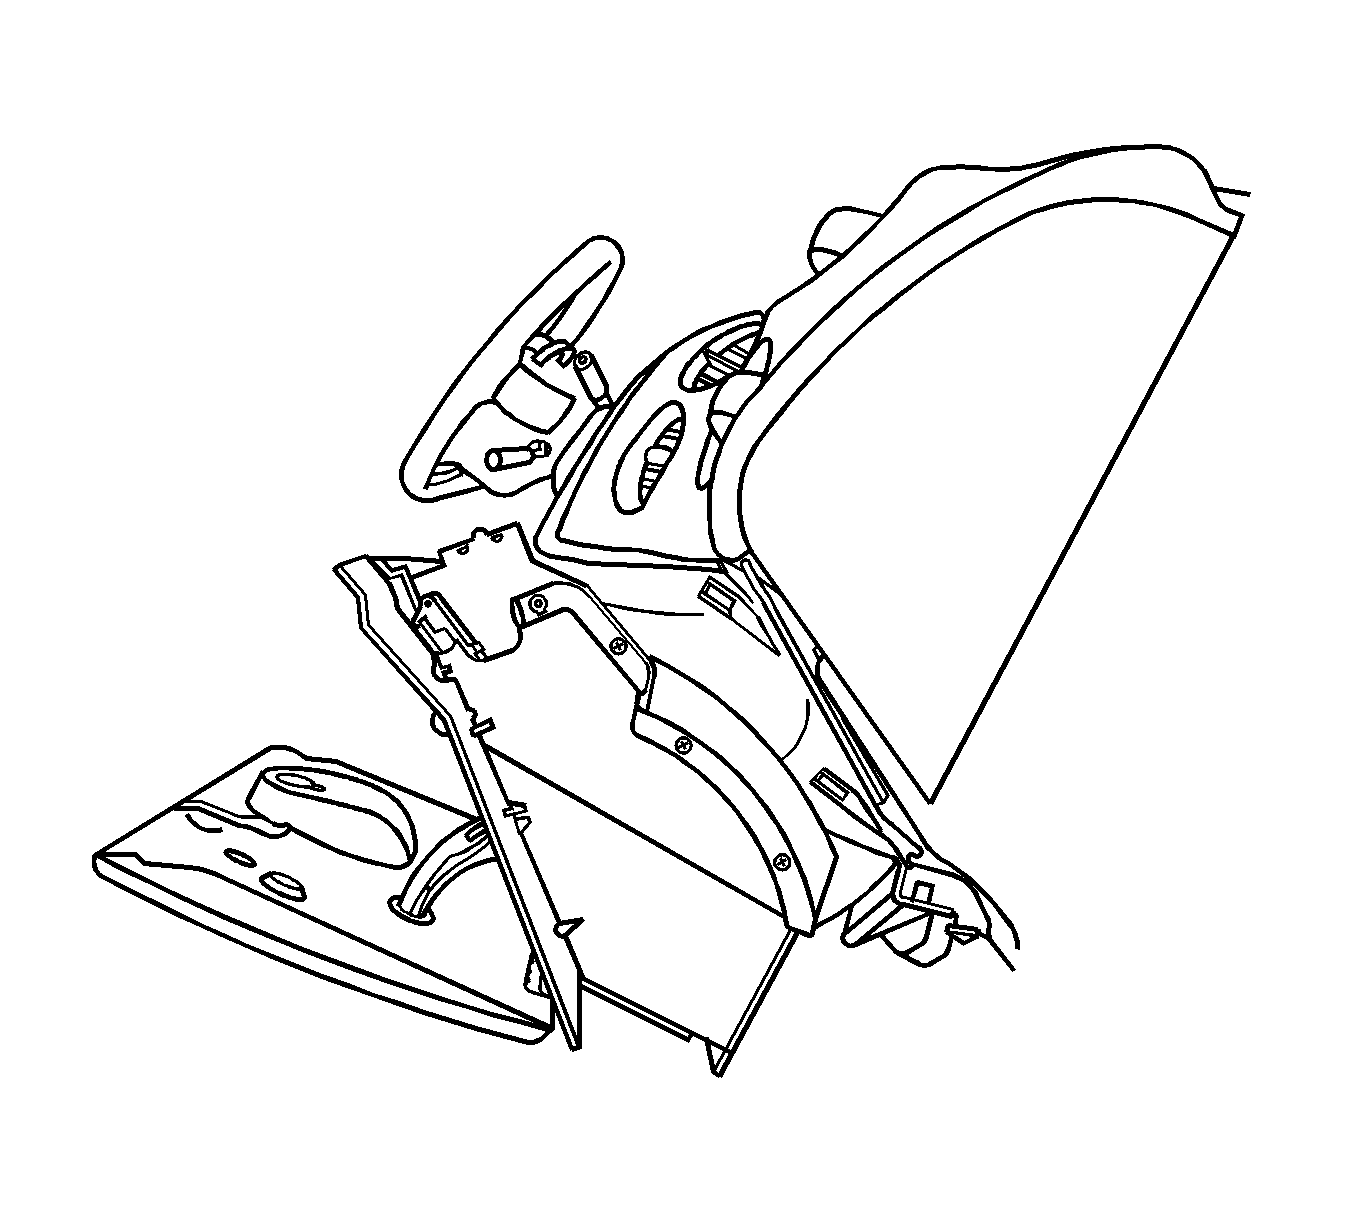
- Remove the I/P compartment screws.
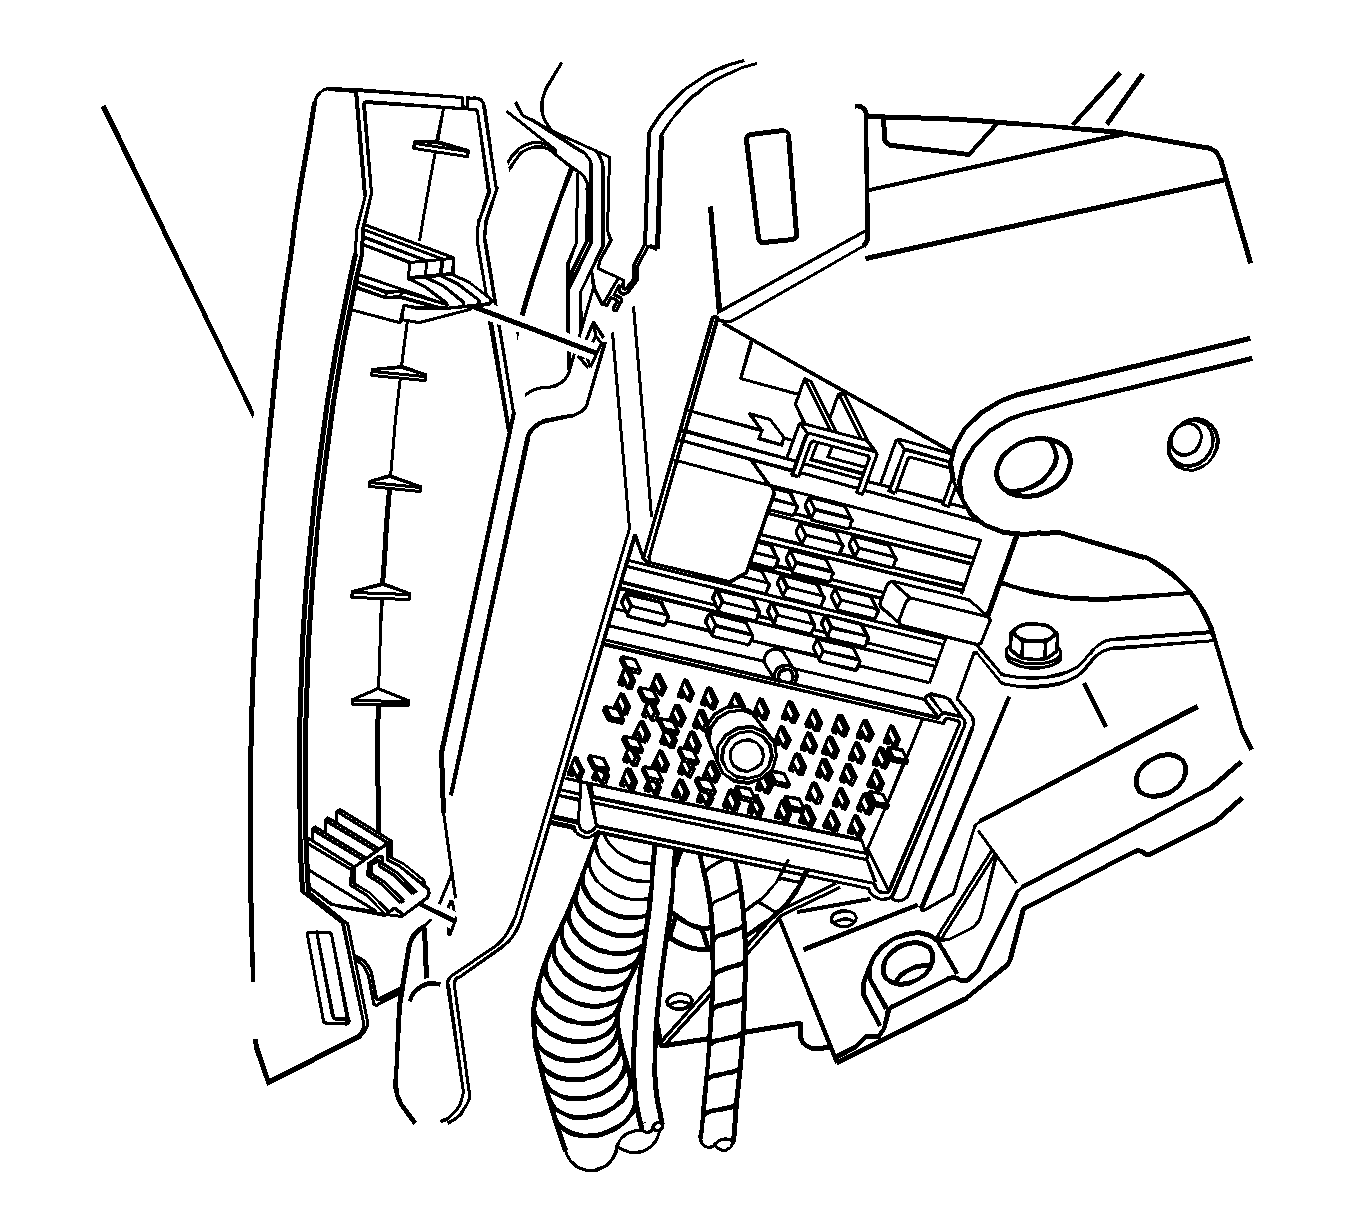
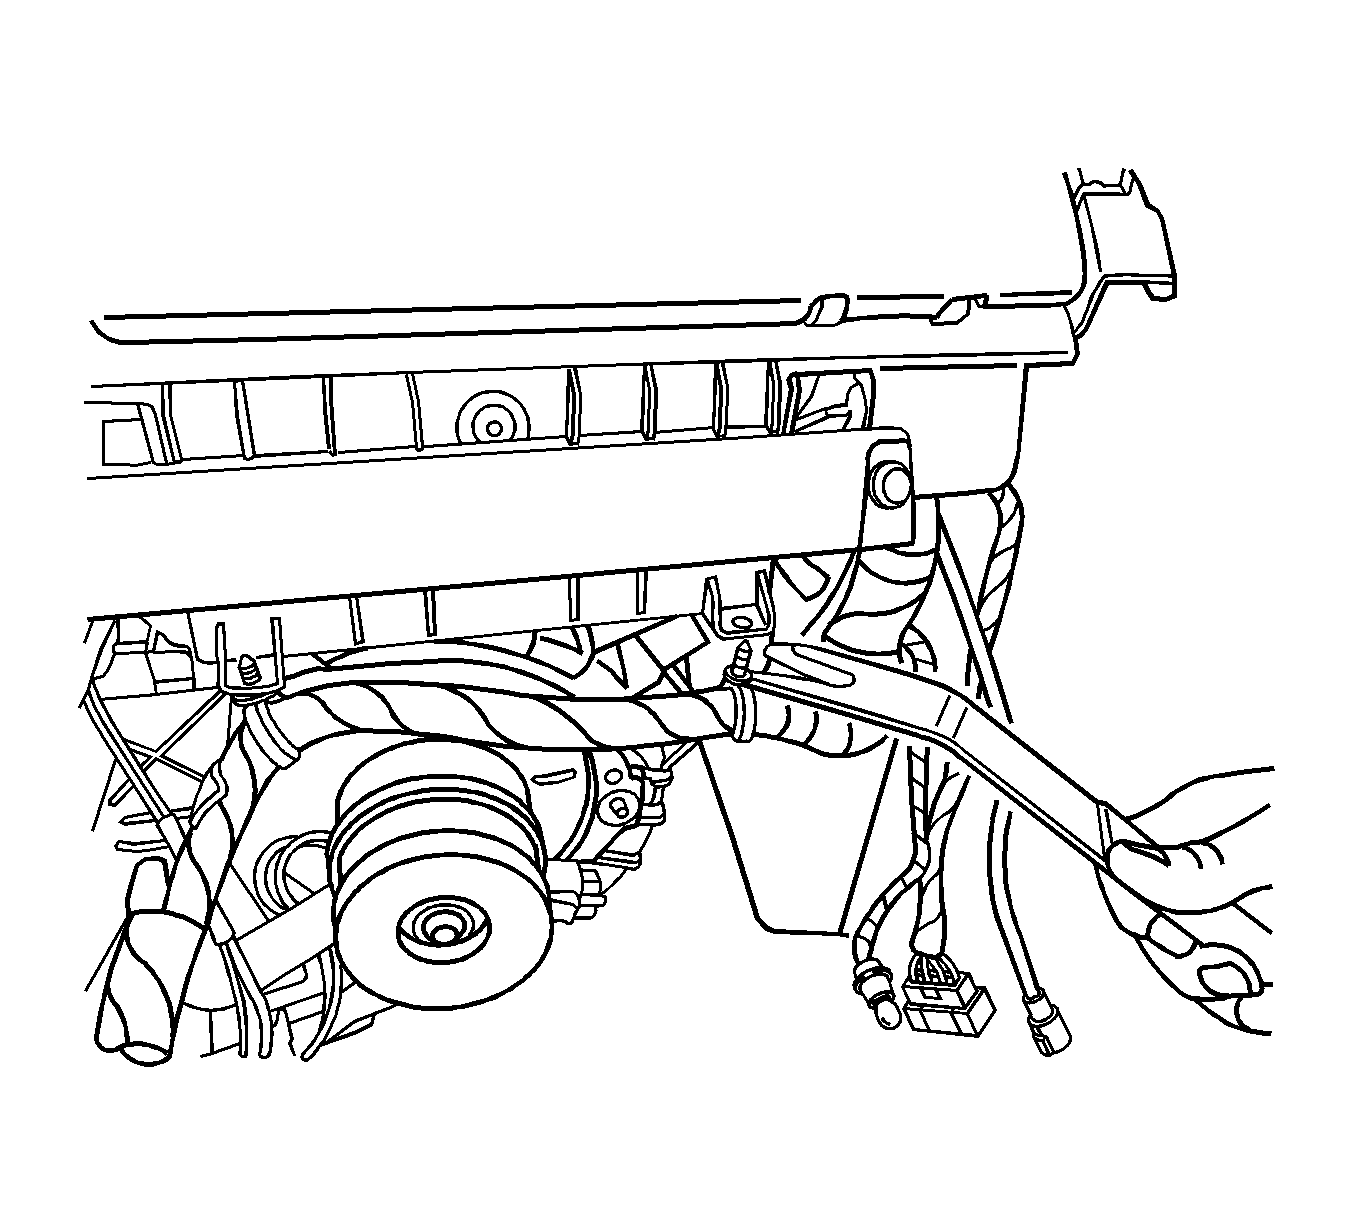
- Disconnect the wiring harness retainers at the rear of the I/P compartment.
- Pull the I/P compartment from the I/P.
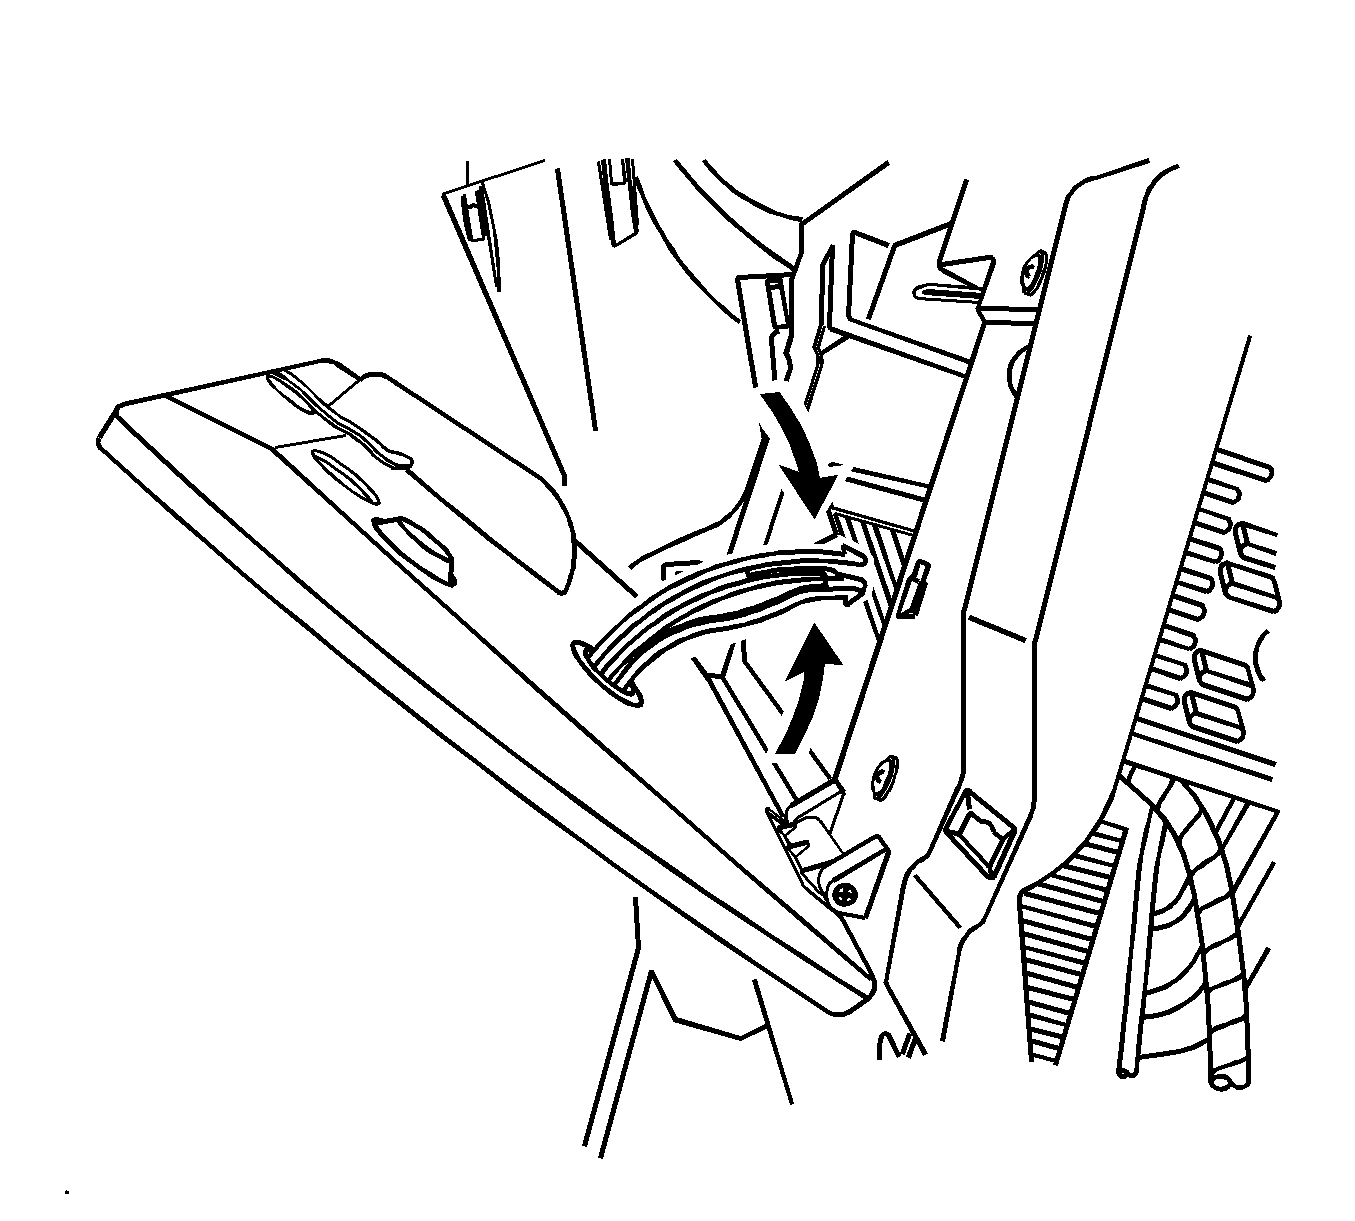
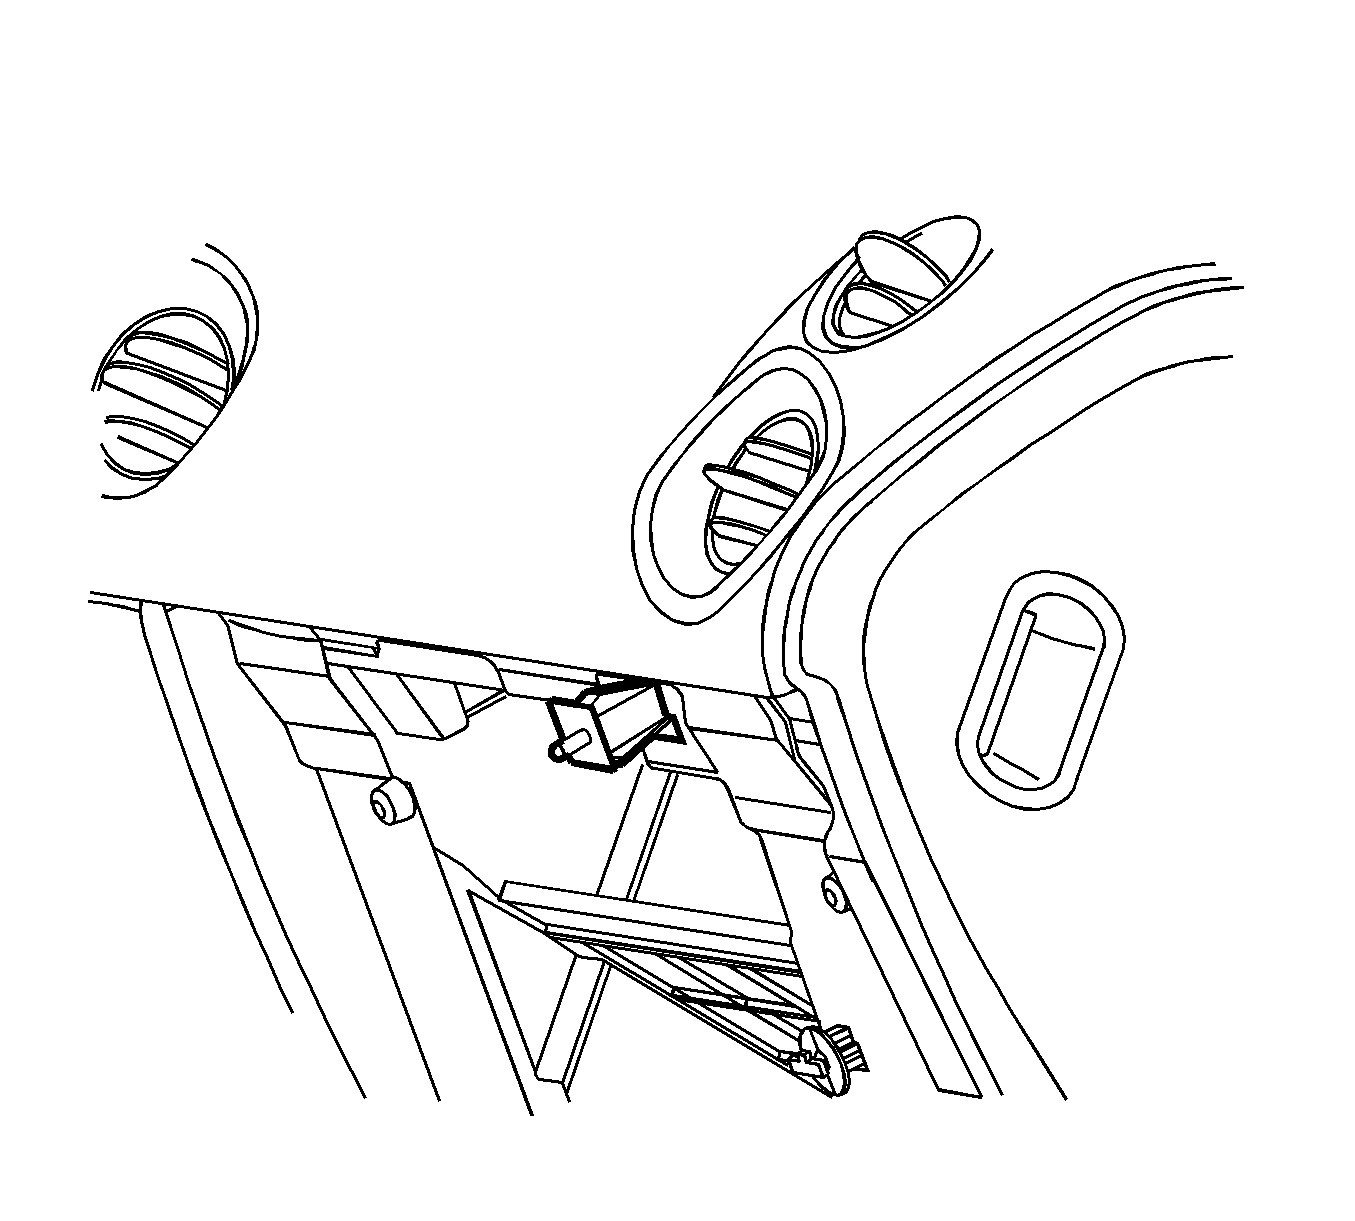
- Disconnect the I/P compartment lamp switch electrical connector.
- Remove the I/P compartment lamp switch.
- Remove the I/P compartment.
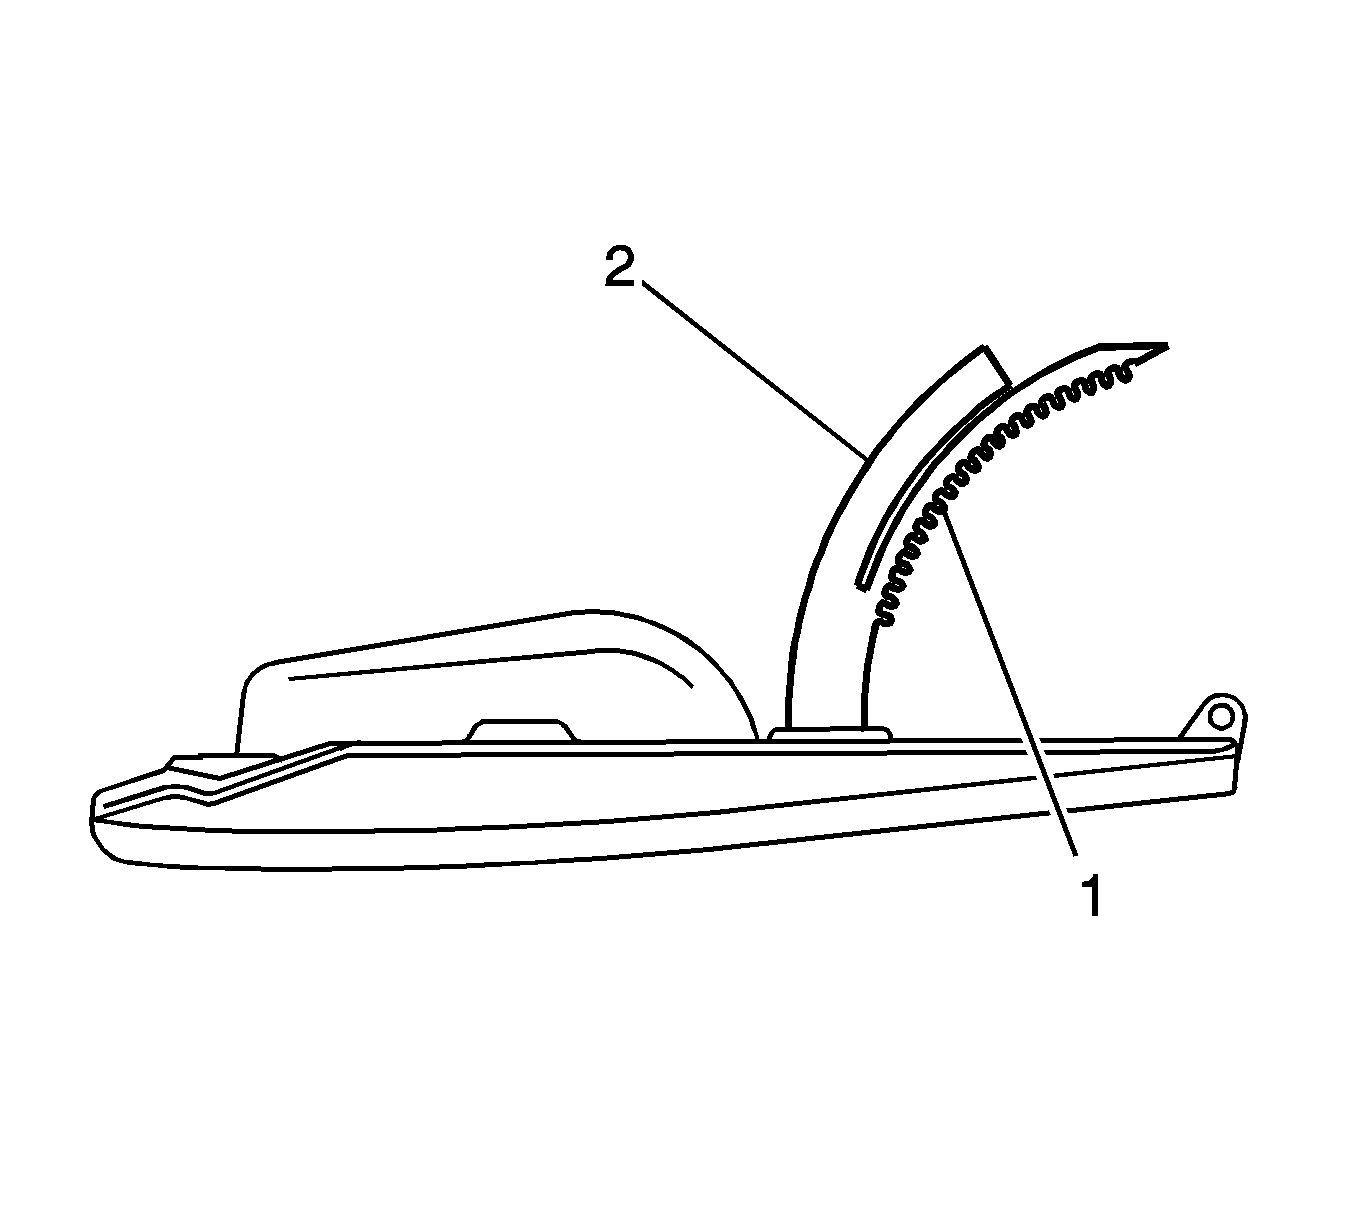
| 5.1. | Press the upper door stop (2) toward the center of the vehicle. |
| 5.2. | Rotate the door away from the compartment. |
Installation Procedure
- Align the I/P compartment to the I/P.
- Install the I/P compartment lamp switch to the opening in the I/P compartment.
- Connect the I/P compartment lamp switch electrical connector.
- Install the wiring harness retainers to the rear of the I/P compartment.
- Align the I/P compartment to the I/P trim pad. Install the I/P compartment screws.
- Align the I/P inboard trim plate retainers to the slots in the I/P carrier. Press the trim plate to engage the retainers.
- Install the I/P accessory trim plate. Refer to Instrument Panel Accessory Trim Plate Replacement .
- If the I/P compartment is equipped with a dampener engage the door stop using the following procedure:
- If the I/P compartment is not equipped with a dampener, engage the door stop as shown.
- Close the I/P compartment.
- Position the I/P outboard trim plate retainers to the slots in the I/P carrier.
- Install the I/P trim plate by pressing the panel straight into the I/P carrier.
- Align the right I/P compartment access hole cover to the I/P trim pad. Press the cover to the trim .


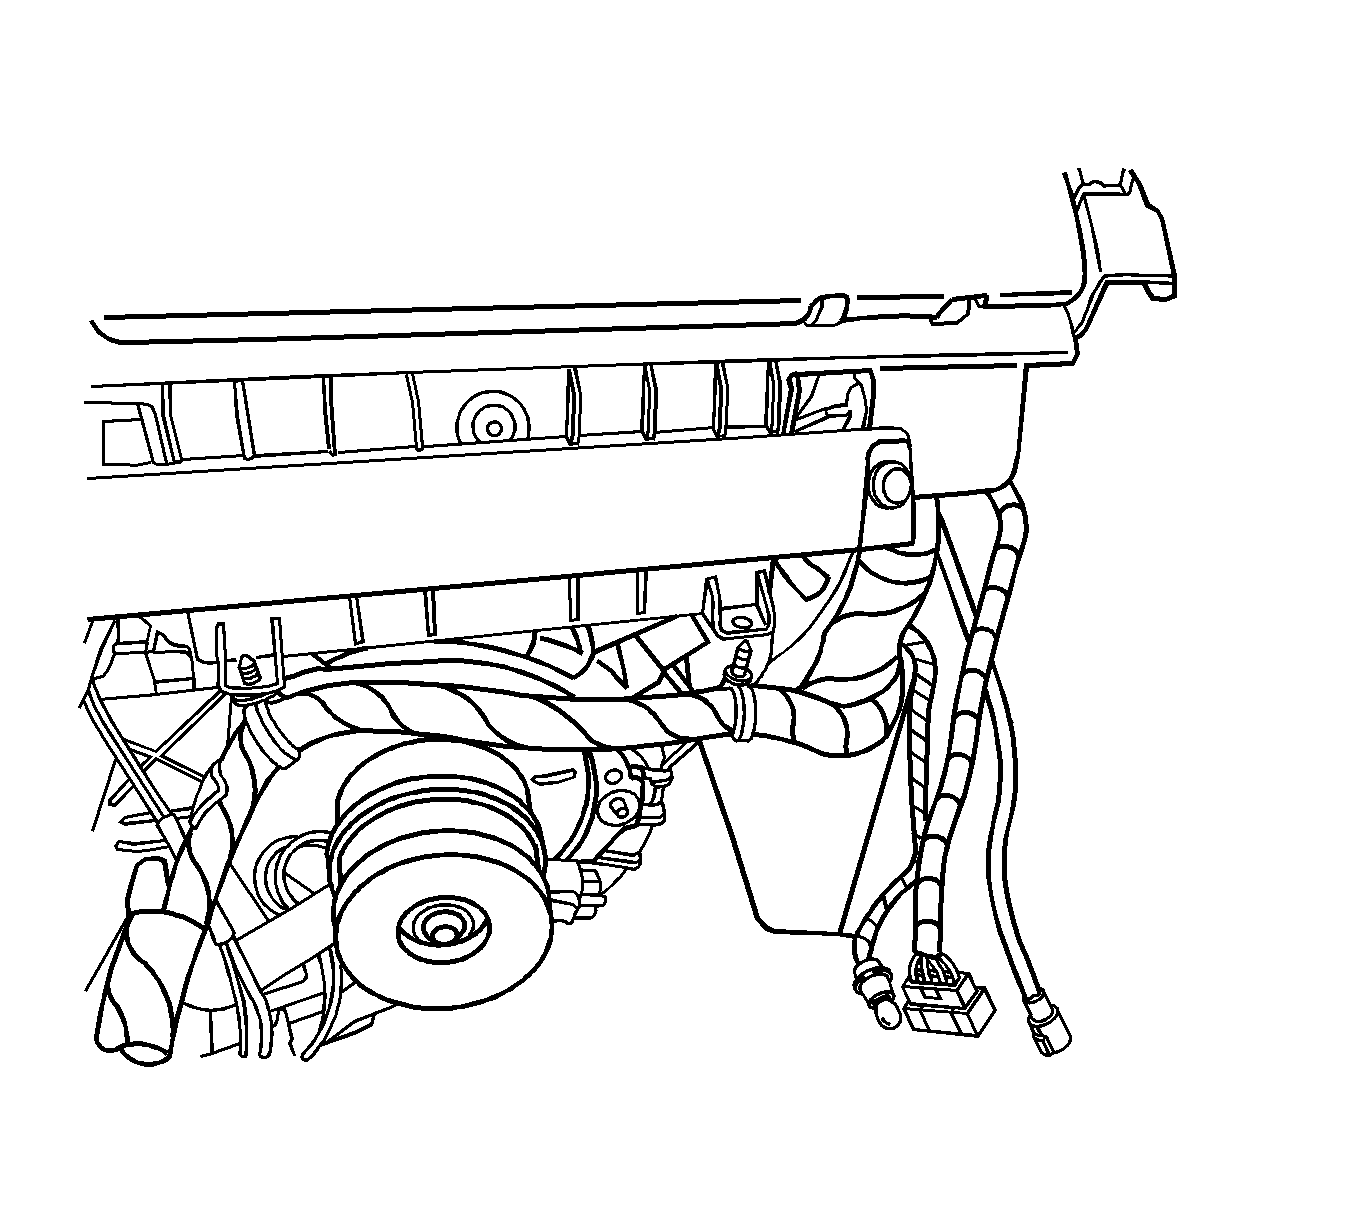
Notice: Refer to Fastener Notice in the Preface section.

Tighten
Tighten the screws to 2 N·m (18 lb ft).


| 8.1. | Press the upper door stop (2) toward the center of the vehicle. |
| 8.2. | Rotate the door up to the compartment. |


