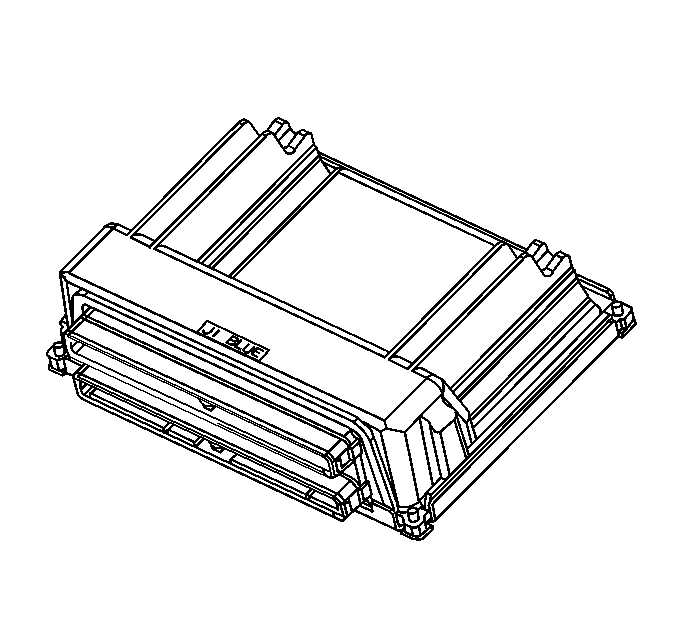
To read and clear diagnostic trouble codes, use a scan tool.
Use a scan tool to clear diagnostic trouble codes from the PCM memory. Diagnostic trouble codes can also be cleared by turning OFF the ignition and disconnecting the battery power from the PCM for 30 seconds, but this method will also cause all diagnostic information in the PCM memory to be cleared and all the diagnostic tests will have to be ran again.
The Vehicle Identification Number (VIN) is programmed into the PCM. Do not exchange a PCM from another vehicle for testing or replacement. When replacing the PCM, the VIN must also be programmed into the new PCM.
Because the PCM can have a failure which may affect only one circuit, follow the diagnostic procedures in this section to determine which circuit has a problem and where it is.
If a diagnostic chart indicates that the PCM connections or PCM is the cause of a problem and the PCM is replaced, but does not correct the problem, one of the following may be the reason:
| • | There is a problem with the PCM terminal connections. The diagnostic chart will say PCM connections or PCM. The terminals may have to be removed from the connector in order to check them properly. Refer to Intermittents and Poor Connections Diagnosis and Connector Repairs and Wiring Repairs . |
| • | EEPROM program is not correct for the application. Incorrect components may cause a malfunction and may or may not set a DTC. |
| • | The problem is intermittent. This means that the problem is not present at the time the system is being checked. In this case, refer to the Symptoms portion of the manual and make a careful physical inspection of all components and wiring associated with the affected system. Refer to Intermittents and Poor Connections Diagnosis and Connector Repairs and Wiring Repairs . |
| • | There is a shorted solenoid, relay coil, or harness. Solenoids and relays are turned ON and OFF by the PCM using internal electronic switches called drivers. A shorted solenoid, relay coil, or harness will not damage the PCM but will cause the solenoid or relay to be inoperative. |
Step | Action | Value(s) | Yes | No | ||||||||||||
|---|---|---|---|---|---|---|---|---|---|---|---|---|---|---|---|---|
1 | Was the Powertrain on Board Diagnostic System Check performed? | -- | ||||||||||||||
2 |
Was a problem found? | -- | Go to Diagnostic Aids | |||||||||||||
3 |
Is the MAP value near the specified value? | 0.0V | ||||||||||||||
4 |
Is the MAP value near the specified value? | 4.95V | ||||||||||||||
5 |
Is MAP value near the specified value? | 4.95V | ||||||||||||||
6 |
Was a problem found? | -- | ||||||||||||||
7 |
Was a problem found? | -- | ||||||||||||||
8 |
Was a problem found? | -- | ||||||||||||||
9 |
Did the terminal require replacement? | -- | ||||||||||||||
10 |
Was a problem found? | -- | ||||||||||||||
11 | Replace the MAP sensor. Refer to Manifold Absolute Pressure Sensor Replacement . Is the action complete? | -- | -- | |||||||||||||
12 |
Was a problem found? | -- | ||||||||||||||
13 |
Important: : Replacement PCM must be programmed. Refer to Powertrain Control Module Replacement/Programming . Replace the PCM. Is the action complete? | -- | -- | |||||||||||||
14 | With engine idling, monitor MAP Sensor with scan tool while increasing engine RPM. Does MAP sensor value change? | -- | System OK |
