For 1990-2009 cars only
Removal Procedure
- Disconnect the negative battery cable.
- Raise the vehicle. Support the vehicle. Refer to Lifting and Jacking the Vehicle in General Information.
- Remove the transmission oil pan. Refer to Oil Pan Replacement .
- Remove the transmission oil filter assembly. Refer to Automatic Transmission Fluid Filter and Seal Replacement .
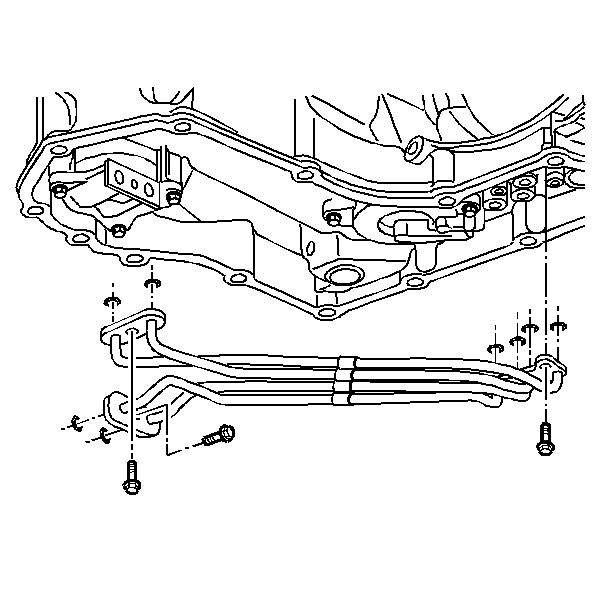
- Remove the oil feed pipe bolts.
- Inspect the eight oil feed pipe seal rings.
- Replace the seal rings only if the seal rings are cut, swollen or damaged.
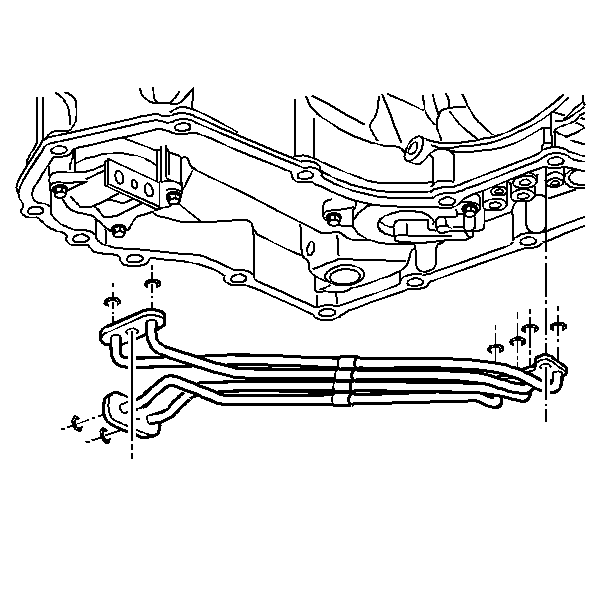
- Remove the lo and the reverse band oil pipe assembly.
- Remove the eight lo and the reverse band oil pipe assembly seals.
- Inspect the oil feed pipes for plugged passages, bent pipes, or cracks.
- Inspect the oil feed pipe seal rings. Verify the proper location of the seal rings. Replace the seal rings if these are cut, swelled or damaged.
Caution: Refer to Battery Disconnect Caution in the Preface section.


Installation Procedure
- Install the eight lo and the reverse band oil pipe assembly seals.
- Install the lo and the reverse band oil feed pipe assembly onto the transmission.
- Hand start the bolts that attach the oil feed pipe assembly to the transmission.
- Install the transmission oil filter assembly. Refer to Automatic Transmission Fluid Filter and Seal Replacement .
- Install the transmission oil pan and gasket. Refer to Automatic Transmission Fluid Filter and Seal Replacement .
- Lower the vehicle.
- Refill the transmission to the proper level.
- Inspect the transmission oil level. Refer to Transmission Fluid Check .
- Reset the TAP values. Refer to Adapt Function .

Notice: Refer to Fastener Notice in the Preface section.

Tighten
Tighten the bolts to 12 N·m (106 lb in).
Important: It is recommended that transmission adaptive pressure (TAP) information be reset.
Resetting the TAP values using a scan tool will erase all learned values in all cells. As a result, The ECM, PCM or TCM will need to relearn TAP values. Transmission performance may be affected as new TAP values are learned.