Removal Procedure
- Disable the SIR system. Refer to SIR Disabling and Enabling in SIR.
- Disconnect the negative battery cable. Refer to Battery Negative Cable Disconnection and Connection in Engine Electrical.
- Remove all related panels and components.
- Repair as much of the damage as possible. Refer to Dimensions - Body .
- Remove the sealers and anti-corrosion materials from the repair area, as necessary. Refer to Anti-Corrosion Treatment and Repair in Paint/Coatings.
- Remove the dash panel bolt (1) from each hinge pillar.
- From within the plenum chamber, remove the dash panel screw (1) from each side.
- Remove the 2 screws (2) attaching the body earth ground strap (1) and remove.
- Remove the identification plates from the dash panel.
- Transfer the identification plates onto the new dash panel.
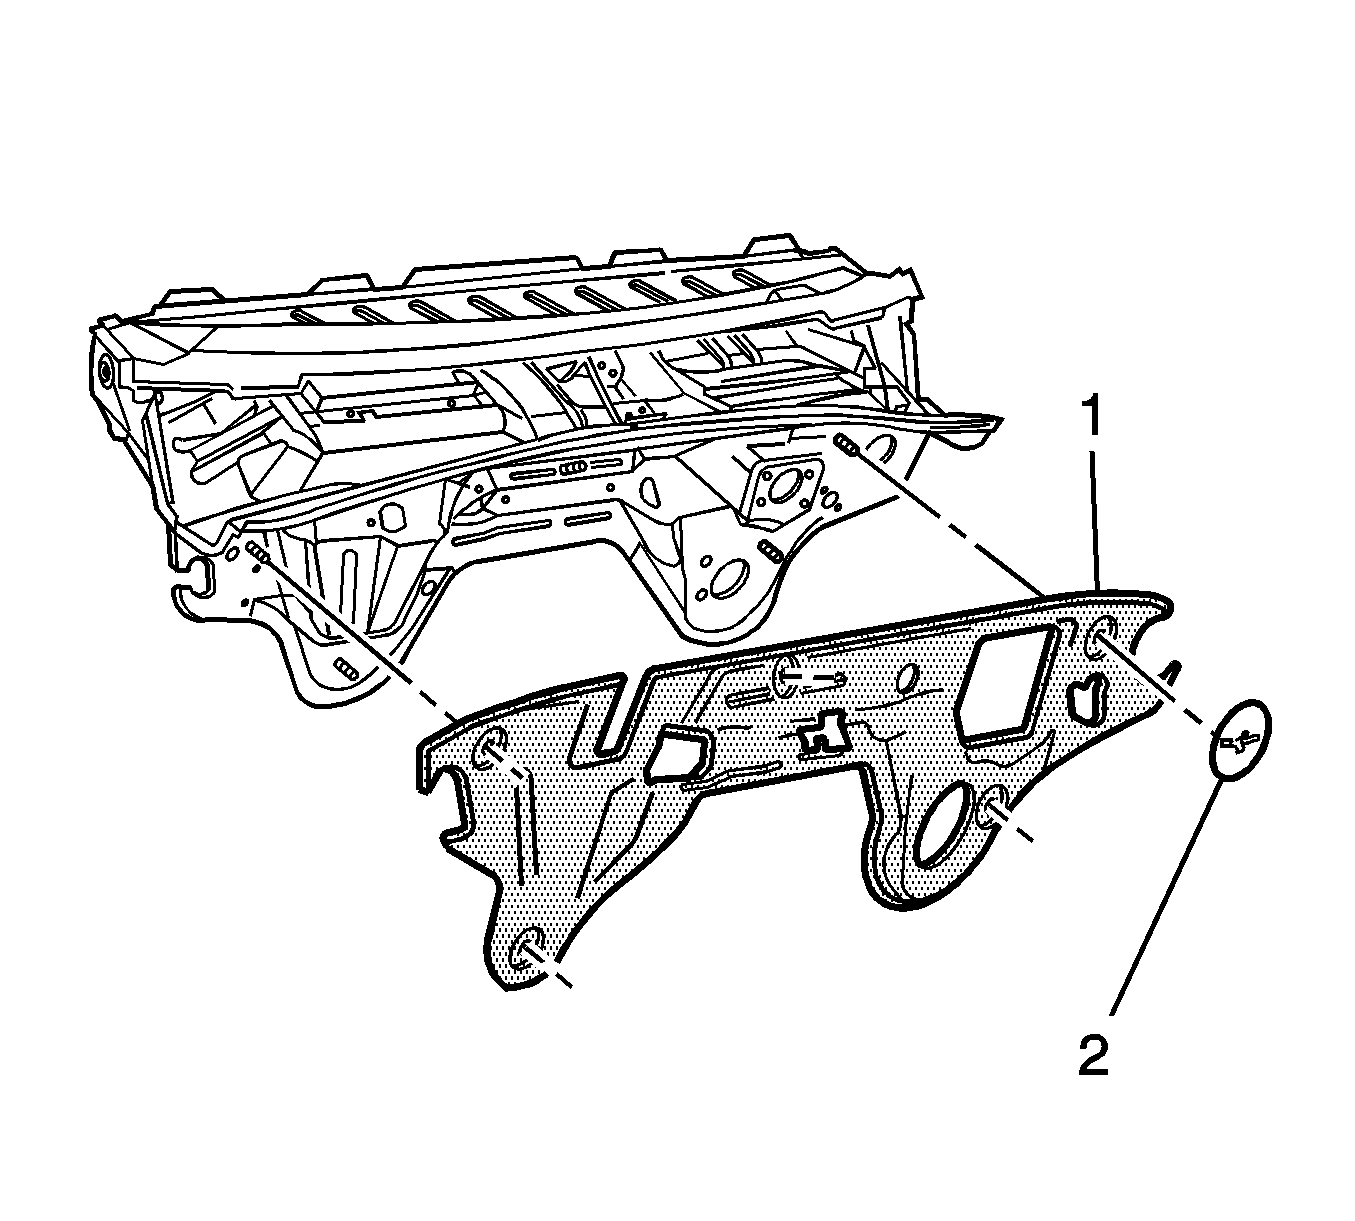
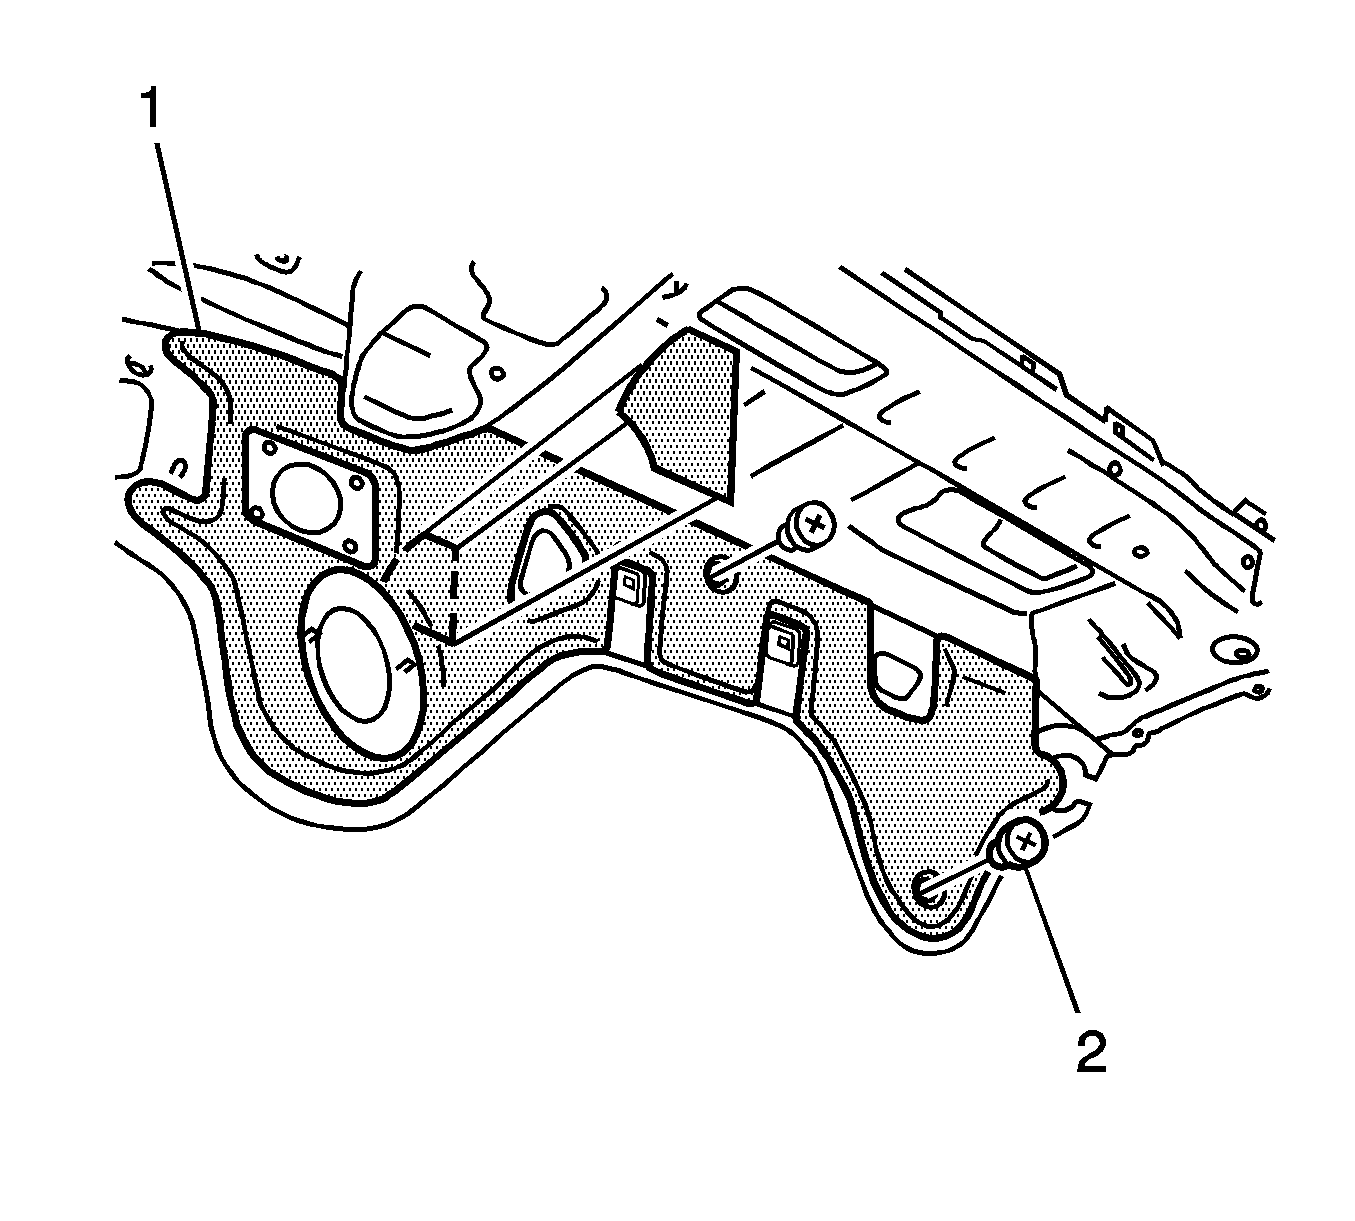
- Remove the retainer (2) attaching the lower dash panel outer insulator (1) to the engine compartment side of the dash panel.
- Transfer the dash panel upper insulator (1) from the existing dash panel to the new dash panel.
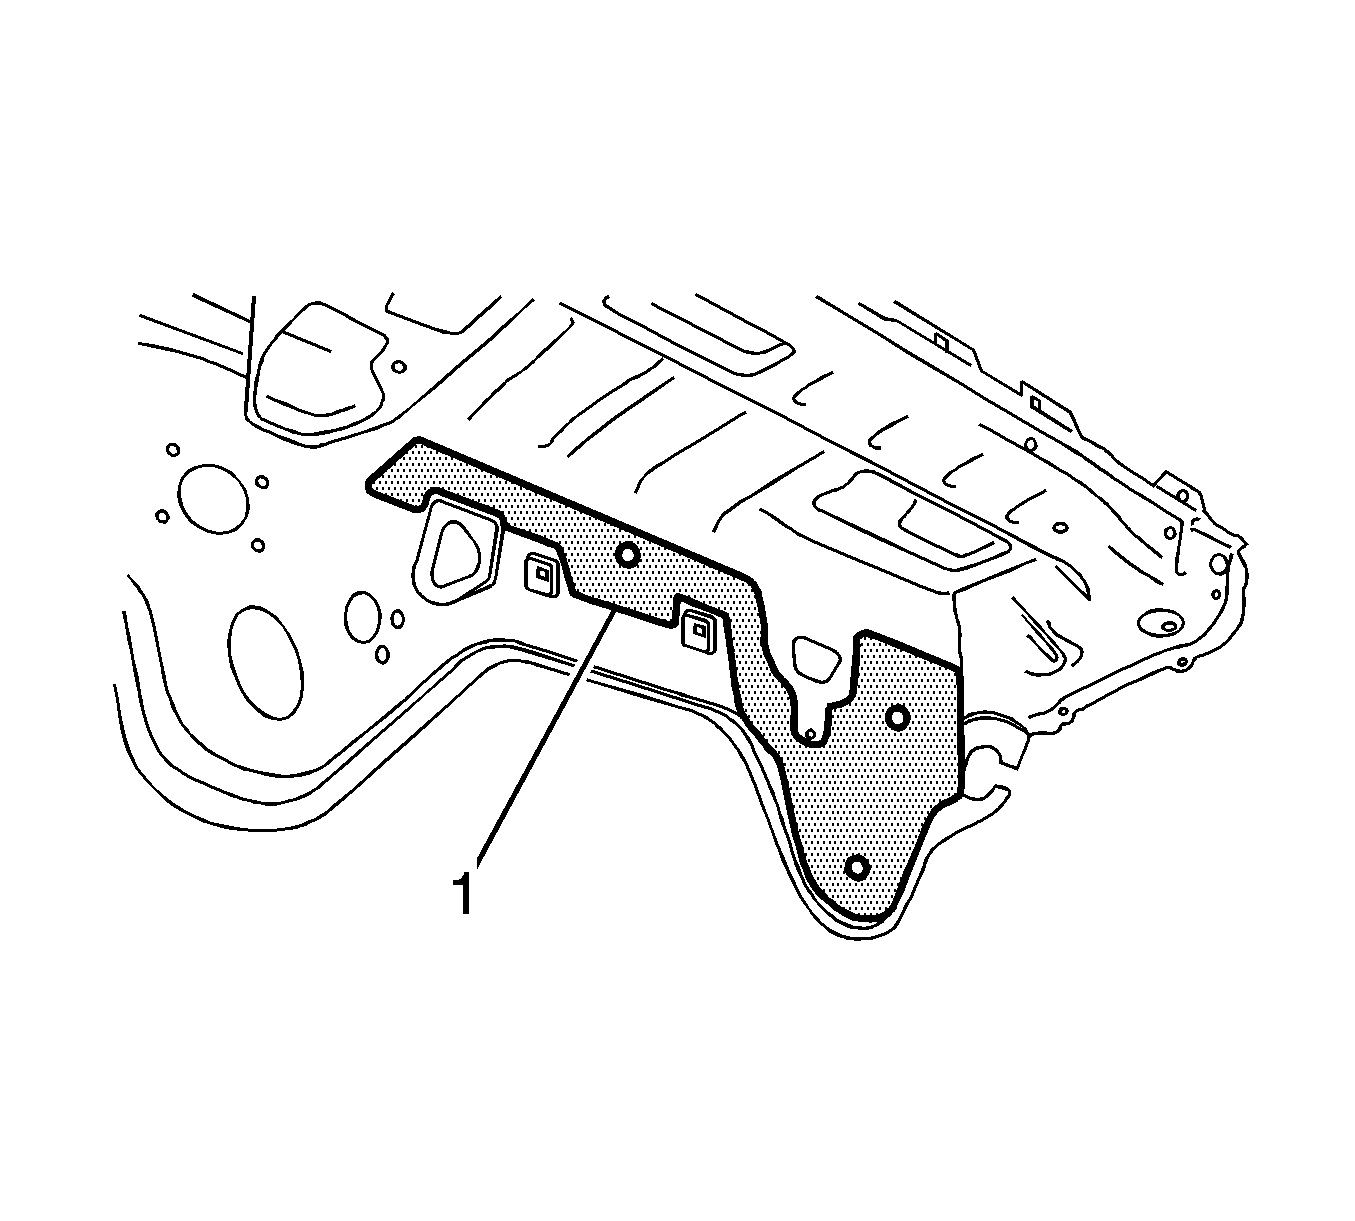
- The dash panel lower deadener (1) cannot be transferred to the new dash panel; a new deadener will be required.
- Remove the 2 retainers (2) which secure the dash panel lower insulator inner and transfer the dash panel lower insulator inner (1) from the existing dash panel.
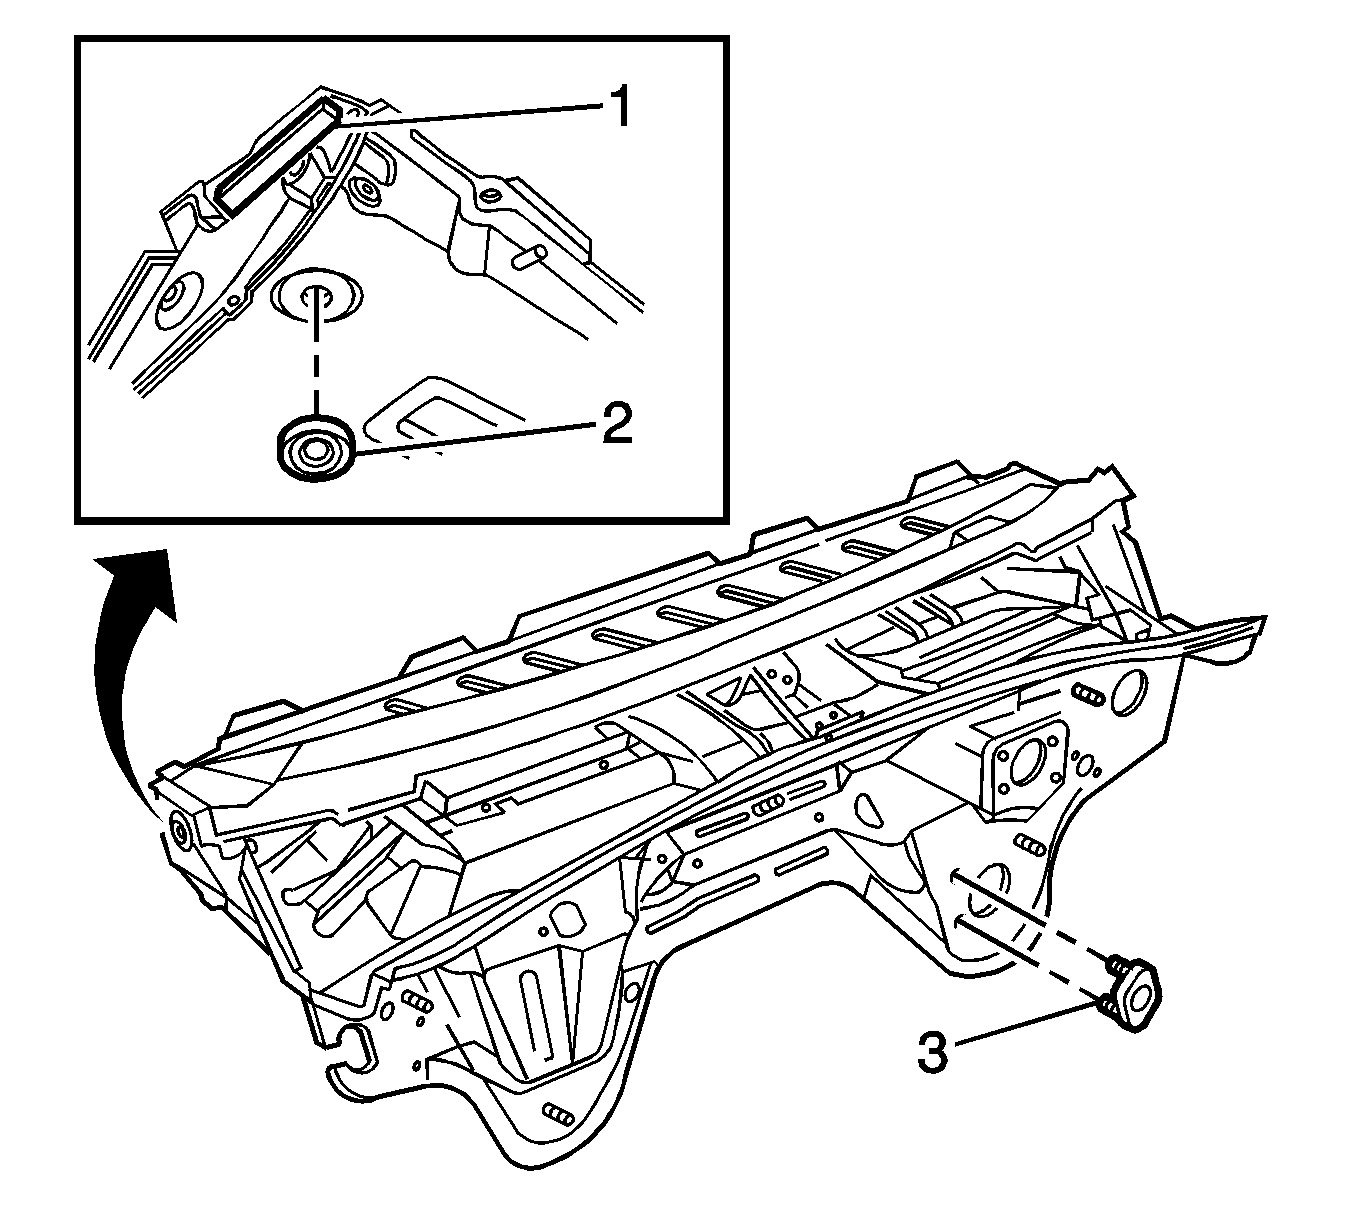
- Transfer the plug (3), if fitted, spacer (1) and plug (2).
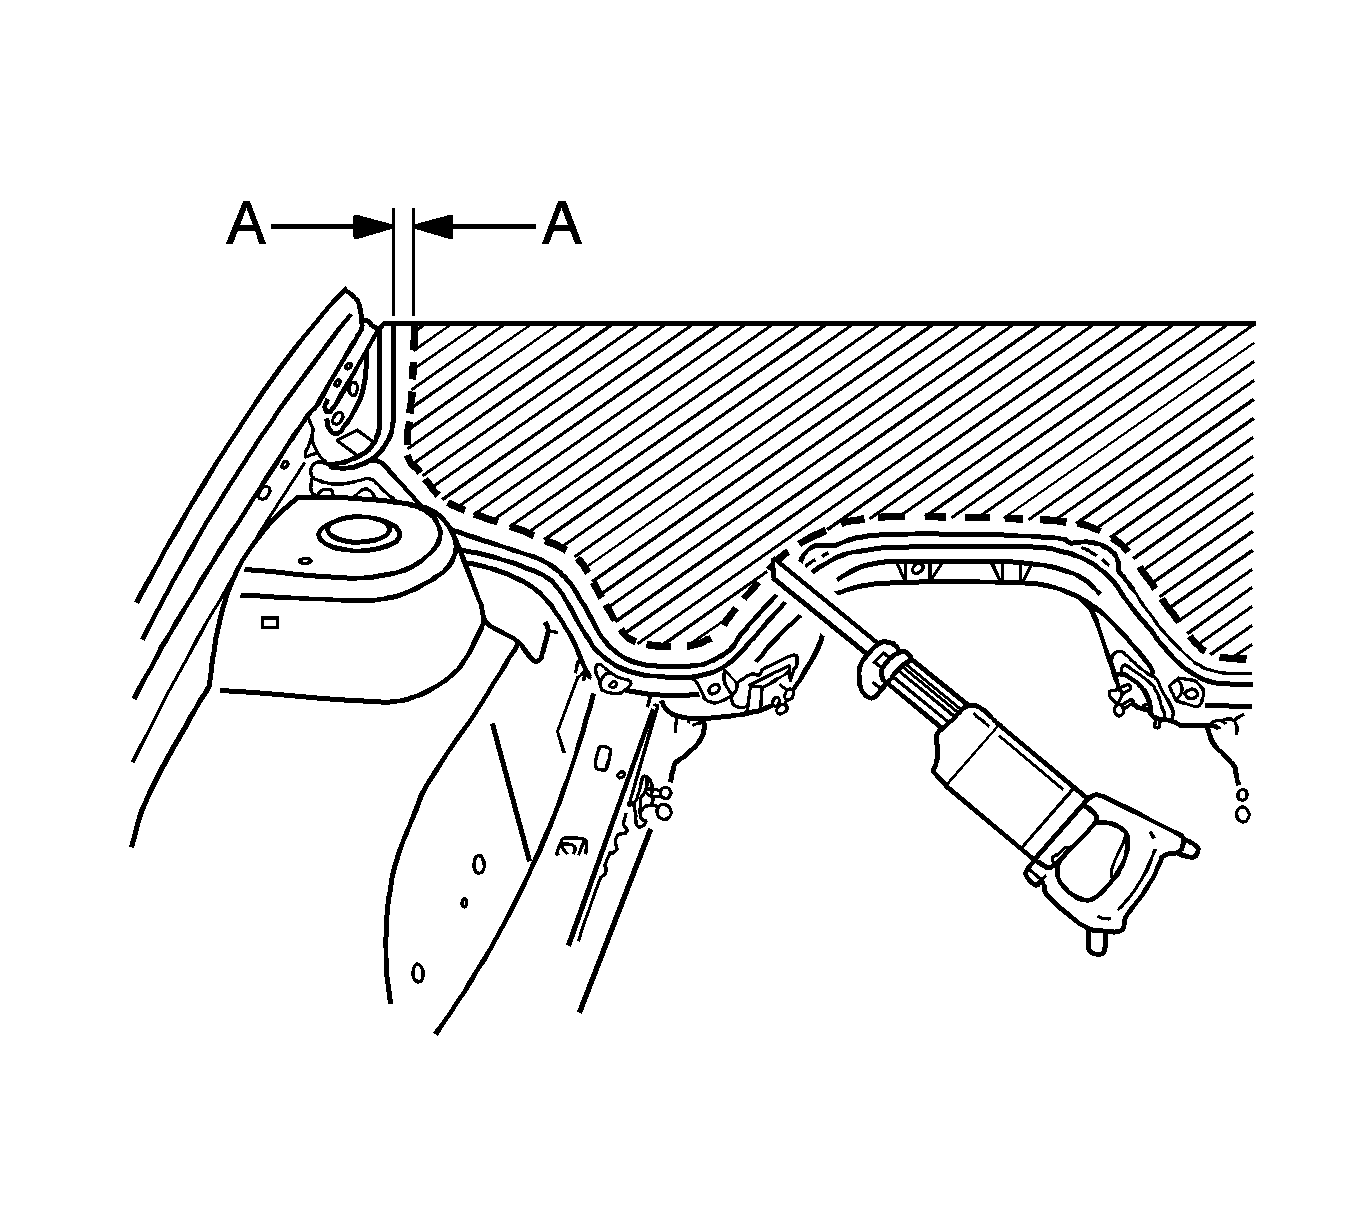
- Using a cutting tool, cut the dash panel assembly (A) approximately 50 mm (2 in) above the glue track.
- Remove the dash panel assembly section.
- Cut the section of remaining panel to enable removal of the main wiring harness.
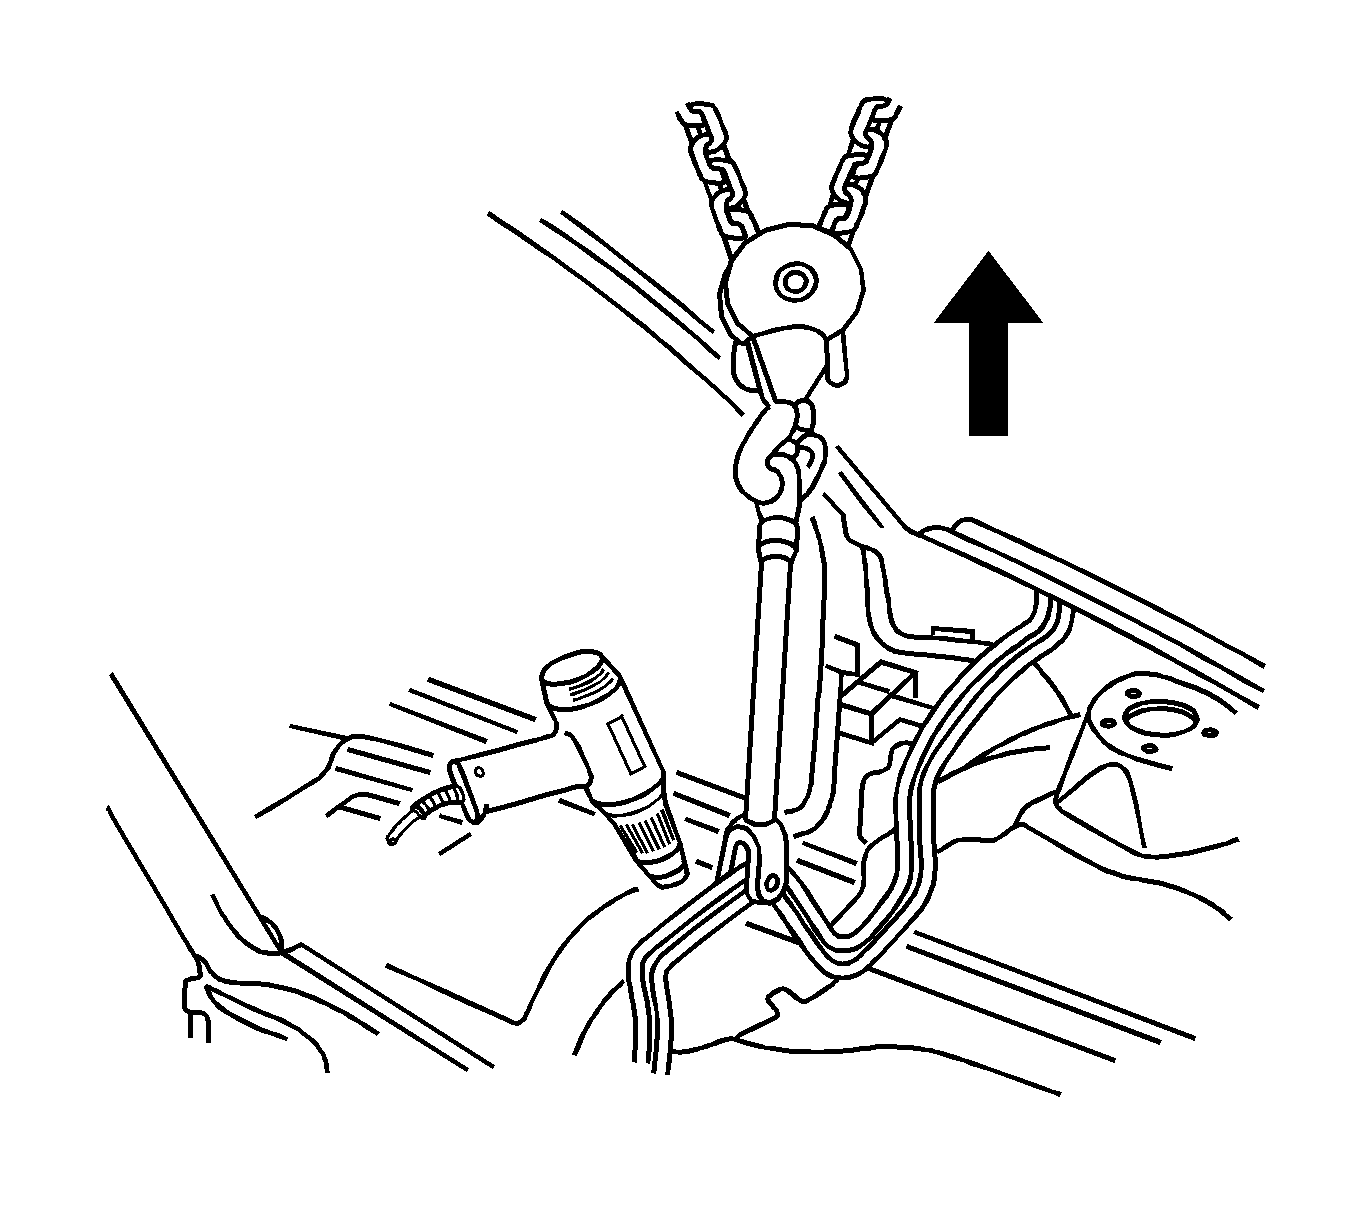
- Drill a hole in the flange above the transmission tunnel, and attach a chain block and a clevis.
- Apply and maintain a light tension to the remaining part of the dash panel assembly.
- Either cut the adhesive with a hot knife or heat the adhesive using a heat gun and pull the panel from the glue track.
- Clean the excess adhesive from the glue track using a hot knife or a heat gun.
Caution: Refer to Approved Equipment for Collision Repair Caution in the Preface section.
Important: Before beginning the repair, refer to Metal Panel Bonding in Collision Repair for proper adhesive applicator preparations and general information.
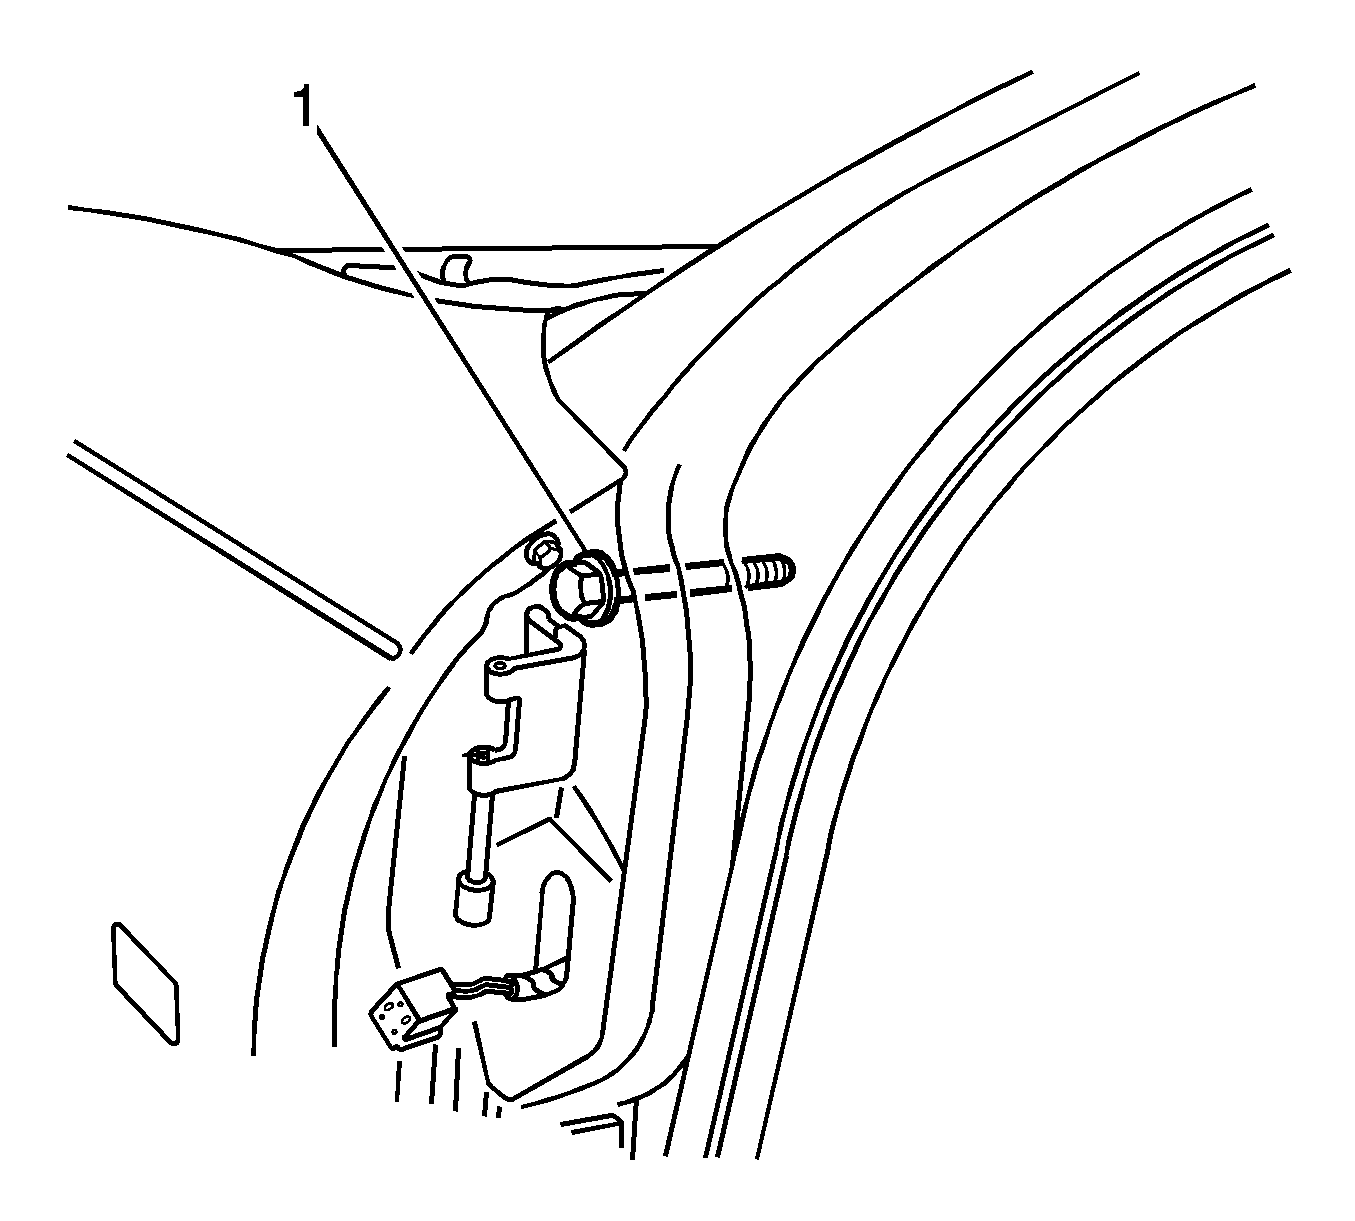
Important: The dash panel bolts (1) must be replaced when performing this procedure.
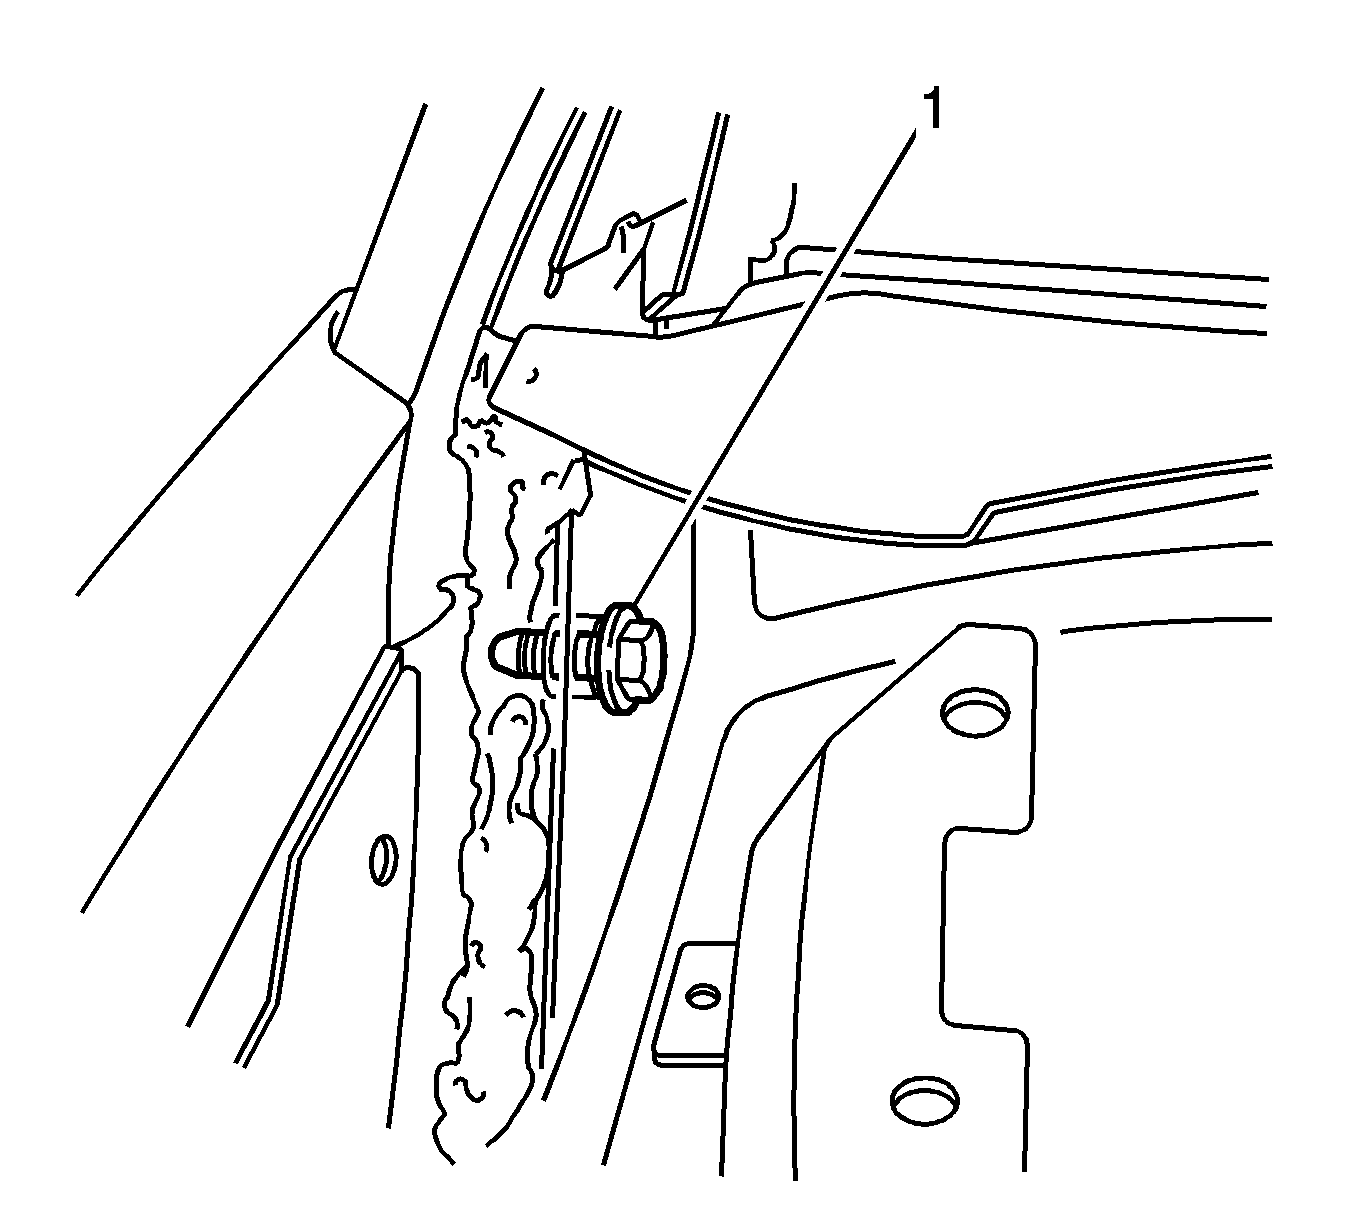
Important: The dash panel screws (1) must be replaced when performing this procedure.


Installation Procedure
- The vehicle should be painted before installation of the dash panel assembly. Refer to Basecoat/Clearcoat Paint Systems in Paint/Coatings.
- Temporarily install the new dash panel assembly prior to applying the adhesive to check for correct fit.
- Prepare all mating surfaces as necessary.
- Apply metal panel bonding adhesive GM P/N 12378566/7 (Canadian P/N 88901674/5), or equivalent, to the glue track from the lowest points to prevent air bubbles forming in the adhesive. Completely fill the channel in a continuous bead.
- Apply a patch of metal panel bonding adhesive GM P/N 12378566/7 (Canadian P/N 88901674/5), or equivalent, approximately 50 mm (2 in) diameter to the base of the windshield pillar.
- Hold the dash panel assembly in position slightly above the glue track.
- With the aid of an assistant, pass the main wiring harness (3) through the opening in the dash panel.
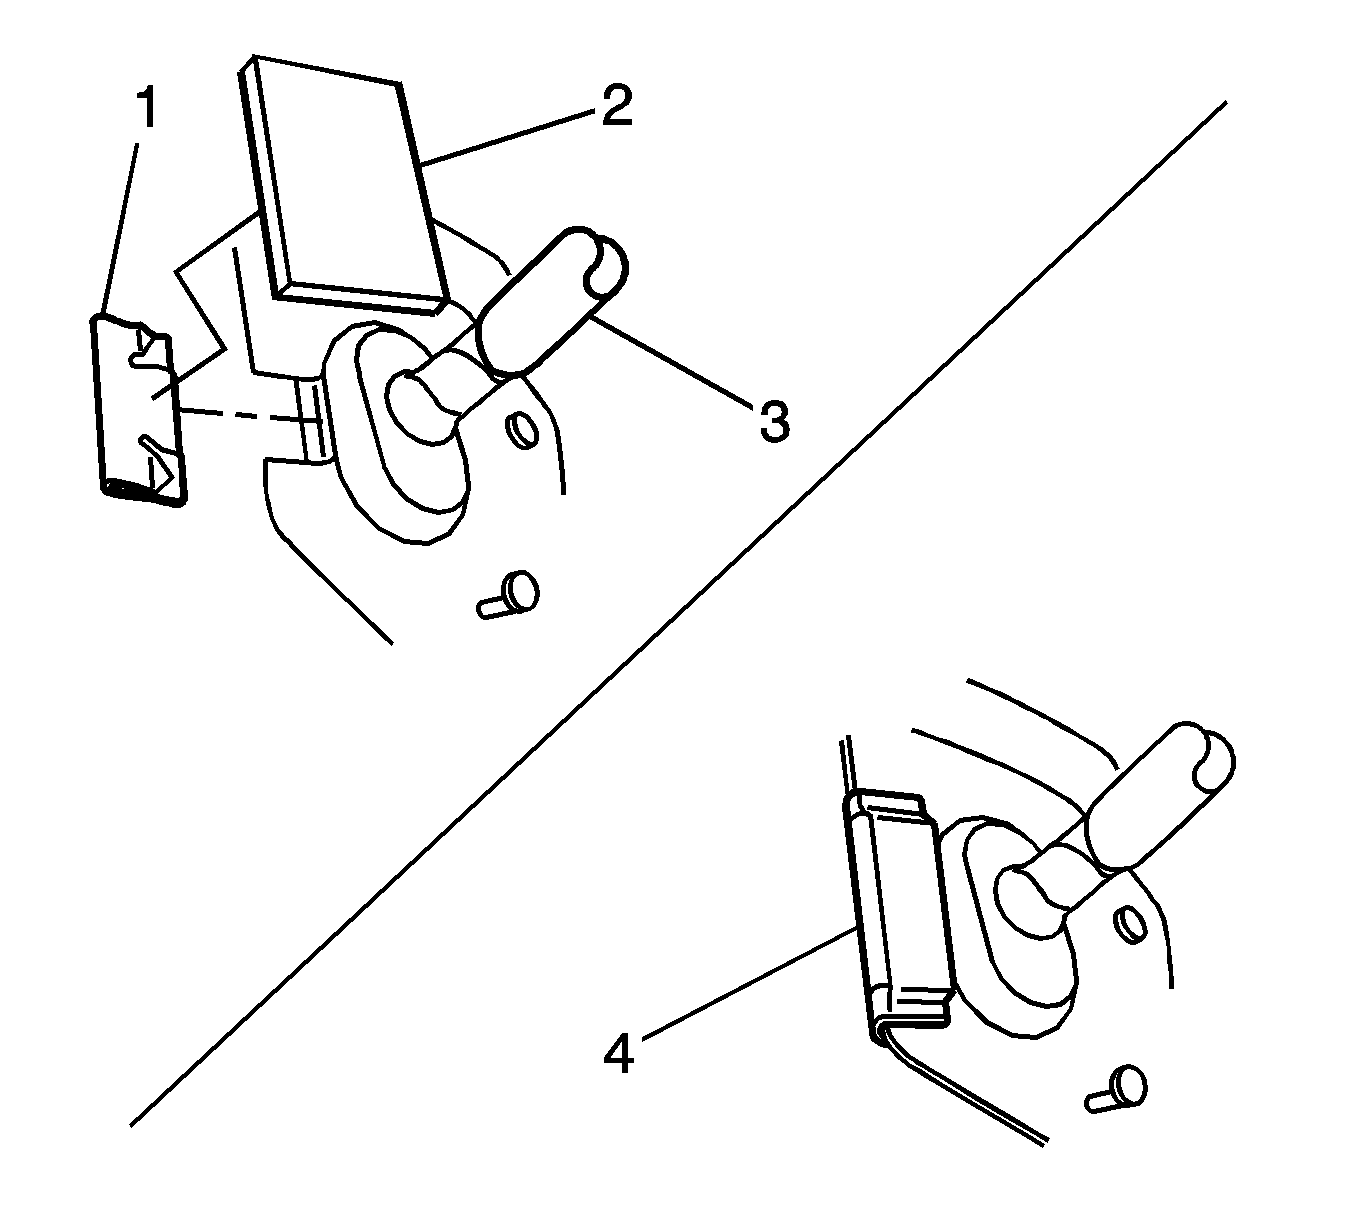
- Install the dash panel outer opening cover (1) onto the dash panel assembly.
- Affix the dash panel side insulator (3) over the cover and fold over the back of the panel as shown (4).
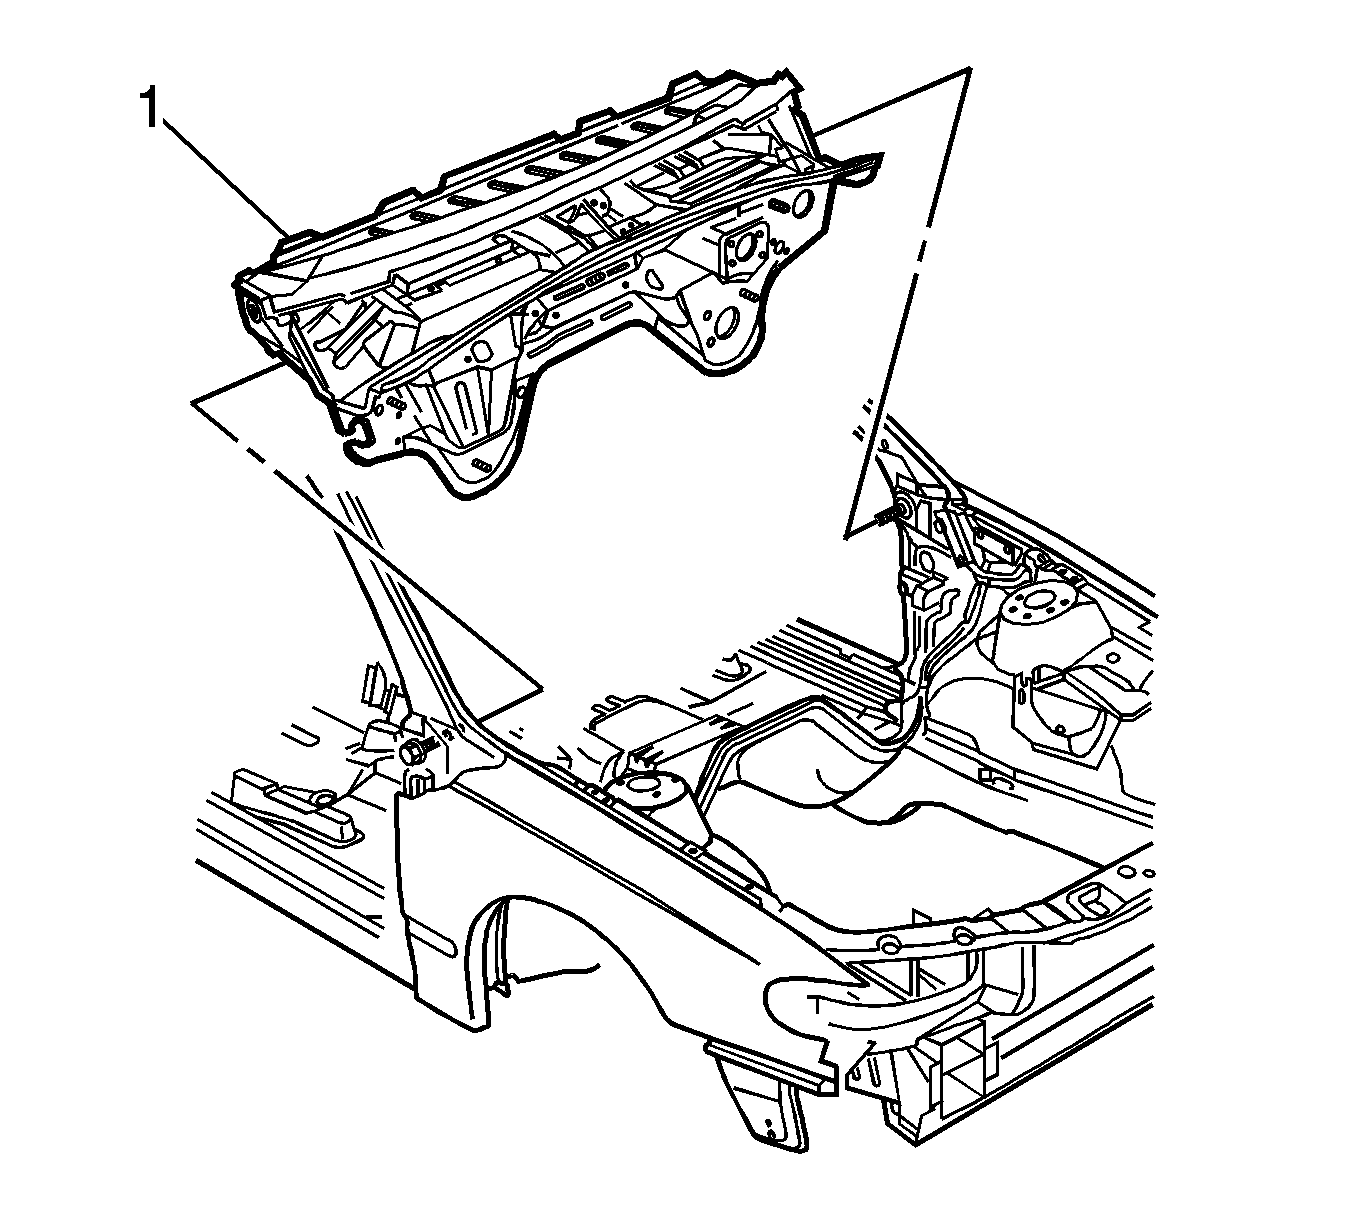
- Lower the dash panel assembly (1), ensuring the flange seats correctly in the glue track.
- Push the panel firmly into the glue track channel until the mounting bolt holes align.
- Install 2 new dash panel bolts (1) through the hinge pillar and hand tighten.
- Install 2 new screws (1) to the plenum chamber and hand tighten.
- Inspect the flanges to make sure they are correctly seated.
- Continue to tighten the plenum chamber screws.
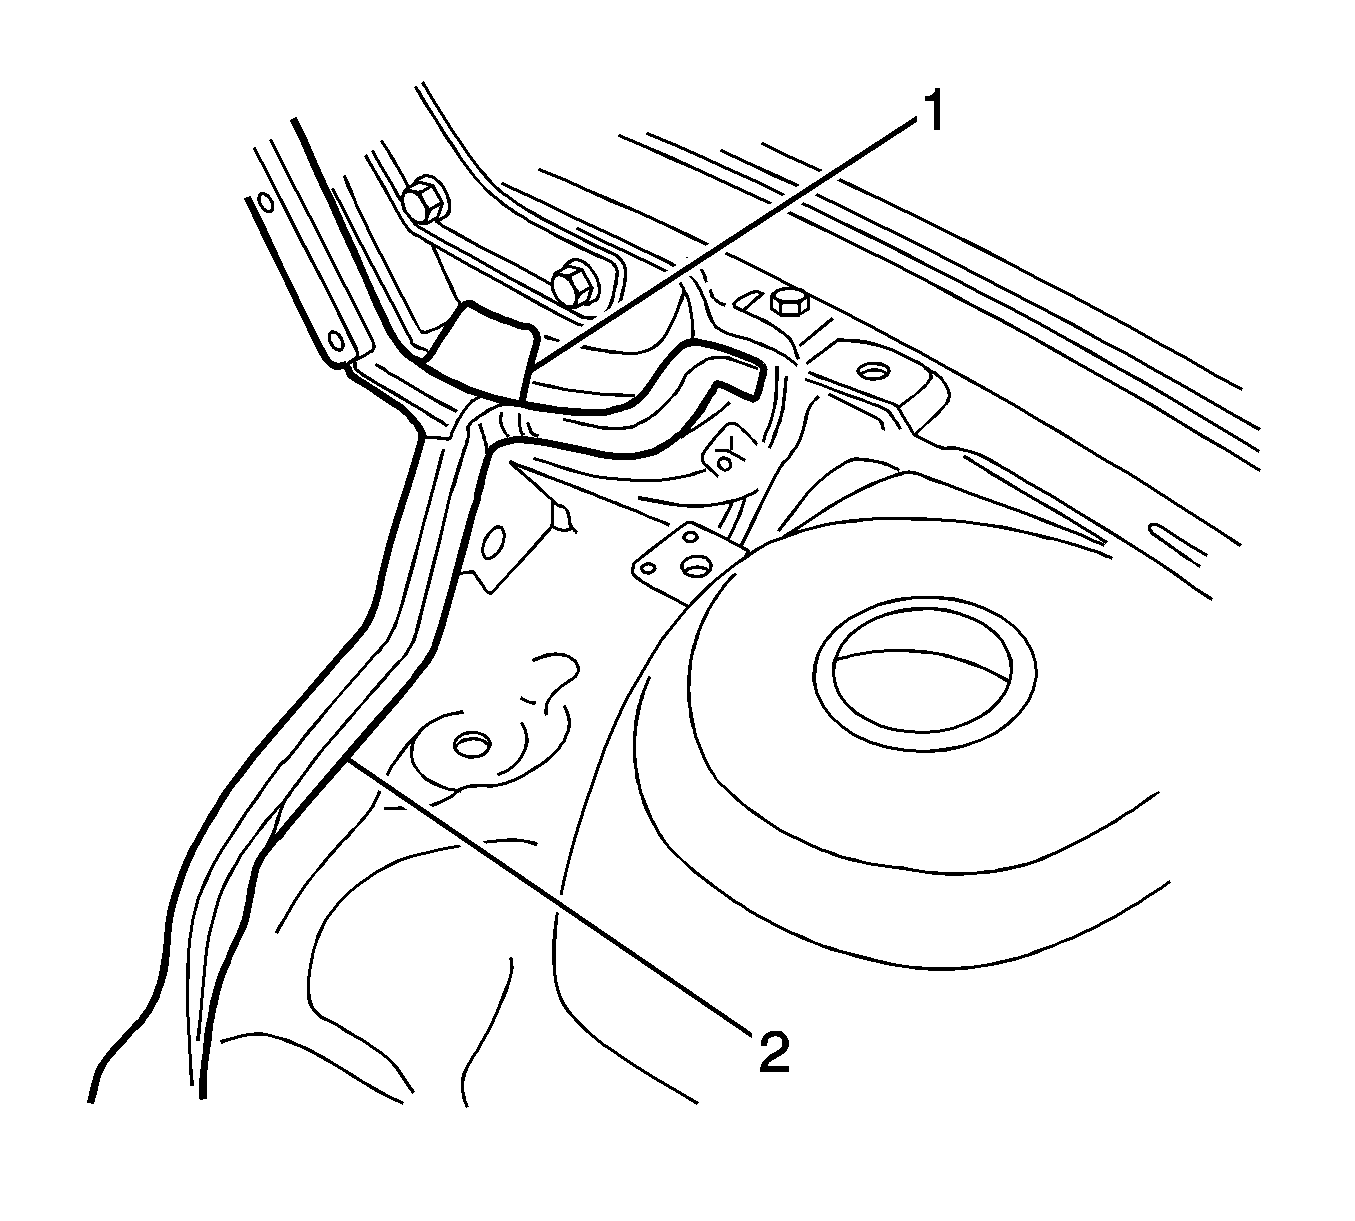
- Wipe any excess adhesive from the plenum drain hole (1), each side, and the glue track areas (2).
- Apply the sealers and anti-corrosion materials to the repair area, as necessary. Refer to Anti-Corrosion Treatment and Repair in Paint/Coatings.
- Paint the repaired area. Refer to Basecoat/Clearcoat Paint Systems in Paint/Coatings.
- Install the body earth ground strap (1) and the 2 screws (2).
- Install all of the related panels and components.
- Connect the negative battery cable. Refer to Battery Negative Cable Disconnection and Connection in Engine Electrical.
- Enable the SIR system. Refer to SIR Disabling and Enabling in SIR.
Important:
| • | The service part comes as an assembly that includes the plenum lower panel. If the repair does not require the plenum, remove the plenum before you install the dash panel. |
| • | Before painting the vehicle, apply masking tape to prevent paint entering the glue track. |
Important: The vehicle surface should be finished and the paint fully dry before installation.
Important:
| • | Installation is best performed with the aid of an assistant. |
| • | The adhesive has a 40-50 minute working time. Do not allow the dash panel to totally cure off the vehicle, as proper alignment of the dash panel to the vehicle will be difficult. |
Important: Check to ensure that the section around the main wiring harness hole is correctly installed.


Notice: Refer to Fastener Notice in the Preface section.
Tighten
Tighten the dash panel bolts to 40 N·m
(30 lb ft).
Tighten
Tighten the plenum chamber screws to 25 N·m
(18 lb ft).

Tighten
Tighten the ground strap screws to 3 N·m
(27 lb in).
