For 1990-2009 cars only
Removal Procedure
- Siphon as much fuel as possible from the fuel tank, refer to Fuel Tank Draining .
- Remove the rear compartment support brace to gain access to the fuel tank. Support Brace Replacement - Rear Compartment in Body Rear End.
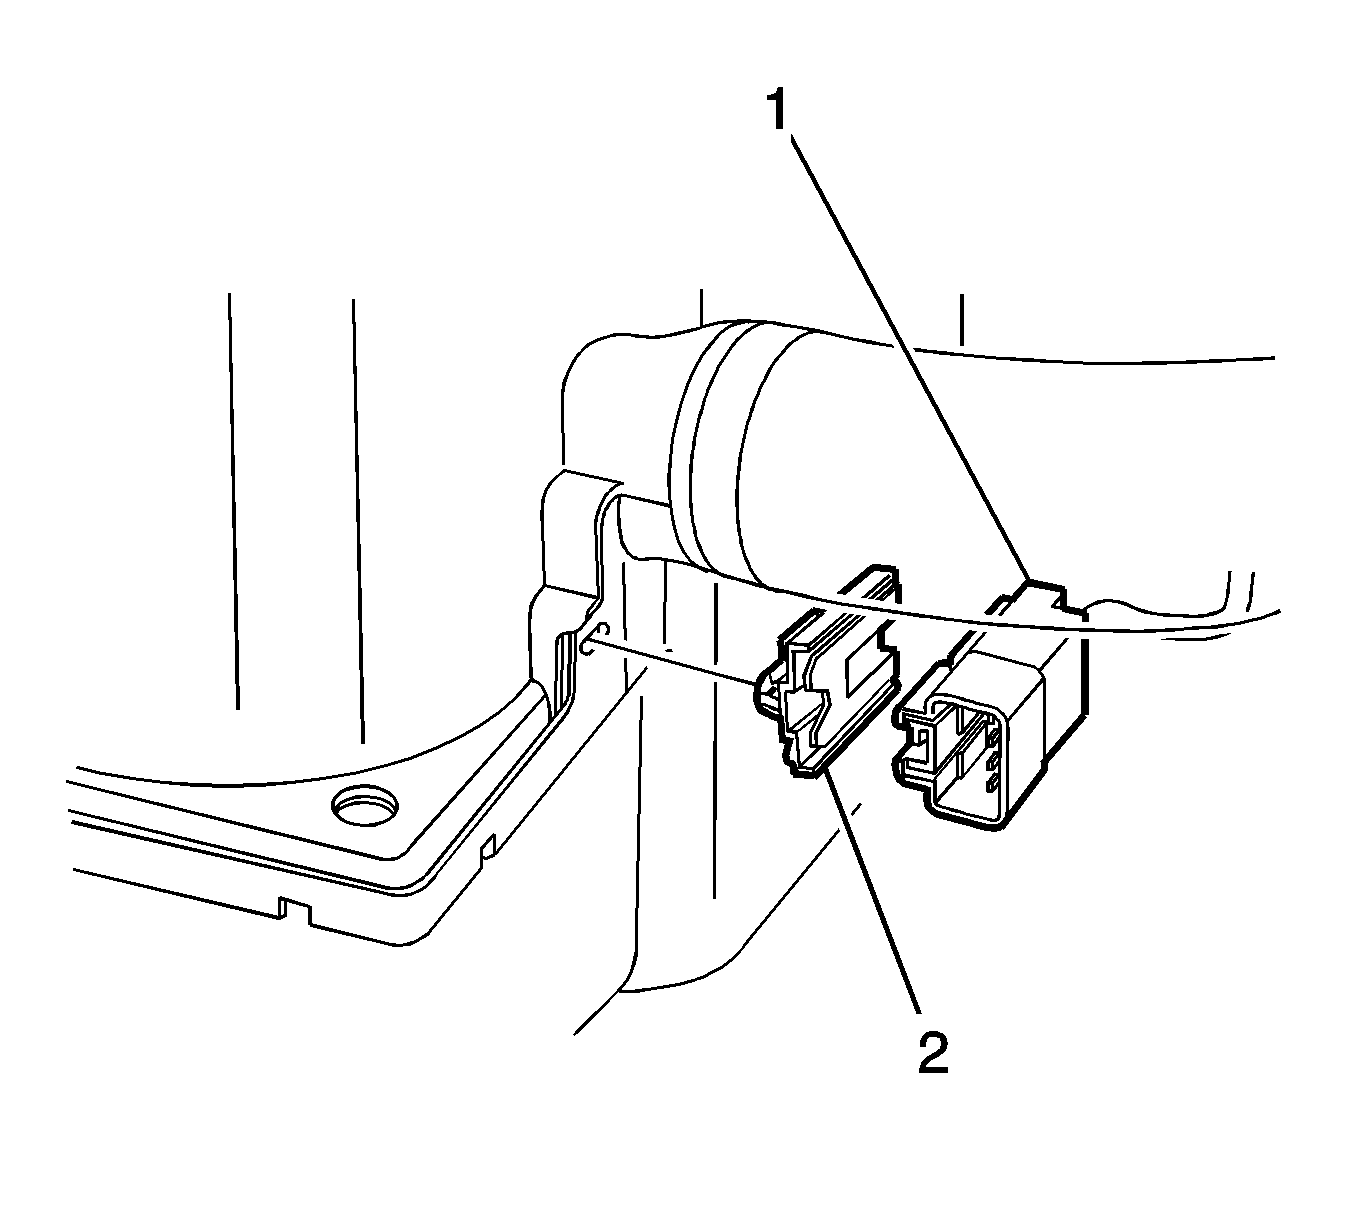
- Disconnect the body wiring harness to fuel tank harness electrical connector (1).
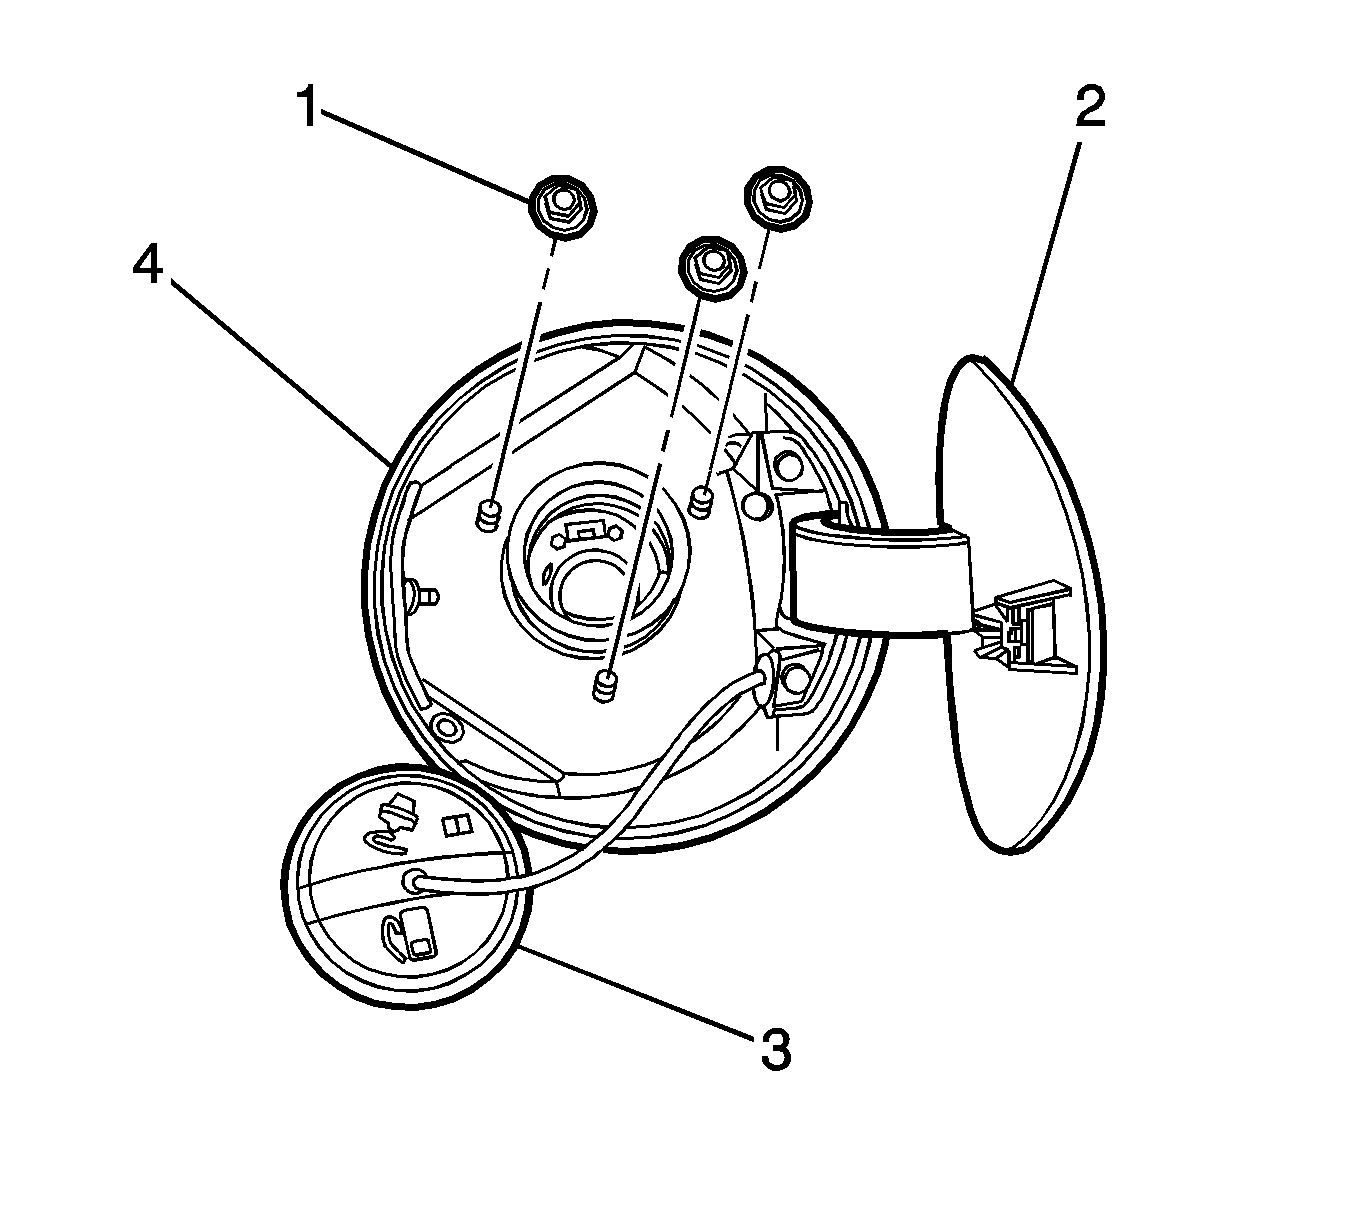
- From behind the fuel filler door (2) unscrew the fuel filler cap (3) and cover the end of the fuel filler neck with a suitable material to prevent foreign objects from entering.
- Remove the 3 nuts (1) securing the fuel filler neck to the filler pocket (4).
- Raise the vehicle. Refer to Lifting and Jacking the Vehicle in General Information.
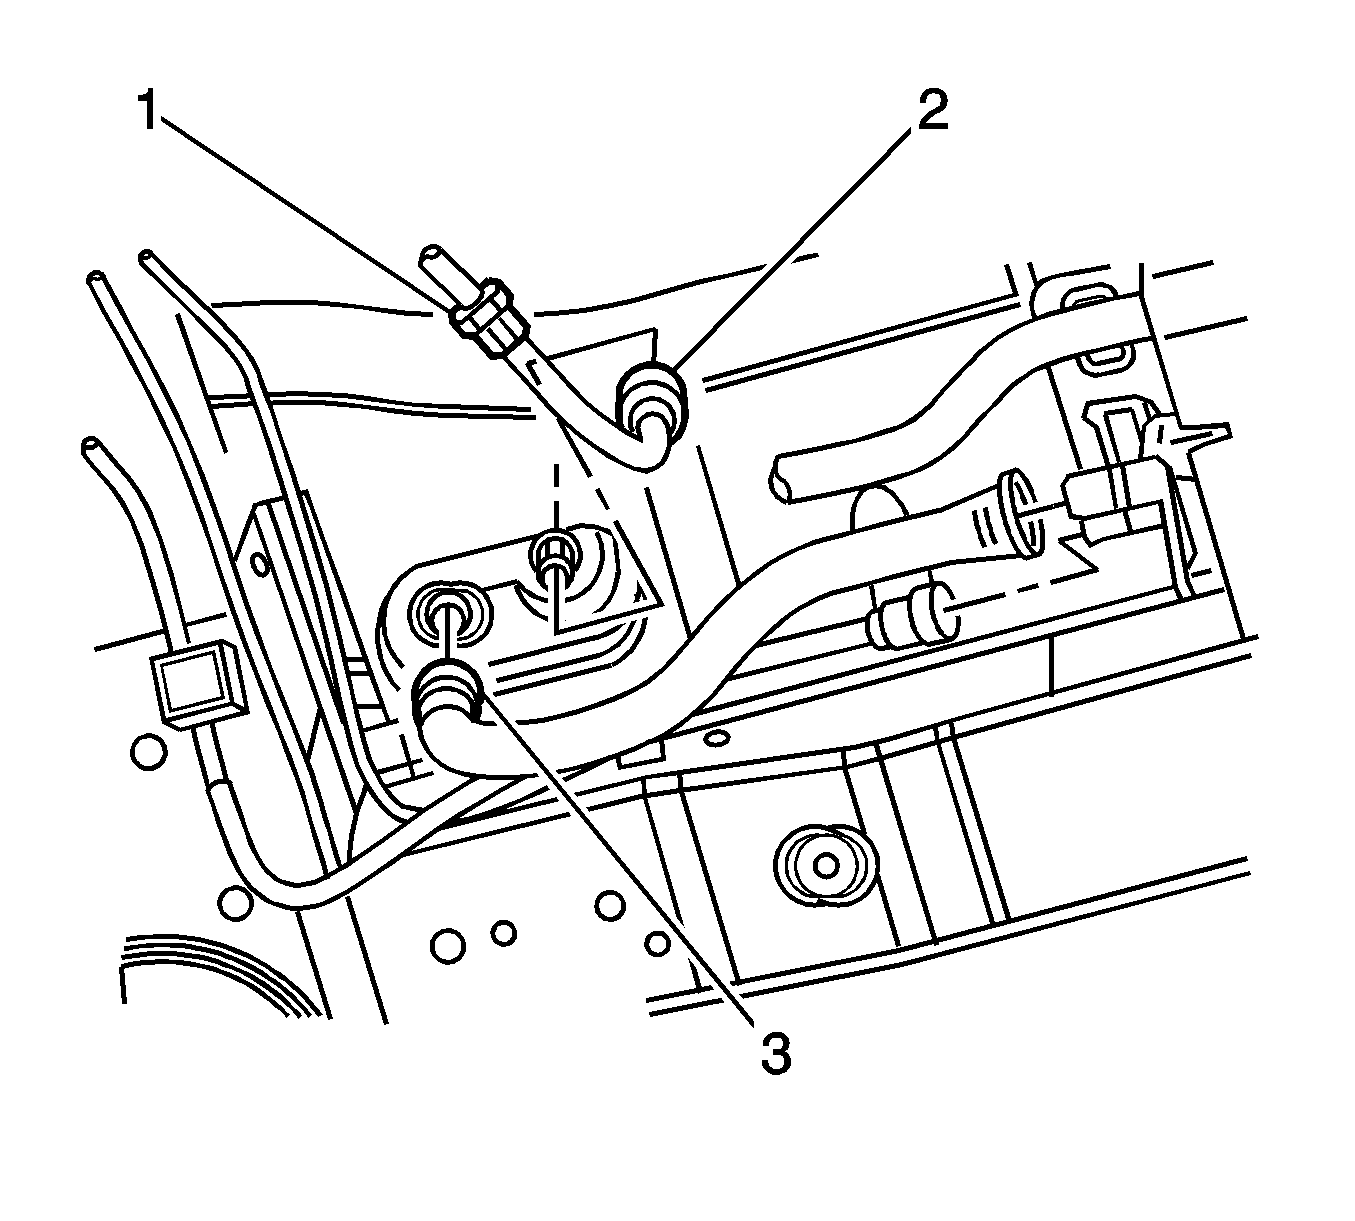
- Disconnect the fuel feed line quick connect fitting (1), refer to Metal Collar Quick Connect Fitting Service .
- Disconnect the fuel tank to fuel feed line quick connect fitting (2). Refer to Metal Collar Quick Connect Fitting Service , and place the feed line to one side.
- Remove the fuel tank vent line quick connect fitting (2). Refer to Metal Collar Quick Connect Fitting Service .
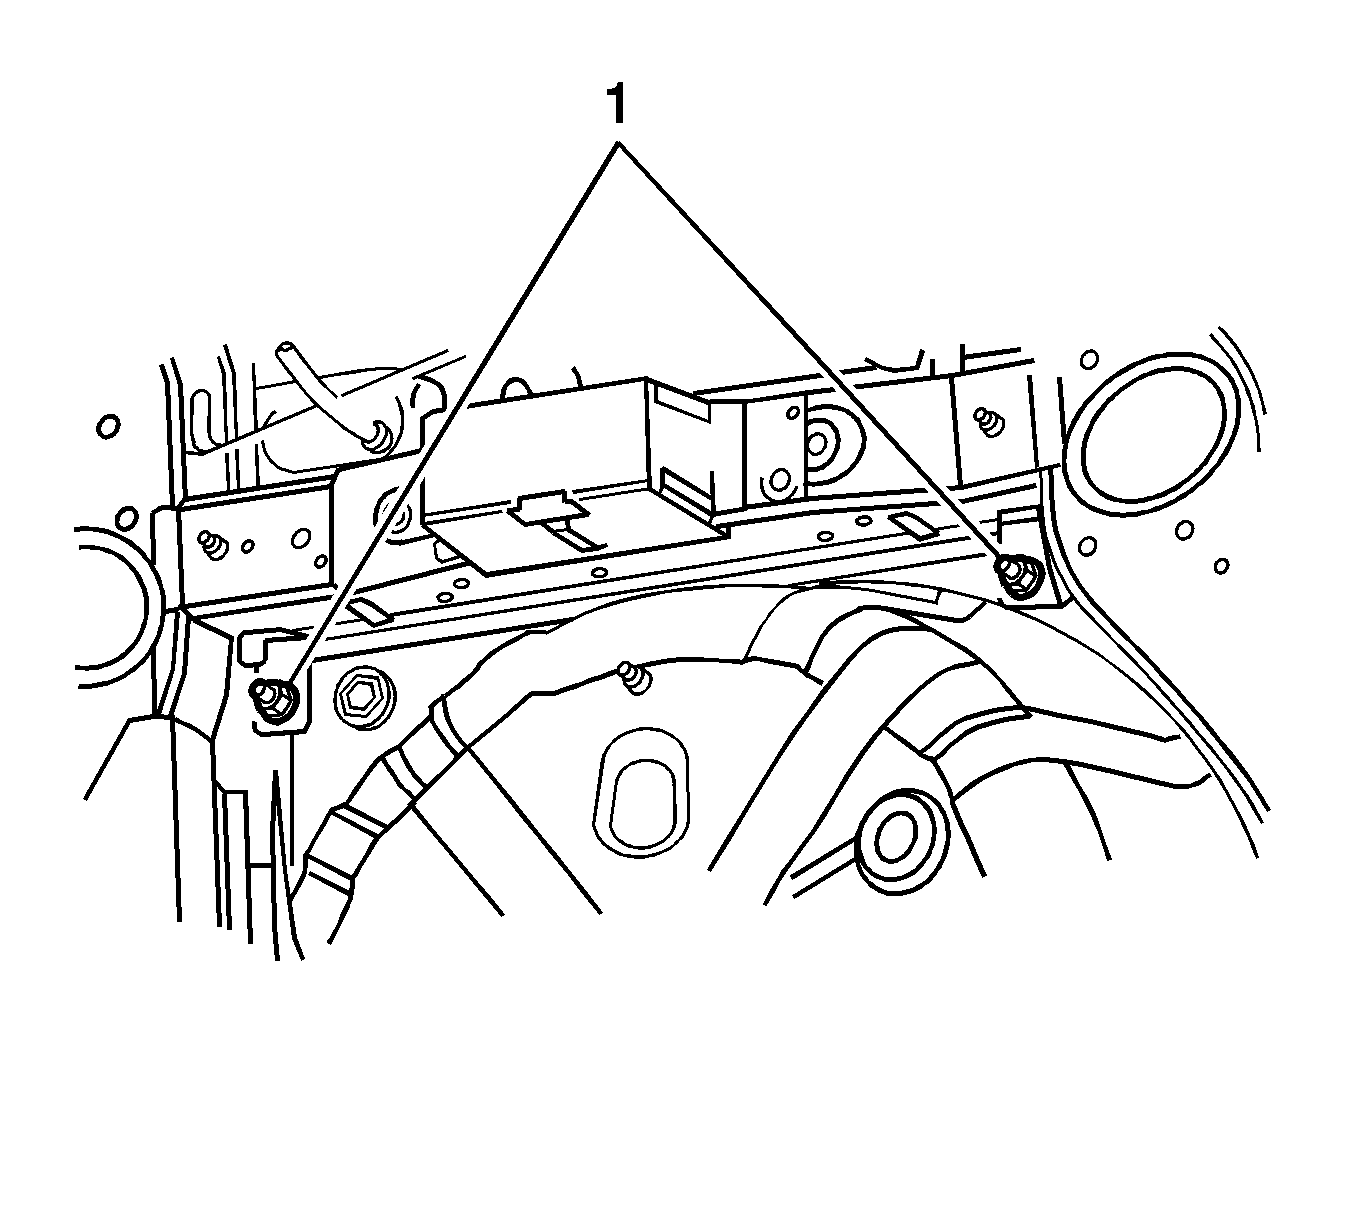
- Remove the lower fuel tank mounting strap nuts (1).
- Lower the vehicle and from within the rear compartment, remove the 2 fuel tank upper mounting strap nuts (1) and remove each of the mounting straps (3).
- If installed, cut and dispose of the shipping strap.
- With the assistance of another person, remove the fuel tank and filler neck assembly from the vehicle.
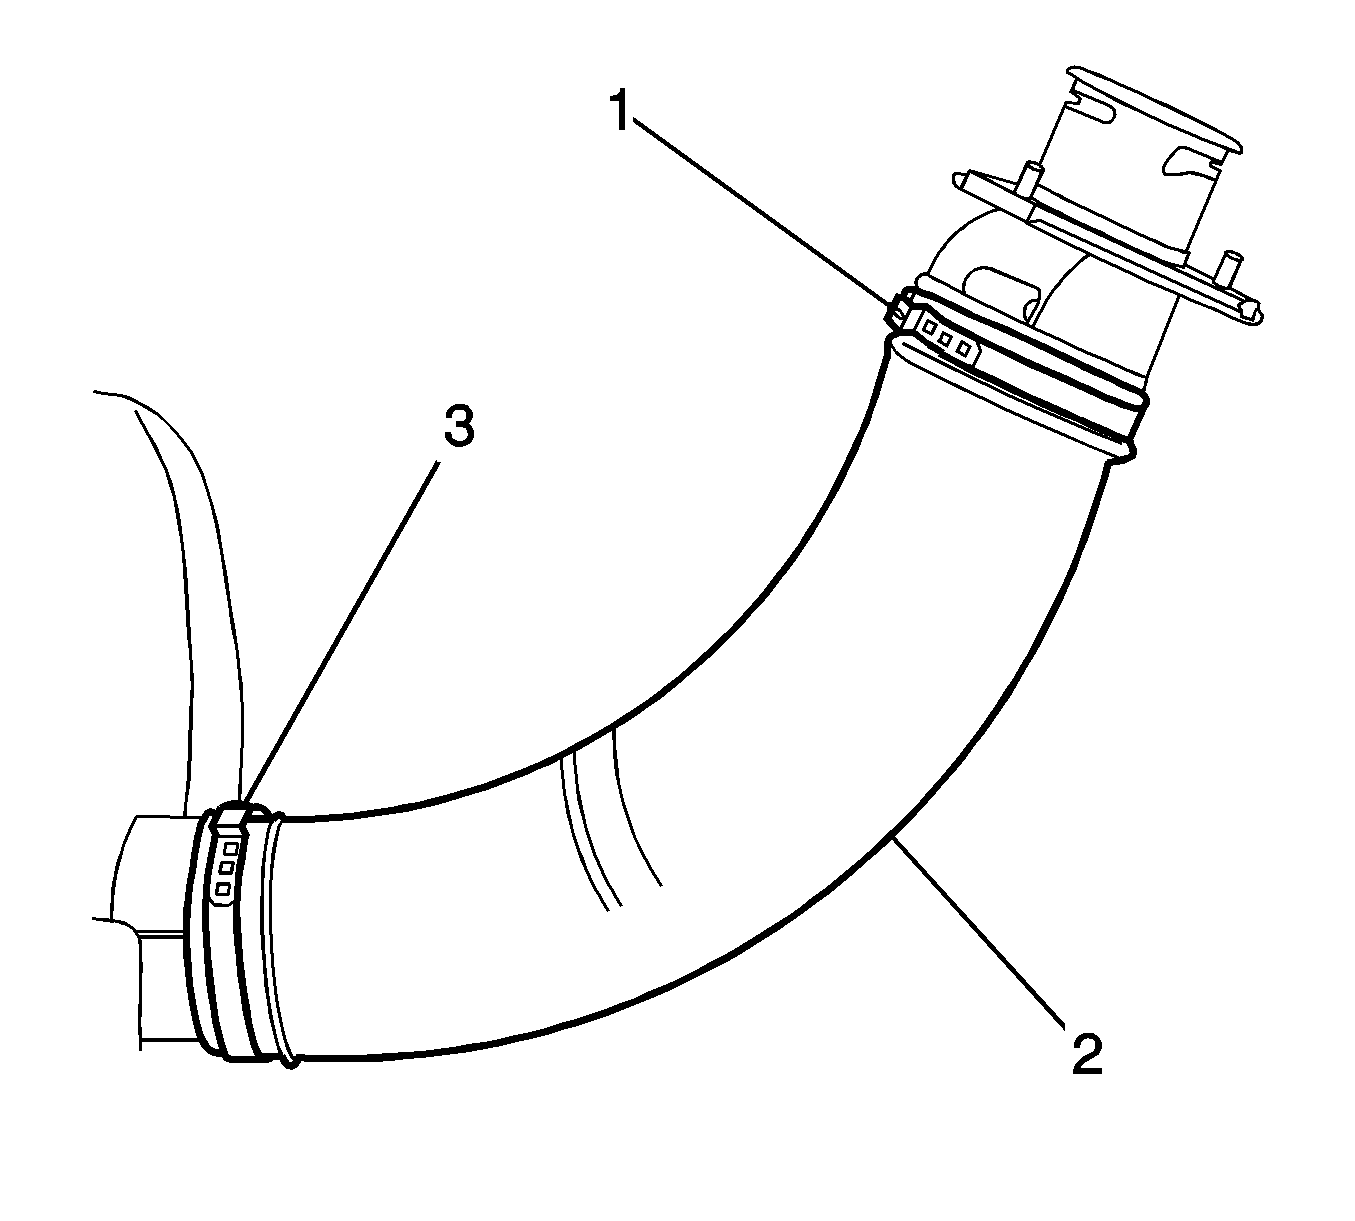
- Remove and discard the hose clamps (1 and 3) from the fill pipe (2).
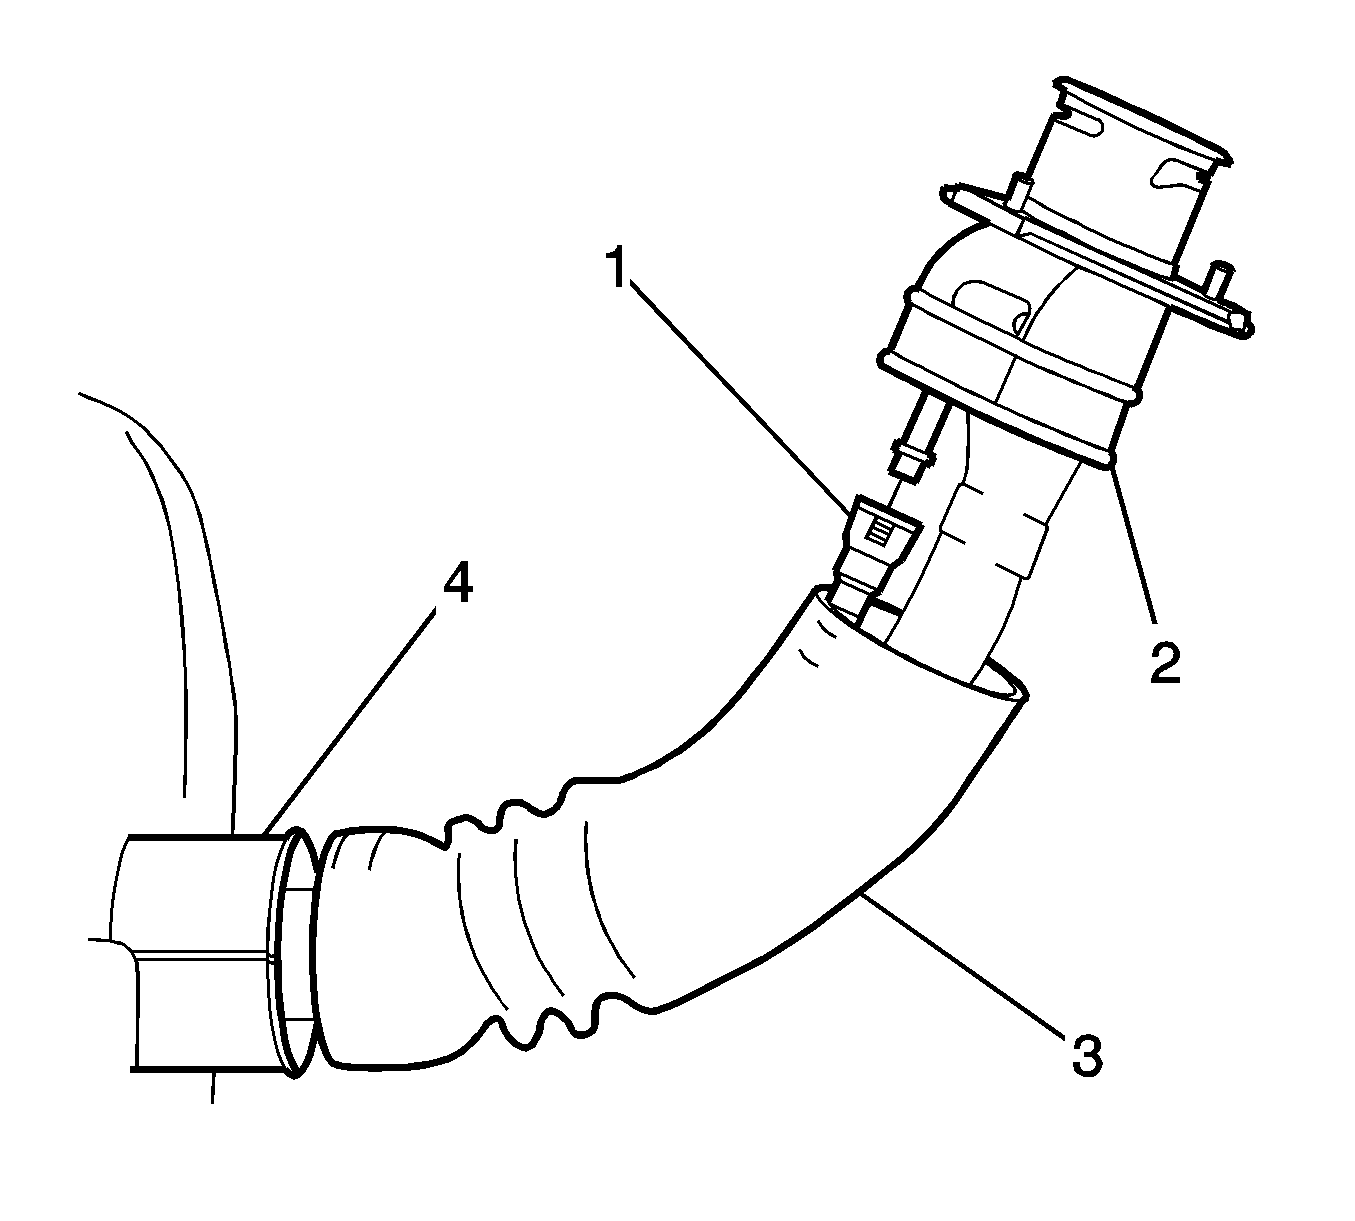
- Remove the santoprene hose (3) off from around the filler neck flange moulding and down along the fuel filler neck.
- Disconnect the fuel tank vapor recirculation line (1) quick connect fitting. Refer to Metal Collar Quick Connect Fitting Service .
- Remove the santoprene hose (3) off from around the fuel tank cover flange.
- Unclip the fuel tank to body wiring harness electrical connector from its mounting clip which connects onto the lower plastic fuel tank shell.
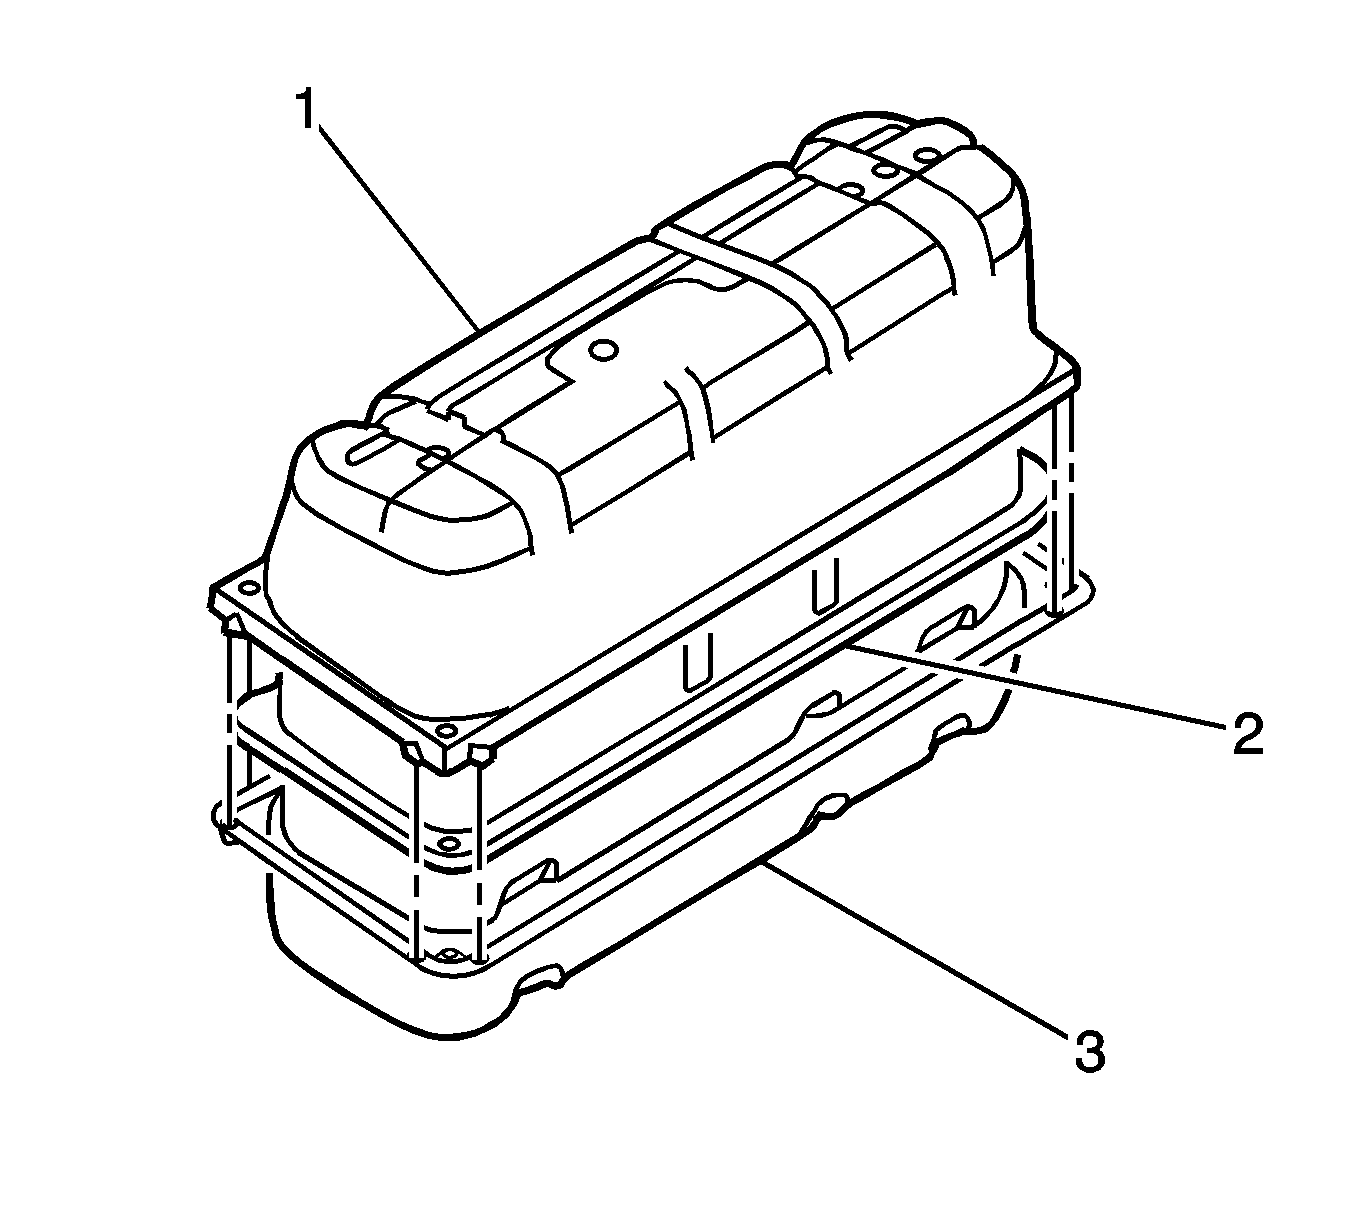
- Wedge a large flat blade screwdriver in between the side skirting of each of the upper and lower plastic fuel tank shells (1 and 3), and pull each of the 8 clipping points free to separate and remove the upper plastic fuel tank shell as indicated.
- Lift and remove the fuel tank (2) from the lower plastic fuel tank shell.
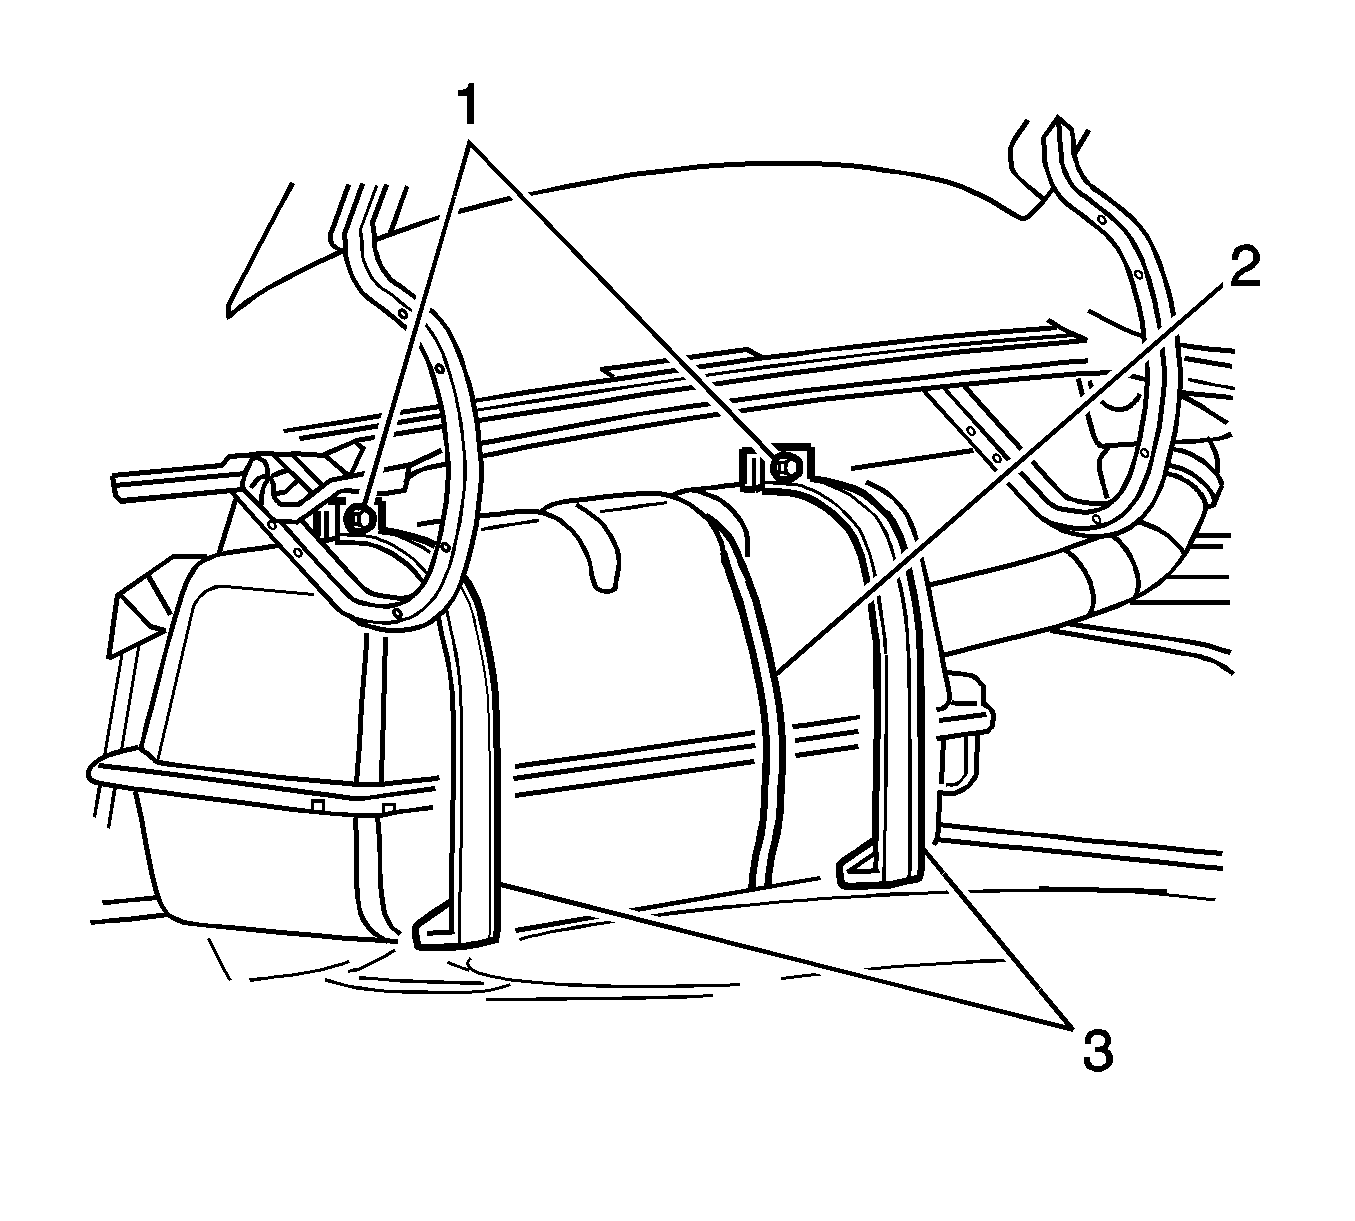
Important: The shipping strap is used for fuel tank shipping purposes only and does not require reinstallation.
Installation Procedure
- Lift and install the fuel tank (2) into the lower plastic fuel tank shell.
- Install the upper plastic fuel tank shell .
- Clip the fuel tank to body wiring harness electrical connector mounting clip, onto the lower plastic fuel tank shell.
- Install the santoprene hose (3) on and around the filler neck flange moulding and down along the fuel filler neck.
- Reconnect the fuel tank vapor recirculation line (1) quick connect fitting. Refer to Metal Collar Quick Connect Fitting Service .
- Install the santoprene hose (3) on and around the fuel tank cover flange.
- Install new hose clamps (1 and 3) to the fill pipe (2).
- With the assistance of another person, install the fuel tank and filler neck assembly to the vehicle.
- Install each of the mounting straps (3), and fasten with the 2 fuel tank upper mounting strap nuts (1) .
- Raise the vehicle. Refer to Lifting and Jacking the Vehicle in General Information.
- Install the lower fuel tank mounting strap nuts (1).
- Connect the fuel feed line quick connect fitting (1).
- Connect the fuel tank to fuel feed line quick connect fitting (2). Refer to Metal Collar Quick Connect Fitting Service .
- Install the fuel tank vent line quick connect fitting (2). Refer to Metal Collar Quick Connect Fitting Service .
- Lower the vehicle.
- Install the 3 nuts (1) securing the fuel filler neck to the filler pocket (4).
- Install the fuel filler cap (3).
- Connect the body wiring harness to fuel tank harness electrical connector (1).
- Install the rear compartment support brace to gain access to the fuel tank. Refer to Support Brace Replacement - Rear Compartment in Body Rear End.
- Refill the fuel tank and check for leaks.


Notice: Refer to Fastener Notice in the Preface section.

Tighten
Tighten the fuel tank mounting strap upper fastening
nut to 20 N·m (15 lb ft).

Tighten
Tighten the fuel tank mounting strap lower fastening
nut to 40 N·m (30 lb ft).


Tighten
Tighten the fuel filler neck to filler pocket fastening
nut to 5 N·m (44 lb in).

