For 1990-2009 cars only
Removal Procedure
- Raise and support the vehicle. Refer to Lifting and Jacking the Vehicle.
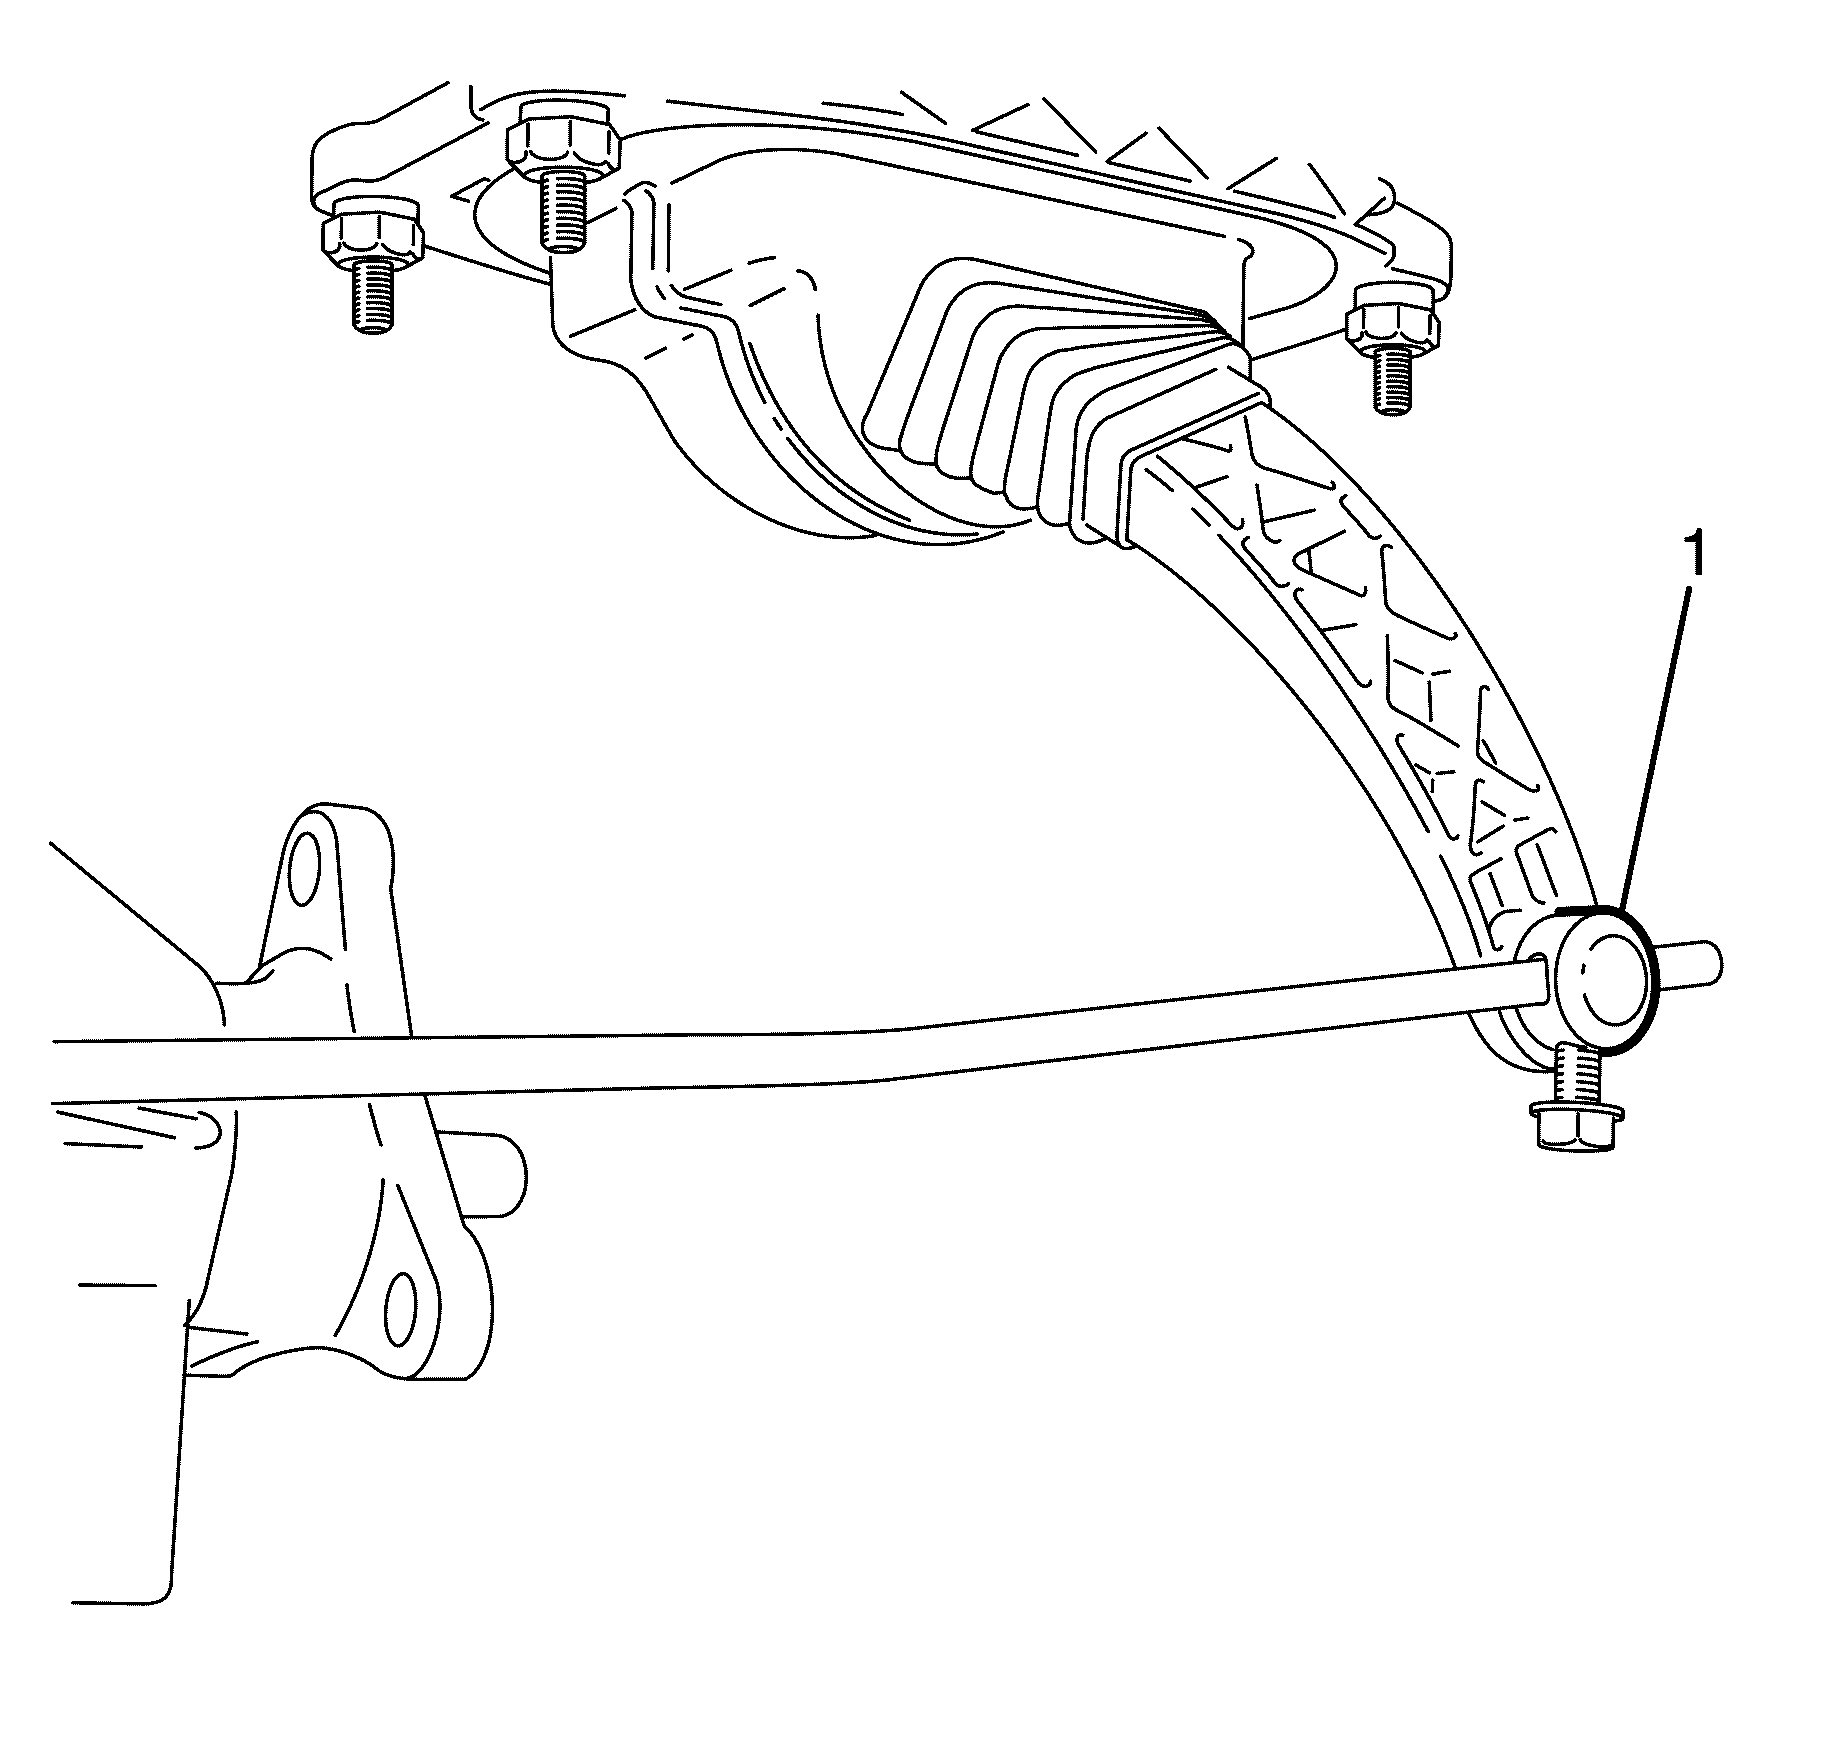
- Remove the adjustment nut (1) from the shift control linkage.
- Disconnect the shift control linkage rod from the shift control assembly.
- Lower the vehicle.
- Remove the center console assembly. Refer to Front Floor Console Replacement.
- Remove the electrical connector (1) from the shift control assembly.
- Remove the nuts (2) securing the shift control assembly to the tunnel reinforcement.
- Remove the shift control assembly (1) from the tunnel reinforcement.


Installation Procedure
- Install the shift control assembly (1) to the tunnel reinforcement.
- Install the nuts (2) securing the shift control assembly to the tunnel reinforcement and tighten to 12 N·m (106 lb. in).
- Install the electrical connector (1) to the shift control assembly.
- Install the centre console assembly. Refer to Front Floor Console Replacement.
- Install the shift control trim plate by inserting the front retaining tabs to the console. Press down on the rear of the trim plate to engage the rear retaining tabs.
- Raise and support the vehicle. Refer to Lifting and Jacking the Vehicle.
- Connect the shift control linkage rod to the shift control assembly.
- Install the shift control linkage adjustment nut finger tight.
- Adjust the shift control linkage. Refer to Shift Control Linkage Adjustment.
- Lower the vehicle.

Caution: Refer to Fastener Caution in the Preface section.


