Tools Required
| • | E-308 Seal Remover. |
| • | DT-48727 Seal Installer. |
| • | 6613 Universal Pulley Holder OTC. |
Removal Procedure -- Pinion Flange
- A pre-fabricated tool will need to made prior to starting this procedure. Follow the steps below:
- Raise and support vehicle. Refer to Lifting and Jacking the Vehicle.
- Remove the intermediate exhaust assembly. Refer to Exhaust Crossover Pipe Replacement .
- Remove the rear tyre and wheel assemblies. Refer to Tire and Wheel Removal and Installation .
- Disconnect the propeller shaft and rubber coupling from the differential pinion flange. Refer to Propeller Shaft Replacement.
- Secure the propeller shaft with a wire to protect it from damage.
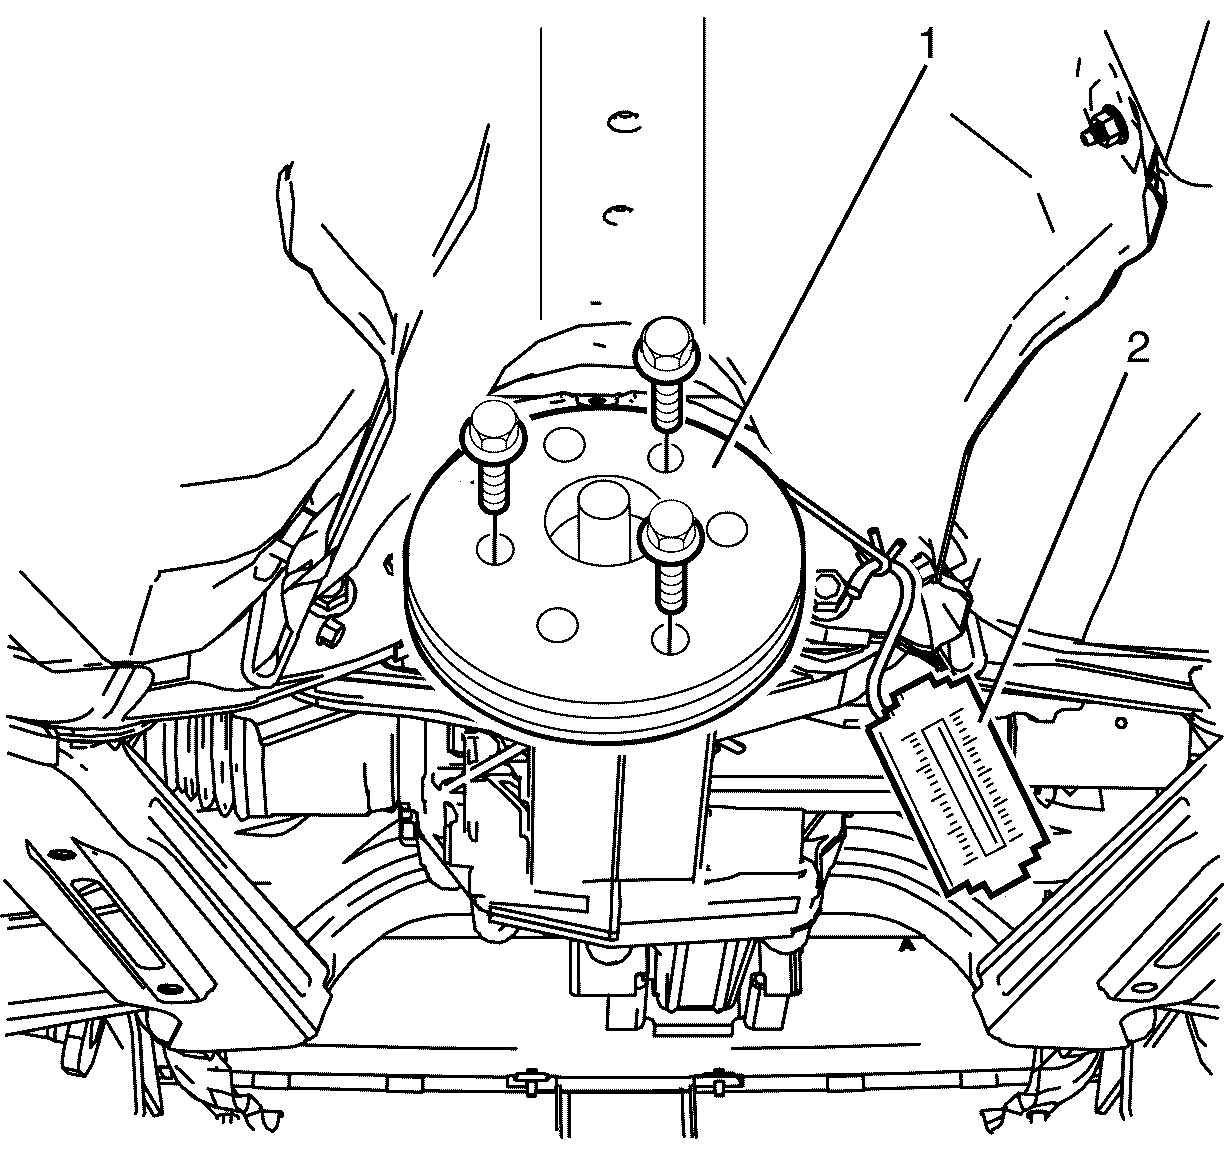
- Install the pre-fabricated tool (1) to the pinion flange.
- Attach the spring balance (2) to the string of the pre-fabricated tool (1).
- Pull the spring balance (2) and record the reading.
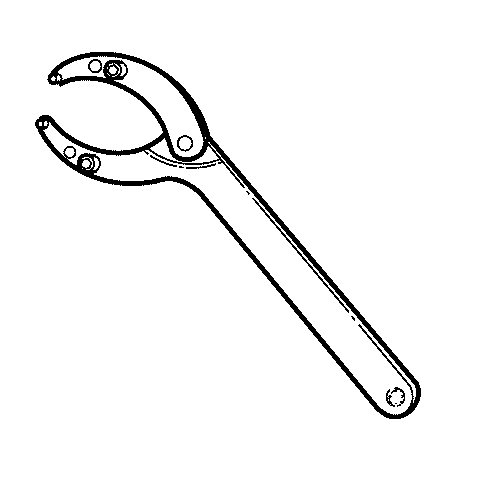
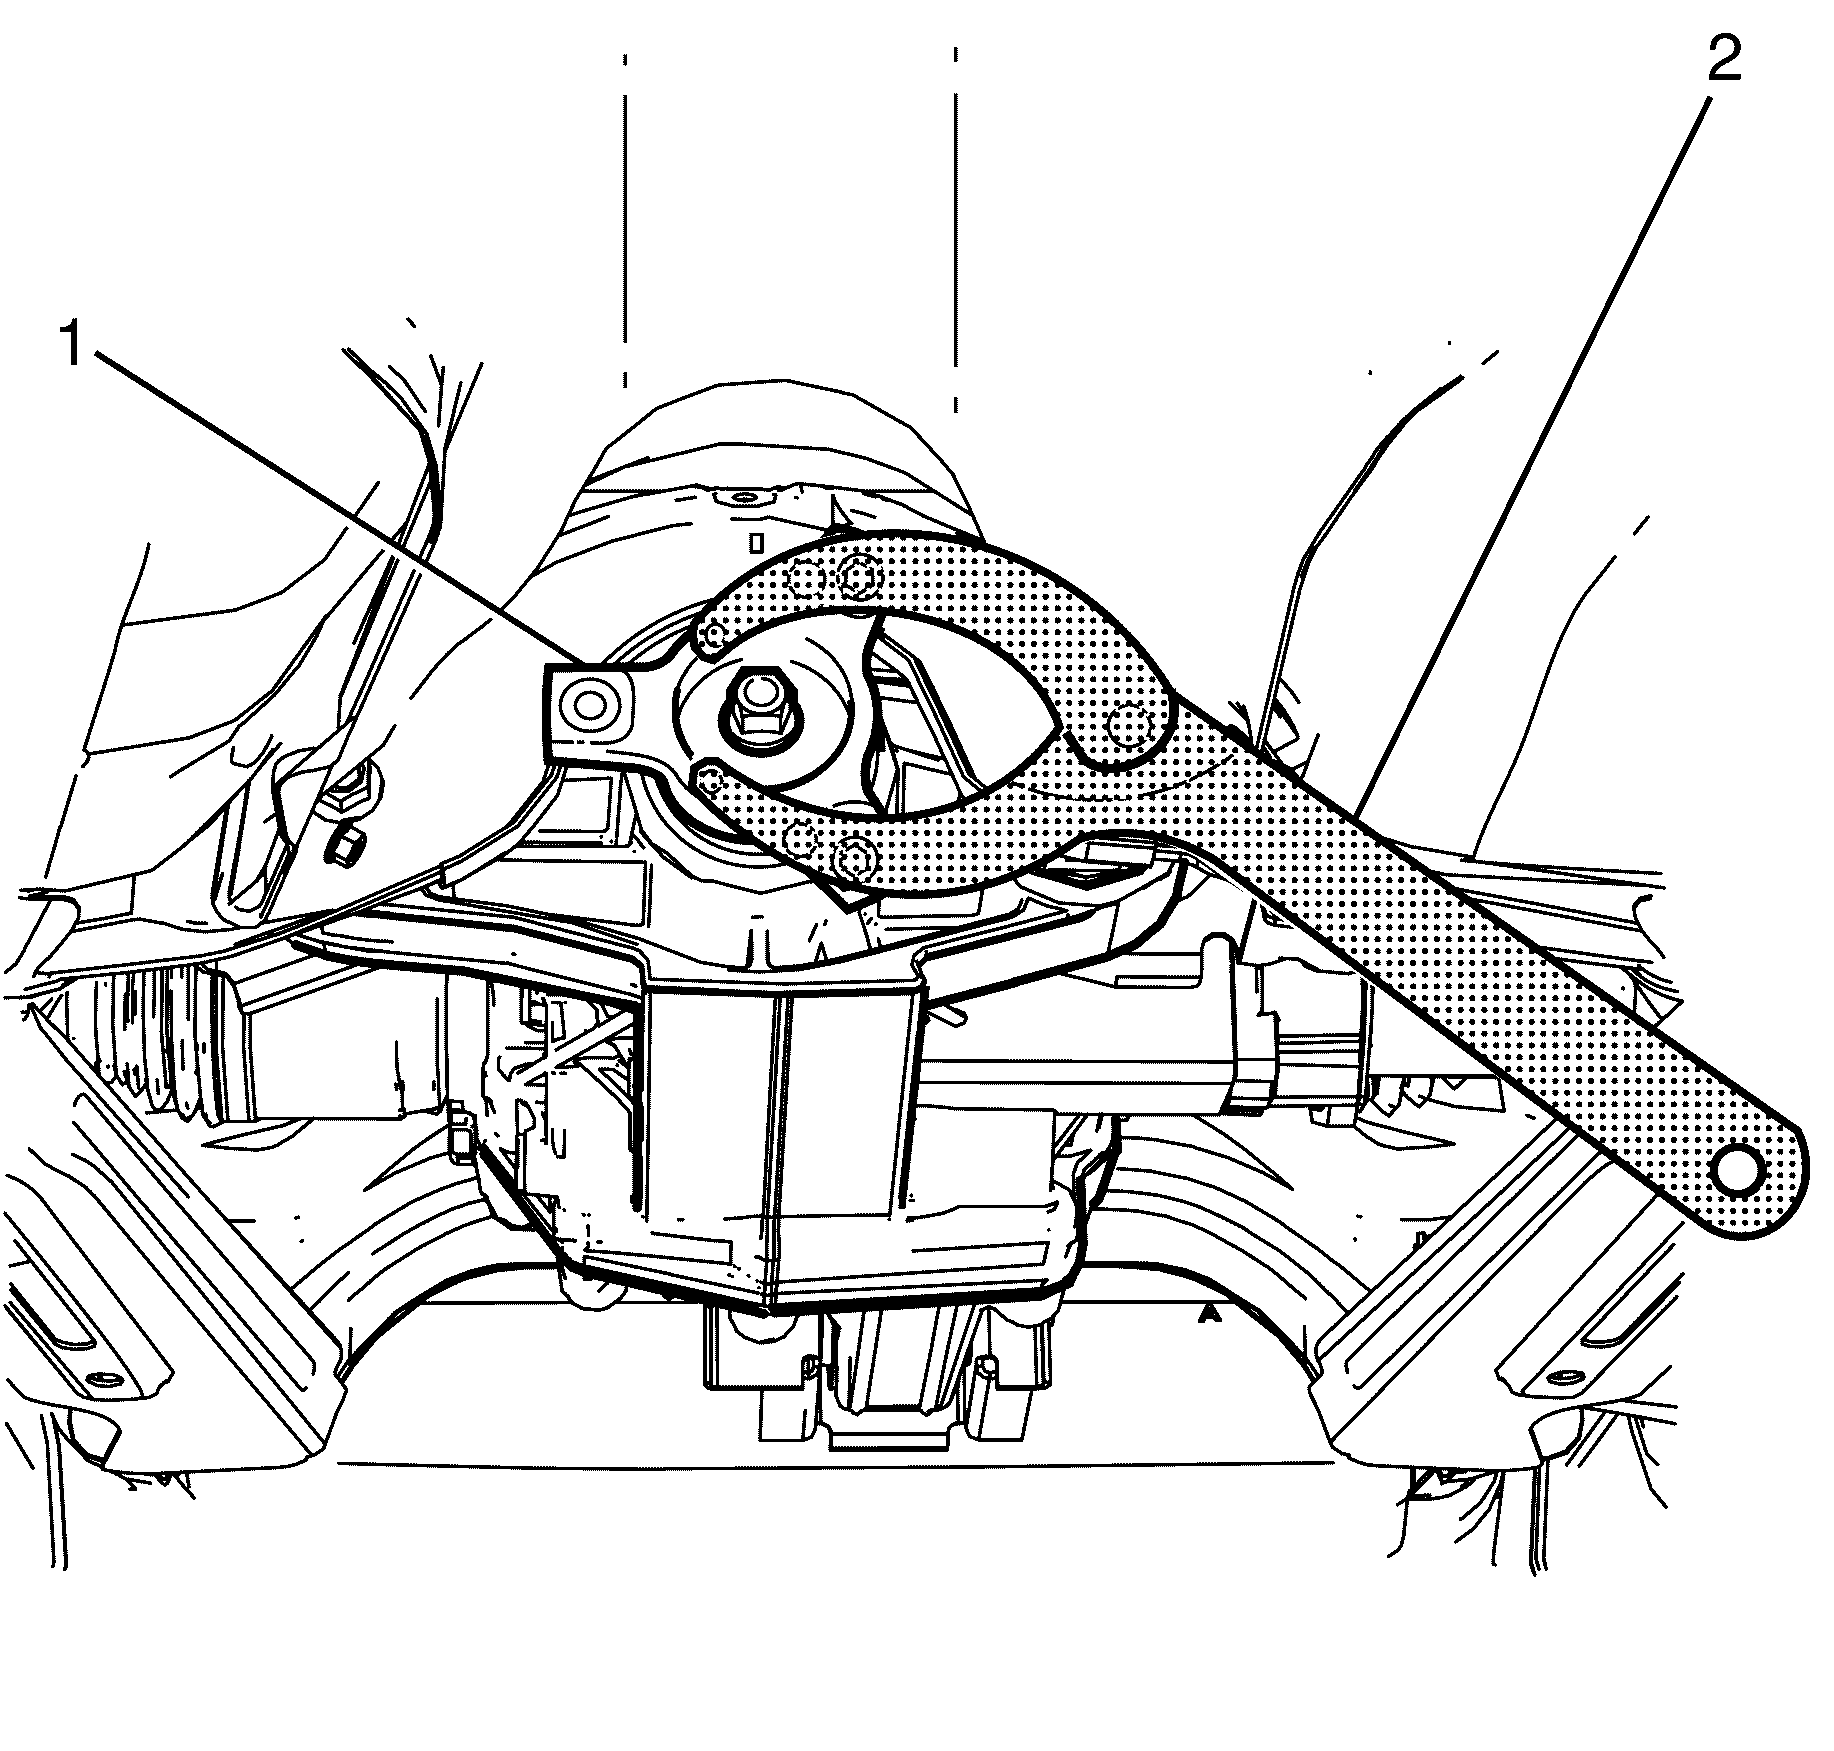
- Install the 6613 (2) to the pinion flange (1).
- While holding the 6613 (2) remove the prevailing torque pinion flange retaining nut from the differential.
- Remove the 6613 (2) from the pinion flange (1).
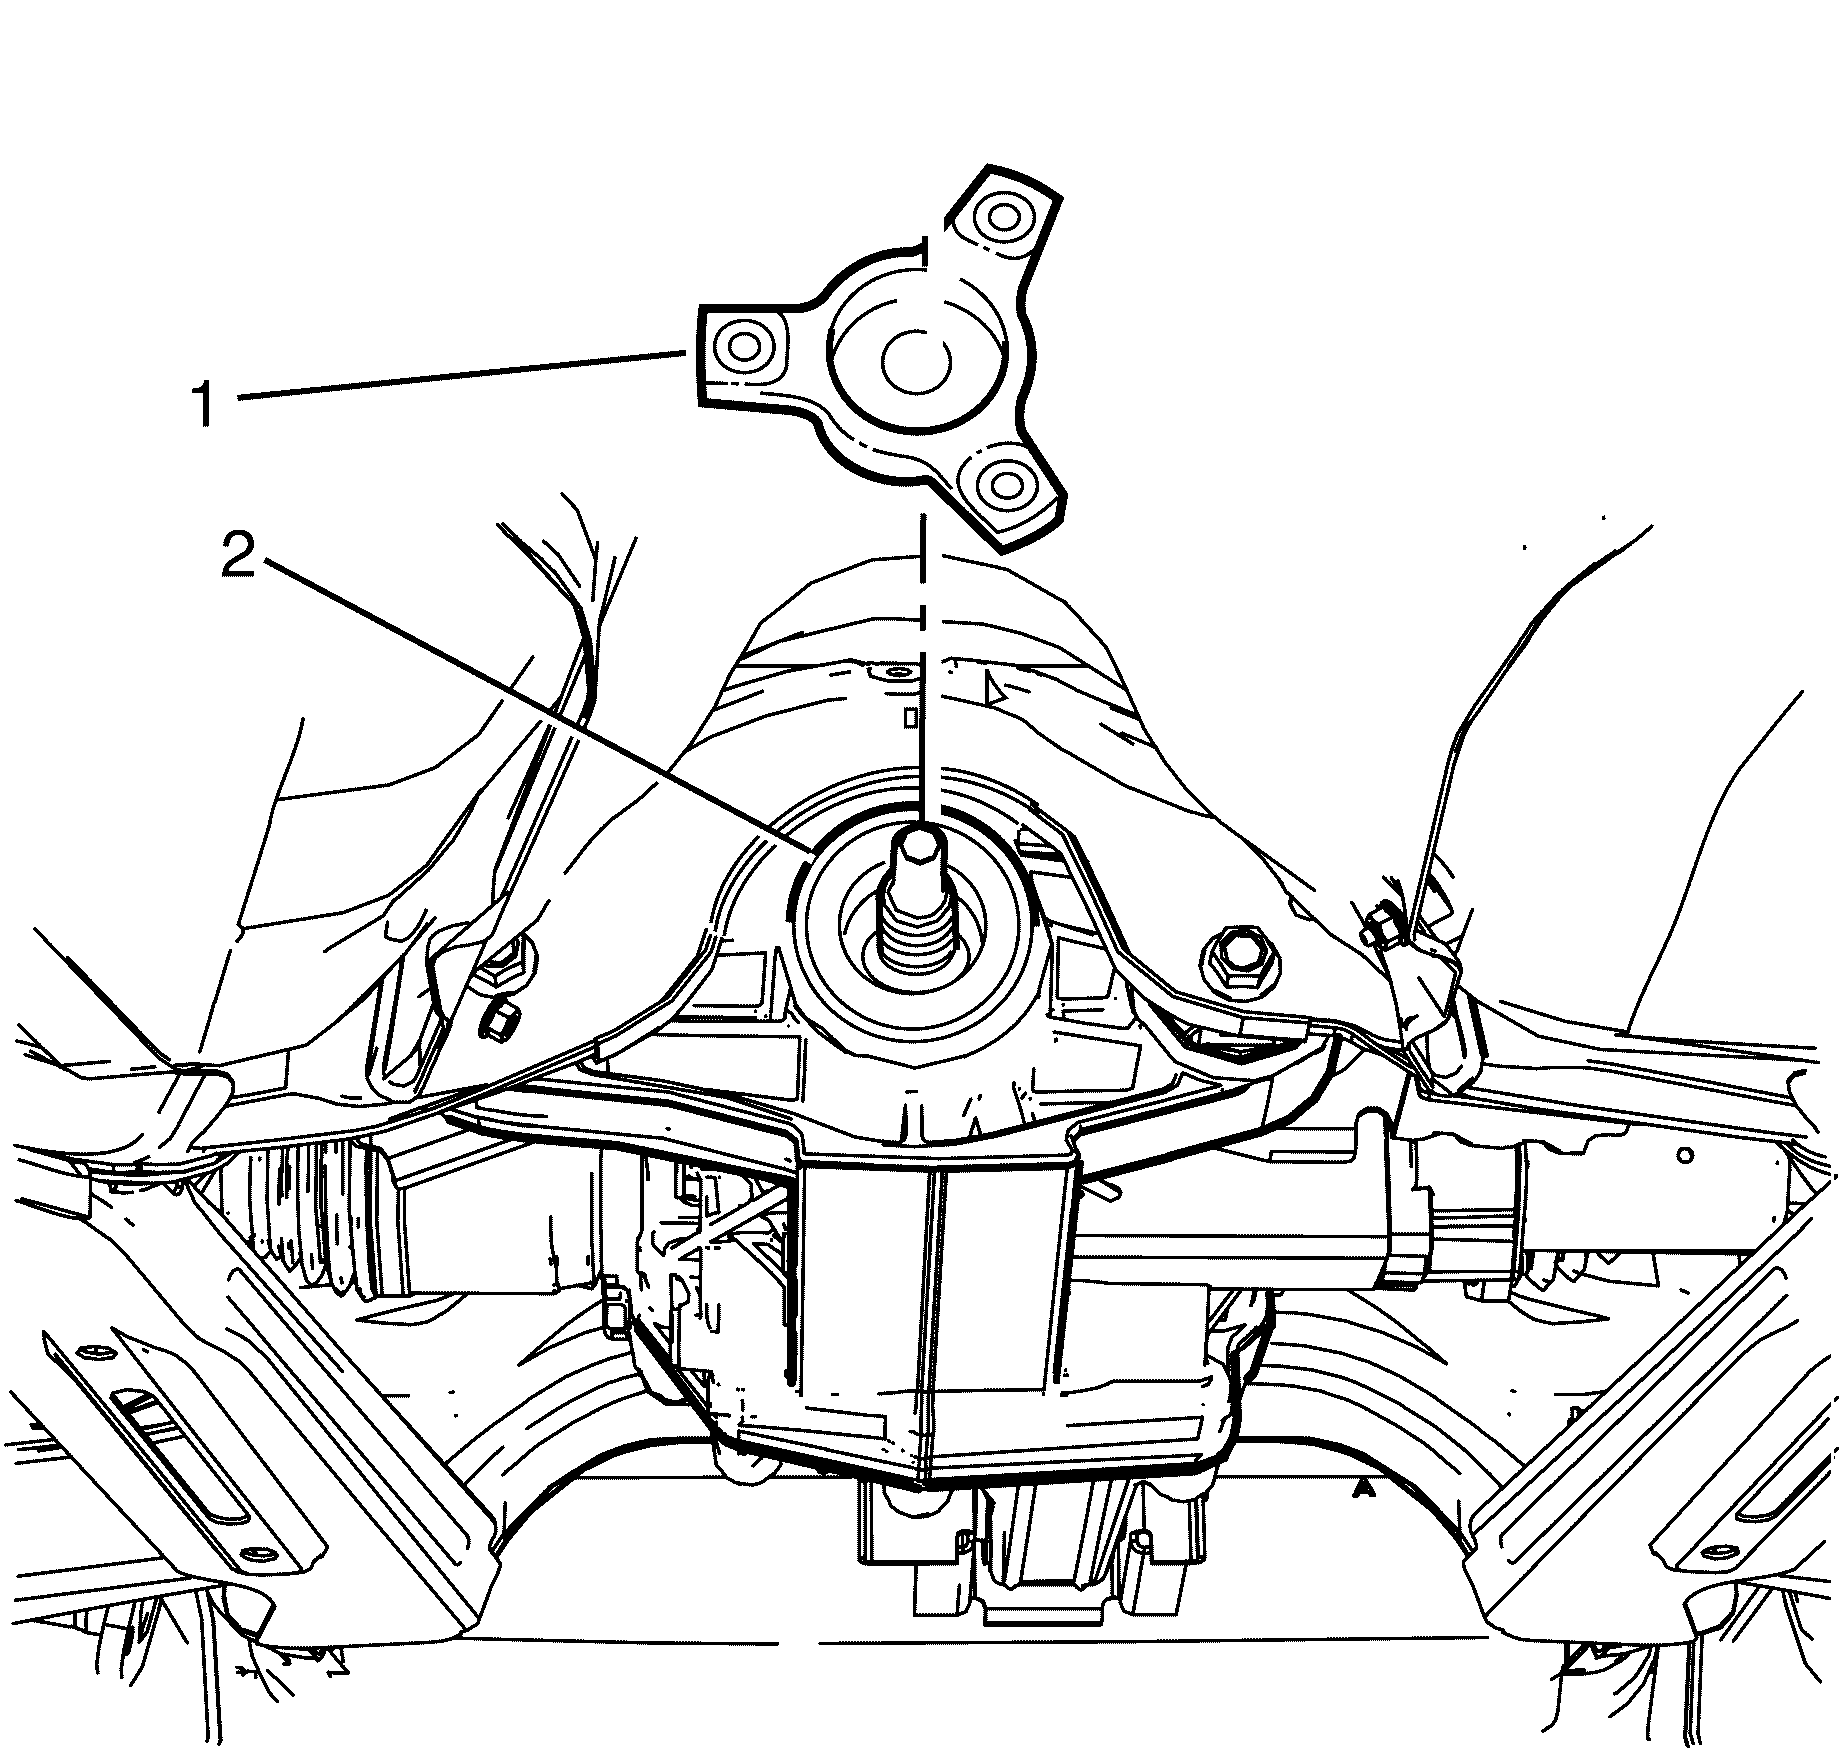
- Install the puller (1) to the pinion flange (2).
- Place a large suitable container under the differential in order to collect draining fluid.
- Use the puller (1) to remove the pinion flange (2).
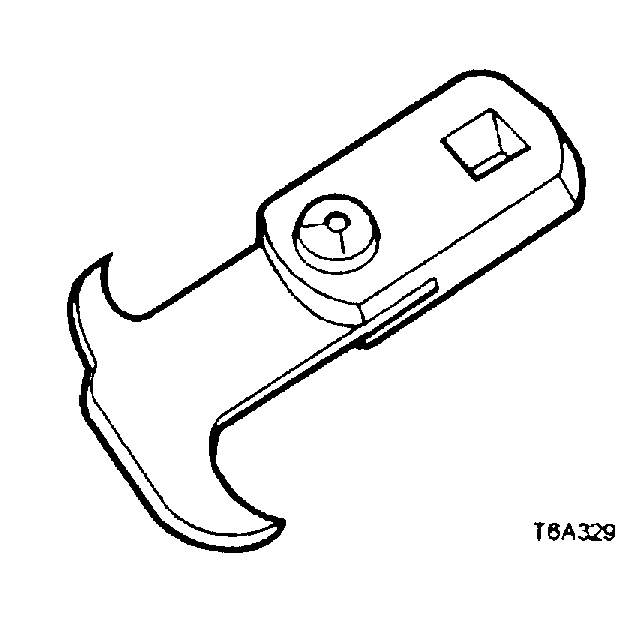
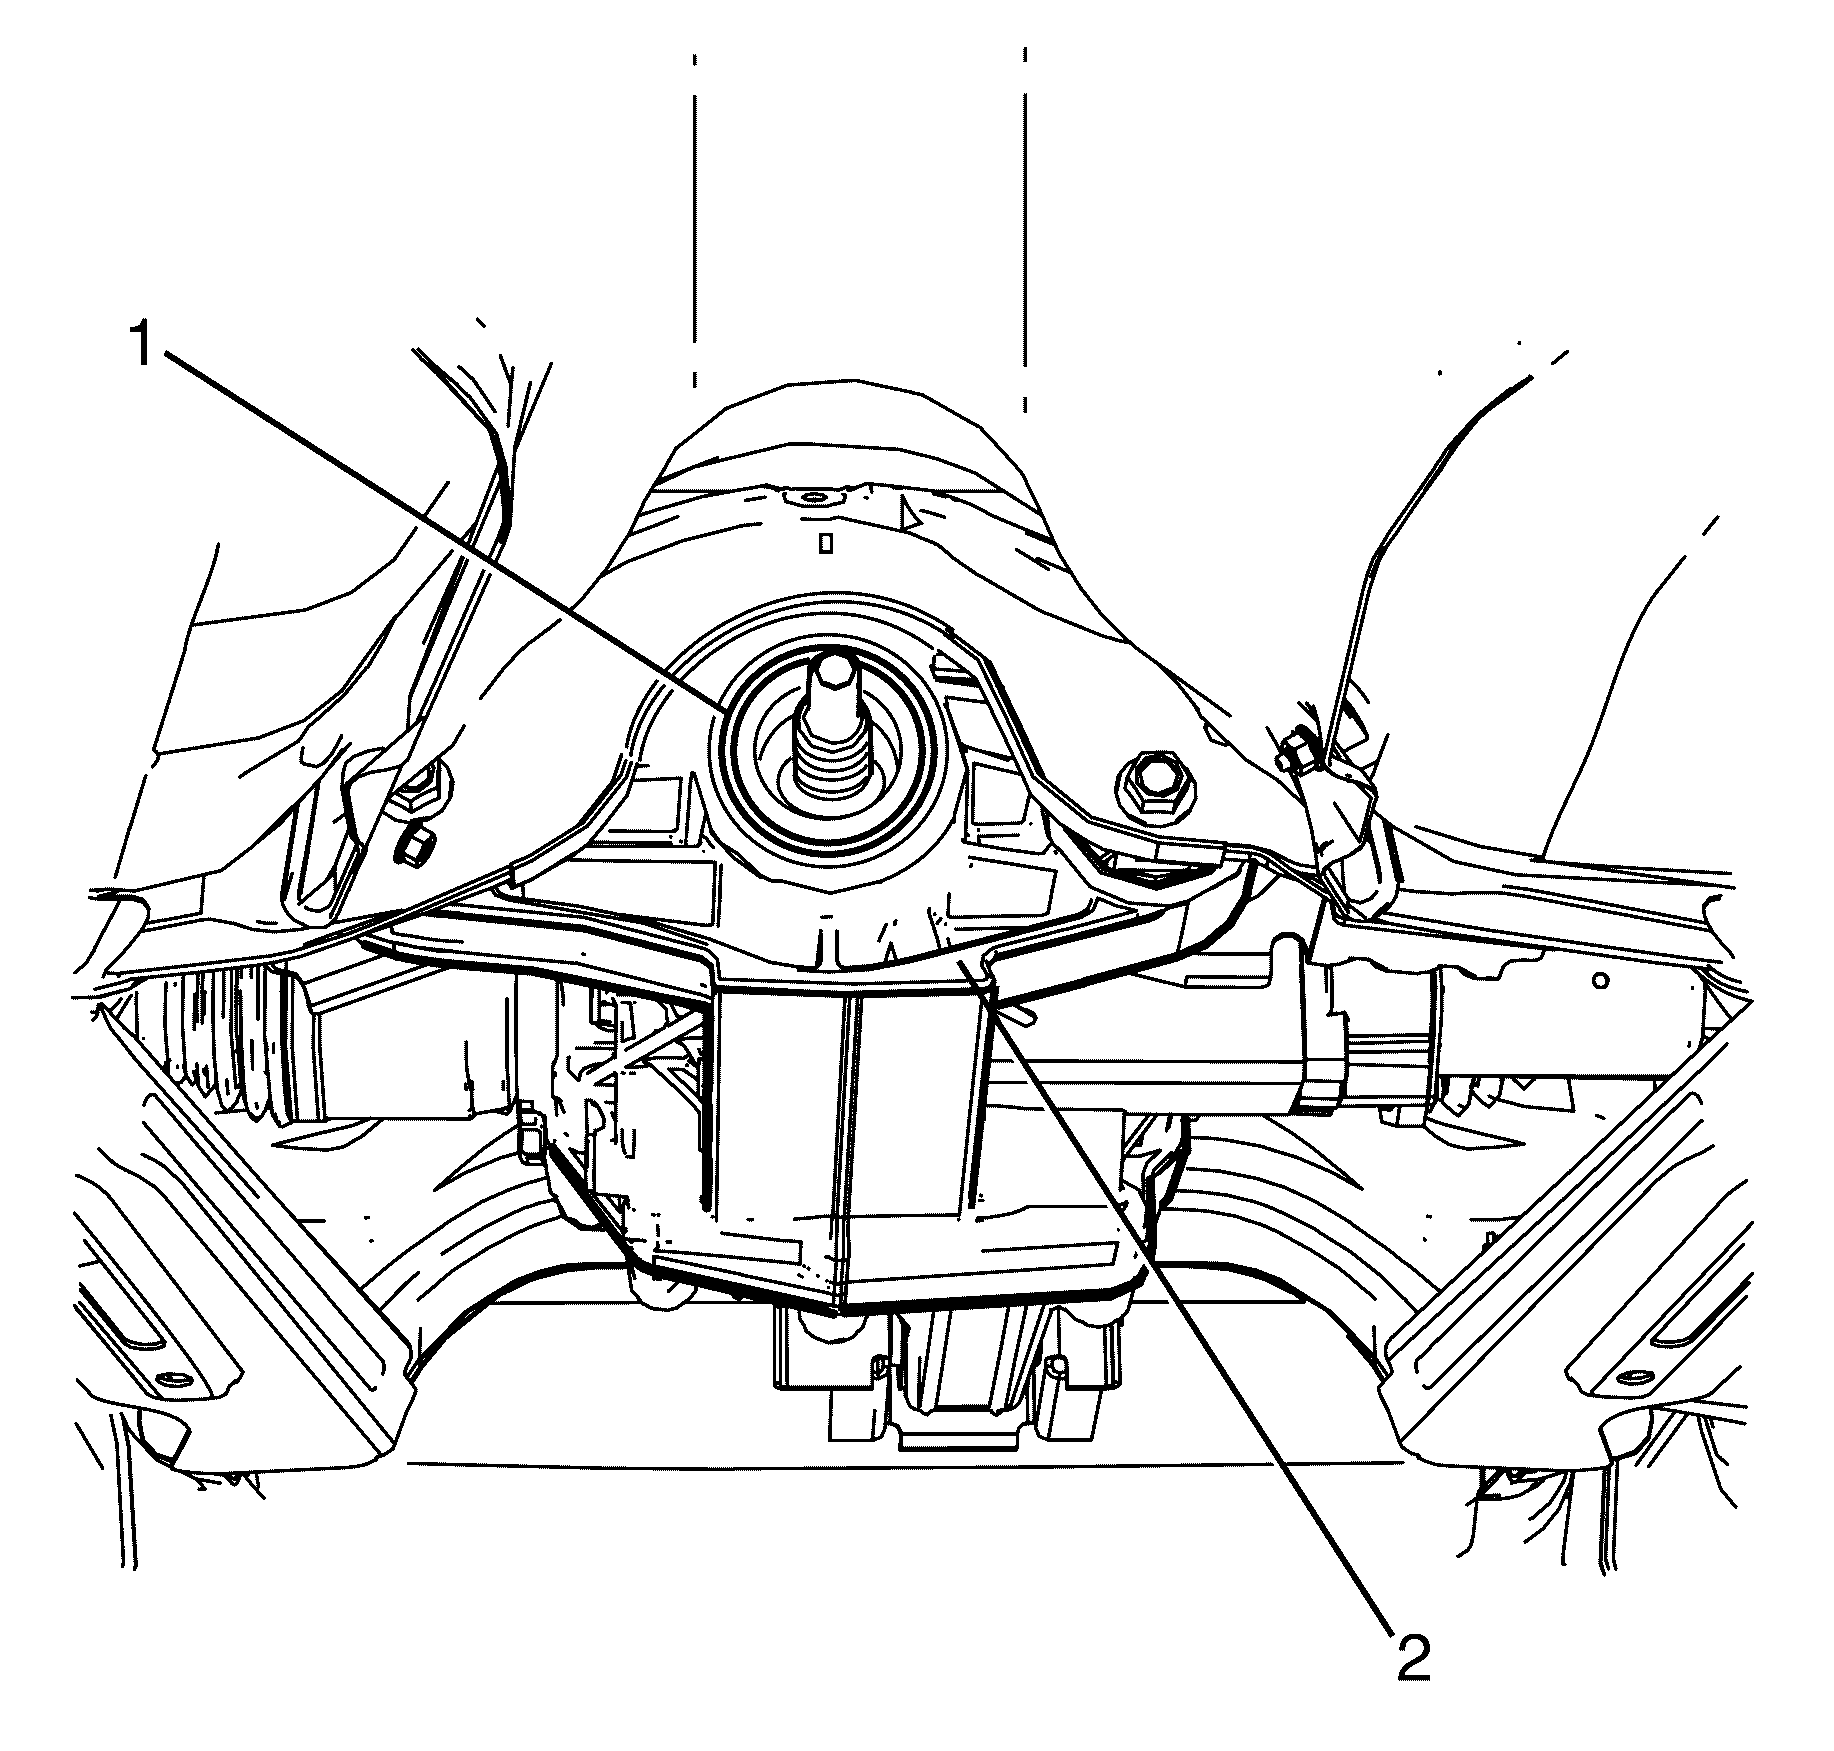
- Remove the pinion flange (1) from the differential (2).
- Check the pinion flange oil seal for wear and/or damage. Replace if necessary.
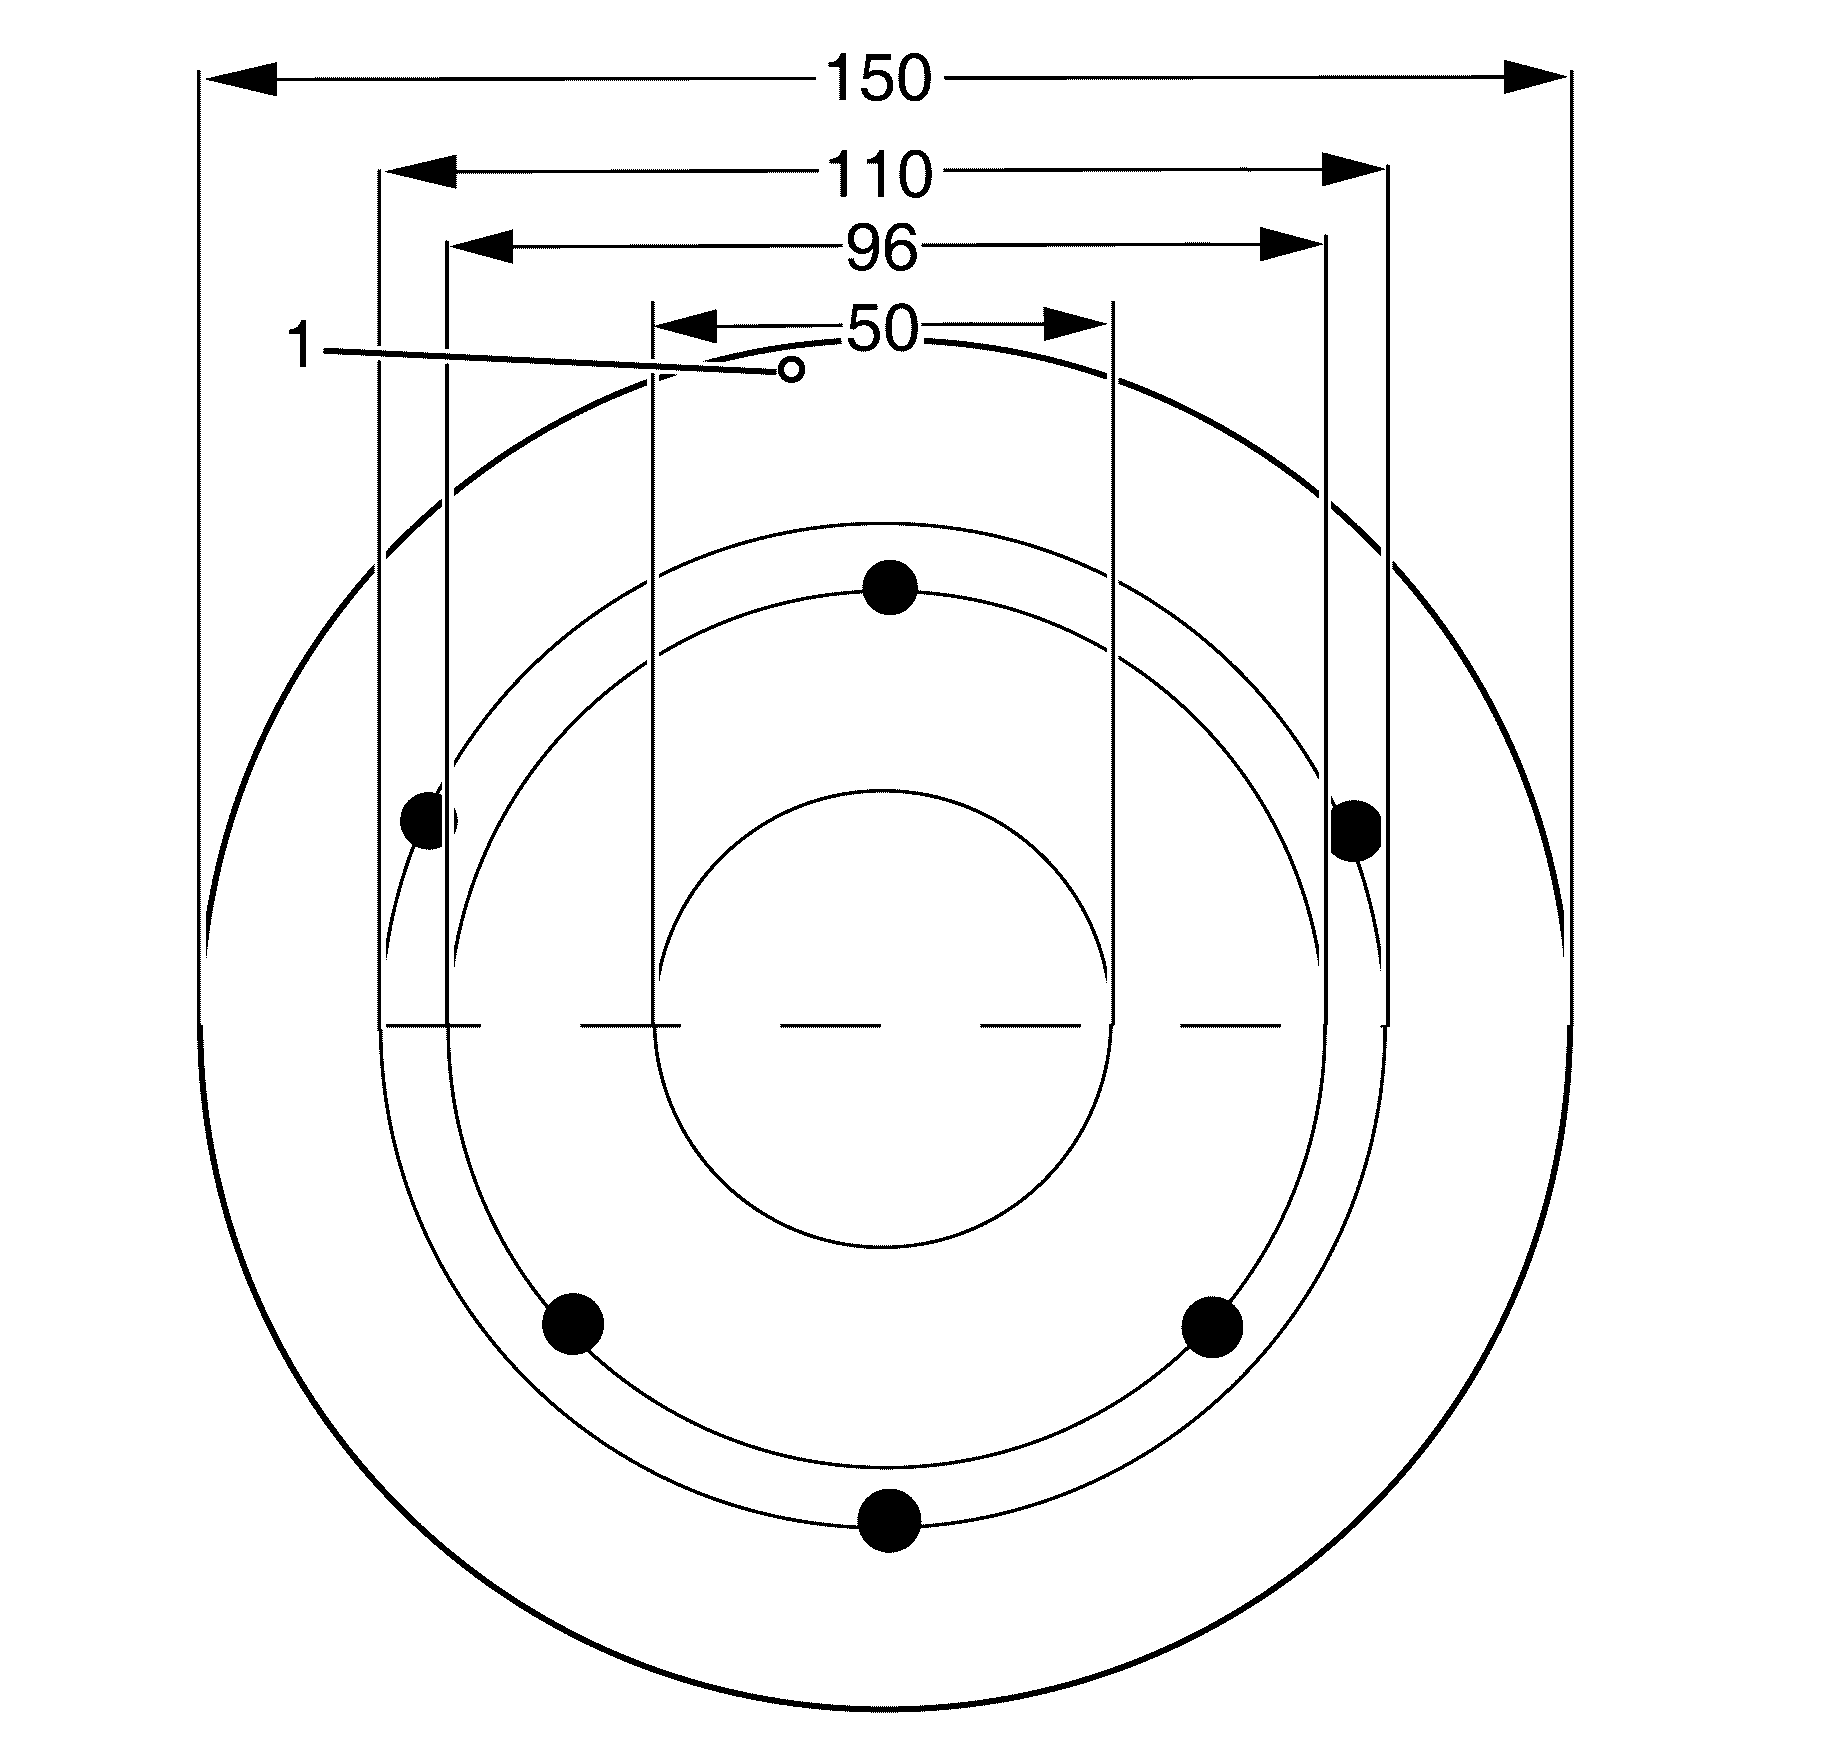
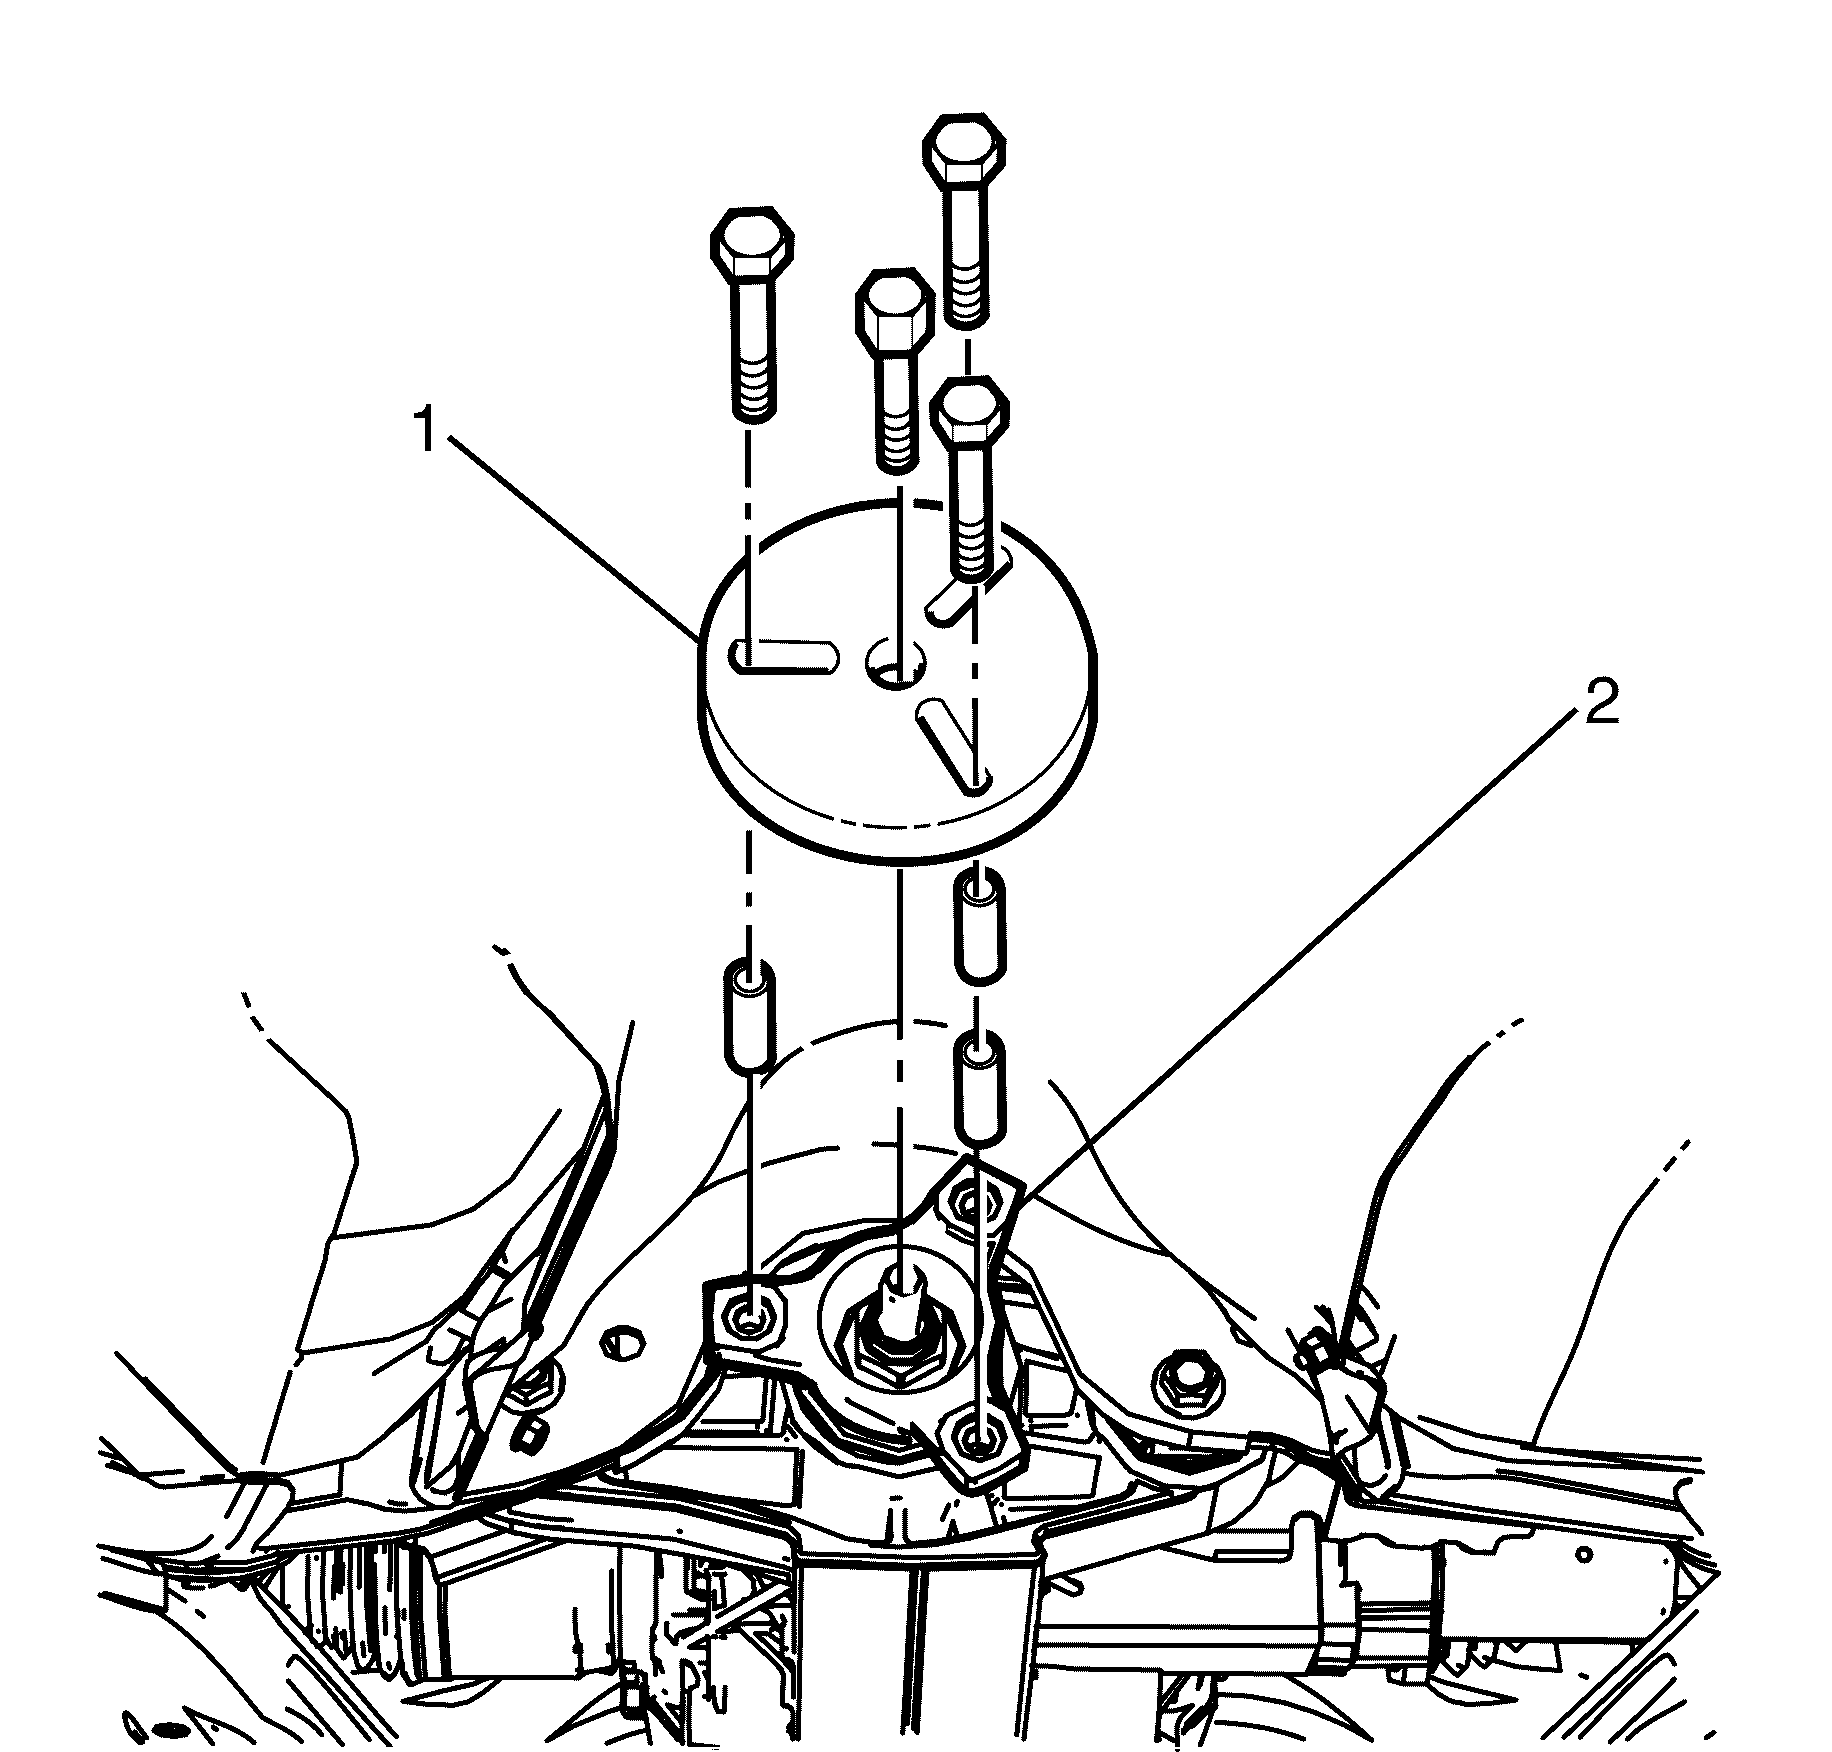
| • | Make from a 13mm piece of wood. |
| • | Drill a hole at (1) and attach a one metre length of string at this point, knotted at one end. |
| • | Drill three 8.5mm holes at a PCD of 96mm and 120 degrees apart. |
| • | Drill three 8.5mm holes at a PCD of 110mm and 120 degrees apart. |
| • | Drill a 50mm hole in the centre of the tool. |
Warning: Refer to Safety Glasses Warning in the Preface section.
Danger: To avoid any vehicle damage, serious personal injury or death when major components are removed from the vehicle and the vehicle is supported by a hoist, support the vehicle with jack stands at the opposite end from which the components are being removed and strap the vehicle to the hoist.
Note: Make sure that the hand brake is off and the brake rotors freely rotate.
Note: The torque reading will different for in and out of the vehicle measurement.
Note: The torque reading is required to correctly reset pinion pre-load on assembly.
| • | Example: |
| • | With a pulley diameter of 150 mm, the radius is 75 mm, which equals.075 m. With a spring balance reading of 25 N, the pre-load equals.075 m x 25 N = 1.875 N.m. |
Discard the prevailing torque pinion flange retaining nut.
Note: Use a suitable puller (1) to remove the pinion flange (2).
Note: The pinion flange oil seal should be replaced when replacing the pinion flange.
Removal Procedure -- Oil Seal
- Raise and support vehicle. Refer to Lifting and Jacking the Vehicle.
- Remove the intermediate exhaust assembly. Refer to Exhaust Crossover Pipe Replacement .
- Disconnect the propeller shaft and rubber coupling from the differential flange. Refer to Propeller Shaft Replacement.
- Remove the differential pinion flange. Refer to Drive Pinion Flange/Yoke and/or Oil Seal Replacement.
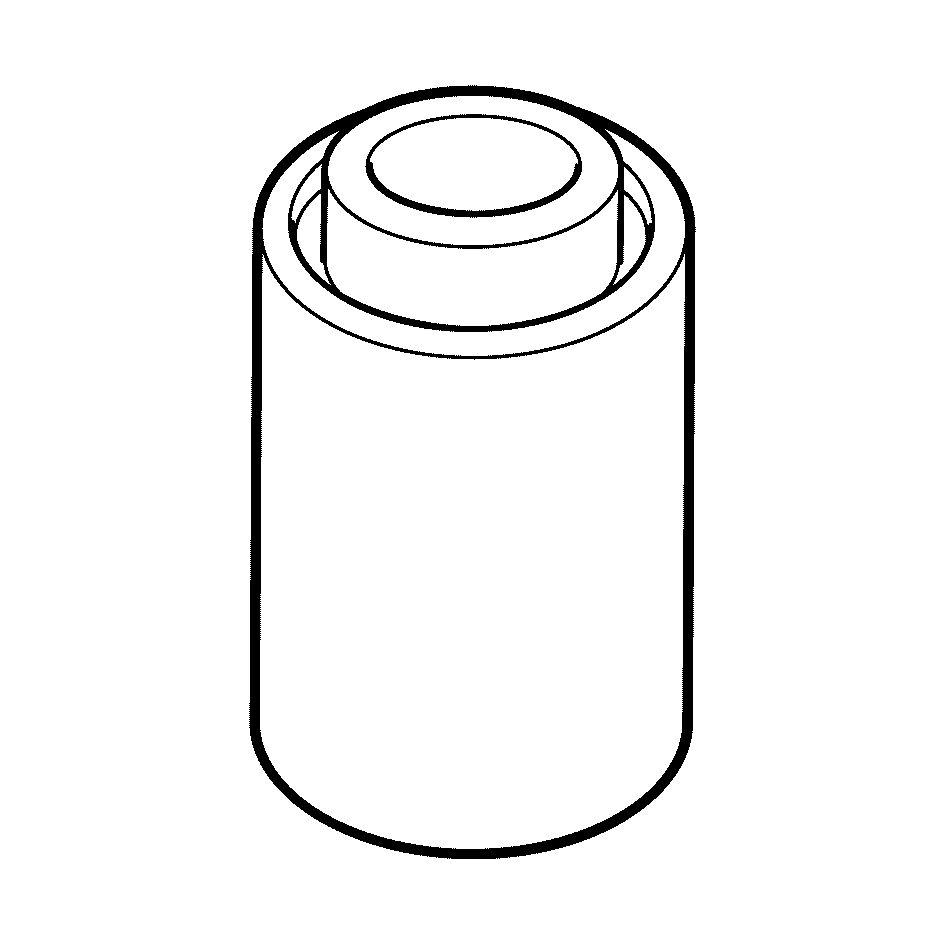
- Use E-308 to remove the pinion flange oil seal (1) from the differential (2).
Warning: Refer to Safety Glasses Warning in the Preface section.
Danger: To avoid any vehicle damage, serious personal injury or death when major components are removed from the vehicle and the vehicle is supported by a hoist, support the vehicle with jack stands at the opposite end from which the components are being removed and strap the vehicle to the hoist.
Note: Do not damage any sealing surfaces when removing the pinion flange oil seal (1). Cuts or abrasions will damage the assembly and result in lubricant leakage from this area.
Note: The pinion flange oil seal (1) is a single use part and must be discarded after use.
Discard the pinion flange oil seal.
Installation Procedure -- Oil Seal
- Lubricate the NEW pinion flange oil seal (1) with the correct grease. Refer to Adhesives, Fluids, Lubricants, and Sealers.
- Install the NEW pinion flange oil seal (1) to the differential (2) with DT-48727 .
- Install the pinion flange. Refer to Drive Pinion Flange/Yoke and/or Oil Seal Replacement.
- Connect the propeller shaft and rubber coupling to the differential flange. Refer to Propeller Shaft Replacement.
- Install the intermediate exhaust assembly. Refer to Exhaust Crossover Pipe Replacement .
- Check differential fluid. Refer to Rear Axle Lubricant Level Inspection.
- Remove safety stands.
- Lower the vehicle to the ground.
Note: Do not damage any sealing surfaces when fitting the pinion flange oil seal. Cuts or abrasions will damage the assembly and result in lubricant leakage from this area.
Note: Use DT-48727 to obtain correct seal depth.
Installation Procedure -- Pinion Flange
- Position the pinion flange (2) to the differential (3).
- Lubricate the contact surface of the NEW prevailing torque pinion flange retaining nut (1) with correct grease. Refer to Adhesives, Fluids, Lubricants, and Sealers.
- Apply loctite 2701 (alternative loctite 648) to the thread of the NEW prevailing torque pinion flange retaining nut (1).
- Install the NEW prevailing torque pinion flange retaining nut (1) to the differential (3).
- Install the 6613 (2) to the pinion flange (1).
- Tighten the NEW prevailing torque pinion flange retaining nut carefully until the pinion flange has no play.
- Remove the 6613 (2) from the pinion flange (1).
- Install the pre-fabricated tool (1) to the pinion flange.
- Attach the spring balance (2) to the string of the pre-fabricated tool (1).
- Turning torque must be equal to the value recorded in the removal procedure.
- If the turning torque is below the value recorded in the removal procedure, tighten the NEW prevailing torque pinion flange retaining nut in small steps and check turning torque until specified turning torque is reached.
- If the turning torque is above the value recorded in the removal procedure a NEW collapsible spacer must be fitted. Refer to Rear Axle Disassembled Views.
- Make sure the pinion gear is free from excessive Loctite.
- Install the propeller shaft and rubber coupling to differential flange retaining bolts. Refer to Propeller Shaft Replacement
- Install the intermediate exhaust assembly. Refer to Exhaust Crossover Pipe Replacement .
- Check differential fluid level. Refer to Rear Axle Lubricant Level Inspection .
- Remove safety stands.
- Lower the vehicle to the ground.
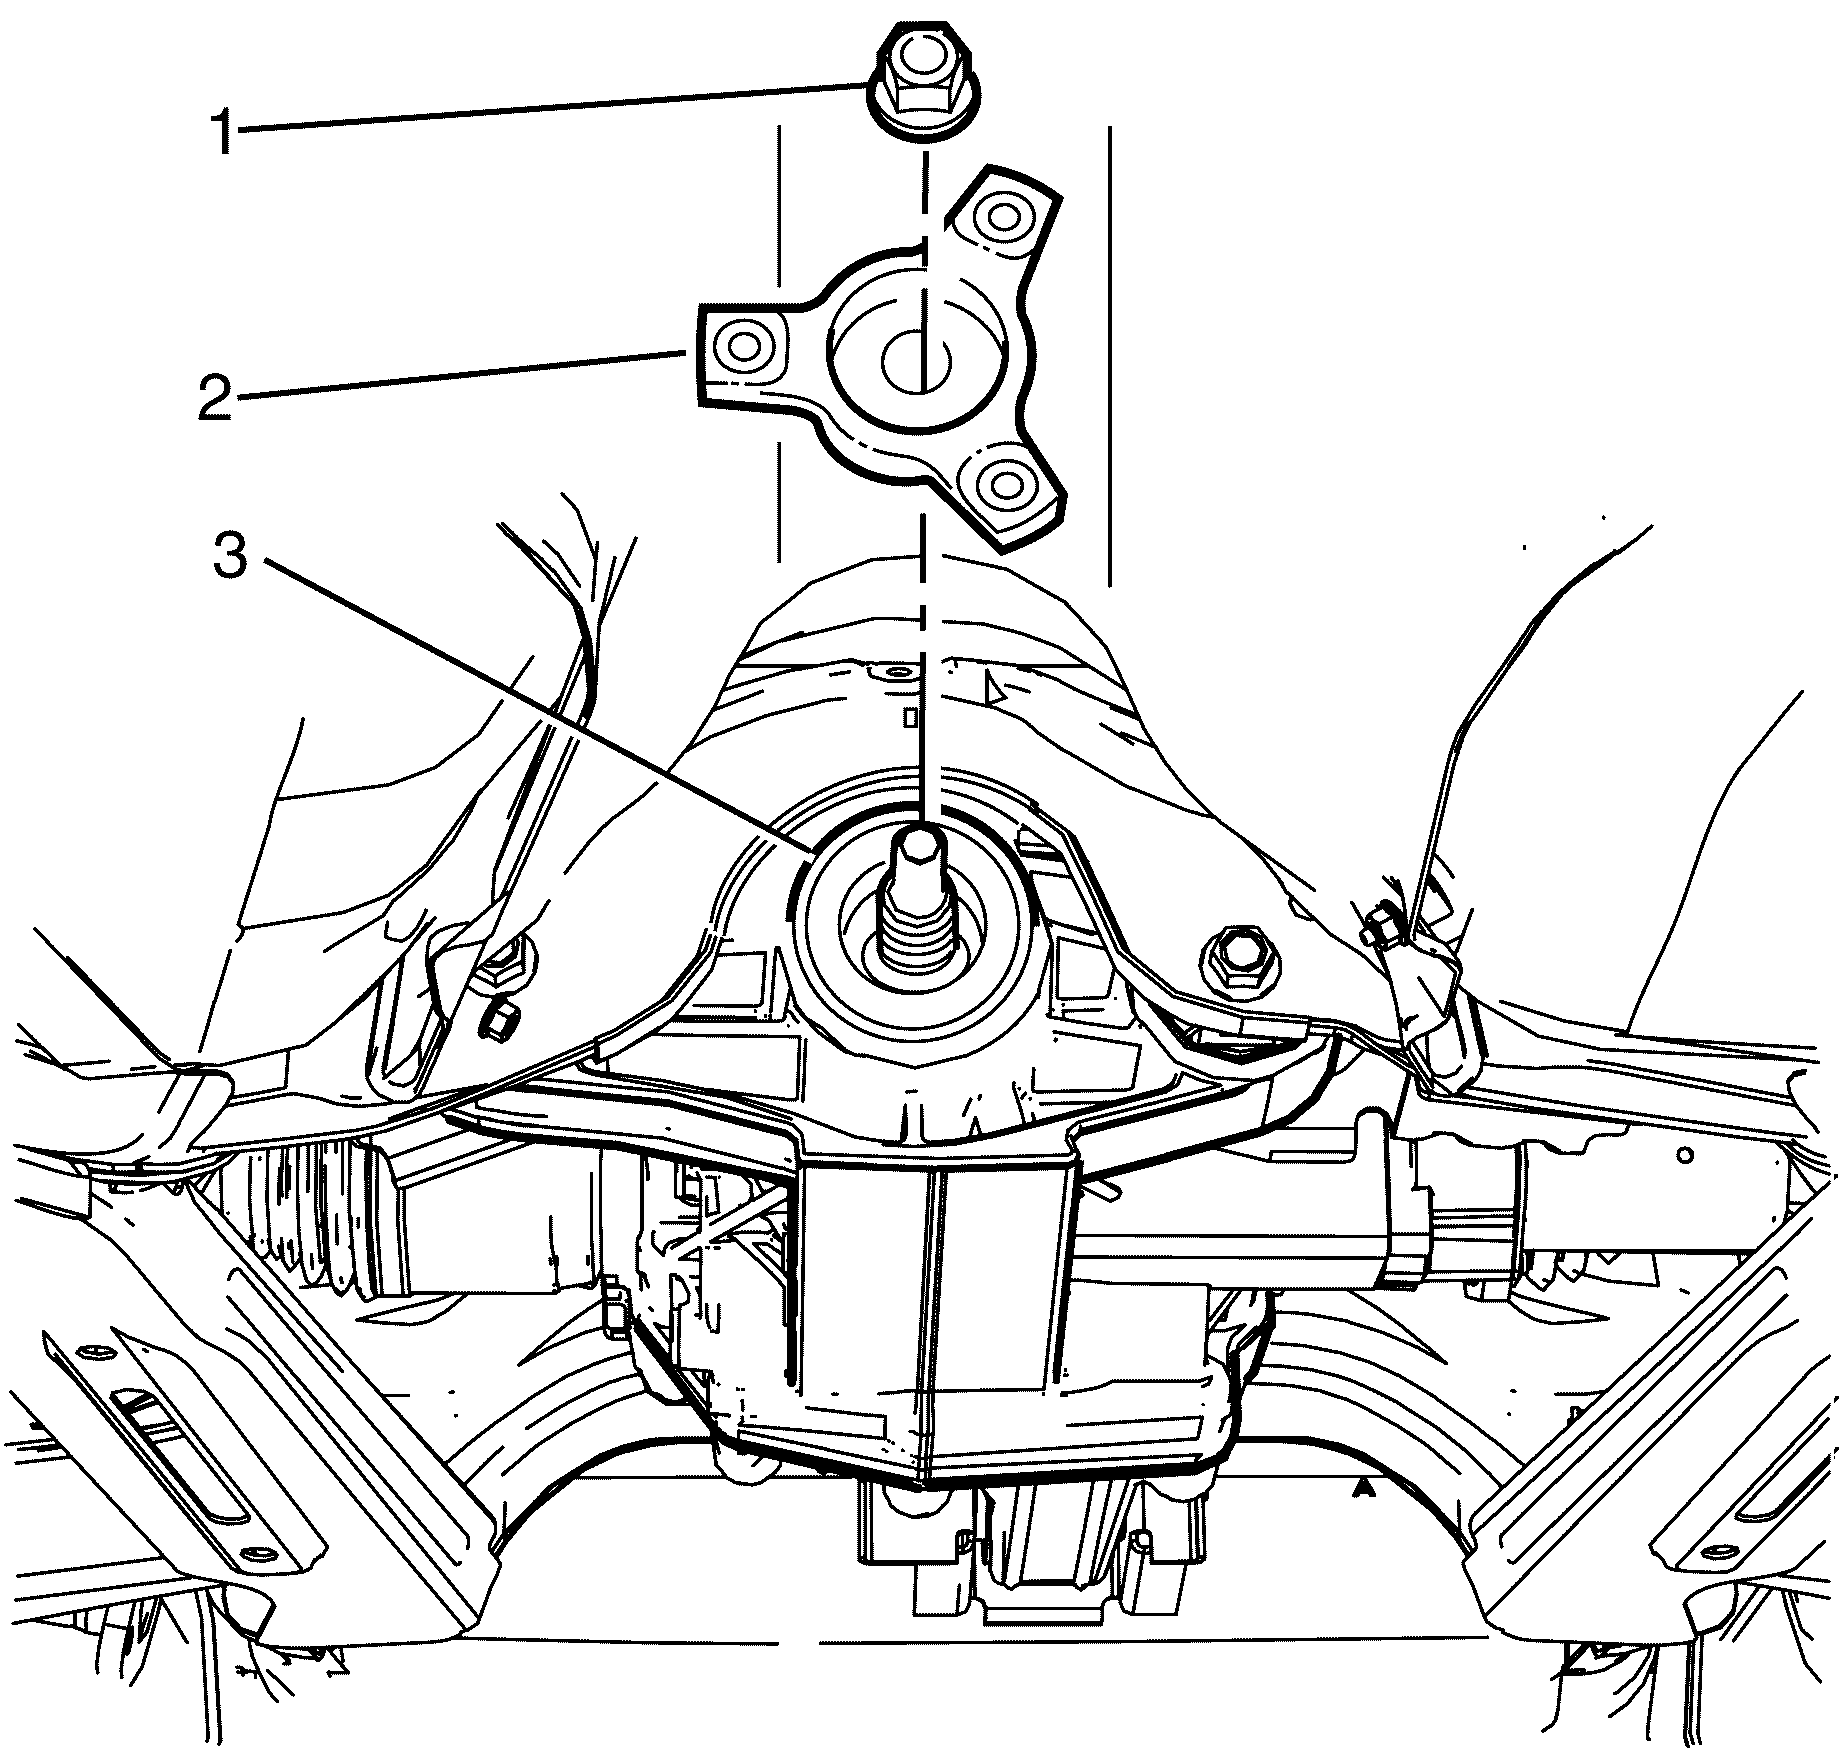
Note: Do not fully tighten the NEW prevailing torque pinion flange retaining nut at this stage.
Note: Do NOT over tighten the NEW prevailing torque pinion flange retaining nut. If the prevailing torque pinion flange retaining nut is over tightened the differential will have to be disassembled.
Note: The torque reading will different for in and out of the vehicle measurement.
Note: Do NOT over tighten the prevailing torque pinion flange retaining nut. If the prevailing torque pinion flange retaining nut is over tightened the differential will have to be disassembled.
