For 1990-2009 cars only
Removal Procedure
- Raise and support the vehicle. Refer to Lifting and Jacking the Vehicle.
- Remove the filter. Refer to Automatic Transmission Fluid Filter and Seal Replacement.
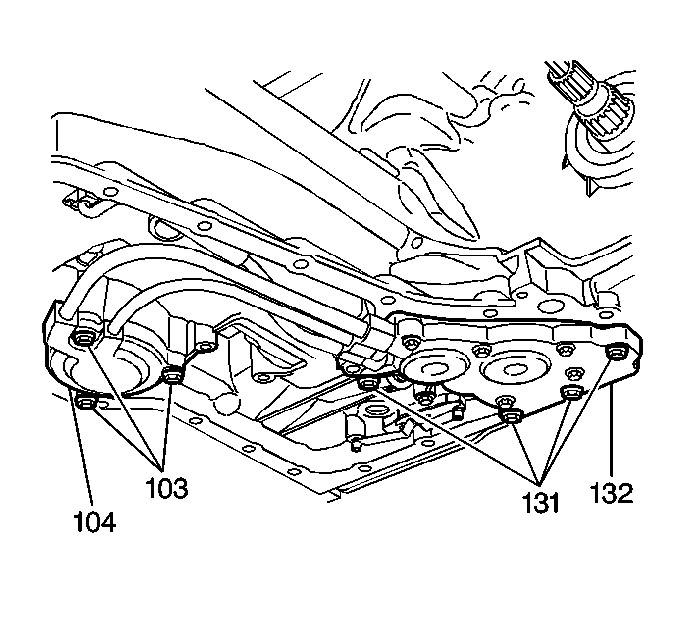
- Remove the accumulator bolts (131).
- Remove the manual 2-1 band servo cover bolts (103).
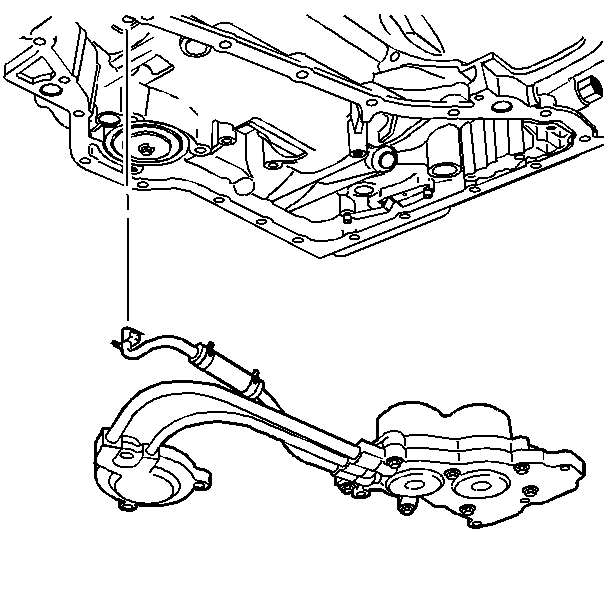
- Remove the accumulator assembly.
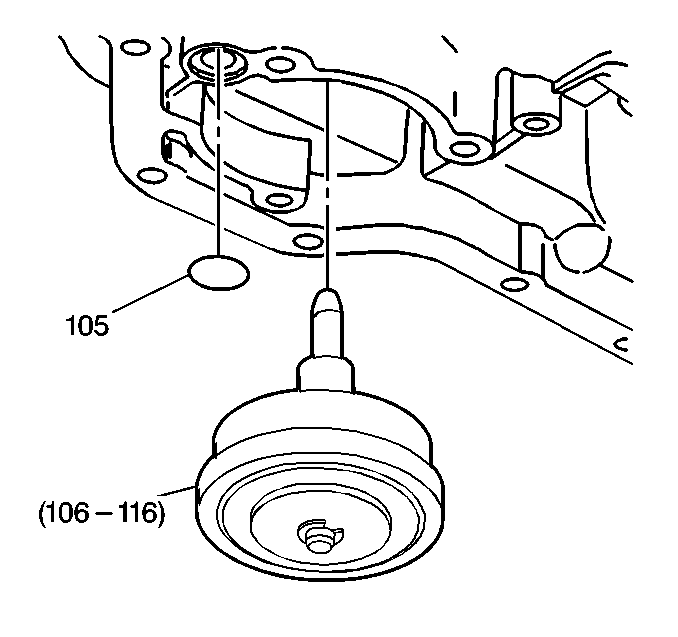
- Remove the manual 2-1 band servo (106-116).
- To disassemble, inspect and service the accumulator and 2-1 manual servo. Refer to 2-1 Manual Band Servo Disassemble.


Installation Procedure
- If disassembled, assemble the 2-1 band servo. Refer to 2-1 Manual Band Servo Assemble.
- Install the manual 2-1 band servo (106-116).
- Install the accumulator assembly.
- Install the manual 2-1 band servo cover bolts (103).
- Install the accumulator bolts (131).
- Install the filter. Refer to Automatic Transmission Fluid Filter and Seal Replacement.
- Lower the vehicle.


Caution: Refer to Fastener Caution in the Preface section.

Tighten
Tighten the bolts to 25 N·m (18 lb ft).
Tighten
Tighten the bolts to 11 N·m (97 lb in).
Note: It is recommended that transmission adaptive pressure (TAP) information be reset.
Resetting the TAP values using a scan tool will erase all learned values in all cells. As a result, the engine control module (ECM), powertrain control module (PCM) or transmission control module (TCM) will need to relearn TAP values. Transmission performance may be affected as new TAP values are learned. Reset the TAP values. Refer to Transmission Adaptive Functions.