For 1990-2009 cars only
Removal Procedure
- Remove the fuel tank from the vehicle. Refer to Fuel Tank Replacement .
- Remove the EVAP-canister vent solenoid from the EVAP canister. Refer to Evaporative Emission Canister Vent Solenoid Replacement .
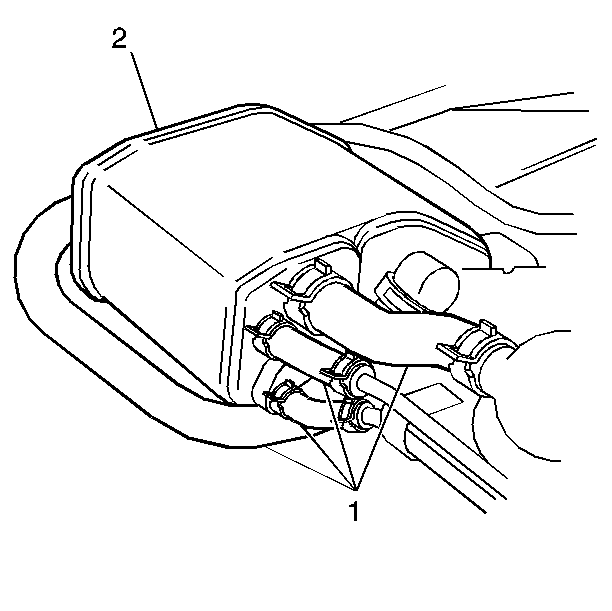
- Disconnect the 4 vapor hoses (1) from the EVAP canister (2).
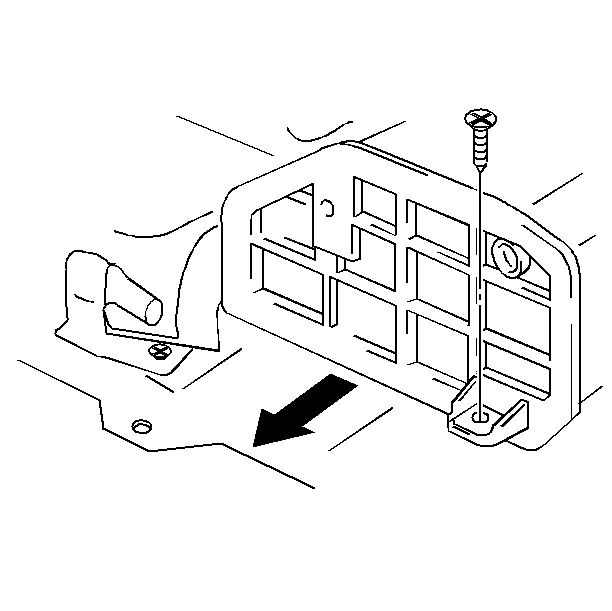
- Remove the screw from the EVAP canister and from the fuel tank.
- Slide the EVAP canister from the fuel tank bracket.
- Remove the EVAP canister from the fuel tank.


| 6.1. | Before replacing the canister, inspect the EVAP canister for release of carbon particles . |
| 6.2. | Lightly tap the EVAP canister on a hard surface. |
| 6.3. | Visually inspect for carbon particles that are exiting from the purge port. |
| 6.4. | If carbon particle release is not evident, the inspection is complete. |
| 6.5. | If carbon particles are evident, the EVAP purge system may be contaminated, and the purge lines must be cleared. |
Installation Procedure
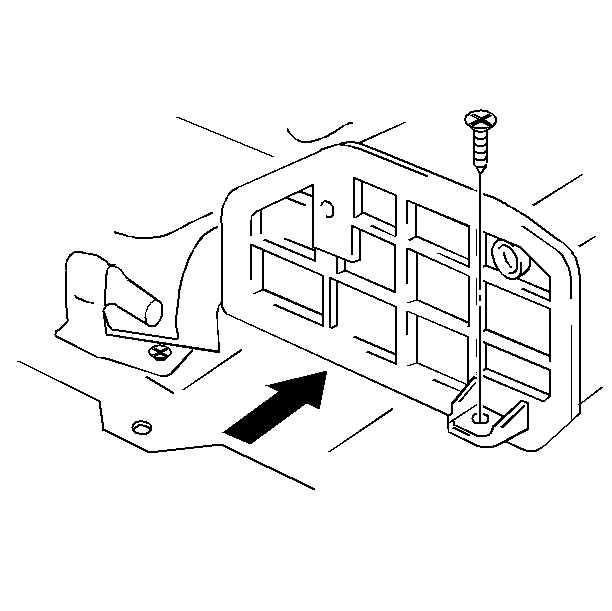
- Install the EVAP canister into the fuel tank canister bracket.
- Secure the EVAP canister to the fuel tank with the 1 screw.
- Install the 4 vapor hoses (1) to the EVAP canister (2).
- Install the EVAP-canister vent solenoid to the EVAP canister. Refer to Evaporative Emission Canister Vent Solenoid Replacement .
- Install the fuel tank to the vehicle. Refer to Fuel Tank Replacement .


Important: Refer to the Vehicle Emissions Control Information Label for the correct routing of the EVAP hoses.
