For 1990-2009 cars only
Removal Procedure
- Remove the right instrument panel (IP) insulator. Refer to Instrument Panel Insulator Panel Replacement - Right Side in Instrument Panel, Gauges and Console.
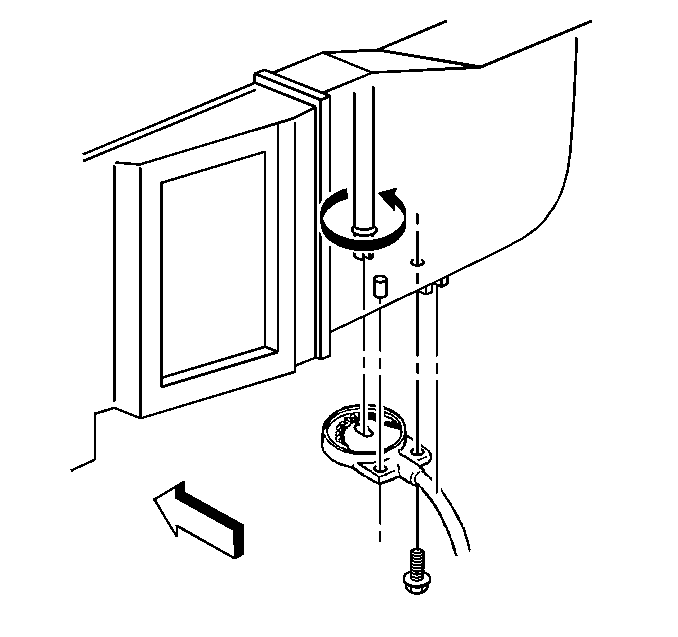
- Remove the temperature control cable bolt.
- Disconnect the temperature control cable at the air conditioning (A/C) module.
- Remove the accessory trim plate. Refer to Instrument Panel Cluster Trim Plate Bezel Replacement in Instrument Panel, Gauges and Console.
- Remove the heating, ventilation and air conditioning (HVAC) control bolts.
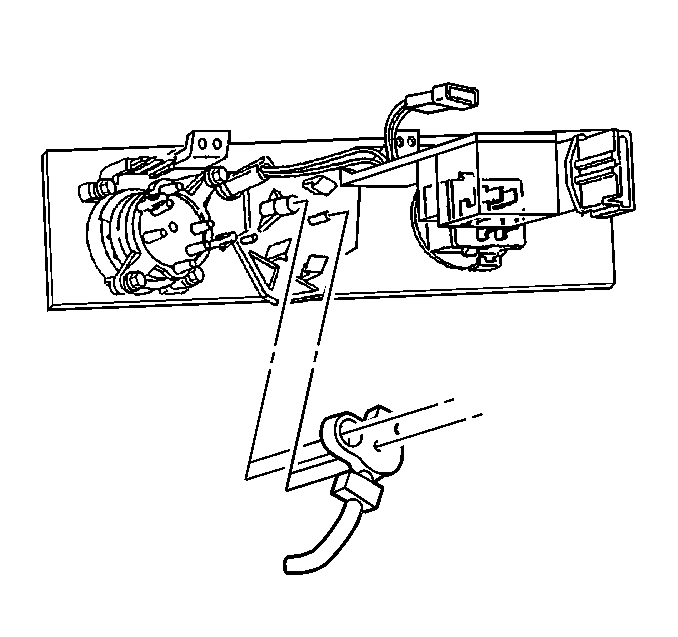
- Pull the HVAC control out of the IP far enough to access the temperature control cable connection.
- Remove the temperature control cable from the control.
- When releasing the control cable clips, use a small screwdriver to gently pry the cable from the control.


Installation Procedure
- Install the temperature control cable to the control.
- Install the HVAC control bolts.
- Connect the temperature control cable to the A/C module.
- Use the following steps in order to install the temperature control cable to the control:
- Install the temperature control cable bolt.
- Install the accessory trim plate. Refer to Instrument Panel Cluster Trim Plate Bezel Replacement in Instrument Panel, Gauges and Console.

Tighten
Tighten the HVAC control bolts to 2.2 N·m (19 lb in).

| 4.1. | Slip the temperature control cable into position over the lever arm. |
| 4.2. | Align the shaft with the temperature control cable shaft. |
| 4.3. | Press the temperature control cable clips into the slot in the control. |
| 4.4. | Ensure that the temperature control cable clips are in place. |
Tighten
Tighten the temperature control cable bolt to 1.9 N·m (17 lb in).
