For 1990-2009 cars only
Removal Procedure
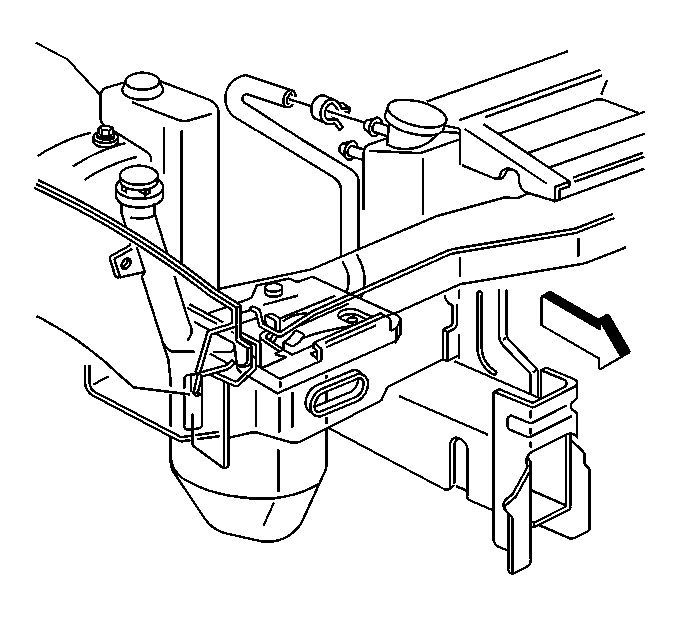
- Raise and suitably support the vehicle. Refer to Lifting and Jacking the Vehicle in General Information.
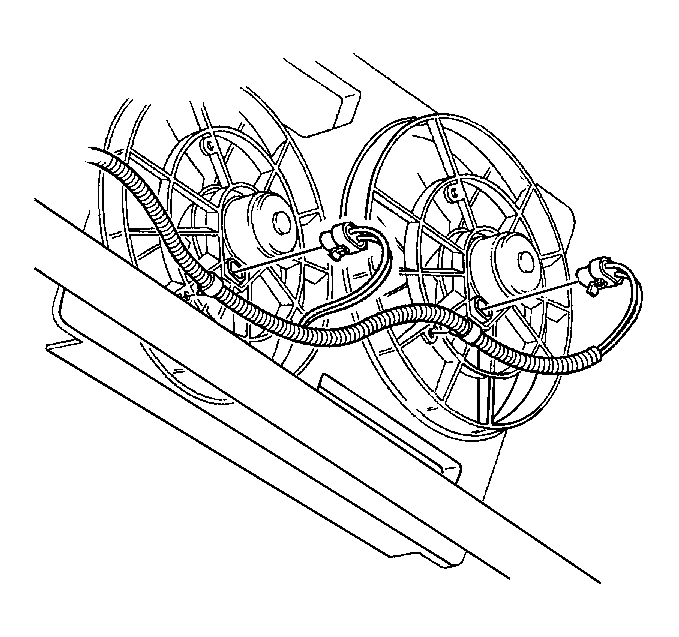
- Remove the cooling fan electrical connectors.
- Remove the harness rosebud clips from the fan shroud.
- Drain the cooling system. Refer to Cooling System Draining and Filling in Engine Cooling.
- Lower the vehicle.
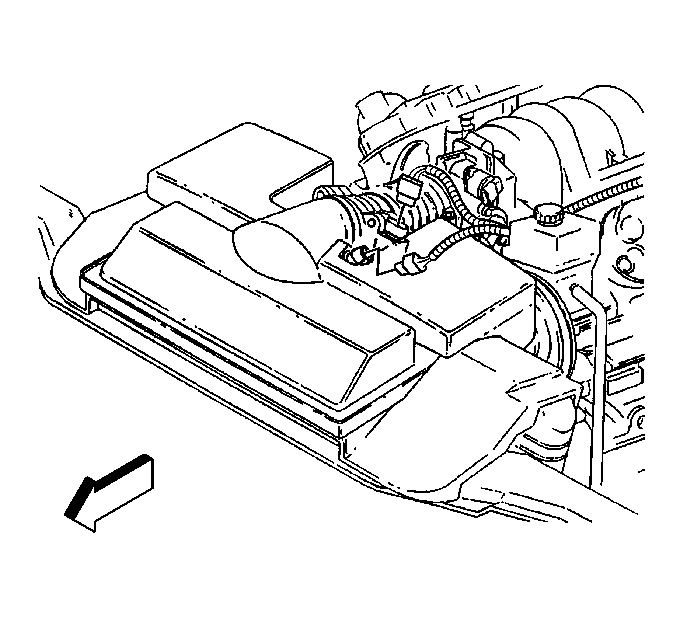
- Disconnect the intake air temperature (IAT) sensor electrical connector.
- Disconnect the mass airflow (MAF) sensor electrical connector.
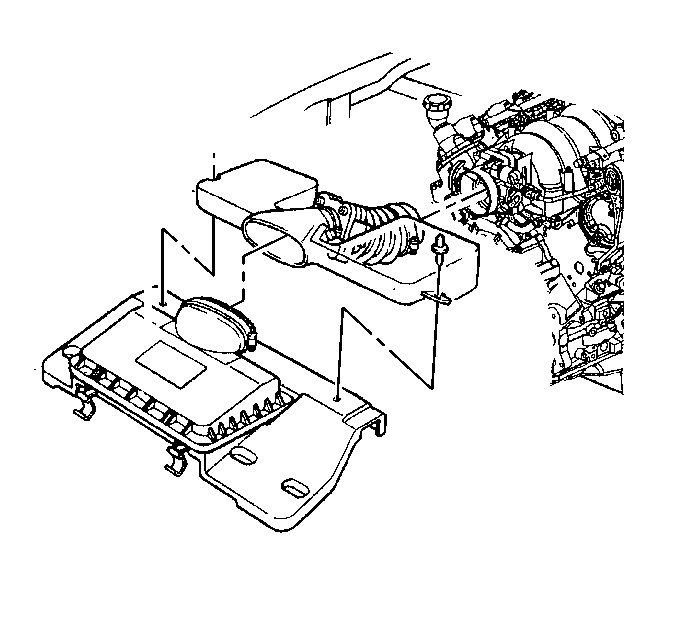
- Remove the air intake duct.
- Remove the air conditioning (A/C) drive belt. Refer to Air Conditioning Compressor Belt Replacement .
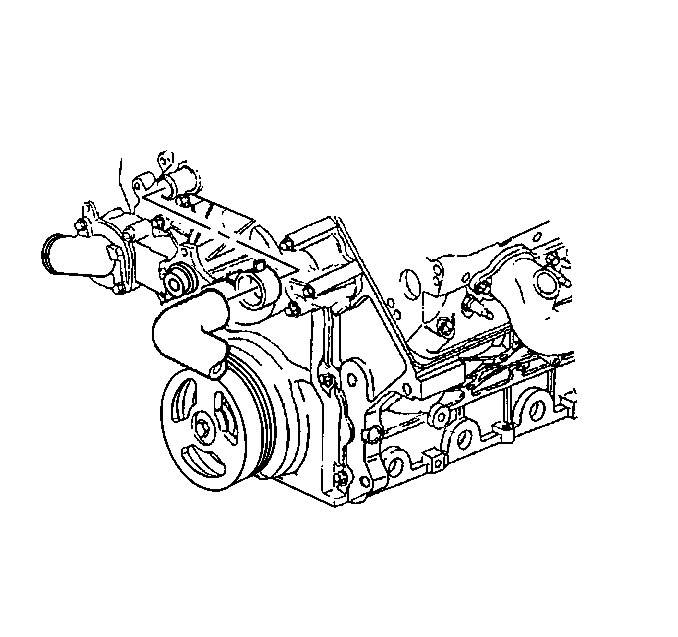
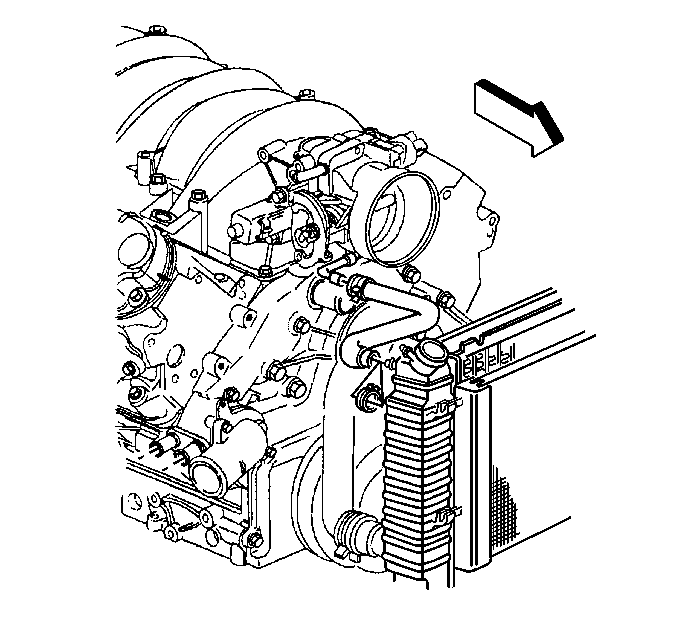
- Remove the upper radiator hose from the water pump.
- Remove the radiator hose from the water inlet housing.
- Remove the two heater hoses from the water pump.
- Remove the upper radiator support.
- Remove the fan shroud.
- Remove the drive belt tensioner. Refer to Drive Belt Tensioner Replacement - Accessory .
- Remove the overflow hose from the radiator.
- Remove the throttle body heater hose from the radiator.
- Remove the drive belt idler pulley. Refer to Drive Belt Idler Pulley Replacement - Accessory .
- Remove the water pump. Refer to Water Pump Replacement in Engine Cooling.
- Raise and suitably support the vehicle. Refer to Lifting and Jacking the Vehicle in General Information.
- Remove the crankshaft balancer. Refer to Crankshaft Balancer Replacement .
- Remove the oil pan-to-front cover bolts.
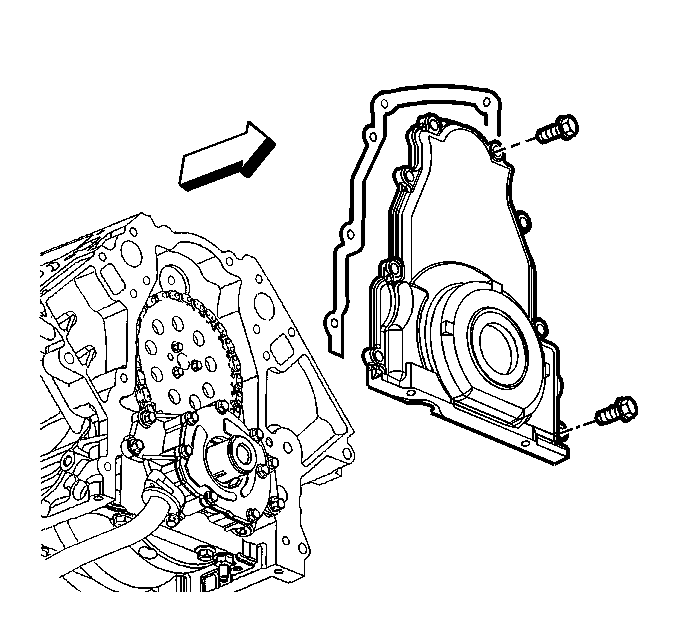
- Remove the front cover-to-engine block bolts.
- Remove the front cover and gasket.
- Discard the front cover gasket.
- Remove the crankshaft oil seal from the cover.
- Discard the oil seal.
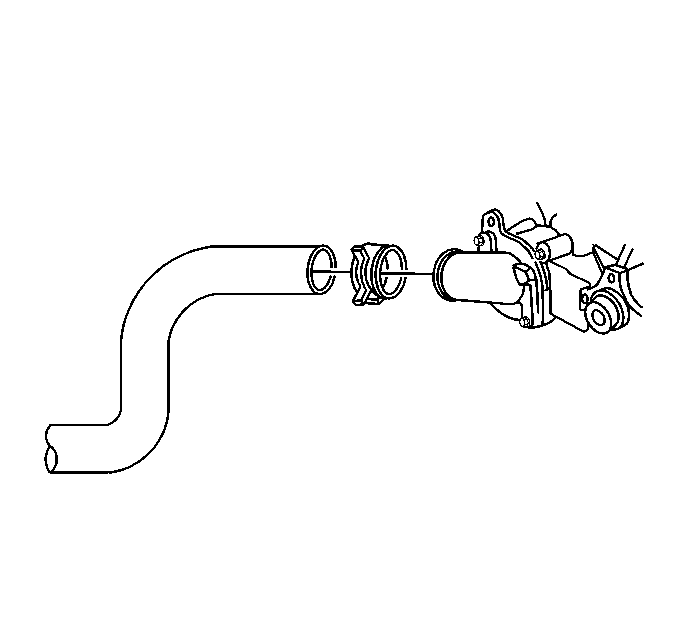
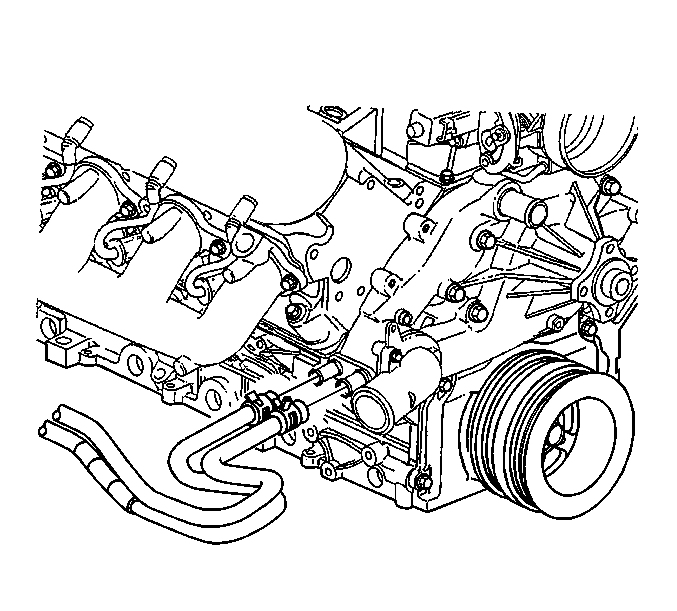
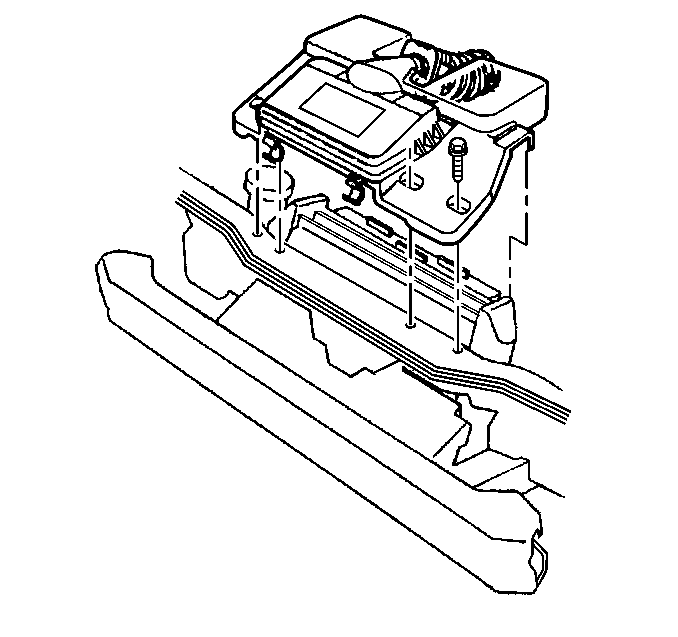
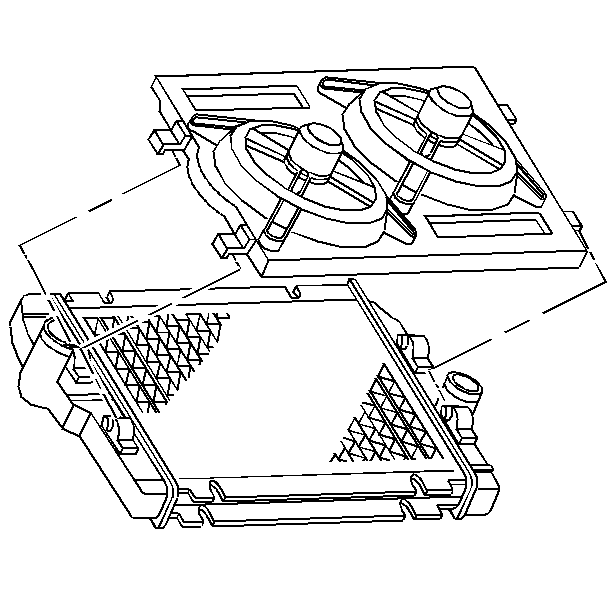
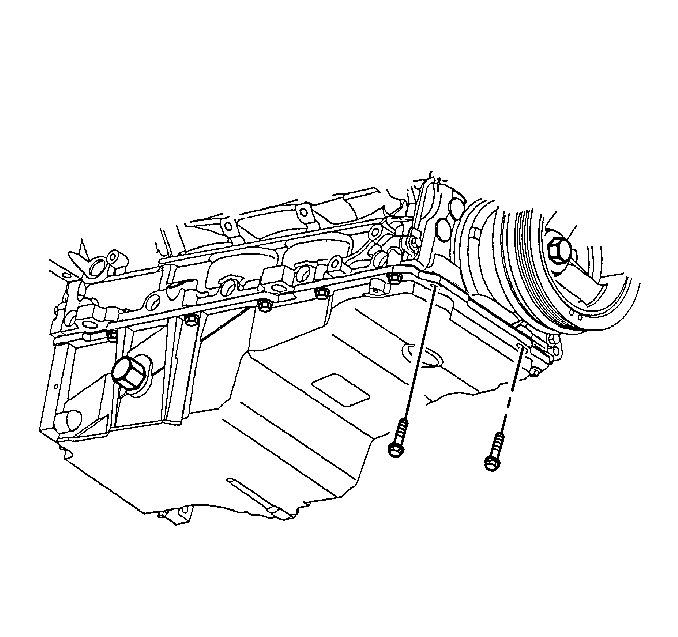
Important: Do not slide the front cover/gasket across the oil pan gasket or damage could result.
Installation Procedure
Tools Required
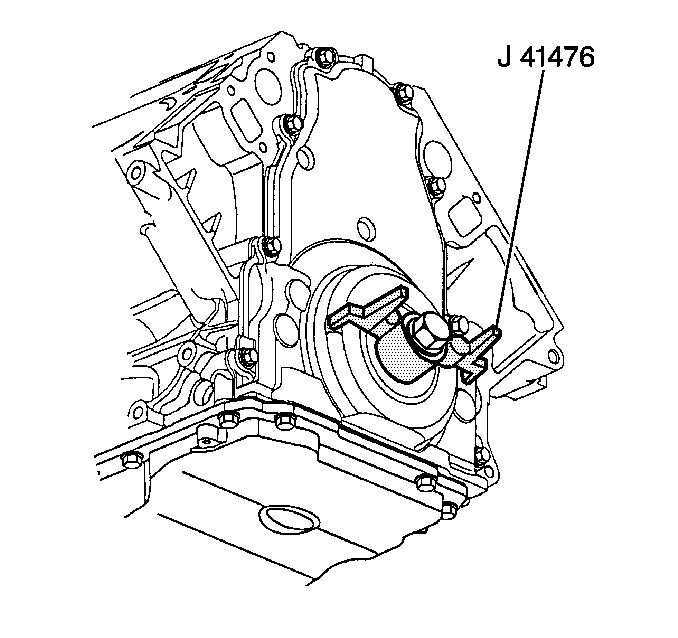
J 41476 Front/Rear Cover Alignment-Crankshaft Oil Seal Area
Important:
• Do not reuse the crankshaft oil seal or front cover gasket. • Do not slide the front cover/gasket across the oil pan gasket • The special tool in this procedure is used to properly align the
crankshaft front oil seal. • The crankshaft front oil seal MUST be centered in relation to
the crankshaft. • An improperly aligned front cover may cause premature front oil
seal wear and/or engine oil leaks.
- Install a NEW crankshaft oil seal to the front cover.
- Apply a 5 mm (0.20 in) bead of sealant GM P/N 12378190 to the corner where the oil pan meets the engine block.
- Install the front cover, gasket and bolts on to the engine.
- Install the front cover bolts finger tight. Do not overtighten.
- Install the oil pan-to-front cover bolts until snug in order to position the cover at the pan rail.
- Install the J 41476 to the front cover.
- Align the tapered legs of the J 41476 with the machined alignment surfaces on the front cover.
- Install the crankshaft balancer bolt until snug. Do not overtighten.
- Tighten the oil pan bolts in the following order:
- Tighten the oil pan-to-front cover bolts to 25 N·m (18 lb ft).
- Tighten the engine front cover bolts to 25 N·m (18 lb ft).
- Remove the J 41476 .
- Install the crankshaft balancer. Refer to Crankshaft Balancer Replacement .
- Lower the vehicle.
- Install the water pump. Refer to Water Pump Replacement in Engine Cooling.
- Install the drive belt idler pulley. Refer to Drive Belt Idler Pulley Replacement - Accessory .
- Install the throttle body heater hose to the radiator.
- Install the overflow hose to the radiator.
- Install the drive belt tensioner. Refer to Drive Belt Tensioner Replacement - Accessory .
- Install the fan shroud.
- Install the upper radiator support.
- Install the lower radiator hose to the water inlet housing.
- Install the upper radiator hose to the water pump.
- Install the two heater hoses from the water pump.
- Install the A/C drive belt. Refer to Air Conditioning Compressor Belt Replacement .
- Install the air intake duct.
- Connect the MAF sensor electrical connector.
- Connect the IAT sensor electrical connector.
- Refill the cooling system. Refer to Cooling System Draining and Filling in Engine Cooling.
- Install the electrical connectors to the fan shroud.
- Install the rosebud clips to the fan shroud.


Tighten


Tighten
Tighten the radiator support/air cleaner bolts to 12 N·m
(106 lb in).


