For 1990-2009 cars only
Removal Procedure
Tools Required
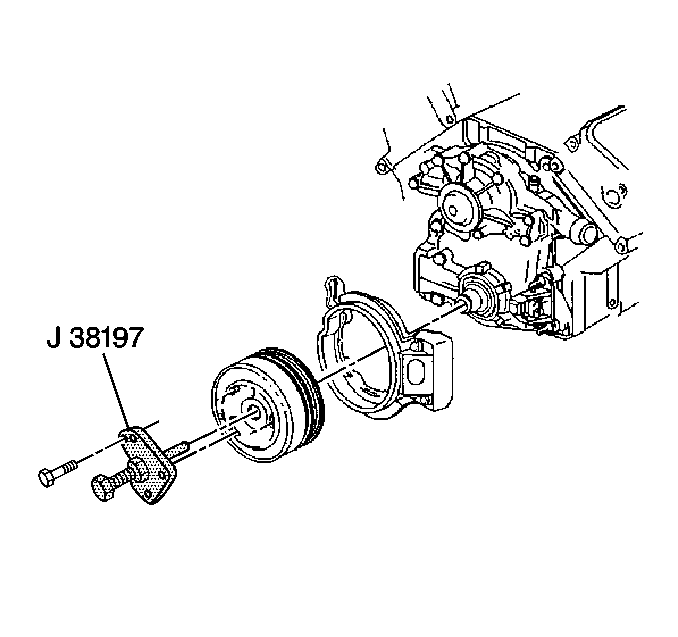
| • | J 38197-A Crankshaft Balancer Puller |
| • | J 37096 Flywheel Holding Tool |
| • | J 36660-A Torque Angle Meter |
- Disconnect the negative battery cable.
- Remove the drive belt. Refer to Drive Belt Replacement .
- Raise the vehicle. Support the vehicle suitably. Refer to SECTION 0A.
- Remove the starter motor. Refer to SECTION 6D2.
- Remove the transmission braces.
- Remove the transmission cover pan.
- Use the J 37096 in order to hold the flywheel.
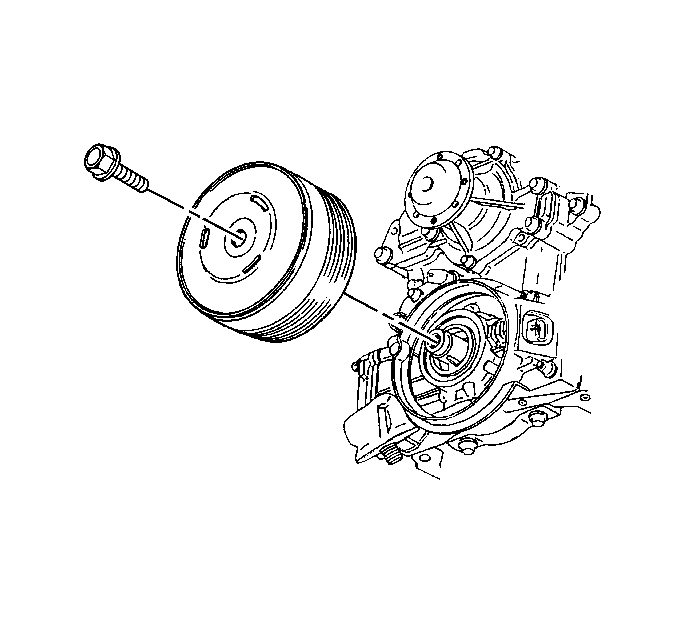
- Remove the crankshaft balancer bolt.
- Remove the crankshaft balancer using J 38197-A . Use 1/4 in bolts in order to attach to the pulley and screw in 1/4 in.
Important: The crankshaft balancer is serviced as an assembly. Do not attempt to separate the pulley from the balancer hub.

Installation Procedure
- Install the crankshaft balancer.
- Install the crankshaft balancer bolt.
- Install the transmission cover pan.
- Install the transmission braces.
- Install the starter motor. Refer to SECTION 6D4.
- Lower the vehicle.
- Install the drive belt. Refer to Drive Belt Replacement .
- Connect the negative battery cable.

Tighten
Tighten the balancer bolt to 150 N·m (111 lb ft).
Use the J 36660-A
in order
to rotate the bolt an additional 76 degrees.
