For 1990-2009 cars only
Removal Procedure
Tools Required
| • | J 8001 Dial Indicator |
| • | J 36660-A Torque Angle Meter |
| • | J 36995 Balance Shaft Rear Bushing Installer |
| • | J 36996 Balance Shaft Installer |
| • | J 6125-1B Slide Hammer |
- Recover the refrigerant. Refer to SECTION 1B.
- Remove the radiator with the A/C condenser. Refer to SECTION 6B.
- Remove the rear oil seal housing.
- Remove the upper intake manifold. Refer to Intake Manifold Replacement .
- Remove the lower intake manifold. Refer to Intake Manifold Replacement .
- Remove the valve lifter guide retainer.
- Remove the engine front cover. Refer to Engine Front Cover Replacement .
- Remove the balance shaft gear bolt.
- Remove the camshaft sprocket.
- Remove the balance shaft driven gear.
- Remove the balance shaft retainer bolts.
- Remove the balance shaft retainer.
- Remove the balance shaft gear.
- Remove the balance shaft. Use the J 6125-1B .
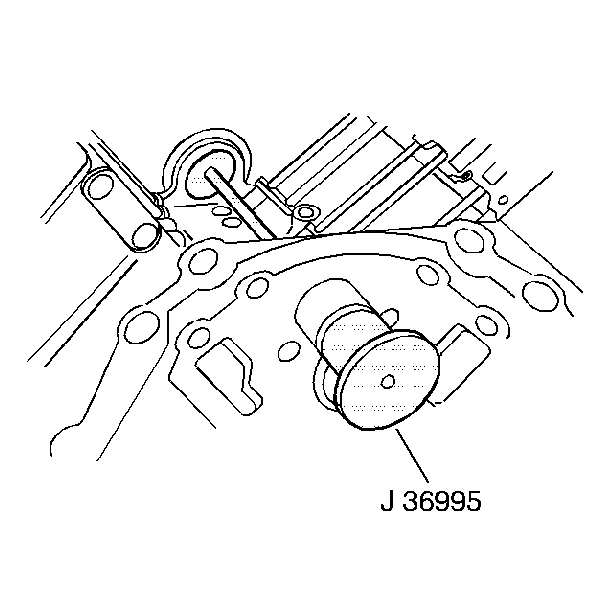
- Remove the balance shaft rear bushing. Use the J 36995 Balance Shaft Rear Bushing Installer
- Inspect the balance shaft gear and camshaft gear for nicks and burrs.
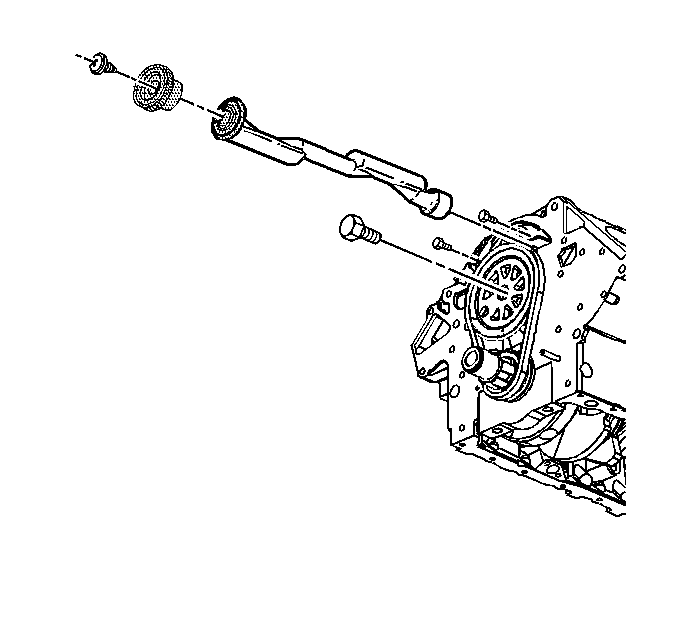
Important: The balance shaft, front bearing, and rear bushing are serviced as a complete package. Use only the correct tools for bearing, bushing, and shaft installation.
Installation Procedure
- Dip the balance shaft rear bushing in clean engine oil before installation.
- Install the balance shaft rear bushing. Use the J 36995 .
- Remove the J 36995 assembly.
- Apply clean engine oil to the balance shaft inner race and front balance shaft bearing before installation.
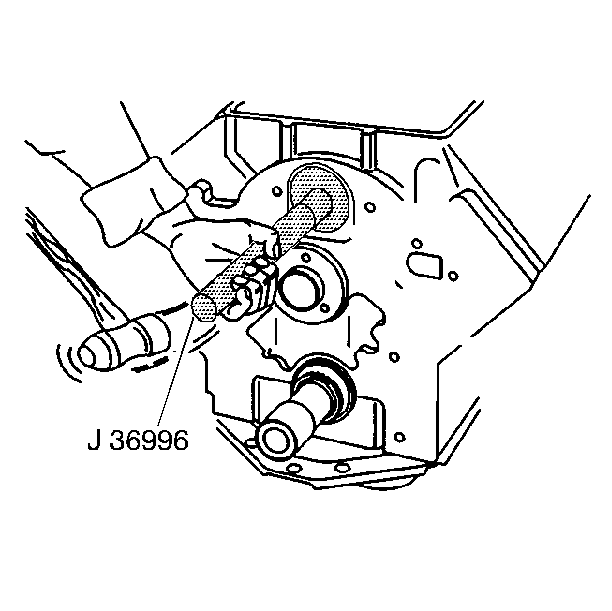
- Install the balance shaft. Use the J 36996 and the J 36996 .
- Temporarily install the balance shaft retainer.
- Temporarily install the balance shaft retainer bolts.
- Install the balance shaft gear.
- Apply thread lock compound GM P/N 12345493 or equivalent to the bolt threads.
- Install the balance shaft gear bolt.
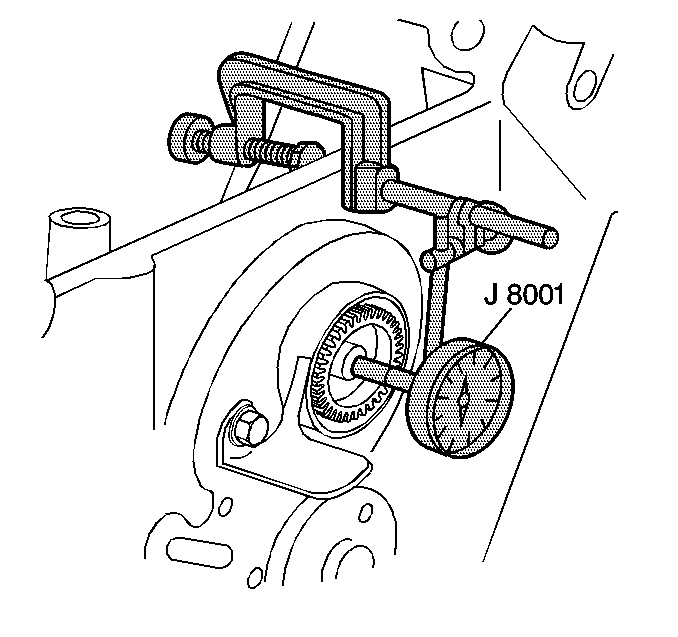
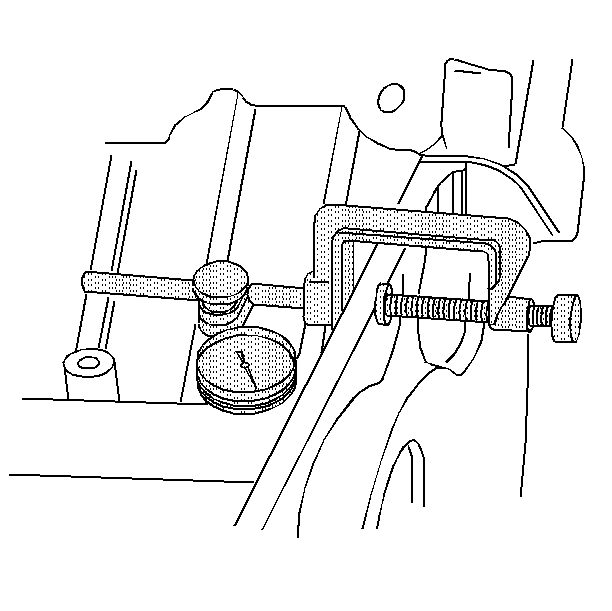
- Measure the balance shaft end play.
- Measure the front balance shaft radial play. Refer to specifications.
- Measure the rear balance shaft radial play. Refer to specifications.
- Turn the camshaft, with the camshaft sprocket temporarily installed, so that the timing mark is straight down.
- With the camshaft sprocket and the balance shaft driven gear removed, turn the balance shaft so that the timing mark on the balance shaft gear points straight down.
- Align the marks on the balance shaft gear and the balance shaft driven gear by turning the balance shaft.
- Install the balance shaft driven gear.
- Turn the crankshaft so that the number one piston is at top dead center.
- Install the camshaft sprocket. Refer to Camshaft Replacement.
- Install the timing chain.
- Measure the balance shaft gear lash at four places, every 1/4 turn. The lash should be 0.050 to 0.127 mm (0.002 to 0.005 in).
- Install the balance shaft retainer.
- Install the balance shaft retainer bolts.
- Install the engine front cover. Refer to Engine Front Cover Replacement .
- Install the lifter guide retainer.
- Install the lower intake manifold. Refer to Intake Manifold Replacement .
- Install the upper intake manifold. Refer to Intake Manifold Replacement .
- Install the rear oil seal housing.
- Install the radiator with the A/C condenser. Refer to SECTION 6B.
- Charge the A/C system. Refer to SECTION 1B.
Important: Install the bushing with the lubrication hole facing the flywheel side. The J 36995 assures that the rear bushing is installed in the engine block to the correct depth. The bushing will be installed properly when the J 36995 fully contacts the balance shaft bore or the cylinder block transaxle mounting flange.
Tighten
Tighten the balance shaft gear bolt to 22 N·m (16 lb ft).
Use the J 36660-A
in order
to rotate an additional 70 degrees.


Tighten
Tighten the balance shaft retainer bolts to 30 N·m (22 lb ft).
