For 1990-2009 cars only
Removal Procedure
- Remove the instrument panel (I/P) storage compartment door. Refer to Instrument Panel Compartment Door Replacement in Instrument Panel, Gages, and Console.
- Remove the right sound insulator. Refer to Instrument Panel Insulator Panel Replacement - Right Side in Instrument Panel, Gages, and Console.
- Remove the dash integration module (DIM) from the bracket by releasing the tab behind the module.
- Remove the rear 2 DIM bracket screws.
- Reposition the DIM bracket to gain access to the recirculation actuator.
- Reposition the I/P wiring harness to access the actuator.
- Remove the electrical connector from the recirculation actuator.
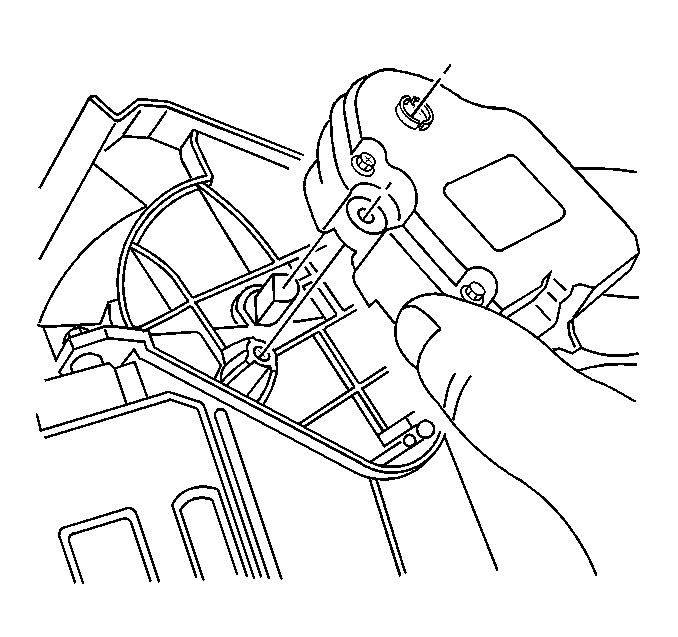
- Remove the recirculation actuator retaining screws.
- Remove the recirculation actuator.


Installation Procedure
- Install the recirculation actuator.
- Install the recirculation actuator retaining screws.
- Install the electrical connector to the recirculation actuator.
- Reposition the I/P wiring harness.
- Position the DIM bracket to the original position.
- Install the rear 2 DIM bracket retaining screws.
- Install the DIM into the bracket.
- Install the right sound insulator. Refer to Instrument Panel Insulator Panel Replacement - Right Side in Instrument Panel, Gages, and Console.
- Install the I/P storage compartment door. Refer to Instrument Panel Compartment Door Replacement in Instrument Panel, Gages, and Console.
- Recalibrate the actuator. Refer to Actuator Recalibration .

Notice: Refer to Fastener Notice in the Preface section.
Tighten
Tighten the screws to 1.4 N·m (12 lb in).

Tighten
Tighten the screws to 1.4 N·m (12 lb in).
