For 1990-2009 cars only
Removal Procedure
- Put the window in the down position.
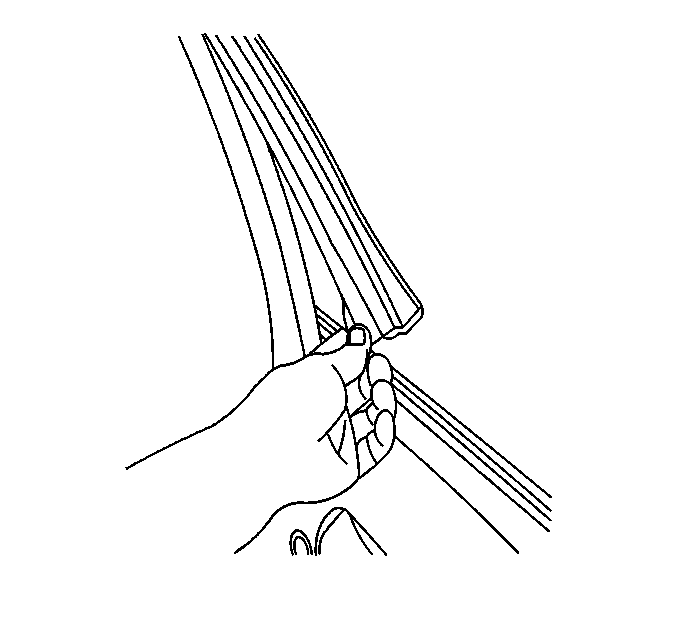
- Grasp the window weatherstrip at the lower rear corner.
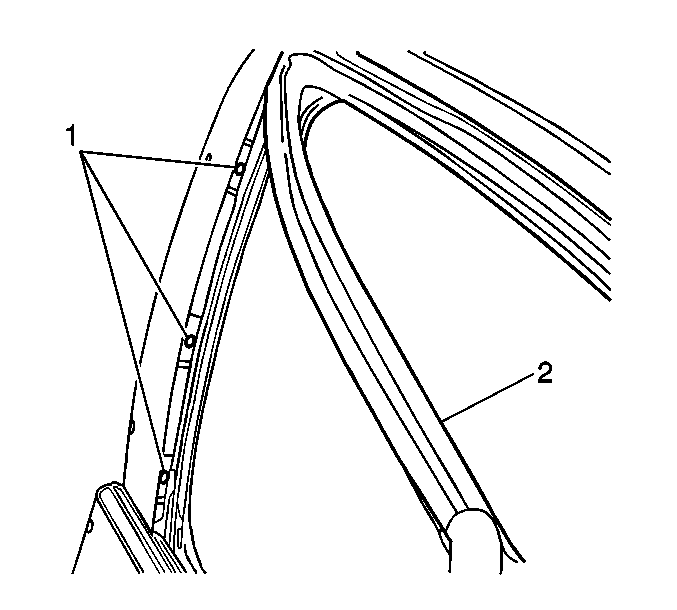
- Pull up and forward to release the window weatherstrip from the door frame far enough to expose the door applique fasteners.
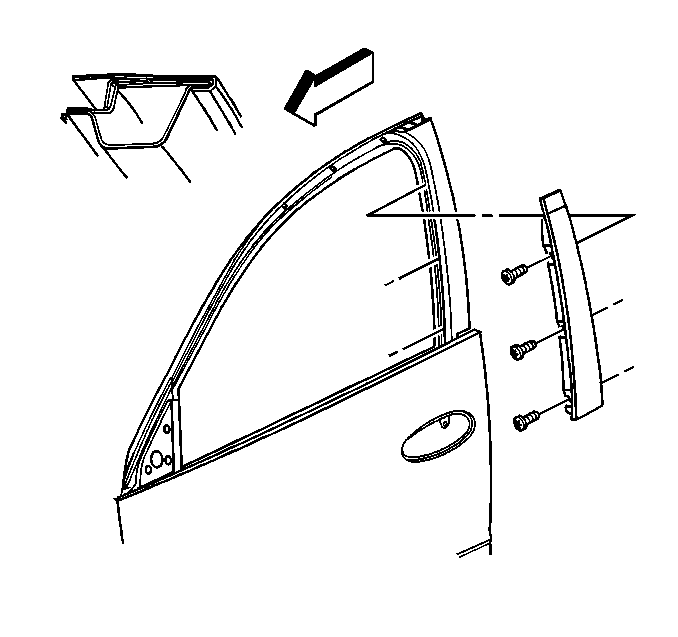
- Remove the door applique fasteners (1).
- Detach the rear portion of outer belt molding. Refer to Front Side Door Window Belt Outer Sealing Strip Replacement .
- Remove the door applique by sliding outward, rearward and down.
Installation Procedure
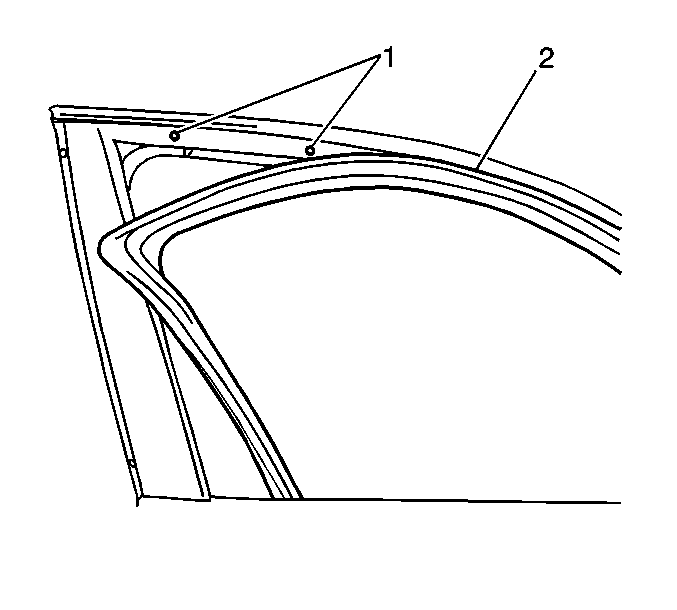
- Pull enough of the window weatherstrip (2) out of the door frame to expose the 2 rearward upper auxiliary molding fasteners (1).
- Remove the fasteners (1).
- Prep the weatherstrip for installation.
- Install the applique by sliding forward over the door frame, under the upper auxiliary molding.
- Install the upper auxiliary molding fasteners. Refer to Front Side Door Upper Auxiliary Weatherstrip Replacement .
- Install the applique fasteners.
- Snap the rear portion of the outer belt molding into place. Refer to Front Side Door Window Belt Outer Sealing Strip Replacement .
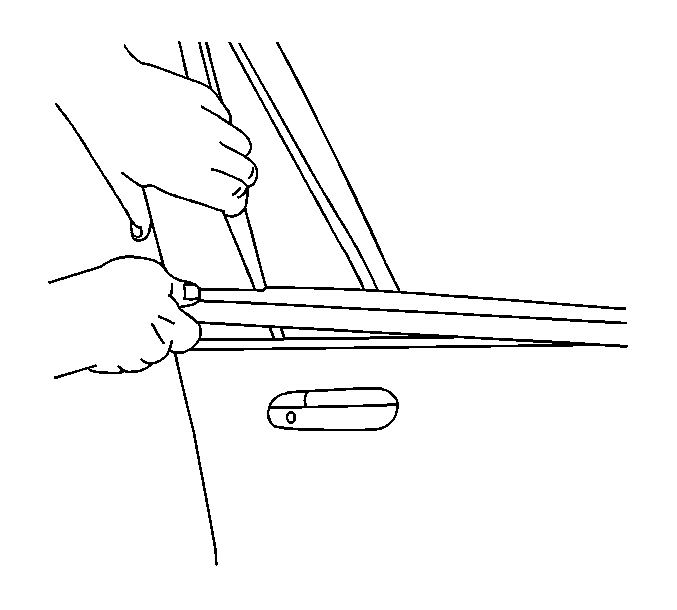
- Install the rear portion of the window weatherstrip (1).
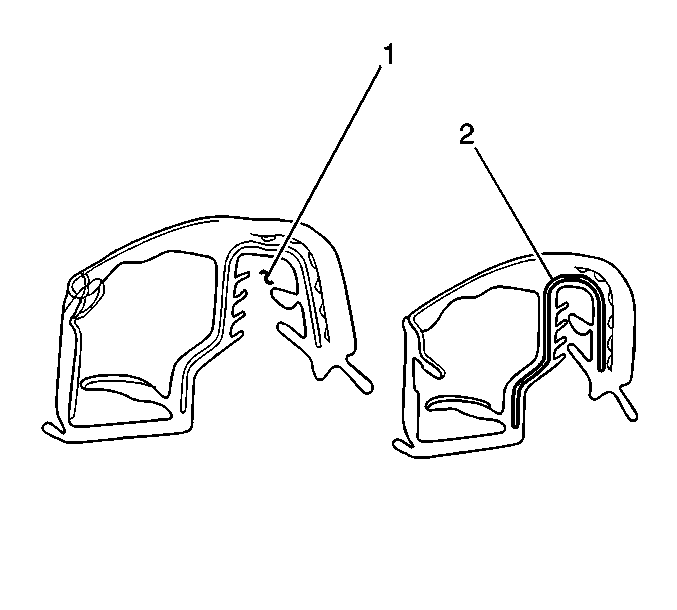
Important: When reusing the window weatherstrip, the flange mounting area (1) must be pinched together to counteract the splaying effect when removed. Use thumb and index finger to pinch the carrier (2) back together. Work from one end of the weatherstrip to the other.
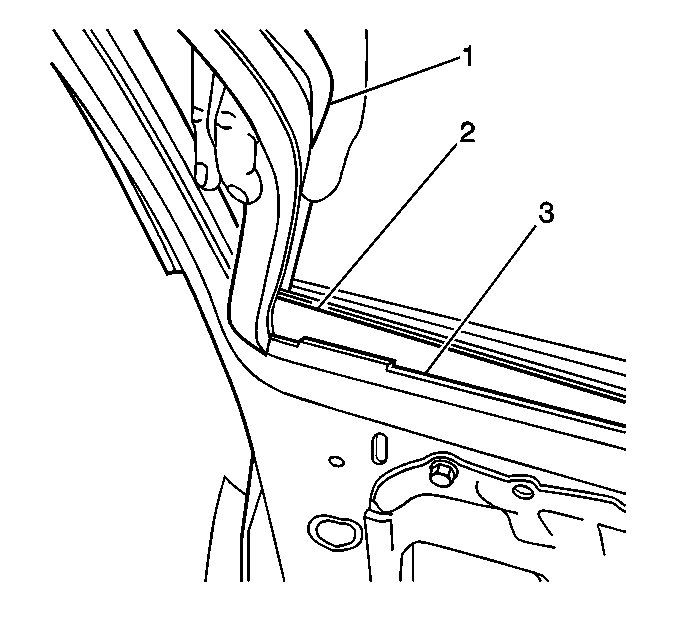
| 8.1. | Slide the end down into the door frame, making sure the window (2) is in the run channel. |
| 8.2. | Squeeze and push the remaining portion of the window weatherstrip into the door frame. |
