Caution: If any removable convenience item is not secured properly, it can move around in a collision or sudden stop. People in the vehicle could be injured. Be sure to secure any such item properly.
Your vehicle may have a sliding rear convenience tray. The sliding rear convenience tray can be pulled out onto the tailgate making it easier to load or unload items.
To use the tray, do the following:
- Push the release lever located in front of the handle of the tray to release the pin from the floor track assembly.
- Pull the tray toward you without lifting it up. You will hear a click when the tray is locked into the extended position.
- Push the release lever again to roll the tray back into the vehicle. You will hear a click when the tray is locked into position.
The sliding rear convenience tray also has storage areas in it. Pull up on the covers to open them. Be sure to close the covers once you are done loading or unloading them.
The sliding rear convenience tray has a maximum weight capacity of 400 lbs. (181.4 kg) on top.
Notice: Overloading your vehicle may cause damage. Repairs would not be covered by your warranty. Do not overload your vehicle.
Removing the Sliding Rear Convenience Tray
- Make sure that all items have been removed from the top and the inside of the sliding rear convenience tray.
- Push down on the release lever and pull the tray fully rearward onto the tailgate until you hear a click.
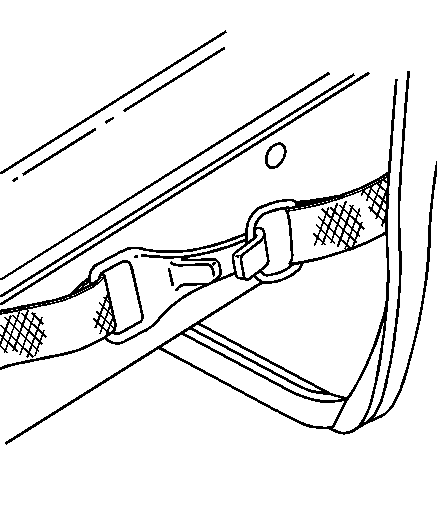
- Disconnect the tethered ring from the hook and place the tethered ring on the outer edge of the tailgate on each side of the vehicle.
- Push down on the release lever and roll the tray into the vehicle approximately 6 inches (15.2 cm).
- Use the handle to lift up on the tray while pulling it towards you. Use your other hand to support and lift the tray from the bottom. Remove the tray from the vehicle.
The rear of the tray has rollers for you to move it on the ground, in an upright position, without having to carry it.
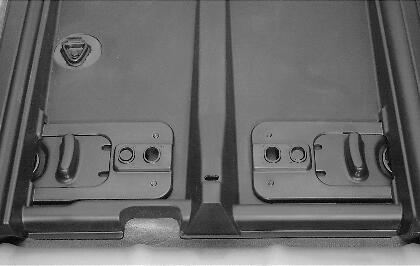
Removing the Floor Track Assembly
After the tray is removed, the floor track assembly also needs to be removed. Items should not be put onto the floor track assembly.
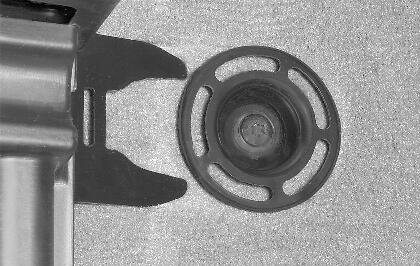
- Feed the tethered ring through the rear lower sidewall loop on each side of the vehicle.
- Unlock the slide locks from the two rear floor retainers by pushing the button down and pressing them inward.
- Disengage the front forks from the retainers by lifting and pulling the assembly toward you.
Replacing the Floor Track Assembly
Before beginning this procedure make sure that nothing is in the rear of the vehicle.
- Slide the floor track assembly in while aligning the front forks, located on the bottom front of the track assembly, so that the forks slide under the two front floor retainers.
- Insert the slide locks under the two rear floor retainers by pushing the button down and pressing them outward.
- Feed the tethered ring upward through the lower sidewall loop on each side of the vehicle.
- Push and pull on the floor track assembly to make sure it is locked into place.
You may have to apply downward pressure to the floor track assembly to engage the slide locks under the floor retainers.
Double check to ensure that the slide locks are engaged under the retainers and locked into place.
Make sure that the tethered ring is placed on the outer edge of the tailgate, on each side of the vehicle, for later attachment to the tray.
Replacing the Sliding Rear Convenience Tray
The floor track assembly must be installed first for the sliding rear convenience tray to stay locked into place. See "Replacing the Floor Track Assembly" listed previously for more information.
- Pick up the tray by the handle and support the tray from the bottom with your other hand.
- Place the tray onto the floor track assembly. Make sure that the two front axles are placed over the hooks on the rear of the floor track assembly. There are four axles on the bottom of the tray, two in front and two in back.
- Roll the tray forward into the vehicle until you hear a click.
- Press the release lever and pull the tray onto the tailgate. Connect the hook to the tethered ring located on each side of the sliding rear convenience tray.
- Push the release lever and roll the tray back into the vehicle.
Make sure the rollers on the bottom of the tray are located in the tracks of the floor track assembly.
You will hear a click when the tray is locked into position.
