For 1990-2009 cars only
Front Side Door Molding Replacement Aztek
Tools Required
J 25070 Heat Gun
Removal Procedure
- Use a heat gun J 25070 .
- Use a plastic, flat-bladed tool to remove the upper edge of the front door body side molding from the surface.
- Pull the upper edge of the front door body side molding out, in order to release the retainers.
- Remove the front door body side molding from the door.
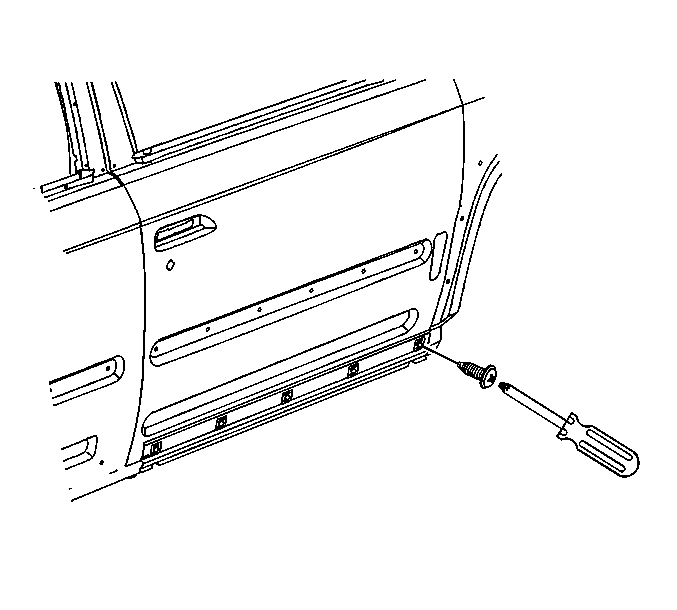
- Drill a small hole into the center of the center retainer pins of the support retainer.
- Install a small screw into the hole in the center retainer pin.
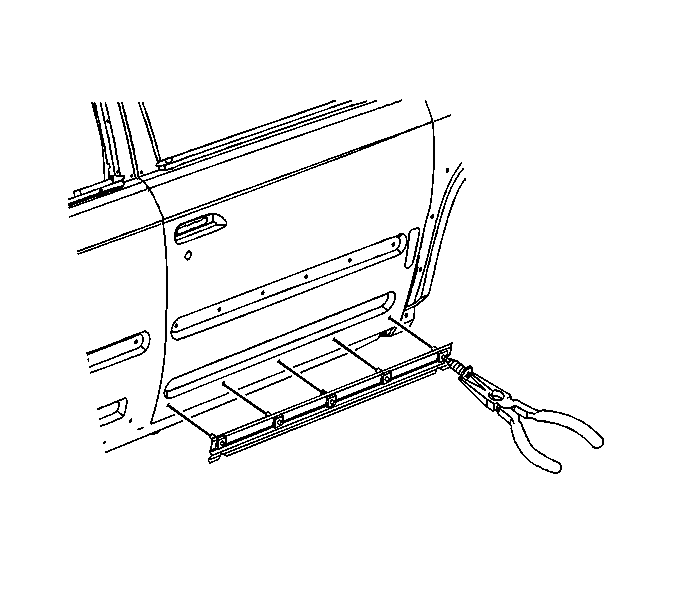
- Remove the center retainer pin using small pliers and pulling out the center retainer pin.
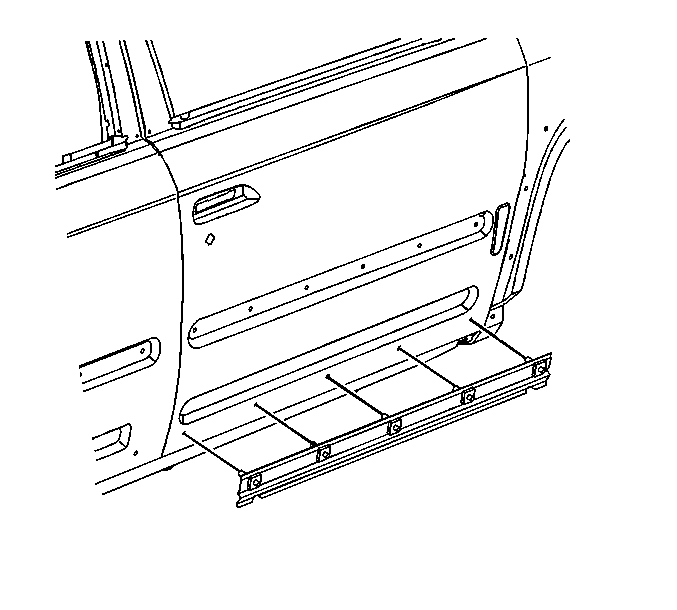
- Remove the front door body side molding support from the door.
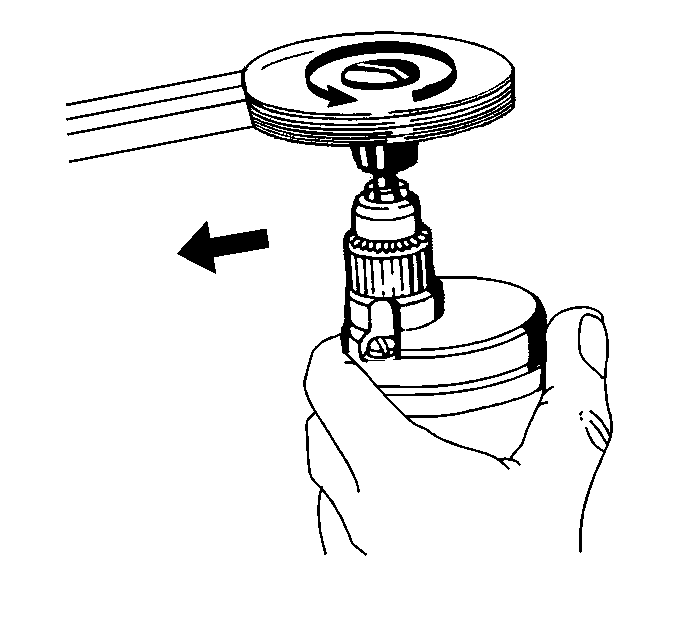
- Remove all adhesive from the rear door body panel using 3M™ ScotchBrite molding adhesive remover disk 3M™ P/N 07501 or equivalent.
- Clean the rear door panel surface using Varnish Makers and Painters (VMP) naphtha and allow to air dry.
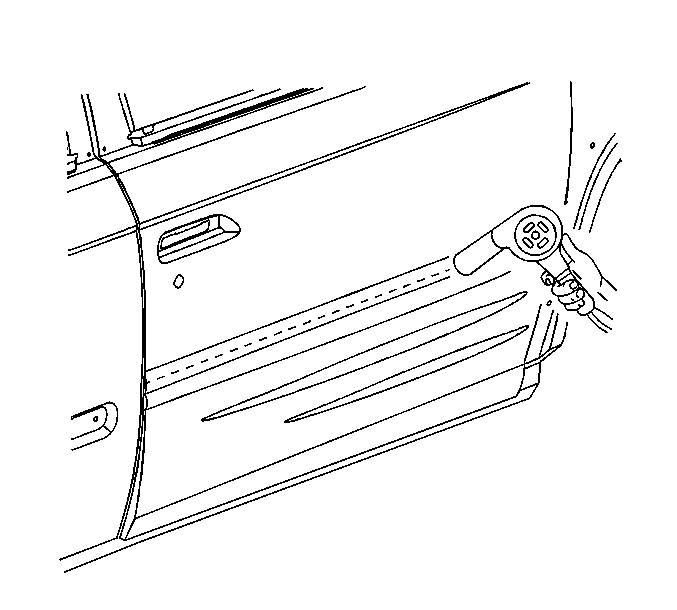
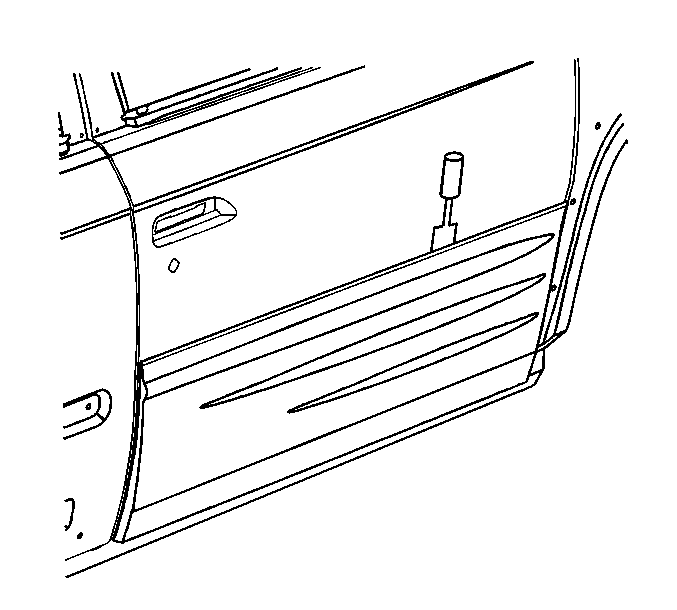
Notice: Use a plastic, flat-bladed tool to prevent paint damage when removing an emblem/name plate.
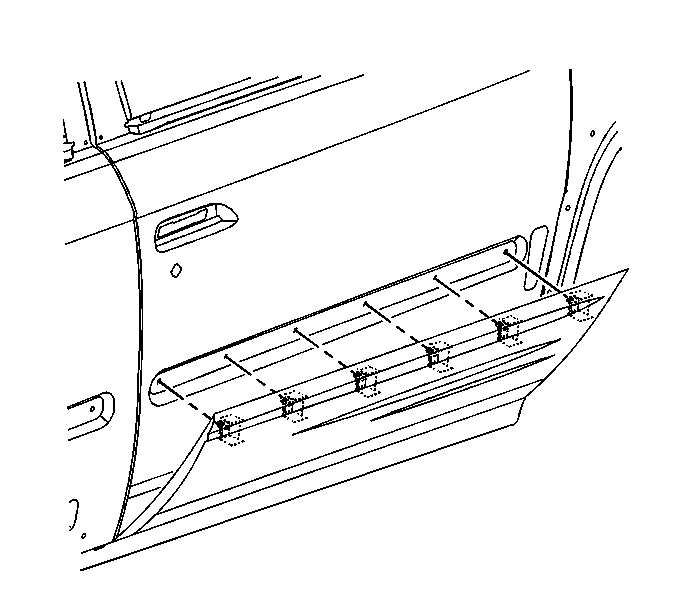
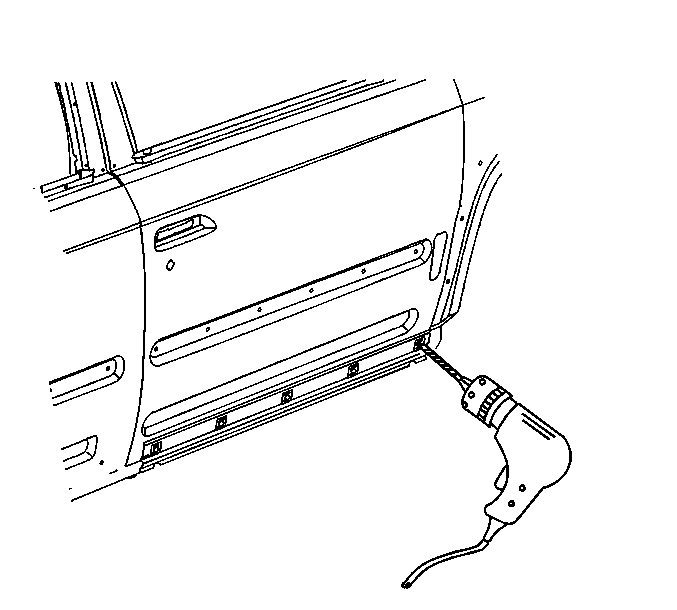
Caution: Wear safety glasses in order to avoid eye damage.
Installation Procedure
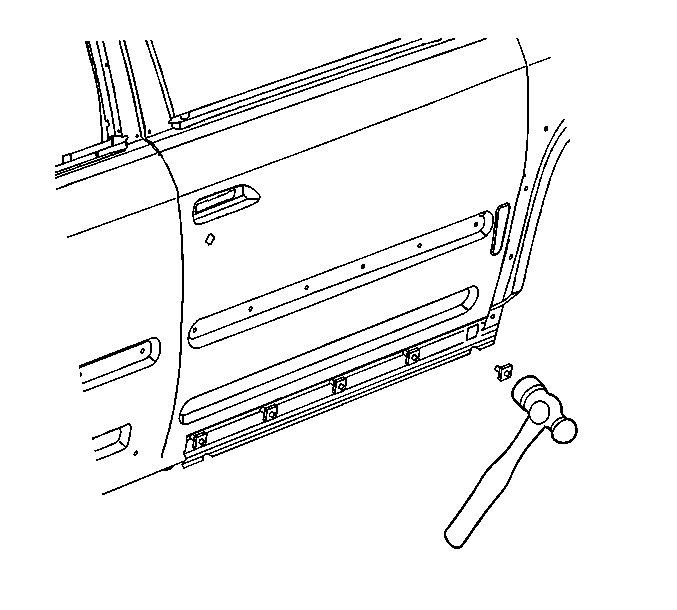
- Position the support retainer with the notch down and the retainers to the holes in the door panel.
- Install in the center pins of the retainers using a small hammer.
- Use a heat gun J 25070 .
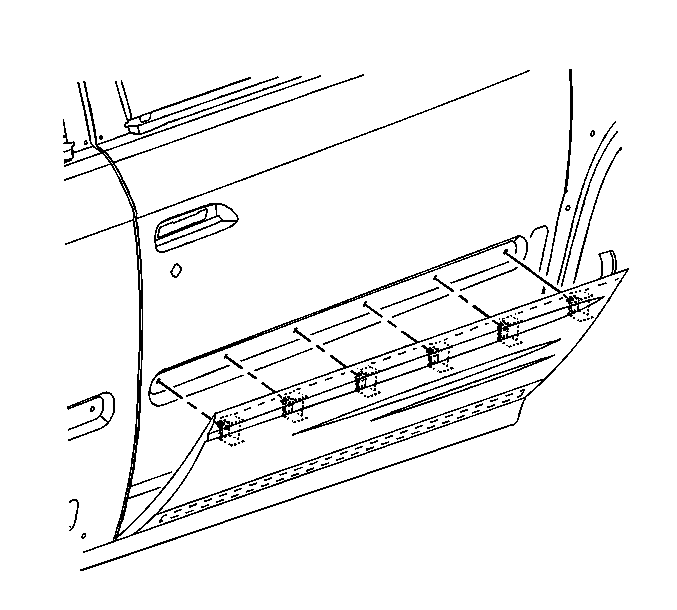
- Position the lower flange of the front door body side molding to the retainer support and align the tab to the notch in the retainer support.
- Remove the protective liner from the back side of the door body side molding.
- Position the upper edge of the front door body side molding retainer clips to the holes in the door panel.
- Install the retainer clips to the door panel by pressing in until fully seated.
- Install the upper edge of the front door body side molding by applying pressure to the entire length of the molding starting at the center and working outward to ensure a maximum bond to the door panel.

Important: Do not touch the adhesive backing on the molding.
