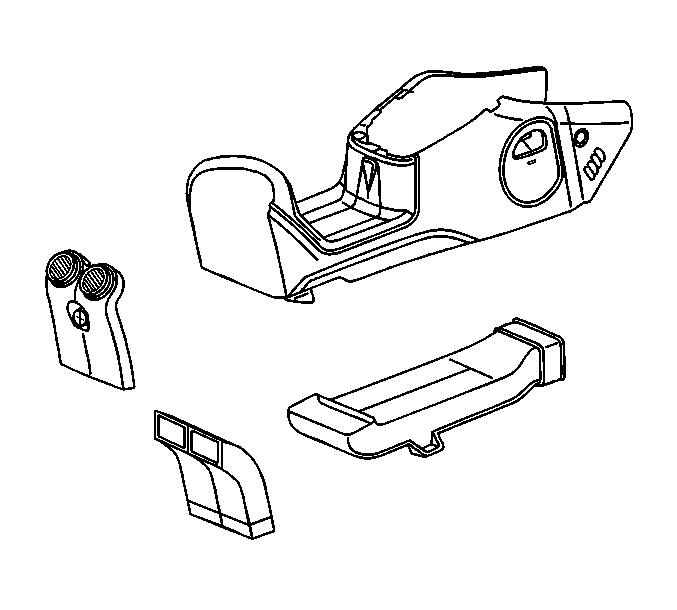
Floor Console Auxiliary Air Outlet Replacement Aztek
Removal Procedure

- Remove the rear section of the console trim panel. Lift up and towards the rear
to release the clips.
- Disconnect the rear power supply electrical connector.
- Remove the rear duct screws.
- Remove the rear duct from the console.
- If you are replacing the center section of the console duct, perform the
following procedure:
| 5.2. | Rotate the console so that the bottom side is up. |
| 5.3. | Remove the center duct screws. |
| 5.4. | Remove the center console duct from the console. |
Installation Procedure

- If you are replacing the center section of the console duct, perform the following
procedure:
| 1.1. | Install the center console duct to the console. |
Notice: Refer to Fastener Notice in the Preface section.
| 1.2. | Install the center console duct screws. |
Tighten
Tighten the screws to 1.5 N·m (13 lb in).
Important: Align the rear power supply harness away from the center mounting stud of the
rear duct.
- Install the rear duct to the console.
- Install the rear duct screws.
Tighten
Tighten the screws to 1.5 N·m (13 lb in).
- Connect the rear power supply electrical connector.
- Install the rear section of the console trim panel.


