For 1990-2009 cars only
Removal Procedure
Tools Required
J 38778 Door Trim Pad and/or Garnish Trim Clip Remover.
- Slide both front seats to their rearward position.
- Disconnect the negative battery cable.
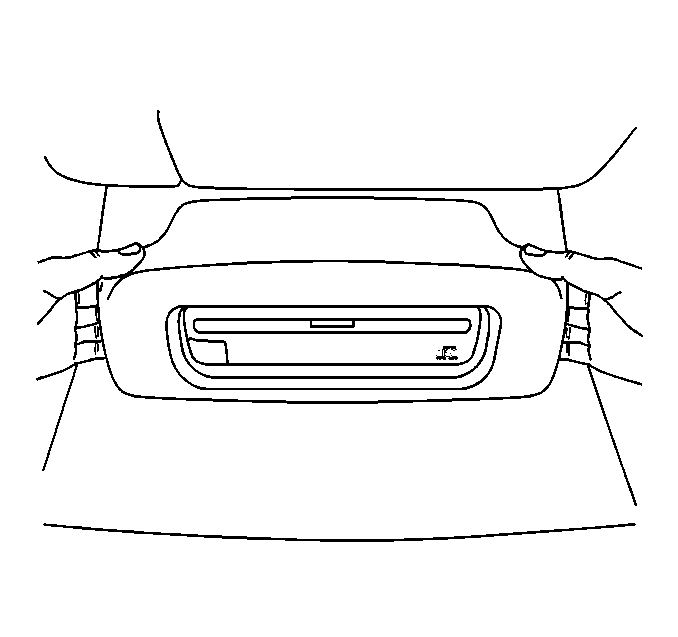
- Using your fingertips, grasp the CD player trim plate at the edges and pull to release the trim plate from the center console.
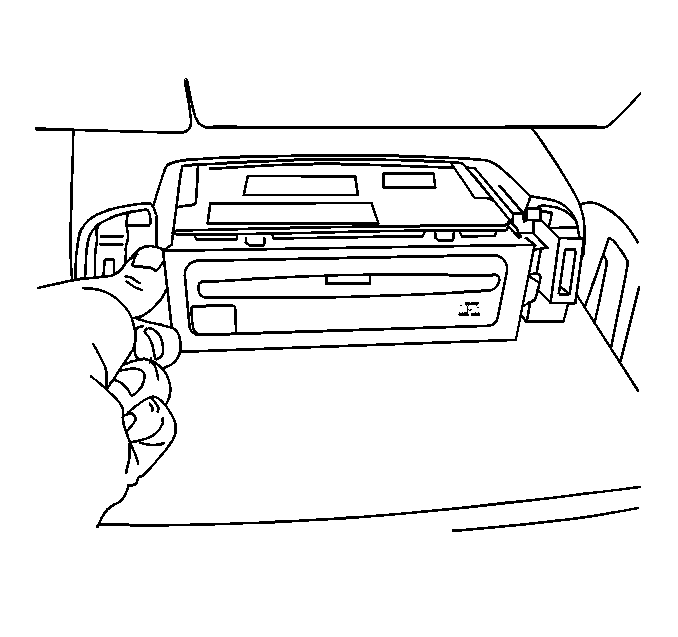
- Release the CD player by squeezing the slides on both sides of the CD player.
- Pull the CD player out of the center console.
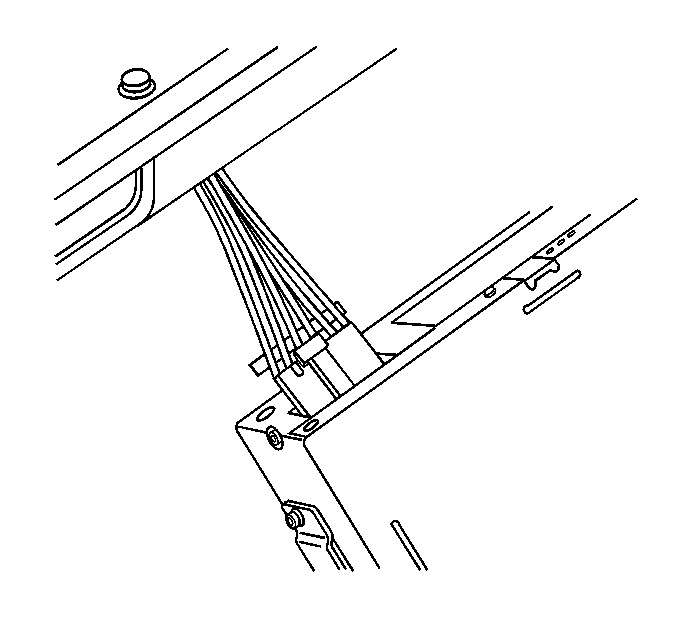
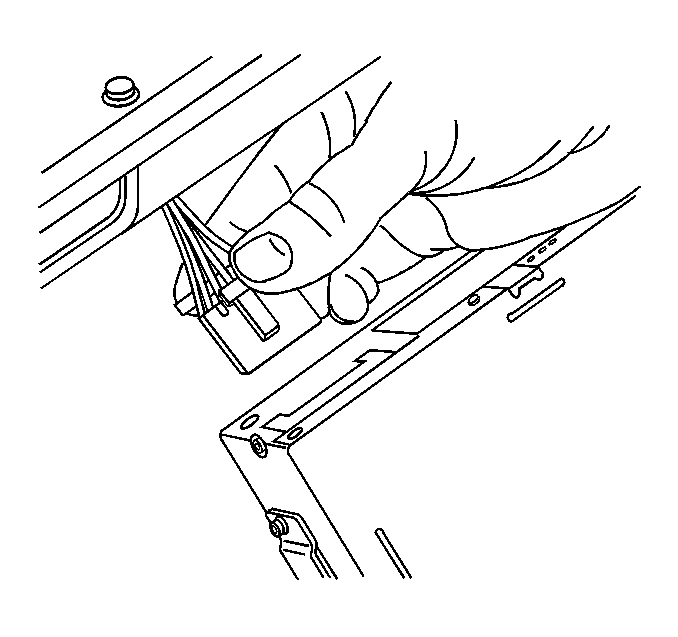
- Disconnect the electrical connector from the CD player.
- Locate the push-in fasteners that secure the bottom front edge of the video cassette player to the center console. Access can be gained through the video cassette storage opening.
- Use the J 38778 to remove the push-in fasteners.
- Reach through the opening in the center console and pull on the rear of the video cassette player disengage the tabs.
- Slide the video cassette player half way out of the center console.
- Disconnect the RCA jacks and the power feed wire from the video cassette player.
- Carefully slide the video cassette player completely out of the center console.
Caution: Unless directed otherwise, the ignition and start switch must be in the OFF or LOCK position, and all electrical loads must be OFF before servicing any electrical component. Disconnect the negative battery cable to prevent an electrical spark should a tool or equipment come in contact with an exposed electrical terminal. Failure to follow these precautions may result in personal injury and/or damage to the vehicle or its components.
Installation Procedure
- Carefully slide the video cassette player half way into the center console.
- Connect the RCA jacks and power feed wire to the video cassette player.
- Slide the video cassette player completely into the center console until it locks into place.
- Reach through the CD player opening in the center console and install the foam insulator between the top of the video cassette player and the center console.
- Connect the CD player electrical connector to the CD player.
- Slide the CD player into the center console until it locks into place.
- Install two push-in fasteners securing the bottom of the video cassette player to the center console.
- Install the CD player trim plate to the center console.
- Connect the negative battery cable.
- Return both front seats to their original position.
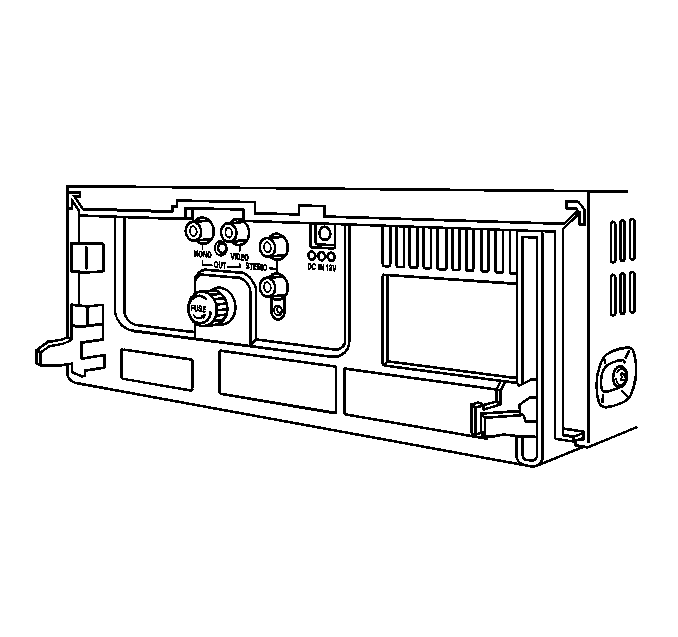
| 2.1. | The red RCA pin connects to the red RCA jack. |
| 2.2. | The black RCA pin connects to the white RCA jack. |
| 2.3. | The yellow RCA pin connects to the yellow RCA jack. |
| 2.4. | The black power feed connects to the video cassette player power feed jack. |
| 2.5. | Do not use the black RCA jack on the video cassette player. |
