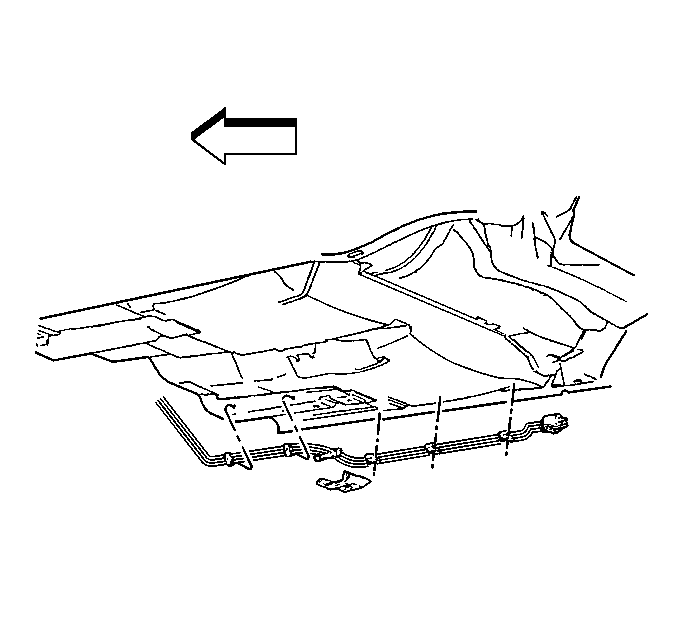
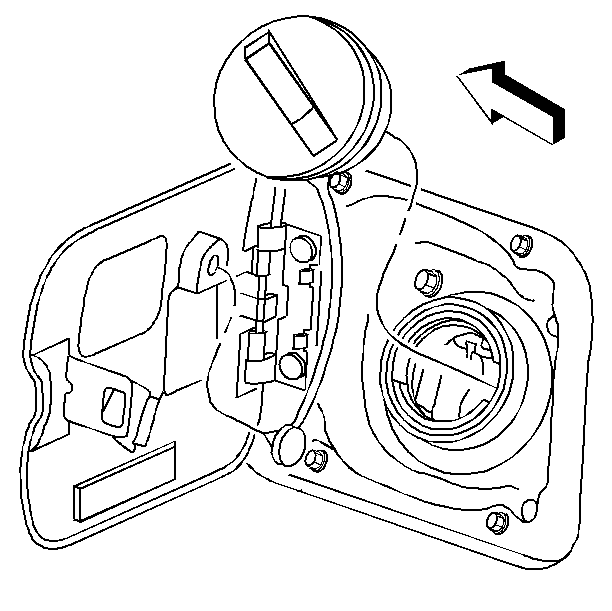
For 1990-2009 cars only
Removal Procedure
Tools Required
J 34730 Fuel Pressure Gauge
Important: There is no service interval for in-line fuel filter replacement. Only replace the in-line fuel filter if it is restricted.
- Relieve the fuel system pressure. Refer to the Fuel Pressure Relief .
- Raise the vehicle.
- Remove the quick-connect fitting at the fuel feed line (2). Refer to Plastic Collar Quick Connect Fitting Service .
- Remove the threaded connection (5) at in-line fuel filter (1).
- Inspect the fuel lines, O-rings for cuts, swelling, cracks, and distortion. Replace the lines as required.
- Inspect the fuel return line (3).
- Inspect the fuel vent pipe (4).
- Drain any remaining fuel into an approved gasoline container.


Installation Procedure
- Remove the protective caps from the new in-line fuel filter.
- Install the new plastic connector retainers on the in-line fuel filter inlet and outlet.
- Install the quick-connect fitting (2) at the inlet of the in-line fuel filter. Refer to Plastic Collar Quick Connect Fitting Service .
- Install the threaded fitting (5) at the in-line fuel filter (1).
- Lower the vehicle.
- Tighten the fuel tank filler pipe cap.
- Install the negative battery cable. Refer to Battery Cable .

Install the new plastic connector retainers in the same position as on the old in-line fuel filter.

Notice: Always re-attach the fuel lines and fuel filter with all original type fasteners and hardware.
Do not repair sections of fuel pipes.Tighten
Tighten the in-line fuel filter outlet nut to 30 N·m (22 lb ft).

| 7.1. | Turn the ignition switch ON for 2 seconds. |
| 7.2. | Turn the ignition switch OFF for 10 seconds. |
| 7.3. | Turn the ignition switch ON. |
| 7.4. | Check for fuel leaks. |
