For 1990-2009 cars only
Removal Procedure
- Raise the vehicle.
- Drain the engine oil.
- Remove the flywheel cover. Refer to Engine Flywheel Replacement.
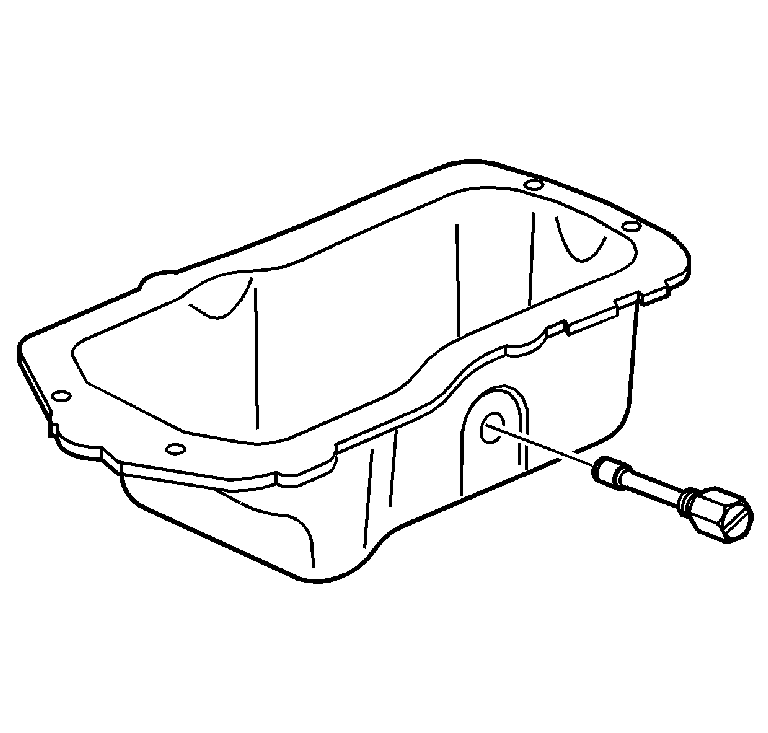
- Remove the oil level sensor.
- Remove the oil filter.
- Remove the oil pan.
- Remove the oil pump pipe and screen.
- Remove the oil pan gasket.
- Clean the oil pan and cylinder block mating surfaces.
Notice: Remove the oil level sensor, located in the oil pan, before the oil pan is removed. The sensor may be damaged if the oil pan is removed first.


Installation Procedure
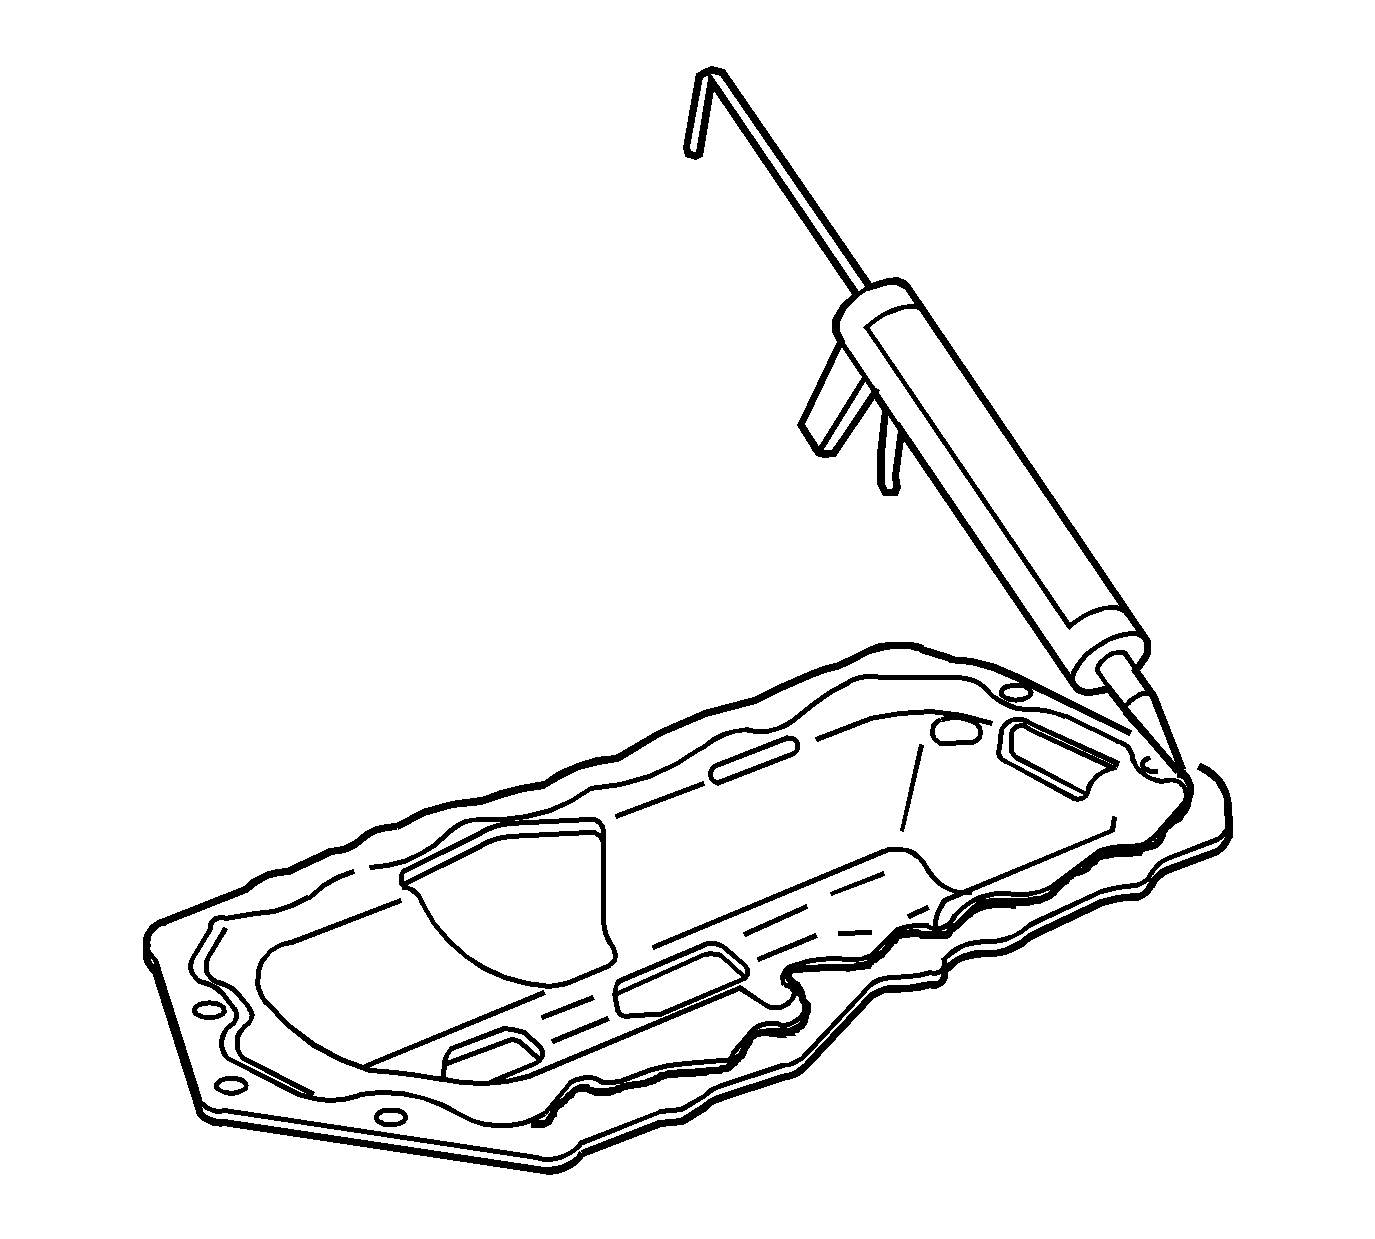
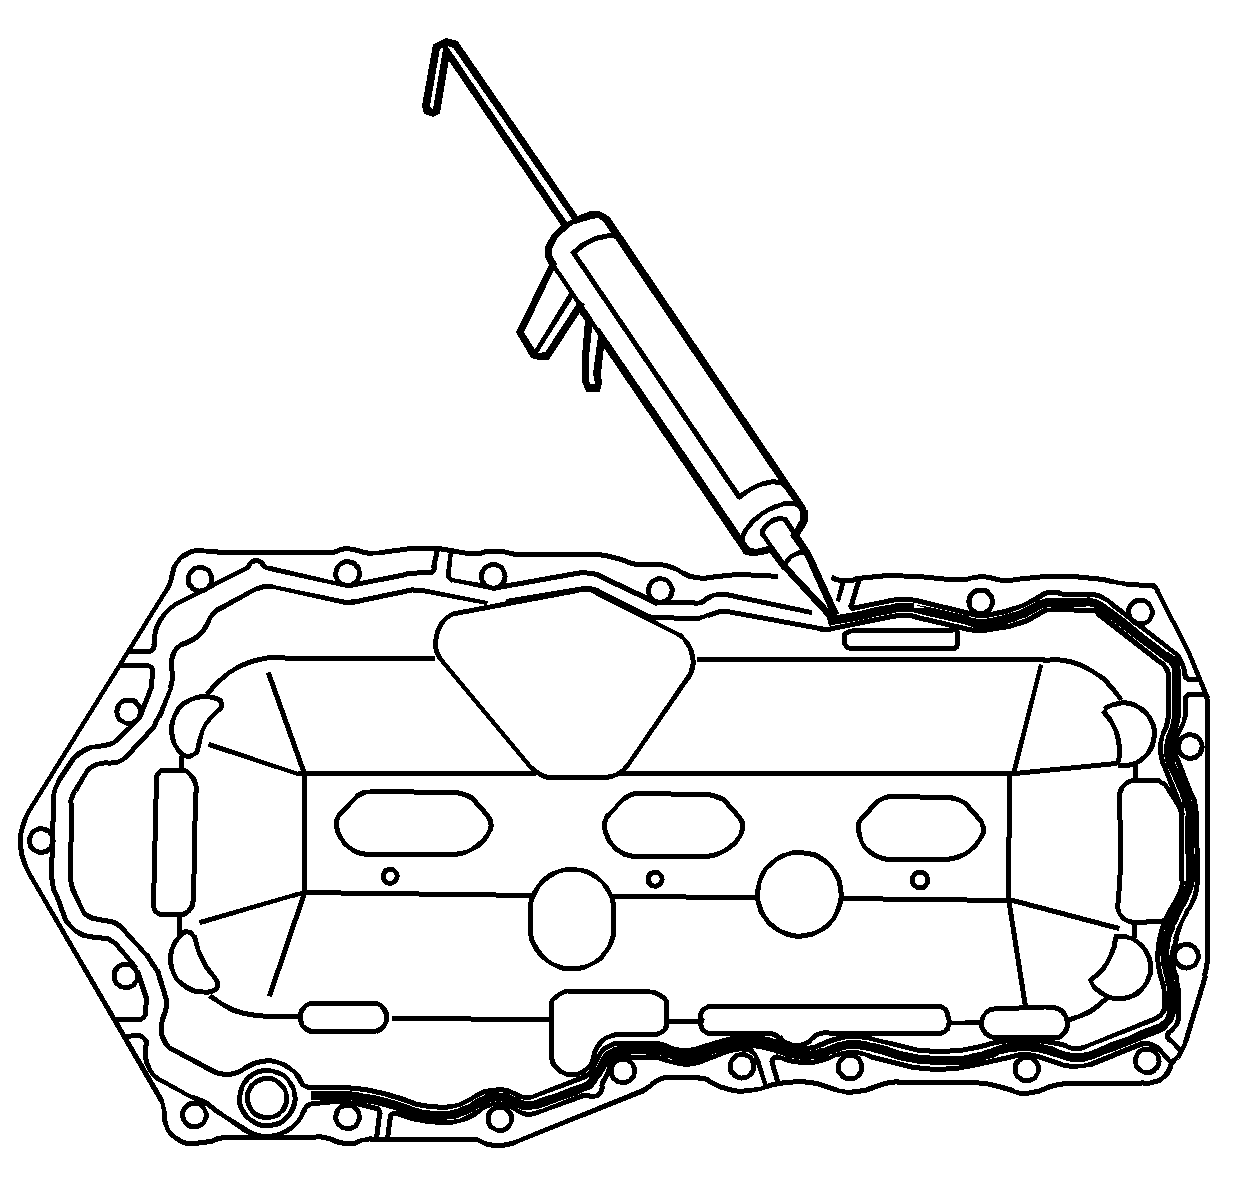
- Apply a continuous bead 6.35 mm (0.25 in) thick of RTV sealer GM P/N 12378521 (Canadian P/N 88901148) to the topside of the new gasket. Apply the RTV sealant directly over the gaskets sealing bead.
- Install the NEW oil pan gasket onto the engine.
- Apply a continuous bead 6.35 mm (0.25 in) thick of RTV sealer GM P/N 12378521 (Canadian P/N 88901148) to the bottom side of the new gasket. Apply the RTV sealant directly over the gaskets sealing bead.
- Install the oil pan gasket.
- Install the oil pump pipe and screen.
- Install the oil pan.
- Install the oil pan bolts.
- Install the oil filter.
- Install the flywheel cover. Refer to Engine Flywheel Replacement.
- Install the oil level sensor.
- Lower the vehicle.
- Refill the engine oil.


Notice: Install the oil level sensor, located in the oil pan, after the oil pan is installed. The sensor may be damaged if the oil level sensor is installed first.

Notice: Refer to Fastener Notice in the Preface section.
Important: Do not over tighten the oil pan bolts or damage to the pan could occur.
Tighten
Tighten the bolts to 14 N·m (125 lb in).

