For 1990-2009 cars only
Installation Procedure
Tools Required
| • | J 28467-90A Engine Support Adapters |
| • | J 36462-A Engine Support Adapter Leg Set |
| • | J 28467-B Universal Engine Support Fixture |
- Raise the hood.
- Disconnect the battery ground (negative) cable. Refer to Battery Negative Cable Disconnection and Connection in Engine Electrical.
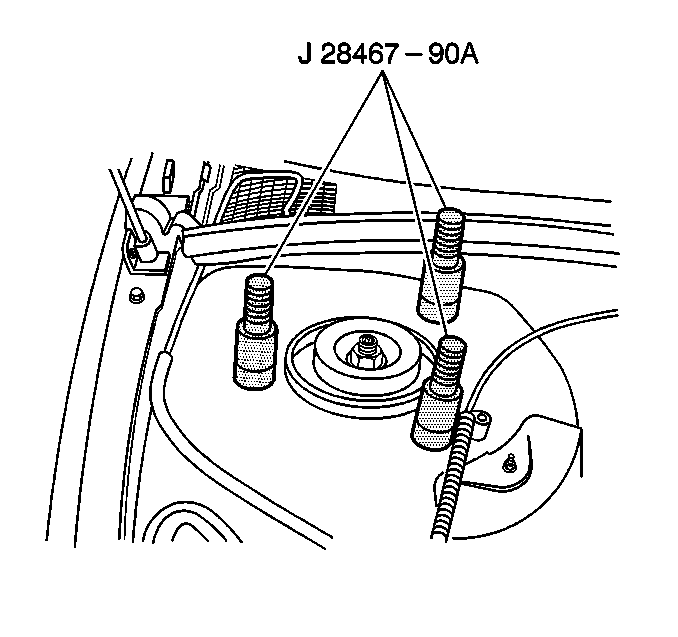
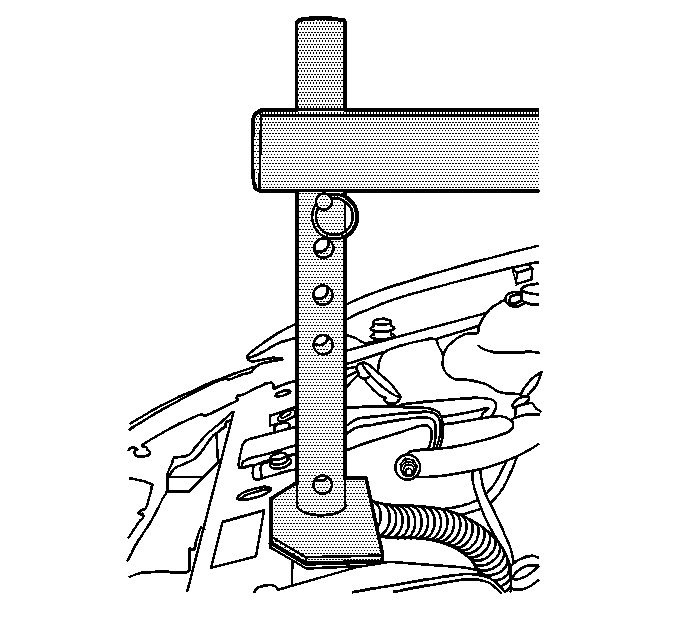
- Install the engine support adapters J 28467-90A onto the strut attaching studs.
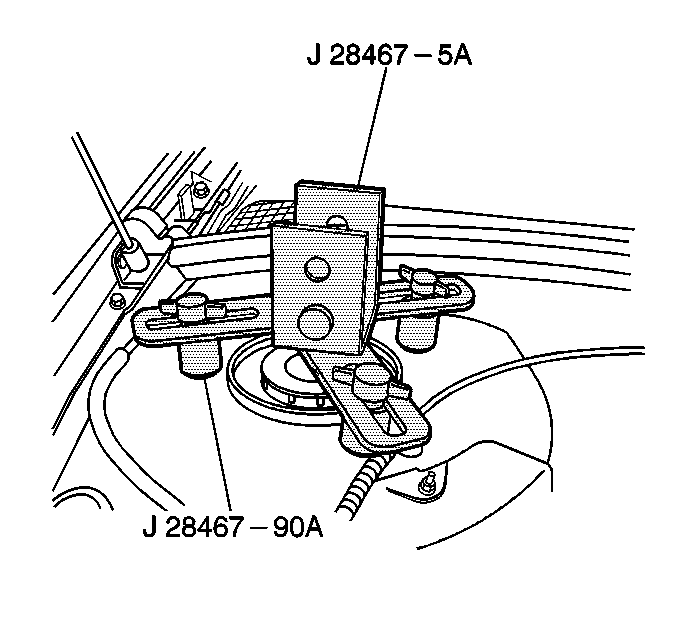
- Install the strut tower support assemblies (J 28467-5A) over the engine support adapters J 28467-90A .
- Install the wing nuts to the engine support adapters J 28467-90A .
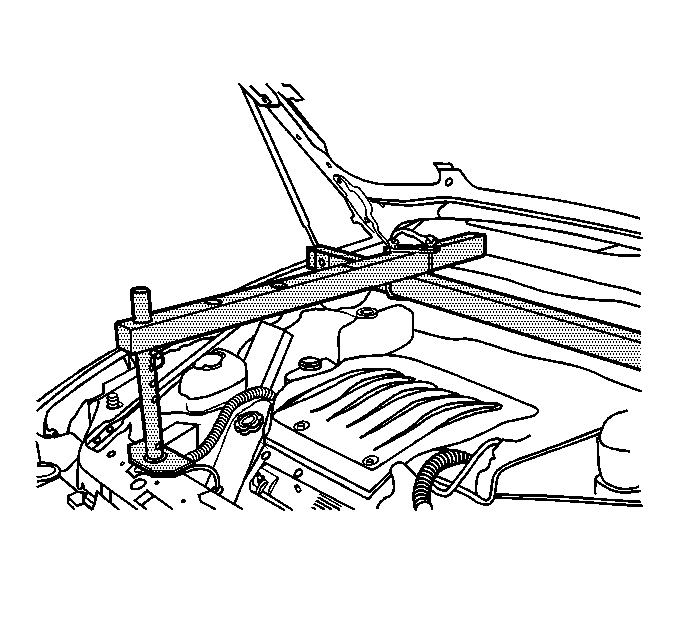
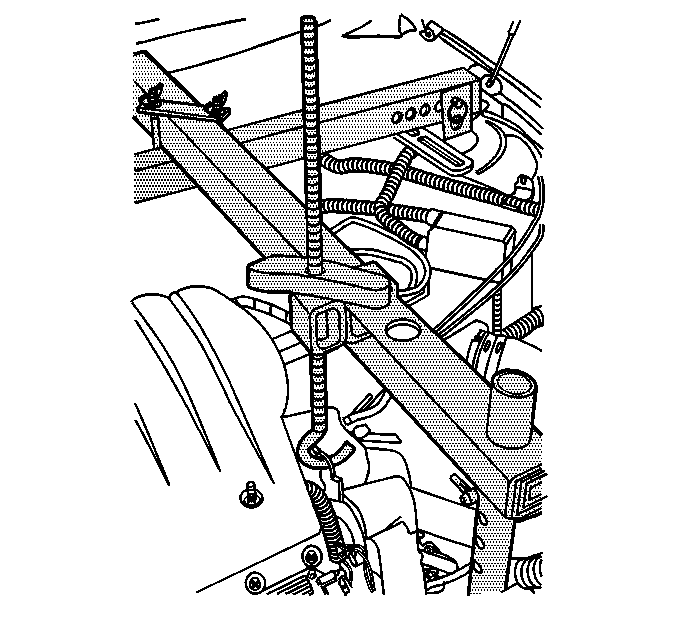
- Install the strut tower tube (J 28467-3) into the strut tower support assemblies (J 28467-5A).
- Install the 1/2 inch x 2.5 inch quick release pin (J 28467-10) through the strut tower support assemblies (J 28467-5A) and the strut tower tube (J 28467-3) on one side only.
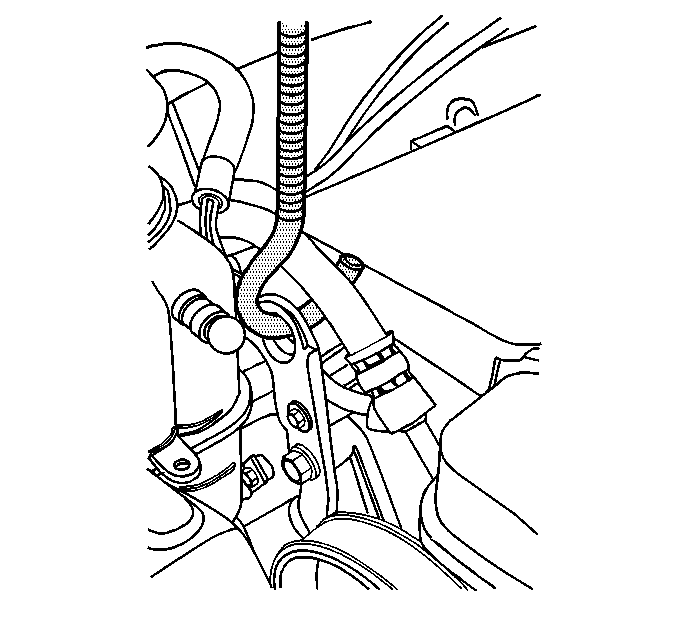
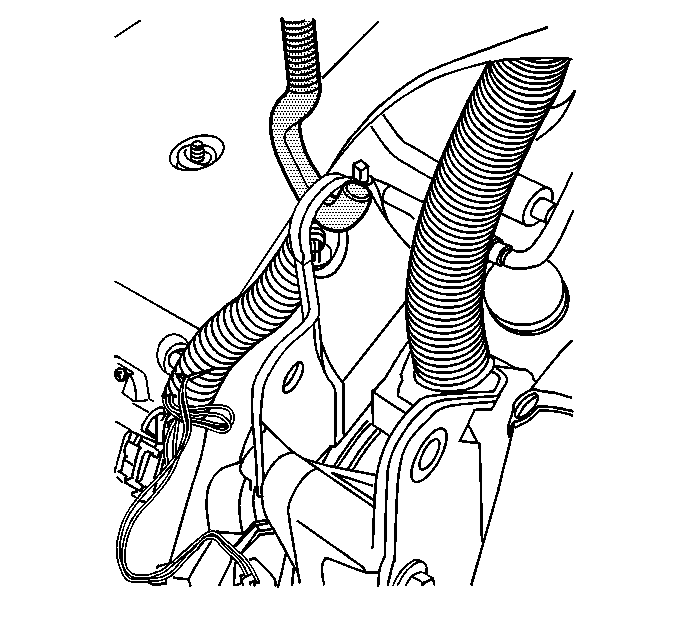
- Remove the engine mount strut bracket. Refer to Engine Mount Strut Bracket Replacement .
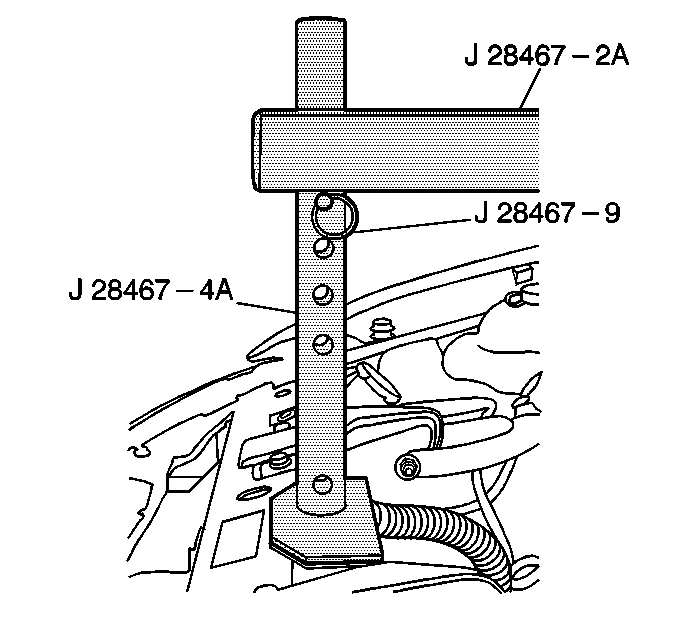
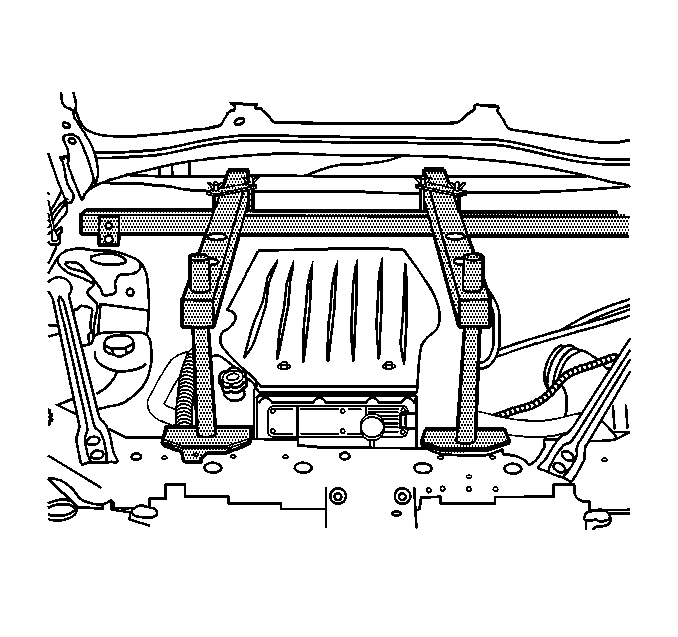
- Install the radiator shelf tube (J 28467-2A) on the top of the strut tower tube (J 28467-3) on the passenger side.
- Install the round tube of the front support assembly (J 28467-4A) through the large hole in the radiator shelf tube (J 28467-2A). The hole used in the radiator shelf tube (J 28467-2A) depends on the vehicle application.
- Place the rubber padded foot of the front support assembly (J 28467-4A) on the vehicle radiator shelf. The foot position used in the front support assembly (J 28467-4A) depends on the vehicle application.
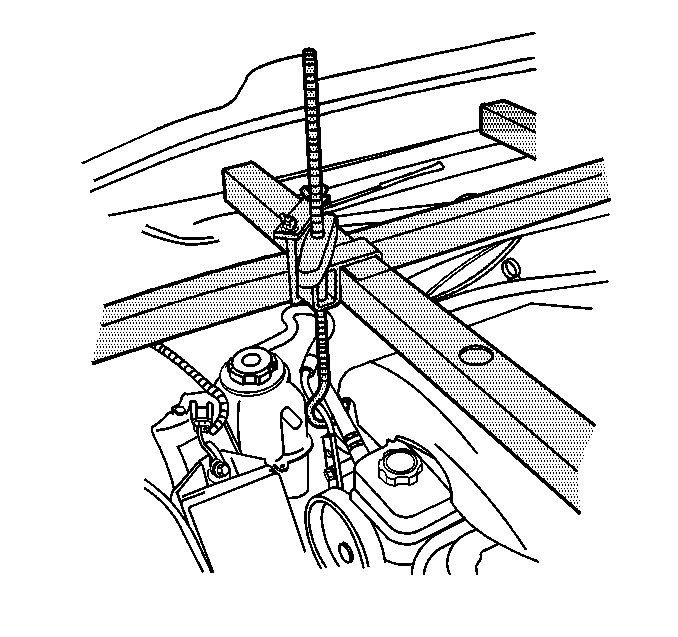
- Install the 7/16 inch x 2.0 inch quick release pin (J 28467-9) through the hole in the front support assembly (J 28467-4A) in order to level the radiator shelf tube (J 28467-2A).
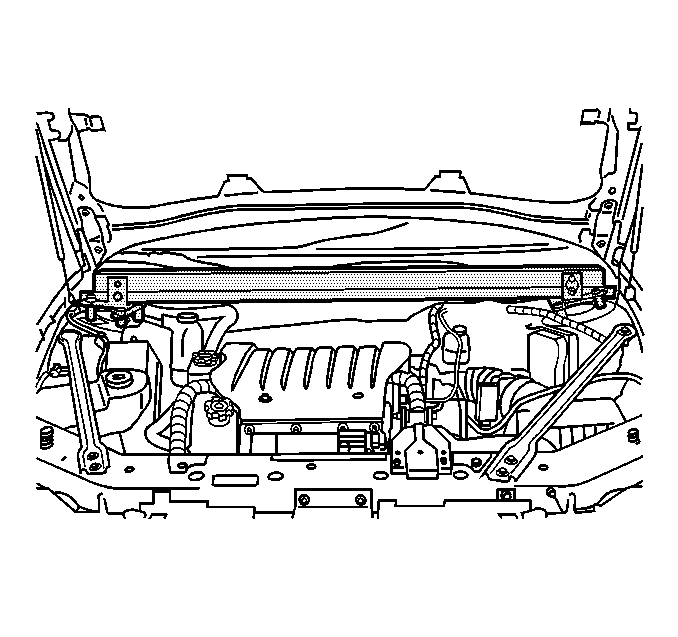
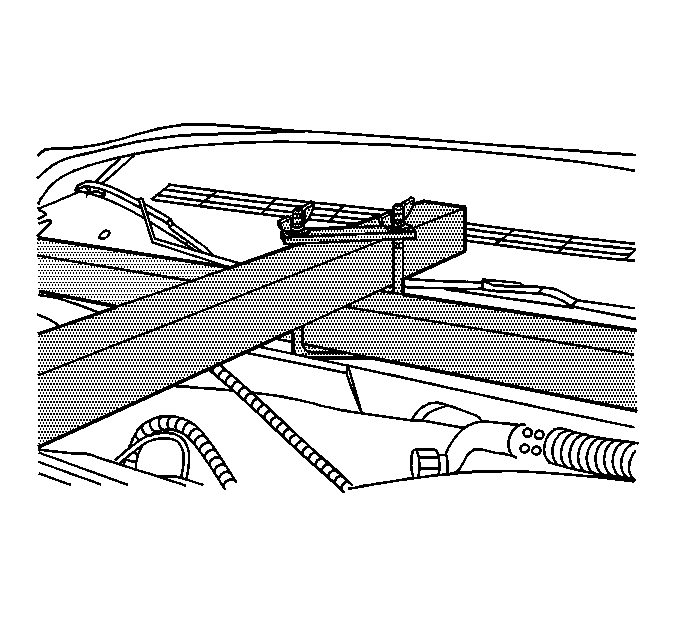
- Install the passenger side cross bracket assembly (J 28467-1A).
- Install the second radiator shelf tube (J 28467-2A) on the top of the strut tower tube (J 28467-3) on the driver side.
- Install the round tube of the front support assembly (J 28467-4A) through the large hole in the radiator shelf tube (J 28467-2A). The hole used in the radiator shelf tube (J 28467-2A) depends on the vehicle application.
- Place the rubber padded foot of the front support assembly (J 28467-4A) on the vehicle radiator shelf. The foot position used in the front support assembly (J 28467-4A) depends on the vehicle application.
- Install the 7/16 inch x 2.0 inch quick release pin (J 28467-9) through the hole in the front support assembly (J 28467-4A) in order to level the radiator shelf tube (J 28467-2A). The hole used in the front support assembly (J 28467-4A) depends on the vehicle application.
- Install the drivers side cross bracket assembly (J 28467-1A).
- Align the radiator shelf tubes (J 28467-2A.)
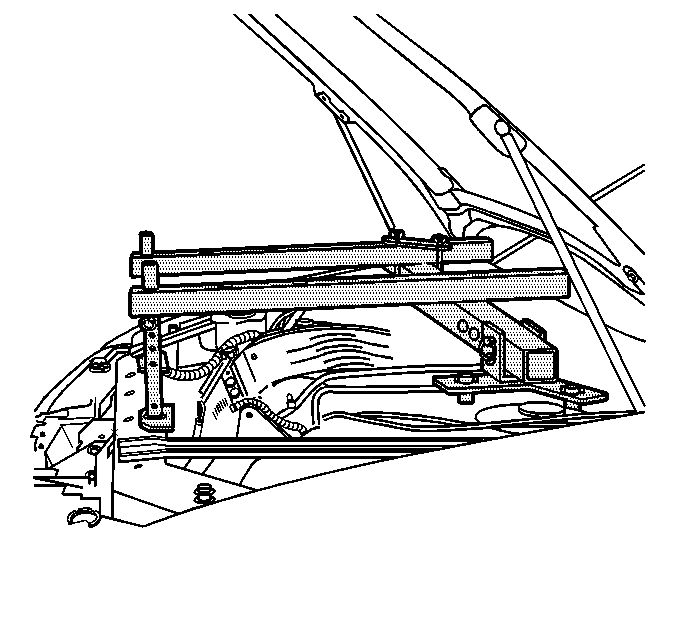
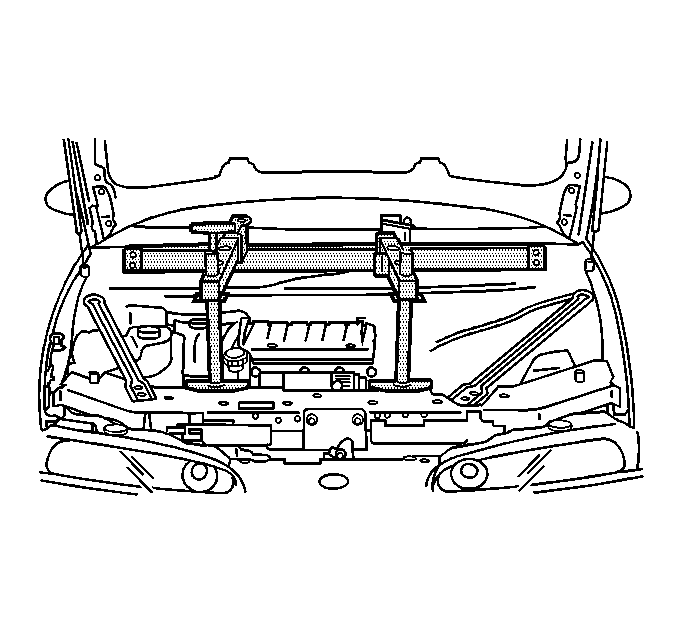
- Install the lift hook (J 28467-7A) through the lift hook bracket (J 28467-6A).
- Install the 1/2 inch lift hook washer and lift hook wing nut (J 28467-34) onto the lift hook (J 28467-7A).
- Install the assembled lift hook bracket (J 28467-6A) over the passenger side radiator shelf tube (J 28467-2A).
- Adjust the passenger side radiator shelf tube (J 28467-2A) and the assembled lift hook bracket (J 28467-6A) in order to align the hook with the right (rear), front of engine lift hook bracket.
- Make sure the hook does not damage surrounding components.
- Install the lift hook (J 28467-7A) through the lift hook bracket (J 28467-6A).
- Install the 1/2 inch lift hook washer and lift hook wing nut (J 28467-34) onto the lift hook (J 28467-7A).
- Install the assembled lift hook bracket (J 28467-6A) over the radiator shelf tube (J 28467-2A).
- Adjust the driver side radiator shelf tube (J 28467-2A) and the assembled lift hook bracket (J 28467-6A) in order to align the hook with the left (front), rear of engine lift hook bracket.
- Make sure the hook does not damage surrounding components.
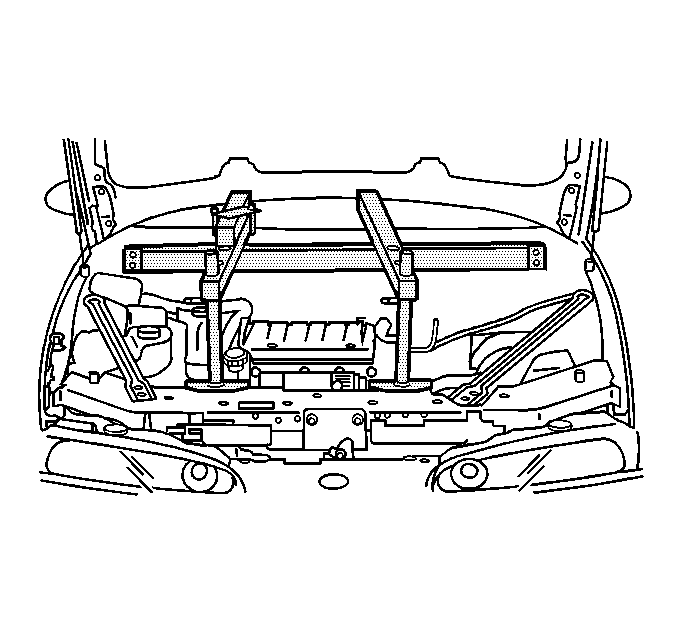
- Hand tighten the all cross bracket assembly (J 28467-1A) wing nuts.
- Hand tighten the lift hook wing nuts (J 28467-34) securely to remove all slack from the engine support fixture assembly.