For 1990-2009 cars only
Removal Procedure
The sunshades can be equipped with an illuminated vanity mirror. The illuminated vanity mirror is not serviced as a separate unit.
- Fold the sunshade so the bottom edge is pointing straight down.
- Unsnap the sunshade from the retainer and position the sunshade just behind the sunshade retainer (between the retainer and windshield).
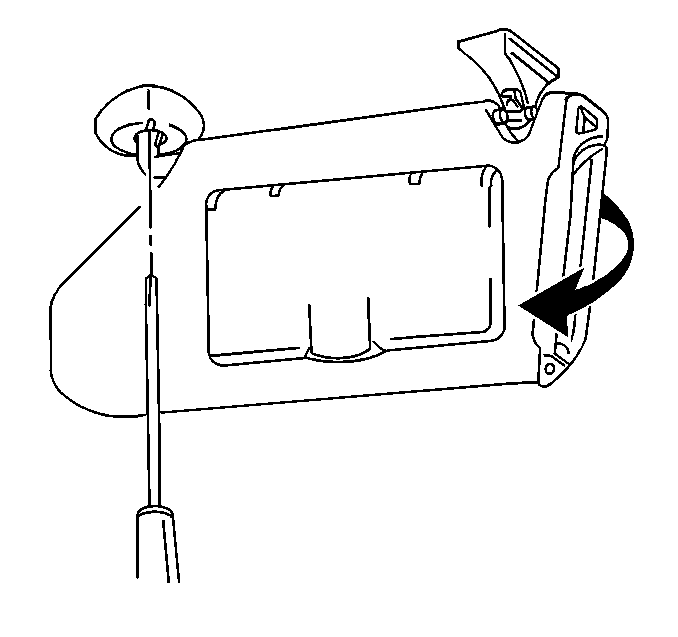
- Using a flat-bladed tool, insert the tool into the slot on the sunshade retainer shaft.
- Holding the flat-bladed tool stationary, slowly rotate the sunshade, about four (4) inches towards the rear of the vehicle while gently pulling downward.
- Push upward on the free end of the sunshade assembly and continue to rotate towards the side glass for the remainder of the travel.
- Pull down on the sunshade to release it from the sunshade bezel on the headliner.
- Disconnect the electric connector if equipped.
- Remove the sunshade from the vehicle.
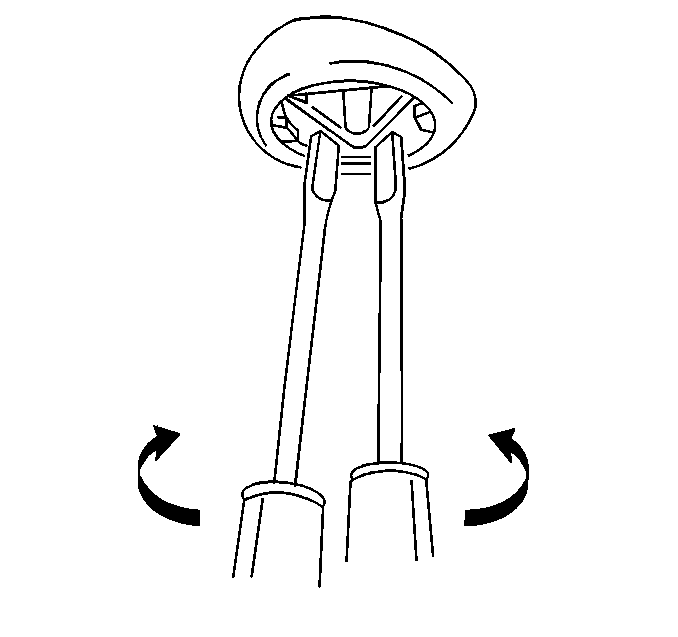
- Remove the sunshade retainer bezel, by inserting a small flat-bladed tool into the slots and moving the locking tab inward.
- Remove the sunshade retainer bezel from the headliner.


Installation Procedure
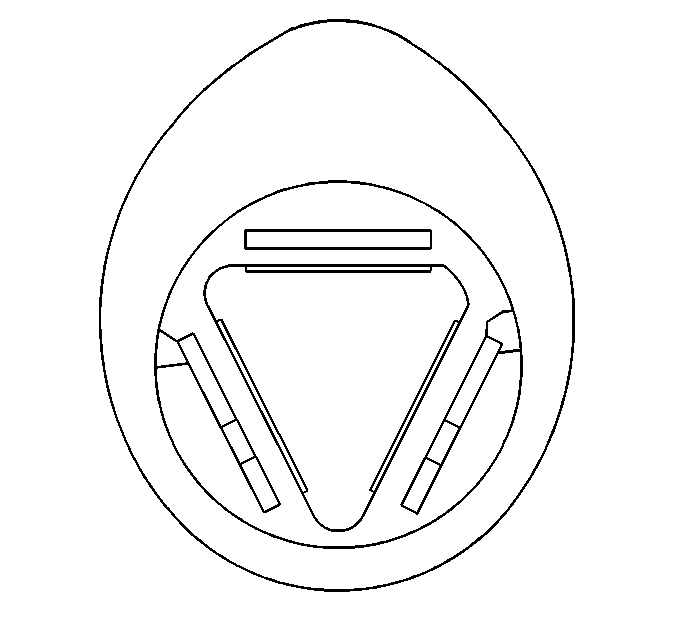
- Install the sunshade retainer bezel to the headliner, pressing into place until fully seated.
- Position the sunshade in the vehicle.
- Connect the electric connector if equipped.
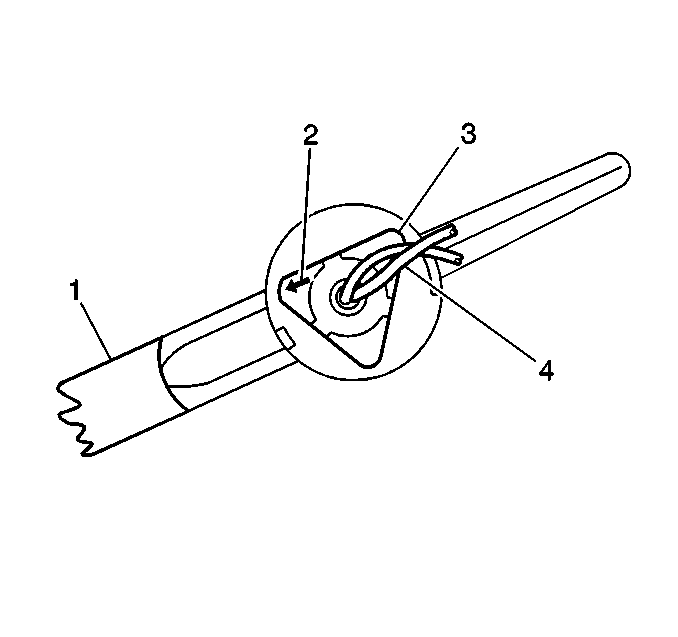
- Align the arrow (2) on the top side of the sunshade retainer (3) until it is pointing parallel with the top edge of the sunshade (1).
- To install the sunshade, align the triangular portions of the sunshade and bezel then push upwards and rotate the sunshade toward the windshield.
- Lock the sunshade into the retainer bracket.


A slight click will be heard once the retainer shaft seats into the bezel.
